 ALLPCB


When it comes to maintaining printed circuit boards (PCBs), hobbyists often wonder about the difference between PCB cleaning and PCB washing. At its core, PCB cleaning refers to the process of removing contaminants like flux residue, dust, or grime using specific tools and chemicals, often without heavy water use. PCB washing, on the other hand, typically involves using water or liquid solutions to rinse off dirt and residues, sometimes with the risk of damaging components if not done carefully. Understanding these methods is key to keeping your PCBs in top shape without causing harm. In this guide, we’ll dive deep into the nuances of PCB cleaning vs. washing, explore easy cleaning vs. washing techniques, and outline the best cleaning methods for PCBs tailored for hobbyists.
Why PCB Maintenance Matters for Hobbyists
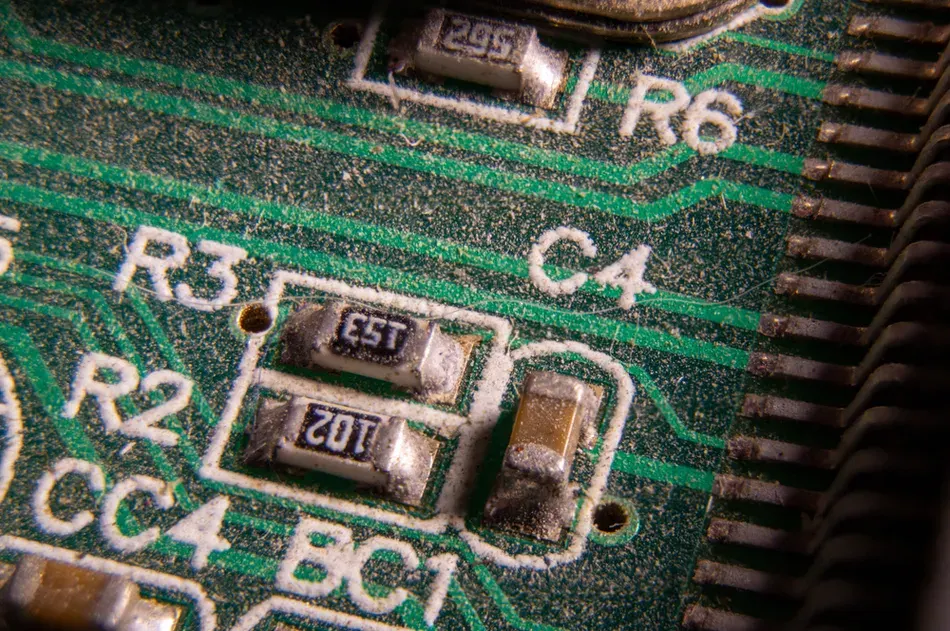
As a hobbyist, you invest time and effort into designing and assembling PCBs for projects like custom electronics, robotics, or IoT devices. Over time, contaminants such as flux residue from soldering, dust from the environment, or even fingerprints can build up on the board. These can lead to issues like short circuits, corrosion, or reduced performance. For instance, flux residue left after soldering can attract moisture, leading to corrosion that might increase impedance in critical circuits—sometimes by as much as 20% in high-frequency applications. Proper maintenance through cleaning or washing ensures your PCB operates at peak efficiency, extending its lifespan and preventing costly failures.
PCB Cleaning vs. Washing: Breaking Down the Basics
What Is PCB Cleaning?
PCB cleaning focuses on removing specific contaminants using targeted methods and materials. This process often involves dry or semi-dry techniques, such as brushing or using specialized solvents like isopropyl alcohol (IPA) with a concentration of 90% or higher. Cleaning is ideal for removing flux residues after soldering or clearing dust from delicate components without introducing moisture that could damage sensitive parts. It’s a precise method that minimizes risks to the PCB’s functionality.
What Is PCB Washing?
PCB washing typically involves using water or a liquid solution to rinse off contaminants from the board. This method might include submerging the PCB in distilled water or using a spray to wash away dirt and residues. While washing can be effective for larger debris or heavy grime, it carries a higher risk of water seeping into components or connectors, potentially causing short circuits or corrosion if not dried properly. For hobbyists, washing is often reserved for specific scenarios where cleaning alone isn’t enough.
Key Differences Between Cleaning and Washing
- Moisture Level: Cleaning uses minimal to no water, while washing relies heavily on liquids.
- Risk Factor: Cleaning is generally safer for sensitive components, whereas washing can introduce risks if moisture isn’t fully removed.
- Application: Cleaning targets specific residues like flux, while washing is better for overall dirt or grime removal.
- Tools: Cleaning often uses brushes and solvents, while washing may involve water, sprays, or even ultrasonic baths.
Easy Cleaning vs. Washing: Which Is Simpler for Hobbyists?
Easy Cleaning Methods for PCBs
For hobbyists looking for straightforward solutions, cleaning is often the easier and safer choice. Here are some simple cleaning techniques:
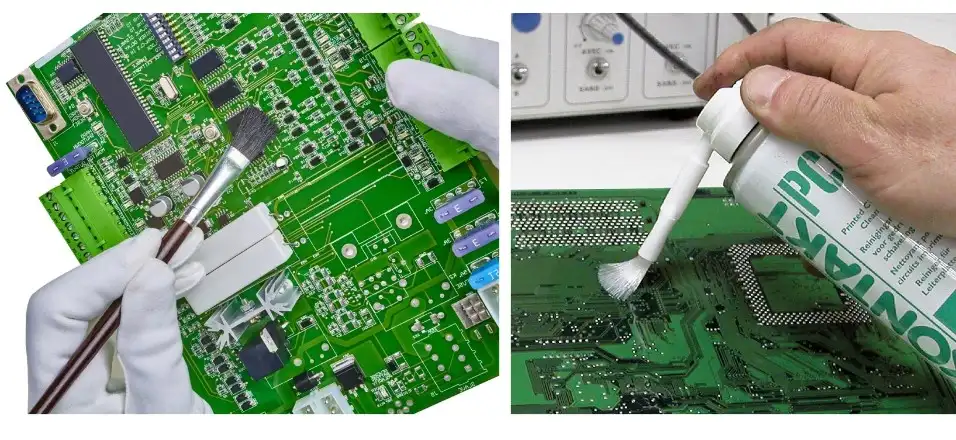
- Dry Brushing: Use a soft-bristled brush, like an anti-static brush, to gently remove dust and loose debris from the PCB surface. This method is ideal for quick maintenance and carries no risk of liquid damage.
- Isopropyl Alcohol Wipe: Dampen a lint-free cloth or cotton swab with 90-99% isopropyl alcohol and gently wipe down the board to dissolve flux residue. This method is effective for post-soldering cleanup and dries quickly, reducing moisture risks.
- Compressed Air: Use a can of compressed air to blow away dust from hard-to-reach areas. Be cautious not to use excessive pressure, as it could dislodge small components.
These methods require minimal equipment and can be done in under 10 minutes, making them perfect for hobbyists who want a quick, low-risk solution.
Challenges of Washing PCBs
Washing, while effective in some cases, is often more complex and risky for hobbyists. If you choose to wash a PCB, you’ll need to follow strict steps to avoid damage:
- Use Distilled Water: Never use tap water, as it contains minerals that can leave conductive residues. Distilled water minimizes this risk.
- Remove Power Sources: Always remove batteries or power connections before washing to prevent short circuits.
- Dry Thoroughly: After washing, use compressed air or a low-heat oven (around 50°C or 122°F) for at least 2-3 hours to ensure no moisture remains.
Washing can take longer due to the drying process and requires more caution, making it less ideal for quick or frequent maintenance compared to cleaning.
How to Wash a PCB: Step-by-Step Guide for Hobbyists
If you’ve decided that washing is necessary—perhaps due to heavy contamination—follow these steps to do it safely:
- Prepare the PCB: Remove all detachable components, such as batteries or modules, and note any sensitive areas that should avoid water exposure.
- Use the Right Liquid: Opt for distilled water or a specialized PCB washing solution. Avoid harsh detergents unless specifically designed for electronics.
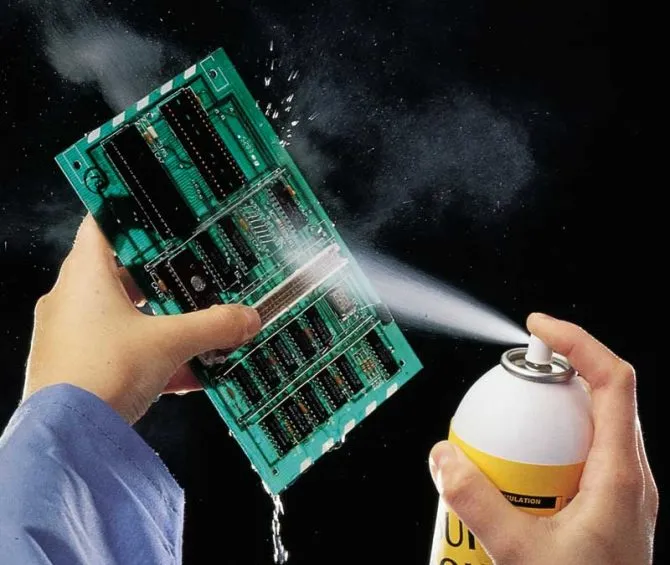
- Gentle Rinsing: Use a spray bottle or soft brush to apply the liquid, focusing on dirty areas. Avoid submerging the board unless absolutely necessary.
- Drying Process: Shake off excess water, then use compressed air to remove remaining droplets. Place the PCB in a warm, dry environment (50-60°C) for several hours to ensure complete drying.
- Inspection: Check for any signs of moisture or residue before reassembling and powering on the board.
This process can take several hours due to drying time, and there’s always a risk of residual moisture causing issues like corrosion over time, especially in high-humidity environments.
Best Cleaning Methods for PCBs: Tools and Techniques
For hobbyists, having a reliable set of cleaning methods can make PCB maintenance a breeze. Below are some of the most effective techniques tailored to different scenarios:
1. Post-Soldering Flux Removal
After soldering, flux residue can remain on the board, potentially causing long-term issues. Use a small brush or cotton swab dipped in 99% isopropyl alcohol to scrub the residue away. Focus on areas around solder joints, as these are prone to buildup. This process typically takes 5-10 minutes for a small board and ensures no conductive residue remains to affect signal integrity.
2. Dust and Debris Removal
For general maintenance, use a combination of compressed air and a soft brush. Start by blowing away loose dust with short bursts of air, then use the brush to dislodge any stubborn particles. This method is quick, taking just 2-5 minutes, and prevents dust from interfering with components or heat dissipation.
3. Stubborn Residue with Solvents
For tougher residues, like adhesive or grease, a specialized electronics cleaner or a small amount of acetone (used sparingly) can be effective. Apply the solvent with a cotton swab and wipe it clean with a dry cloth. Be cautious with acetone, as it can damage some plastics or coatings on the PCB if overused.
4. Ultrasonic Cleaning (Advanced Option)
For hobbyists with access to an ultrasonic cleaner, this method can be highly effective for thorough cleaning without heavy scrubbing. Place the PCB in a container with a cleaning solution (often a mix of distilled water and a small amount of IPA), then run the ultrasonic cleaner for 5-10 minutes at a frequency of around 40 kHz. This method is excellent for removing flux and dirt from tight spaces but requires careful drying afterward to prevent moisture damage.
Pros and Cons of PCB Cleaning vs. Washing
Advantages of Cleaning
- Lower risk of moisture-related damage.
- Faster process with minimal drying time.
- Targeted removal of specific contaminants like flux.
- Requires basic, affordable tools like brushes and IPA.
Disadvantages of Cleaning
- May not be effective for heavy dirt or grime buildup.
- Requires manual effort for stubborn residues.
Advantages of Washing
- Effective for removing large-scale dirt or grime.
- Can clean hard-to-reach areas when using sprays or submersion.
Disadvantages of Washing
- Higher risk of water damage or corrosion if not dried properly.
- Longer process due to drying requirements.
- Not suitable for all PCBs, especially those with sensitive components.
Tips for Safe and Effective PCB Maintenance
Whether you choose cleaning or washing, these tips will help you maintain your PCBs safely:
- Always work in a well-ventilated area when using solvents like IPA to avoid inhaling fumes.
- Wear gloves to prevent skin contact with chemicals and to avoid leaving fingerprints on the board.
- Use anti-static precautions, such as grounding yourself, to prevent electrostatic discharge (ESD) from damaging components.
- Store cleaning supplies away from heat sources, as many solvents are flammable.
- Regularly inspect your PCBs for signs of corrosion or residue buildup, addressing issues early to prevent long-term damage.
Conclusion: Choosing the Right Method for Your PCB
For hobbyists, understanding the difference between PCB cleaning vs. washing is essential for maintaining the performance and longevity of your projects. Cleaning offers a safer, quicker solution for routine maintenance and flux removal, making it the go-to choice for most scenarios. Washing, while effective for heavy contamination, requires more time and caution to avoid moisture-related damage. By mastering easy cleaning methods for PCBs and knowing how to wash a PCB when necessary, you can keep your boards in pristine condition without risking functionality. Equip yourself with the right tools and techniques, and your hobbyist projects will continue to thrive with reliable, well-maintained electronics.


