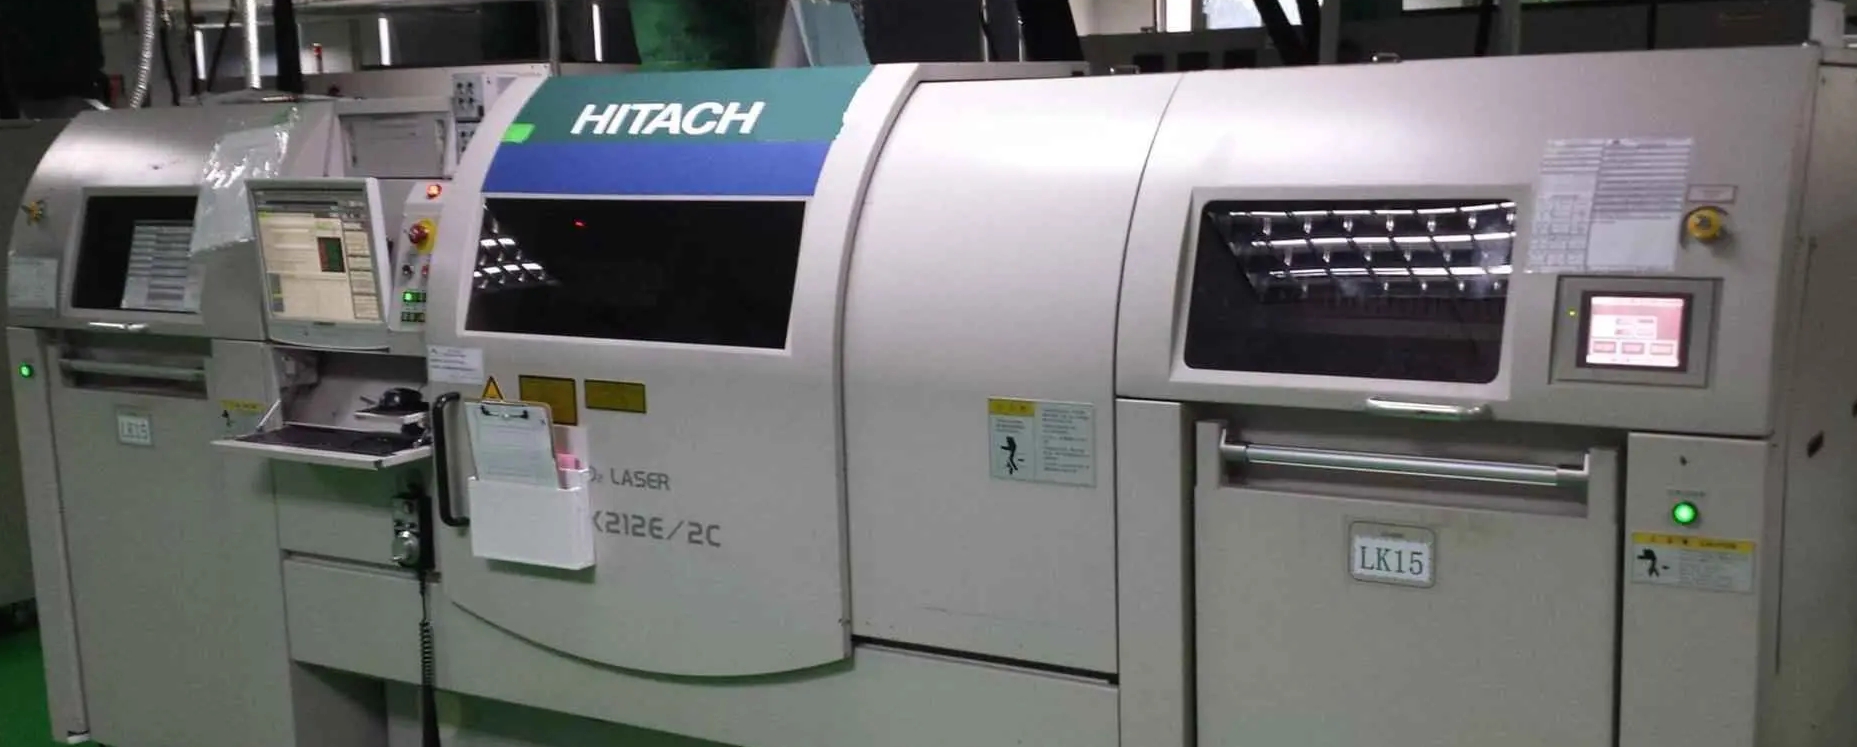
If you're looking to set up a laser drilling system for printed circuit boards (PCBs), you're in the right place. This guide will walk you through every step of the process, from selecting the right equipment to ensuring safety and maintaining your system for optimal performance. Whether you're new to laser drilling or upgrading your current setup, this comprehensive resource covers everything related to setting up a laser drilling system for PCBs, including calibration, software, maintenance, and safety.
At ALLPCB, we understand the importance of precision and efficiency in PCB manufacturing. Laser drilling offers unmatched accuracy for creating vias and micro-holes in modern circuit boards, especially with the increasing demand for miniaturization. Let's dive into the detailed steps to get your system up and running.
Why Choose Laser Drilling for PCBs?
Laser drilling has become a go-to method in PCB manufacturing due to its precision and ability to handle high-density designs. Unlike traditional mechanical drilling, laser systems can create holes as small as 25 micrometers in diameter, making them ideal for advanced applications like HDI (High-Density Interconnect) boards. Additionally, laser drilling minimizes mechanical stress on the board, preserving its integrity.
With the electronics industry pushing for smaller, faster, and more complex devices, laser drilling ensures that manufacturers can meet these demands. Now, let’s explore how to set up your own system to achieve these benefits.

Step 1: Selecting the Right Laser Drilling Machine for PCBs
The first step in setting up a laser drilling system for PCBs is choosing the right equipment. Not all laser systems are created equal, and the choice depends on your specific needs, such as board material, hole size, and production volume.
- Type of Laser: Common options include CO2 lasers for organic materials like FR-4 and UV lasers for more delicate or mixed-material boards. UV lasers are often preferred for their ability to drill smaller holes (down to 25 microns) with minimal thermal damage.
- Power and Speed: Look for a machine with adjustable power settings (typically between 5W to 20W for UV lasers) to handle different materials and thicknesses. Higher power can speed up drilling but may cause charring if not controlled.
- Precision and Beam Quality: Ensure the system offers a focused beam diameter suitable for micro-drilling, ideally below 50 microns for fine vias.
Consider the throughput as well. For high-volume production, opt for a system with automated loading and unloading features to save time. Researching user reviews and technical specifications will help narrow down your options.
Step 2: Preparing Your Workspace for Laser Drilling
Before installing your laser drilling system, prepare a suitable workspace. This step is crucial for both efficiency and safety when setting up a laser drilling system for PCBs.
- Ventilation: Laser drilling can produce fumes and debris, especially when working with materials like epoxy or fiberglass. Install a robust exhaust system to remove harmful particles from the air.
- Stable Surface: Mount the machine on a vibration-free table or platform to ensure precision. Even slight movements can misalign the laser, leading to defective holes.
- Power Supply: Confirm that your workspace has a stable power source with the correct voltage (often 220V or 110V, depending on the machine) to avoid interruptions or damage.
- Lighting: Use non-reflective lighting to reduce glare and improve visibility during operation.
Setting up a dedicated area for laser drilling will streamline your workflow and minimize risks.

Step 3: Installing and Configuring Laser Drilling Software
Modern laser drilling systems rely heavily on specialized software for control and precision. Proper installation and configuration of laser drilling software are vital for achieving accurate results.
- Software Compatibility: Ensure the software is compatible with your machine and operating system. Most systems come with proprietary software, but some support third-party options for added flexibility.
- Design File Integration: The software should accept common PCB design file formats like Gerber or DXF. This allows you to import layouts directly and map drilling locations.
- Parameter Settings: Configure settings such as laser power, pulse duration, and drilling speed based on the material and hole size. For example, drilling a 50-micron via in FR-4 might require a pulse duration of 10 microseconds at 10W power.
Take time to familiarize yourself with the software’s interface. Many programs offer simulation modes to test settings before actual drilling, reducing the risk of errors.
Step 4: Laser Drilling Machine Calibration for Precision
Calibration is a critical step in setting up a laser drilling system for PCBs. Proper laser drilling machine calibration ensures that holes are drilled exactly where intended, with the correct size and depth.
- Alignment Check: Use the machine’s built-in alignment tools or a test board to verify that the laser beam aligns with the programmed coordinates. Misalignment by even 10 microns can ruin a high-density PCB.
- Focus Adjustment: Adjust the focal length of the laser to match the board’s surface. Most systems have automatic focus features, but manual adjustments might be needed for non-standard materials.
- Test Runs: Run tests on scrap material to confirm hole diameter and depth. For instance, if targeting a 100-micron hole, measure the result with a digital microscope to ensure accuracy within ±5 microns.
Regular calibration checks are necessary, especially after extended use or when switching between different board types. Keeping a log of calibration results can help track performance over time.
Step 5: Testing the System with a Sample PCB
Once your system is set up and calibrated, test it with a sample PCB to ensure everything works as expected. This step helps identify any issues before full-scale production.
- Material Selection: Use a sample board made of the same material as your intended projects, such as FR-4 or polyimide.
- Simple Design: Start with a basic design featuring a few vias and holes of varying sizes (e.g., 50 microns to 200 microns) to test the system’s range.
- Inspection: After drilling, inspect the holes under magnification for uniformity, edge quality, and debris. Clean holes indicate proper settings, while jagged edges or burns suggest adjustments are needed.
Testing allows you to fine-tune settings and build confidence in the system’s capabilities. Document the results to create a reference for future projects.
Step 6: Implementing Laser Drilling Safety Measures
Safety is non-negotiable when working with laser drilling systems. Laser drilling safety protocols protect operators and prevent damage to equipment.
- Protective Gear: Always wear laser-safe goggles rated for the specific wavelength of your system (e.g., 355 nm for UV lasers). Avoid direct exposure to the beam, as it can cause severe eye damage.
- Enclosures: Ensure the machine has a protective enclosure or interlock system to prevent accidental exposure during operation.
- Training: Train all operators on proper usage, emergency procedures, and hazard recognition. Even a brief lapse in attention can lead to accidents.
- Fire Safety: Keep a fire extinguisher nearby, as laser drilling can ignite flammable materials if settings are incorrect.
Maintaining a safe environment reduces risks and ensures smooth operation. Regularly review safety guidelines to stay compliant with industry standards.

Step 7: Laser Drilling System Maintenance for Longevity
To keep your system performing at its best, regular laser drilling system maintenance is essential. Neglecting maintenance can lead to reduced accuracy, downtime, and costly repairs.
- Cleaning: Remove dust and debris from the laser lens and work area after each session. Use a microfiber cloth and approved cleaning solutions to avoid scratching the optics.
- Laser Source Check: Monitor the laser source for signs of degradation, such as reduced power output. Most UV lasers have a lifespan of 10,000 to 20,000 hours, depending on usage.
- Software Updates: Keep the control software updated to benefit from bug fixes and performance improvements.
- Cooling System: If your machine uses a cooling system, check coolant levels and clean filters to prevent overheating.
Schedule routine maintenance based on the manufacturer’s recommendations, typically every 500 to 1,000 hours of operation. A well-maintained system ensures consistent results and extends equipment life.
Step 8: Troubleshooting Common Issues in Laser Drilling
Even with proper setup and maintenance, issues can arise. Knowing how to troubleshoot common problems will minimize downtime.
- Inconsistent Hole Quality: If holes appear uneven or burnt, check laser power and pulse settings. Reducing power by 10-20% or adjusting focus often resolves this.
- Misalignment: Recalibrate the system if holes are not in the correct position. Software glitches or mechanical shifts could be the cause.
- Excessive Debris: Increase ventilation or adjust drilling speed to reduce residue buildup on the board.
Keeping a troubleshooting log helps identify recurring issues and develop long-term solutions. If problems persist, consult the machine’s manual or technical support for assistance.
Conclusion: Mastering Laser Drilling for PCBs
Setting up a laser drilling system for PCBs is a multi-step process that requires careful planning, precise calibration, and a strong focus on safety and maintenance. By following this step-by-step guide, you can achieve high-quality results and meet the demands of modern PCB manufacturing. From selecting the right equipment and software to implementing laser drilling safety measures and maintaining your system, each step builds toward a reliable and efficient workflow.
 ALLPCB


