ALLPCB


If you're diving into DIY electronics projects and wondering how to achieve perfect solder joints, you might have come across OSP as a potential game-changer. So, is OSP (Organic Solderability Preservative) the secret to flawless soldering on your PCBs? In short, OSP can significantly improve solder joint quality by protecting copper pads from oxidation and ensuring better solderability, especially for DIY enthusiasts and small-scale projects. In this comprehensive guide, we'll explore OSP solder joints, uncover DIY soldering tips, and break down PCB soldering techniques to help you achieve perfect solder joints. We'll also dive into OSP benefits and its role in electronics assembly.
What is OSP and Why Does It Matter for DIY Soldering?
OSP, or Organic Solderability Preservative, is a surface finish applied to the exposed copper pads on a printed circuit board (PCB). This thin organic layer acts as a protective shield, preventing the copper from oxidizing due to exposure to air, moisture, or heat. Oxidation can create a barrier that hinders soldering, leading to weak or unreliable solder joints. For DIY enthusiasts working on electronics assembly, OSP offers a cost-effective and eco-friendly way to ensure the copper remains clean and ready for soldering.
Unlike other surface finishes like HASL (Hot Air Solder Leveling) or ENIG (Electroless Nickel Immersion Gold), OSP is lead-free and doesn't involve heavy metals, making it a greener choice. Its simplicity and affordability make it ideal for small-scale projects where budget and environmental impact are key considerations. By preserving the copper's solderability, OSP helps create stronger, more reliable connections—crucial for achieving perfect solder joints in your DIY builds.
How OSP Contributes to Perfect Solder Joints
A perfect solder joint is shiny, smooth, and slightly concave, with just enough solder to cover the pad and component lead without excess. Poor joints, on the other hand, can lead to failures like intermittent connections or complete circuit breakdowns. OSP plays a critical role in achieving high-quality joints by ensuring the copper surface is clean and free of oxide layers during soldering.
When you apply flux and heat to a PCB with OSP, the organic layer breaks down easily, exposing fresh copper for soldering. This clean surface allows the solder to flow evenly and bond properly with the component lead, reducing the risk of cold joints or insufficient wetting. For DIY projects where precision is key, OSP can be the difference between a reliable circuit and one that fails under stress.
Key Benefits of OSP for Solder Joints
- Oxidation Prevention: OSP protects copper pads from tarnishing, even if the PCB is stored for weeks before assembly.
- Improved Wetting: The clean copper surface ensures better solder flow, creating stronger bonds.
- Cost-Effective: OSP is one of the most affordable surface finishes, perfect for budget-conscious DIYers.
- Eco-Friendly: With no heavy metals involved, OSP aligns with environmentally conscious practices.

OSP Benefits for DIY Electronics Assembly
Beyond improving solder joint quality, OSP offers several advantages that make it a go-to choice for DIY electronics assembly. If you're assembling PCBs at home or in a small workshop, understanding these benefits can help you decide if OSP is right for your projects.
1. Affordability for Small Batches
For hobbyists and DIYers, cost is often a major factor. OSP is one of the least expensive surface finishes available, making it ideal for small-batch PCB production or one-off prototypes. You can save money without compromising on solderability, allowing you to invest more in components or tools.
2. Compatibility with Lead-Free Soldering
Many DIY projects now use lead-free solder due to health and environmental concerns. OSP is fully compatible with lead-free soldering processes, ensuring you can meet modern standards without sacrificing joint quality. This compatibility also means OSP works well with a wide range of fluxes and soldering temperatures.
3. Shelf Life and Storage
While OSP isn't as durable as some metallic finishes for long-term storage, it typically offers a shelf life of 6 to 12 months under proper conditions (cool, dry storage with minimal handling). For DIY projects where PCBs are often assembled shortly after production, this shelf life is more than adequate.
4. Ease of Inspection
OSP provides a uniform, flat surface on copper pads, making it easier to visually inspect for defects or oxidation before soldering. This can be a lifesaver for DIYers who may not have access to advanced testing equipment.
DIY Soldering Tips for Perfect Solder Joints with OSP
While OSP sets the stage for great solder joints, your soldering technique plays an equally important role. Here are some practical DIY soldering tips to help you achieve perfect solder joints on OSP-coated PCBs. These tips are designed for hobbyists and beginners, ensuring you can apply them with basic tools and skills.
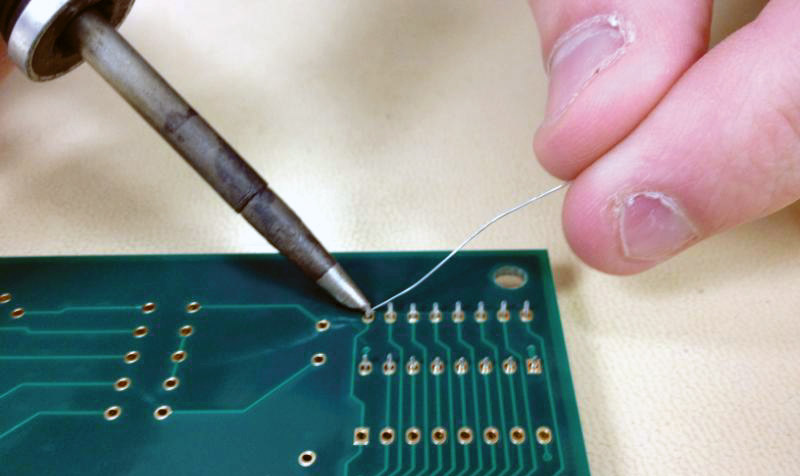
1. Use the Right Tools
Invest in a good soldering iron with adjustable temperature control (around 25-40 watts for most DIY projects). A temperature of 300°C (572°F) is often ideal for soldering on OSP-coated boards with lead-free solder. Pair it with a fine tip for precision and ensure you have a clean sponge or brass wire cleaner to maintain the tip.
2. Apply Flux Properly
Although OSP protects the copper, applying a small amount of flux before soldering can enhance wetting and remove any minor contaminants. Use a flux pen or brush to apply it directly to the pads and component leads. This step ensures the solder flows smoothly for a clean joint.
3. Control Solder Amount
Too much solder can create blobs or bridges between pads, while too little can result in weak joints. Aim for a small, even layer that forms a concave shape around the component lead. A typical joint might use about 1-2mm of 0.5mm diameter solder wire—adjust based on pad size.
4. Heat Both Pad and Lead
Place the soldering iron tip so it touches both the pad and the component lead simultaneously. This ensures even heating, allowing the solder to bond properly. Hold the iron for about 2-3 seconds before applying solder, and remove it once the solder flows evenly.
5. Inspect Your Joints
After soldering, check each joint for a shiny, smooth finish. A dull or grainy appearance might indicate a cold joint, which can fail over time. If needed, reheat the joint and add a touch more solder to fix it.
Advanced PCB Soldering Techniques for OSP Boards
For those looking to elevate their skills, mastering advanced PCB soldering techniques can further improve results on OSP-coated boards. These methods are especially useful for complex DIY projects involving fine-pitch components or surface-mount devices (SMDs).
1. Drag Soldering for SMD Components
Drag soldering is a technique for soldering multiple pins of SMD components quickly. Apply flux to the pads, place a small bead of solder on your iron tip, and drag it across the pins. The OSP finish ensures the solder adheres only to the clean copper pads, reducing the risk of bridges.
2. Reflow Soldering for Precision
If you're assembling a PCB with many SMD components, consider using a reflow oven or hot air station. Apply solder paste to the OSP-coated pads, place the components, and heat the board to melt the paste. OSP's flat surface ensures even solder distribution during reflow, resulting in consistent joints.
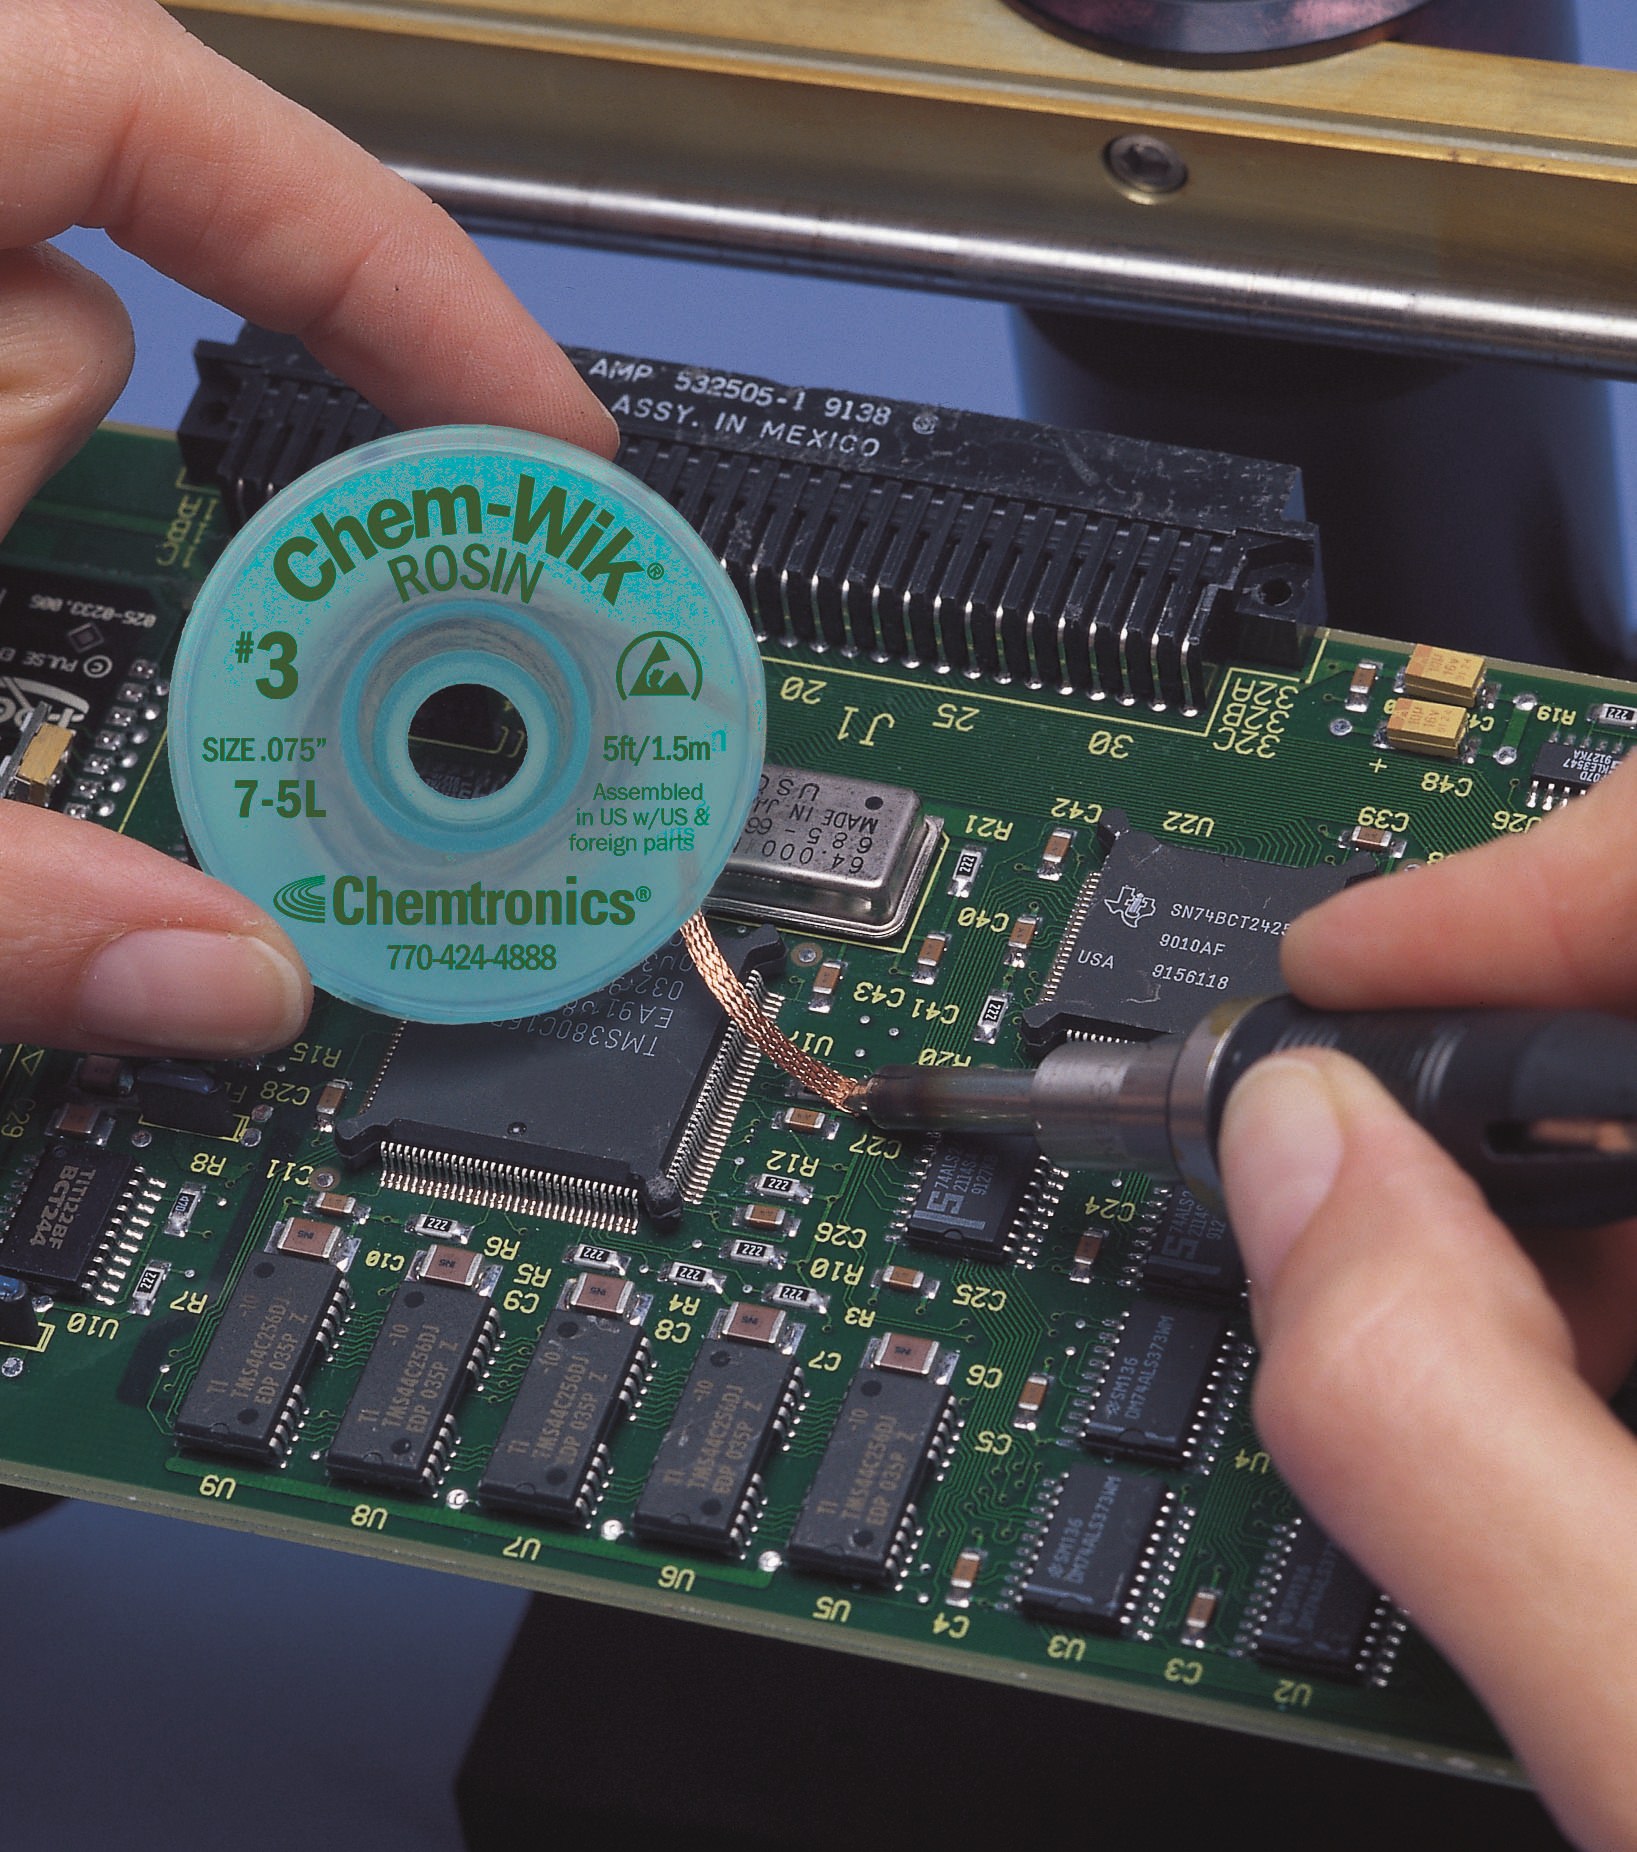
3. Avoid Overheating
OSP is sensitive to excessive heat, which can degrade the organic layer on unsoldered pads. Limit soldering time to 3-5 seconds per joint and avoid repeated heating cycles. If rework is needed, use a desoldering braid to clean the pad without prolonged heat exposure.
Challenges of Using OSP in DIY Projects
While OSP offers many benefits, it's not without its challenges. Being aware of these limitations can help you plan your projects better and avoid potential pitfalls.
1. Limited Shelf Life
As mentioned earlier, OSP's protective layer can degrade over time, especially if exposed to humidity or frequent handling. Store your PCBs in a dry, cool place, ideally in vacuum-sealed bags with desiccants, to maximize shelf life.
2. Sensitivity to Handling
The organic layer is thin and can be damaged by fingerprints or scratches. Always wear gloves when handling OSP-coated PCBs, and avoid touching the copper pads directly.
3. Not Ideal for Multiple Reflow Cycles
If your project requires multiple soldering or rework cycles, OSP may not hold up as well as other finishes. The organic layer can break down under repeated heat, reducing solderability on remaining pads.
How to Choose OSP for Your DIY PCB Projects
Deciding whether OSP is right for your project depends on several factors. If you're working on a low-cost, short-term project with a quick turnaround from PCB fabrication to assembly, OSP is an excellent choice. It's also ideal for environmentally conscious builders who prefer lead-free processes.
However, if your project involves long storage periods, frequent rework, or high-reliability applications (like aerospace or medical devices), you might consider alternative finishes with greater durability. For most DIY electronics assembly, though, OSP strikes a great balance between performance and cost.
Conclusion: Unlock Perfect Solder Joints with OSP
OSP might just be the secret weapon you need for achieving perfect solder joints in your DIY projects. Its ability to protect copper pads from oxidation, combined with its affordability and eco-friendly nature, makes it a top choice for hobbyists and small-scale electronics assembly. By pairing OSP-coated PCBs with the right DIY soldering tips and PCB soldering techniques, you can create reliable, high-quality joints that stand the test of time.
Whether you're a beginner soldering your first circuit or an experienced maker tackling complex builds, understanding OSP benefits can elevate your work. Remember to handle your boards with care, use proper tools and techniques, and inspect your joints for quality. With OSP on your side, perfect solder joints are well within reach for your next DIY masterpiece.