 ALLPCB


In the fast-paced world of advanced electronics, precision is everything. If you're looking to master multi-level stencil design for printed circuit boards (PCBs), you've come to the right place. Multi-level stencil design is a game-changer for achieving accurate solder paste application in complex PCB assemblies, especially for advanced electronics with varying component heights and densities. This blog will guide you through the essentials of mastering multi-level design, unlocking precision stencil techniques, and optimizing your workflow for advanced PCB electronics. Let’s dive into the details of how this innovative approach can elevate your manufacturing process.
What Is Multi-Level Stencil Design and Why Does It Matter?
Multi-level stencil design, also known as step stencil design, involves creating a stencil with varying thicknesses across different areas. This allows for precise control over the amount of solder paste deposited on a PCB, catering to components with different requirements in a single pass. In advanced electronics, where boards often feature a mix of fine-pitch components, large connectors, and tiny surface-mount devices (SMDs), a one-size-fits-all stencil simply won’t cut it. Mastering multi-level design ensures that each component gets the exact amount of solder paste needed, reducing defects like bridging or insufficient solder.
The importance of this technique cannot be overstated. According to industry studies, improper solder paste application accounts for up to 60% of assembly defects in high-density PCB manufacturing. By using a multi-level stencil, you can tackle these challenges head-on, improving yield rates and ensuring reliability in advanced PCB electronics.
The Basics of Multi-Level Stencil Design for Advanced Electronics
Before diving into the advanced aspects, let’s break down the core concept of multi-level stencils. These stencils are typically made from stainless steel and are laser-cut or chemically etched to create areas of different thicknesses. Thicker areas (step-up) deposit more solder paste for larger components, while thinner areas (step-down) apply less paste for smaller, fine-pitch components. This customization is critical for advanced stencil electronics, where even a slight mismatch in solder volume can lead to failures.
For example, a typical PCB for a smartphone might include micro BGA (Ball Grid Array) chips requiring a stencil thickness of 0.1 mm for precise solder deposition, alongside larger power connectors needing a thickness of 0.2 mm to ensure a strong joint. A multi-level stencil accommodates both on the same board, streamlining the assembly process.
Key Benefits of Mastering Multi-Level Design for PCB Assembly
Adopting multi-level stencil design offers several advantages for manufacturers working on advanced electronics. Here are the standout benefits:
- Enhanced Precision: By tailoring solder paste volume to specific components, you minimize risks like tombstoning or solder bridging, especially in high-density designs.
- Improved Efficiency: A single multi-level stencil eliminates the need for multiple stencils or manual adjustments during production, saving time and reducing costs.
- Better Reliability: Consistent solder paste application leads to stronger joints and fewer defects, which is crucial for advanced PCB electronics used in medical devices, automotive systems, or aerospace technology.
- Versatility: Multi-level stencils can handle a wide range of component sizes and types on the same board, making them ideal for complex assemblies.
Steps to Unlock Precision Stencil Design in Your Workflow
Now that you understand the value of multi-level stencils, let’s walk through the practical steps to integrate this technique into your manufacturing process for advanced stencil electronics.
1. Assess Your PCB Layout and Component Needs
Start by analyzing your PCB design to identify areas with different solder paste requirements. Look for components with varying pad sizes, pitches, and heights. For instance, fine-pitch components like 0201 resistors may need a stencil thickness of 0.08 mm to avoid excess paste, while larger QFN (Quad Flat No-leads) packages might require 0.15 mm for adequate coverage. Document these needs clearly to guide the stencil design process.
2. Collaborate with Design Software for Accurate Mapping
Use PCB design software to map out the stencil layers. Most modern tools allow you to define stencil thickness variations directly in the layout. Ensure that the software outputs precise Gerber files or similar formats that communicate the step-up and step-down regions to your stencil manufacturer. Accuracy at this stage is key to unlocking precision stencil results.
3. Choose the Right Stencil Material and Fabrication Method
Opt for high-quality stainless steel stencils with laser-cut apertures for maximum accuracy. Laser cutting offers smoother edges compared to chemical etching, reducing the chance of paste leakage or irregular deposits. For advanced electronics, aim for a stencil tolerance of ±0.005 mm to maintain consistency across thousands of prints.
4. Test and Validate the Stencil Design
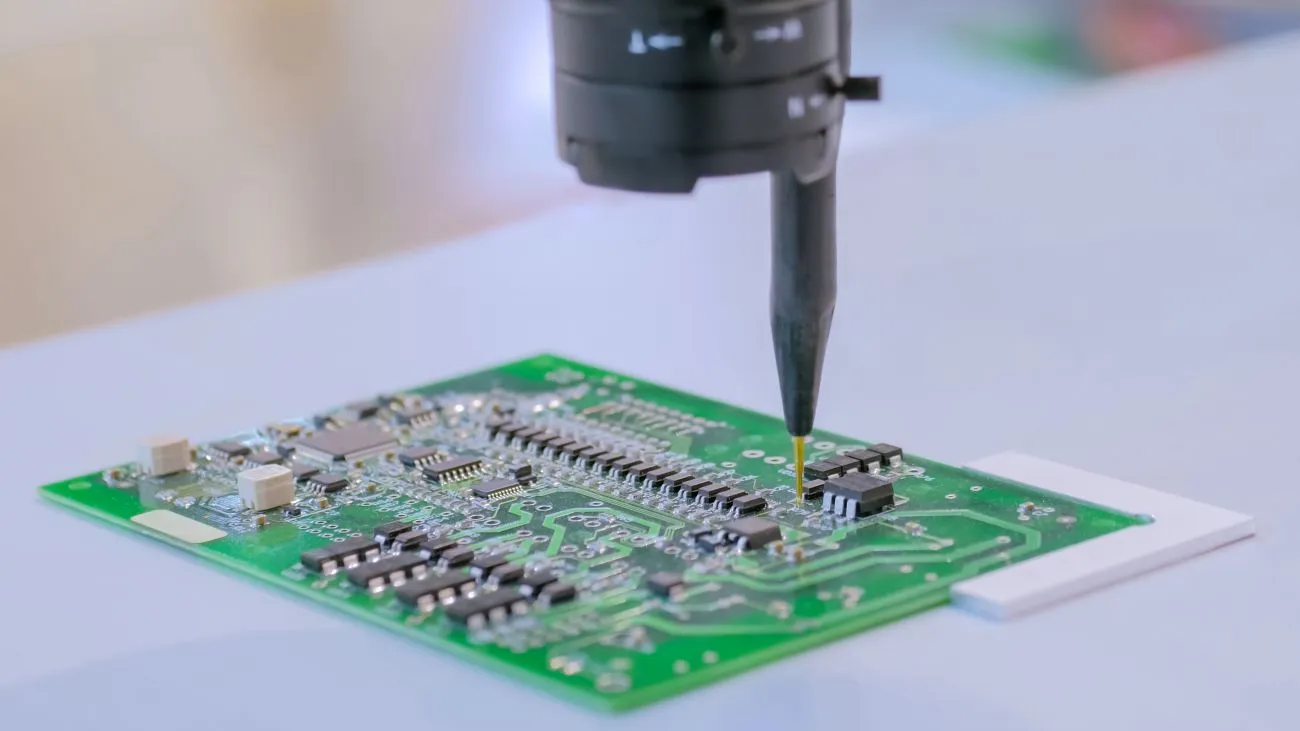
Before full-scale production, run a small batch to test the stencil’s performance. Check for issues like under- or over-pasting, misalignment, or paste transfer efficiency. Use X-ray inspection or automated optical inspection (AOI) to verify solder paste volume and placement. If adjustments are needed, refine the stencil design to address specific problem areas.

Challenges in Multi-Level Stencil Design and How to Overcome Them
While multi-level stencils offer incredible benefits, they come with unique challenges. Here’s how to navigate common hurdles in mastering multi-level design for advanced PCB electronics.
1. Complexity in Design and Fabrication
Creating a stencil with multiple thickness levels is more complex than a standard uniform stencil. To address this, work closely with your stencil provider to ensure they understand the design intent. Provide detailed specifications and verify their capability to produce tight tolerances, especially for step transitions which should be smooth to prevent paste buildup.
2. Alignment and Registration Issues
Misalignment during printing can ruin the precision of a multi-level stencil. Use fiducial marks on both the PCB and stencil to ensure perfect registration. Additionally, invest in high-quality stencil printers with vision systems that can automatically align the stencil to the board, achieving placement accuracy within 0.01 mm.
3. Cleaning and Maintenance
Multi-level stencils are more prone to paste residue buildup in step-down areas due to their varying thicknesses. Implement a rigorous cleaning protocol using ultrasonic cleaners or specialized wipes after every few prints. This prevents contamination and ensures consistent paste release over time.
Applications of Multi-Level Stencil Design in Advanced Electronics
The impact of multi-level stencil design is felt across various industries that rely on advanced PCB electronics. Here are some key applications where this technique shines:
- Consumer Electronics: Smartphones, tablets, and wearables often feature densely packed boards with mixed component types. Multi-level stencils ensure precise soldering for reliable performance.
- Automotive Systems: Modern vehicles use complex electronics for safety and infotainment systems. Precision stencil design supports the durability needed for harsh environments.
- Medical Devices: In life-critical equipment like pacemakers, even a single soldering defect can be catastrophic. Multi-level stencils help achieve the highest quality standards.
- Aerospace and Defense: High-reliability electronics in satellites and military hardware benefit from the exacting standards of multi-level stencil application.
Tips for Optimizing Multi-Level Stencil Design
To truly unlock precision stencil outcomes, consider these actionable tips for your next project:
- Minimize Step Transitions: Keep the number of thickness changes to a minimum to reduce fabrication complexity and potential paste transfer issues. Aim for no more than 2-3 levels unless absolutely necessary.
- Use Nano-Coatings: Apply a nano-coating to the stencil surface to improve paste release and reduce cleaning frequency. This can boost first-pass yield by up to 15%, based on industry feedback.
- Simulate Before Production: Use simulation software to predict solder paste behavior with your multi-level design. This can help identify potential issues before cutting the stencil.
- Document Lessons Learned: After each project, note what worked and what didn’t. Over time, this builds a knowledge base for faster, more effective stencil designs.
Future Trends in Advanced Stencil Electronics
As electronics continue to shrink and grow in complexity, multi-level stencil design will evolve to meet new demands. Emerging trends include the integration of AI-driven design tools to optimize stencil layouts automatically, and the use of additive manufacturing to create stencils with even finer control over thickness variations. Additionally, as 5G technology and IoT devices push the boundaries of PCB density, mastering multi-level design will become a non-negotiable skill for manufacturers aiming to stay competitive.
Conclusion: Elevate Your PCB Assembly with Multi-Level Stencil Mastery
Mastering multi-level stencil design is a powerful way to unlock precision in advanced electronics manufacturing. By tailoring solder paste application to the unique needs of each component, you can achieve higher quality, greater efficiency, and unmatched reliability in your PCB assemblies. Whether you’re working on consumer gadgets or critical aerospace systems, the techniques and insights shared in this guide will help you navigate the complexities of advanced stencil electronics with confidence.
Start small by assessing your current designs, collaborate with trusted manufacturing partners, and refine your process through testing and validation. With dedication and the right approach, multi-level stencil design can transform your production outcomes, setting a new standard for precision in advanced PCB electronics.


