 ALLPCB


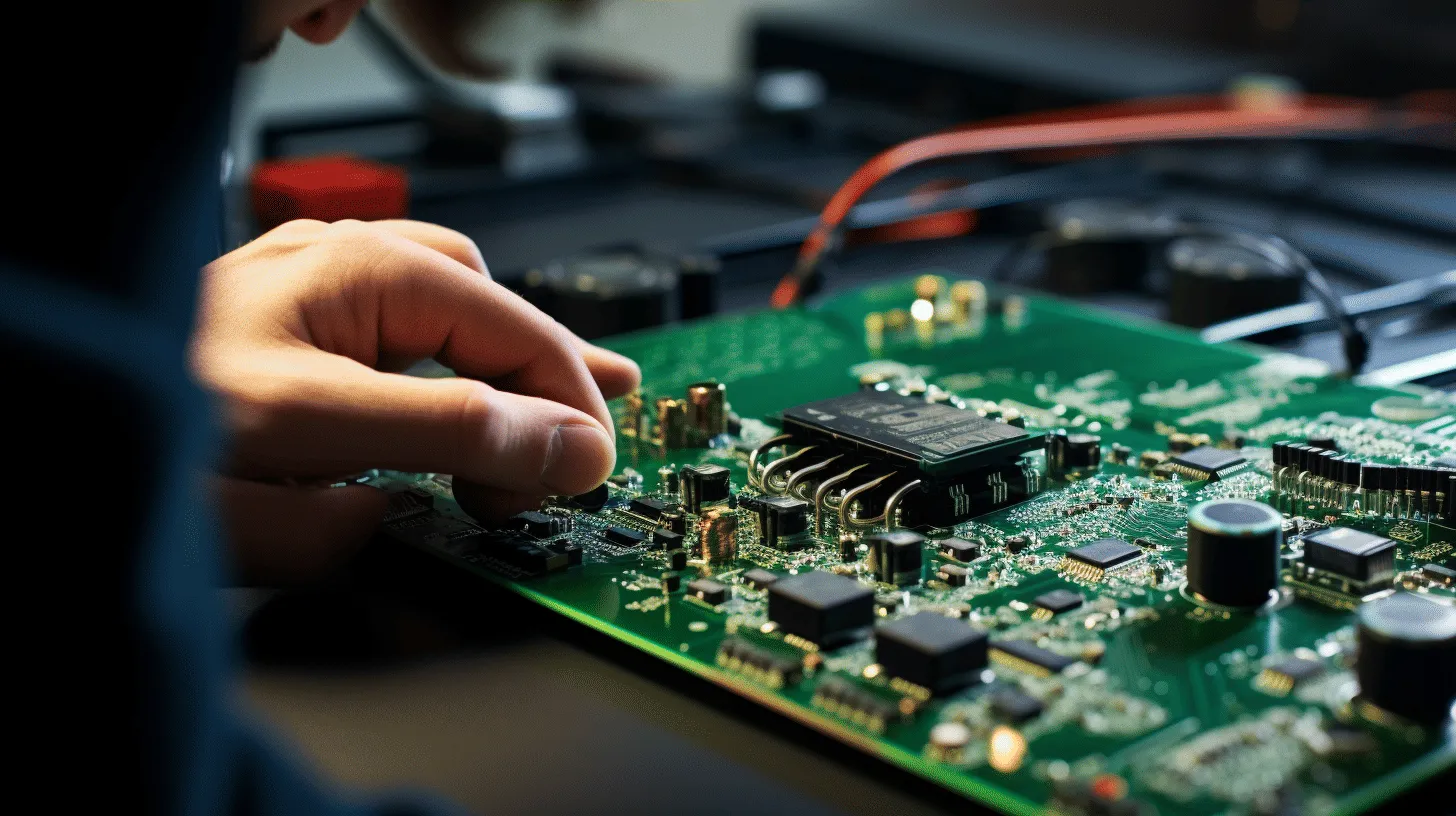
Soldering components onto an access control PCB (Printed Circuit Board) can seem daunting, but with the right techniques and tools, it becomes a manageable and even rewarding task. Whether you're assembling a board for security systems, keycard readers, or biometric access devices, this guide will walk you through every step of the process. From mastering through-hole soldering to tackling SMD (Surface Mount Device) soldering techniques and understanding solder reflow, we’ve got you covered with actionable tips for circuit board assembly.
In this comprehensive PCB soldering guide, we’ll break down the essentials to ensure your access control PCB is assembled with precision and reliability. Let’s dive into the details to help you achieve strong, durable connections for your electronic projects.
Why Soldering Matters for Access Control PCBs
Access control systems are critical for security, and their performance depends heavily on the quality of the PCB assembly. A poorly soldered joint can lead to intermittent connections, signal loss, or complete system failure. Proper soldering ensures that components like microcontrollers, resistors, capacitors, and connectors are securely attached and electrically sound, maintaining the integrity of data signals—often operating at speeds up to 12 Mbps for modern access control protocols. By following best practices in circuit board assembly, you can avoid costly repairs and ensure long-term reliability.
Tools and Materials for PCB Soldering
Before starting, gather the right tools and materials to make the soldering process smooth and efficient. Here’s what you’ll need for soldering components on an access control PCB:
- Soldering Iron or Station: A temperature-controlled soldering station with a fine tip (1mm or smaller) is ideal for both through-hole and SMD soldering. Set it between 300°C to 350°C for most tasks.
- Solder Wire: Use lead-free solder with a rosin core, typically 0.5mm to 1mm in diameter, for precise application.
- Solder Paste: Essential for solder reflow techniques with SMD components.
- Desoldering Tools: A solder wick or desoldering pump helps remove excess solder or correct mistakes.
- Flux: Improves solder flow and ensures clean joints by removing oxidation.
- Tweezers and Magnifying Glass: For handling tiny SMD components and inspecting joints.
- PCB Holder or Vise: Keeps the board steady during soldering.
- Isopropyl Alcohol and Brush: For cleaning the board after soldering to remove flux residue.
- Safety Gear: Wear safety glasses and work in a well-ventilated area to avoid inhaling fumes.
Preparing Your Access Control PCB for Soldering
Preparation is key to successful soldering. Follow these steps to get your PCB ready:
- Clean the PCB: Use isopropyl alcohol and a brush to remove dust, grease, or oxidation from the board’s surface. Clean pads ensure better solder adhesion.
- Inspect Components: Verify that all components match the PCB layout and BOM (Bill of Materials). For access control PCBs, this may include ICs for processing (e.g., handling 3.3V logic levels), LEDs, and connectors.
- Organize Components: Sort through-hole and SMD components separately to streamline the assembly process.
- Secure the PCB: Place the board in a holder or vise to prevent movement during soldering.
Proper preparation minimizes errors and sets the stage for effective circuit board assembly.
Through-Hole Soldering for Access Control PCBs
Through-hole soldering is a traditional method used for larger components like connectors, switches, and electrolytic capacitors often found on access control PCBs. Here’s how to do it:
- Insert Components: Place the component leads through the designated holes on the PCB. Ensure they sit flush against the board.
- Bend Leads: Slightly bend the leads on the underside to hold the component in place temporarily.
- Heat the Pad and Lead: Touch the soldering iron tip to both the pad and the lead for 1-2 seconds to heat them evenly.
- Apply Solder: Feed solder wire to the heated joint until it flows smoothly around the lead and pad, forming a shiny, cone-shaped joint. Use about 1-2mm of solder wire per joint.
- Remove Iron and Let Cool: Pull the iron away and let the joint cool naturally for 3-5 seconds. Avoid moving the board during this time.
- Trim Excess Leads: Use wire cutters to trim the excess lead close to the joint.
Tips for Success: Avoid overheating, as it can damage components or lift pads. If a joint looks dull or uneven, it may be a "cold solder joint," which can cause unreliable connections. Reheat and add fresh solder if needed.

SMD Soldering Techniques for Access Control PCBs
Modern access control PCBs often use SMD components like resistors, capacitors, and microcontrollers due to their compact size. SMD soldering techniques require precision but are manageable with practice. Here’s a step-by-step approach:
- Apply Solder Paste or Flux: Dab a small amount of solder paste or flux onto the PCB pads using a syringe or brush. This helps with adhesion and heat transfer.
- Place the Component: Use tweezers to position the SMD component on the pads, aligning it with the PCB markings. For instance, a 0805 resistor (2mm x 1.25mm) requires careful alignment.
- Heat One Pad: Touch the soldering iron to one pad and apply a small bead of solder (about 0.5mm worth) to create a base.
- Solder the First Side: Reheat the solder bead and place one end of the component into it. Hold it with tweezers until the solder cools.
- Solder the Other Side: Apply solder to the opposite pad, ensuring a clean, shiny joint.
- Inspect the Joint: Check for bridges (solder connecting unintended pads) using a magnifying glass. Remove excess solder with a wick if needed.
Tips for Success: Use a fine-tip iron (0.5mm or smaller) for SMD work. For ICs with multiple pins, consider the drag soldering technique—apply flux, add solder to the tip, and drag it across the pins to create even joints.
Solder Reflow for Efficient Assembly
For access control PCBs with many SMD components, solder reflow is a highly efficient method. It involves applying solder paste to all pads, placing components, and heating the entire board to melt the solder simultaneously. Here’s how it works:
- Apply Solder Paste: Use a stencil to apply solder paste evenly to all SMD pads. Ensure the paste covers only the pads, not the surrounding areas.
- Place Components: Position all SMD components on their respective pads using tweezers or a pick-and-place tool.
- Heat the Board: Use a reflow oven or a hot air rework station. Follow a temperature profile: preheat to 150°C for 60-90 seconds, ramp up to 220°C-250°C for 30-60 seconds to melt the solder, then cool down gradually.
- Inspect the Board: After cooling, check for proper alignment and solder joints. Look for tombstoning (components lifting on one end) or insufficient solder.
Tips for Success: If you don’t have a reflow oven, a toaster oven or hot plate can work for small projects, but monitor the temperature closely to avoid overheating components rated for specific thermal limits (e.g., 260°C max for many ICs).
Common Soldering Mistakes and How to Avoid Them
Even with careful preparation, mistakes can happen during circuit board assembly. Here are common issues and how to prevent them:
- Cold Solder Joints: These occur when the solder doesn’t fully melt, leading to weak connections. Prevent them by ensuring the iron is hot enough and heating both the pad and component lead evenly.
- Solder Bridges: Excess solder can connect adjacent pads, causing shorts. Use a solder wick to remove extra solder and apply flux to control flow.
- Component Damage: Overheating can destroy sensitive components. Limit soldering time to 3-5 seconds per joint and use a heat sink if needed.
- Lifted Pads: Excessive heat or force can lift copper pads from the PCB. Work at the correct temperature and avoid pulling on components.
Regularly inspect your work under good lighting or with a magnifying tool to catch issues early.
Testing and Cleaning Your Access Control PCB
After soldering, testing and cleaning are crucial to ensure functionality and longevity:
- Visual Inspection: Check all joints for shine and uniformity. Dull or cracked joints may indicate problems.
- Continuity Test: Use a multimeter to verify connections between components and pads. For access control PCBs, ensure signal paths (e.g., for 5V or 3.3V lines) are intact.
- Power-On Test: Apply power to the board and test key functions, like LED indicators or communication with a reader (often operating at 125 kHz for RFID systems).
- Clean the Board: Remove flux residue with isopropyl alcohol and a brush. Residue can attract moisture and cause corrosion over time.

Advanced Tips for Professional Results
For engineers looking to elevate their PCB soldering guide skills, consider these advanced techniques:
- Use a Temperature Profile: For reflow soldering, follow manufacturer-recommended profiles to prevent thermal shock to components.
- Practice on Scrap Boards: Hone your SMD soldering techniques on old or test PCBs before working on critical access control projects.
- Invest in Quality Tools: A high-quality soldering station with adjustable temperature and replaceable tips can make a significant difference in precision.
- Document Your Process: Keep a log of soldering temperatures, times, and component placements to troubleshoot issues in future projects.
Conclusion: Master Soldering for Reliable Access Control PCBs
Soldering components on an access control PCB doesn’t have to be intimidating. By following this PCB soldering guide, you can master through-hole soldering, SMD soldering techniques, and solder reflow methods to achieve professional results. Each step—from preparation to testing—plays a vital role in ensuring your circuit board assembly is reliable and ready for real-world applications.
With the right tools, techniques, and attention to detail, you’ll create robust connections that support the critical functions of access control systems. Keep practicing, stay patient, and soon you’ll be soldering like a pro, building PCBs that stand the test of time.


