 ALLPCB


Repairing electromechanical devices can be a challenging yet rewarding task for engineers, hobbyists, and technicians. Whether you're dealing with component replacement, mending components, or board assembly, following best practices ensures that your repair work is efficient, safe, and long-lasting. In this comprehensive guide, we'll explore the essential steps and strategies for repairing electromechanical devices, focusing on practical tips for device repair and replacement. Let's dive into the detailed process to help you achieve successful outcomes with your projects.
What Are Electromechanical Devices and Why Repair Them?
Electromechanical devices combine electrical and mechanical components to perform specific functions. Examples include motors, relays, switches, and industrial control systems. These devices are critical in various industries, from manufacturing to home appliances. Over time, wear and tear, electrical faults, or mechanical failures can cause malfunctions, making repair a cost-effective alternative to replacement.
Repairing these devices not only saves money but also extends their lifespan and reduces electronic waste. By mastering the art of device repair, including component replacement and board assembly, you can maintain functionality and improve performance. Let’s break down the best practices to ensure your repairs are successful.
Step 1: Safety First in Device Repair
Before starting any repair on electromechanical devices, prioritize safety. These devices often involve high voltages, moving parts, and sensitive components that can pose risks if mishandled. Follow these safety guidelines:
- Power Down: Always disconnect the device from any power source to avoid electric shock. For devices with capacitors, discharge them safely to prevent residual voltage hazards.
- Use Protective Gear: Wear insulated gloves and safety glasses to protect against electrical sparks and debris from mechanical parts.
- Work in a Clean Area: Ensure your workspace is free from clutter and conductive materials to prevent short circuits during board assembly or component replacement.
Safety is the foundation of any successful repair. Taking these precautions minimizes risks and allows you to focus on the task of mending components effectively.
Step 2: Diagnose the Problem Accurately
Effective repair begins with identifying the root cause of the issue. Electromechanical devices can fail due to electrical faults, mechanical wear, or a combination of both. Use these diagnostic steps:
- Visual Inspection: Look for obvious signs of damage, such as burnt components, loose connections, or broken mechanical parts.
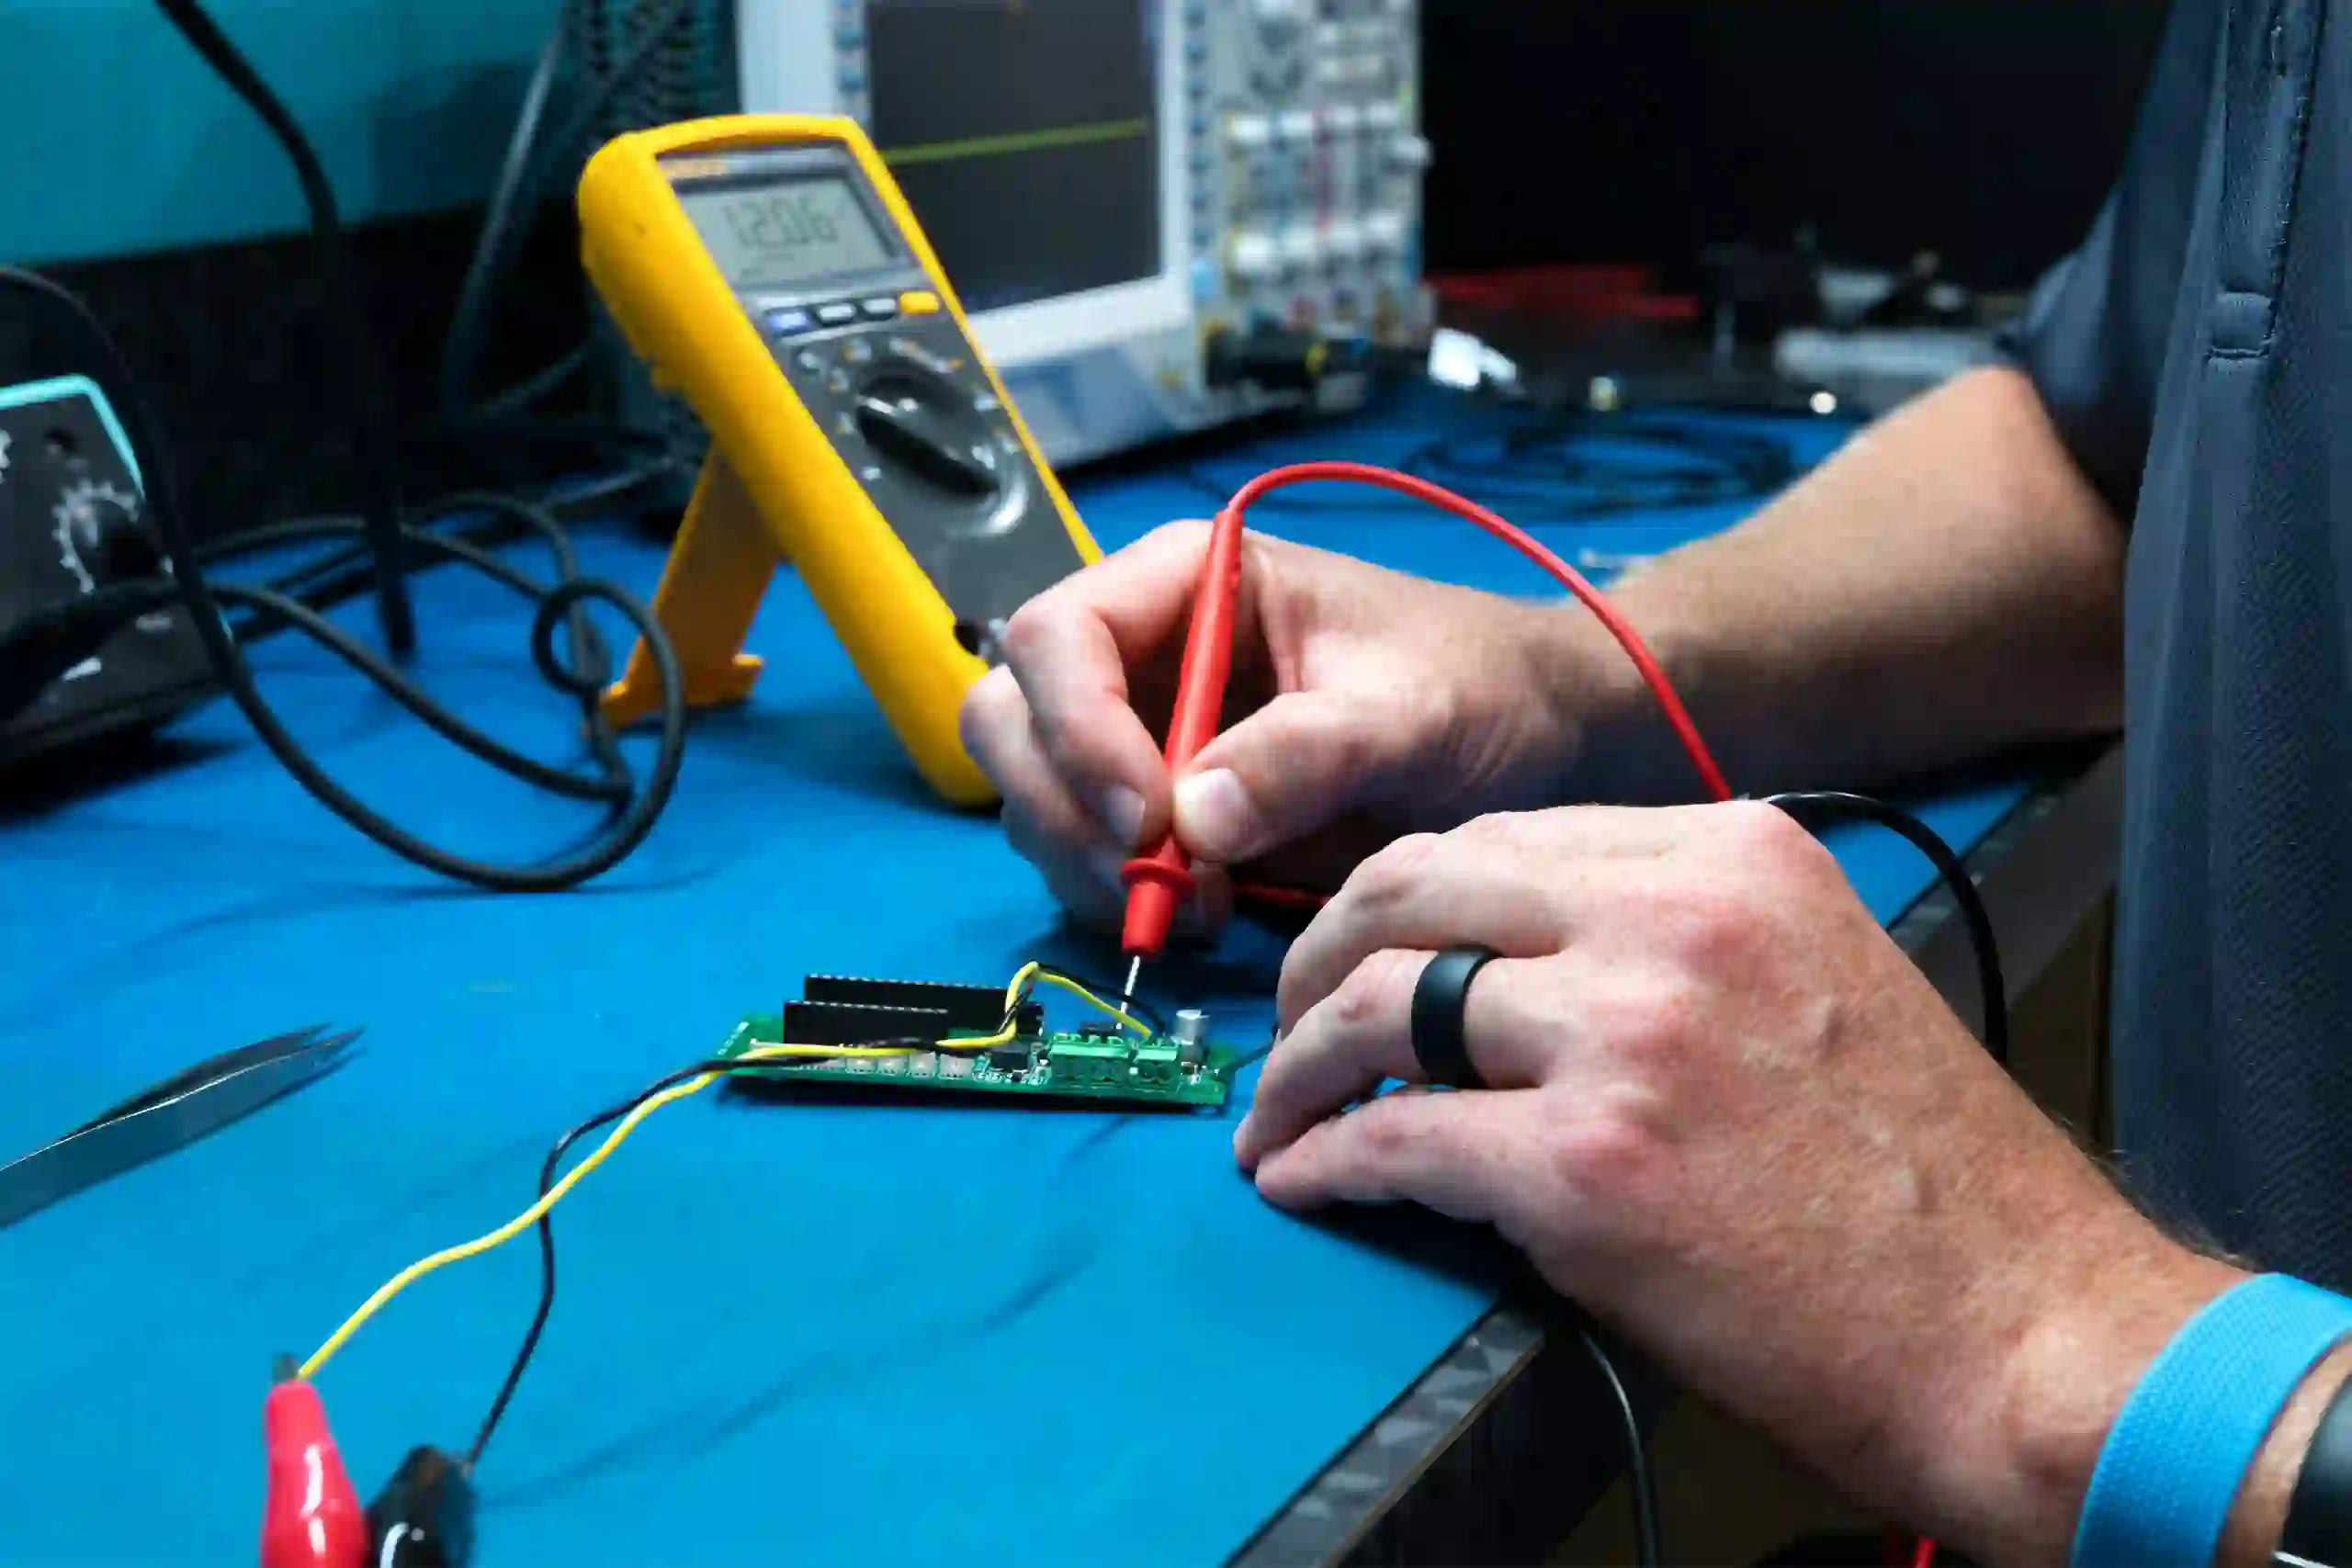
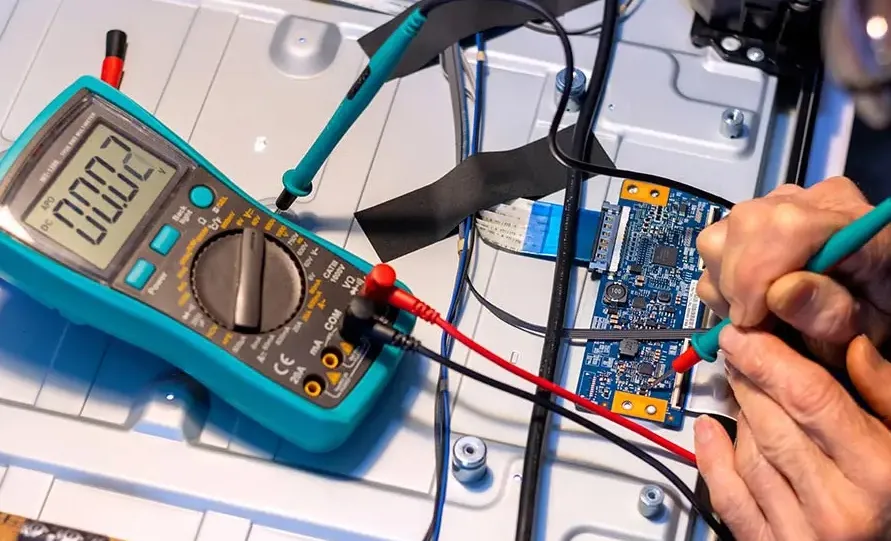
- Testing Electrical Components: Use a multimeter to check for continuity, voltage, and resistance. For instance, a relay coil with an impedance value outside the typical range of 50-500 ohms may indicate a fault.
- Mechanical Assessment: Test moving parts for stiffness or unusual noises, which could point to wear or misalignment in motors or gears.
Accurate diagnosis saves time and prevents unnecessary component replacement. Document your findings to track issues and solutions for future reference.
Step 3: Gather the Right Tools and Parts for Replacement
Having the correct tools and replacement parts is crucial for repairing electromechanical devices. A well-equipped toolkit ensures precision during board assembly and mending components. Essential tools include:
- Screwdrivers (flathead and Phillips) for disassembling devices.
- Soldering iron and desoldering tools for component replacement on circuit boards.
- Multimeter for electrical testing.
- Wrenches and pliers for mechanical adjustments.
For replacement parts, ensure compatibility with the original specifications. For example, if replacing a capacitor on a control board, match the capacitance (e.g., 10 μF) and voltage rating (e.g., 25V) to avoid performance issues. Source high-quality parts from trusted suppliers to guarantee reliability.
Step 4: Master Component Replacement Techniques
Component replacement is often at the heart of repairing electromechanical devices. Whether you're dealing with a faulty resistor on a circuit board or a worn-out gear in a motor, follow these best practices:
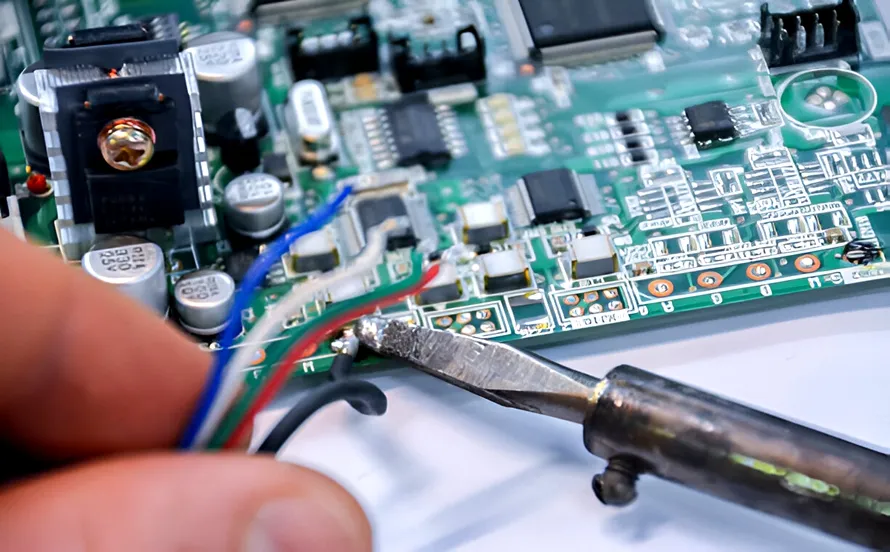
- Desoldering with Care: When removing electronic components, use a soldering iron at a controlled temperature (around 300°C for most components) to avoid damaging the board. Apply desoldering wick or a suction tool to remove old solder cleanly.
- Install New Components: Align the replacement component correctly, ensuring proper polarity for diodes and capacitors. Solder with precision to create strong, clean joints without excess solder that could cause shorts.
- Mechanical Replacements: For gears or belts, ensure proper alignment and tension. For instance, a misaligned motor gear can increase friction and reduce efficiency by up to 20%.
Double-check connections after replacement to confirm functionality before reassembling the device. This step is critical in board assembly and overall device repair.
Step 5: Focus on Board Assembly and Connections
Board assembly is a delicate process in repairing electromechanical devices, especially when dealing with printed circuit boards (PCBs) that control device functions. Poor assembly can lead to short circuits or signal loss, so follow these tips:
- Clean the Board: Remove dust, debris, and old flux residue using isopropyl alcohol and a soft brush to ensure clean contact points.
- Secure Components: Ensure all components are firmly seated and soldered. Loose connections can disrupt signal speeds, especially in high-frequency circuits where delays as small as 1 nanosecond can cause errors.
- Inspect Traces: Check for damaged traces on the PCB. If a trace is broken, use conductive epoxy or a jumper wire to restore the connection.
Proper board assembly ensures the electrical integrity of the device, preventing future failures and enhancing performance.
Step 6: Test the Device After Repair
Once you've completed component replacement and board assembly, testing is essential to verify the success of your repair. Follow a systematic approach:
- Power-Up Test: Gradually power up the device and monitor for unusual behavior, such as overheating or abnormal sounds.
- Functional Testing: Operate the device under normal conditions to ensure all functions work as expected. For example, in a motor repair, check if it achieves the rated speed (e.g., 1500 RPM) without vibration.
- Stress Testing: Run the device for an extended period to identify potential weaknesses in the repair. This step is crucial for industrial devices that operate continuously.
Testing confirms that your efforts in mending components and device repair have paid off. If issues persist, revisit the diagnostic phase to pinpoint unresolved problems.
Step 7: Preventive Maintenance for Longevity
After a successful repair, implement preventive maintenance to avoid future breakdowns. Regular care can significantly extend the life of electromechanical devices. Consider these practices:
- Routine Cleaning: Remove dust and debris from electrical and mechanical parts to prevent buildup that can cause overheating or friction.
- Lubrication: Apply appropriate lubricants to mechanical components like gears and bearings to reduce wear. Use silicone-based lubricants for parts operating at high temperatures.
- Periodic Inspections: Schedule regular checks to monitor electrical readings and mechanical performance. For instance, a relay with a switching time increase from 5ms to 10ms may signal an upcoming failure.
Preventive maintenance is a proactive approach to device repair, minimizing the need for frequent component replacement and costly downtime.
Common Challenges in Repairing Electromechanical Devices
Even with best practices, challenges can arise during device repair. Being aware of common issues helps you prepare and overcome them:
- Obsolete Parts: Older devices may have components that are no longer manufactured. In such cases, search for compatible alternatives with similar specifications, such as voltage and current ratings.
- Complex Assemblies: Some devices have intricate designs that make disassembly difficult. Use detailed schematics or manuals to guide your work and avoid damaging delicate parts.
- Intermittent Faults: Issues that appear sporadically can be hard to diagnose. Use logging tools to record performance data over time, helping to identify patterns in failures.
Patience and persistence are key when facing these challenges. Each repair project is a learning opportunity to improve your skills in mending components and board assembly.
Benefits of Following Best Practices in Device Repair
Adhering to best practices for repairing electromechanical devices offers numerous advantages:
- Cost Savings: Repairing devices instead of replacing them can save up to 50-70% of the cost of new equipment, especially for industrial systems.
- Improved Reliability: Properly executed repairs, including precise component replacement, enhance device performance and reduce the likelihood of future failures.
- Environmental Impact: Repairing and reusing devices reduces electronic waste, contributing to a more sustainable approach to technology.
By focusing on quality repair techniques, you ensure that your electromechanical devices operate efficiently for years to come.
Conclusion: Mastering the Art of Electromechanical Device Repair
Repairing electromechanical devices is a valuable skill that requires attention to detail, the right tools, and a commitment to best practices. From accurate diagnosis to careful component replacement and thorough testing, each step plays a critical role in restoring functionality. Whether you're working on board assembly or mending components, following the guidelines outlined in this guide will help you achieve successful repairs with confidence.
At ALLPCB, we understand the importance of precision in every aspect of electronics and electromechanical systems. By applying these strategies for device repair and replacement, you can tackle even the most complex projects with ease. Keep learning, stay safe, and continue to refine your skills in this ever-evolving field.


