 ALLPCB


If you're looking to solder surface-mount device (SMD) components at home, reflow soldering with a toaster oven is an affordable and effective DIY solution. This guide will walk you through the process of setting up a toaster oven for reflow, creating a reflow profile, and soldering SMD components with precision. Whether you're a hobbyist or a small-scale electronics enthusiast, you'll find actionable steps and tips to achieve professional results without expensive equipment.
In the sections below, we'll dive into the details of DIY reflow soldering techniques, from choosing the right toaster oven to mastering the temperature profile for flawless solder joints. Let's get started on transforming your kitchen appliance into a powerful tool for electronics assembly.
What Is Reflow Soldering and Why Use a Toaster Oven?
Reflow soldering is a process used to attach SMD components to a printed circuit board (PCB) by heating solder paste until it melts and forms a strong bond between the component and the board. Unlike traditional hand soldering with an iron, reflow soldering heats the entire board evenly, making it ideal for tiny components that are hard to solder manually.
Using a toaster oven for reflow soldering is a popular DIY approach because it’s cost-effective and accessible. Professional reflow ovens can cost thousands of dollars, but a toaster oven, which many people already own or can buy for under $50, can be modified to achieve similar results. With the right setup and techniques, you can solder SMD components at home with surprising accuracy.
Benefits of DIY Reflow Soldering with a Toaster Oven
- Affordable: No need for expensive equipment; a basic toaster oven works well.
- Compact: Fits easily in a home workspace without taking up much room.
- Effective: Capable of handling small to medium batches of PCBs with proper control.
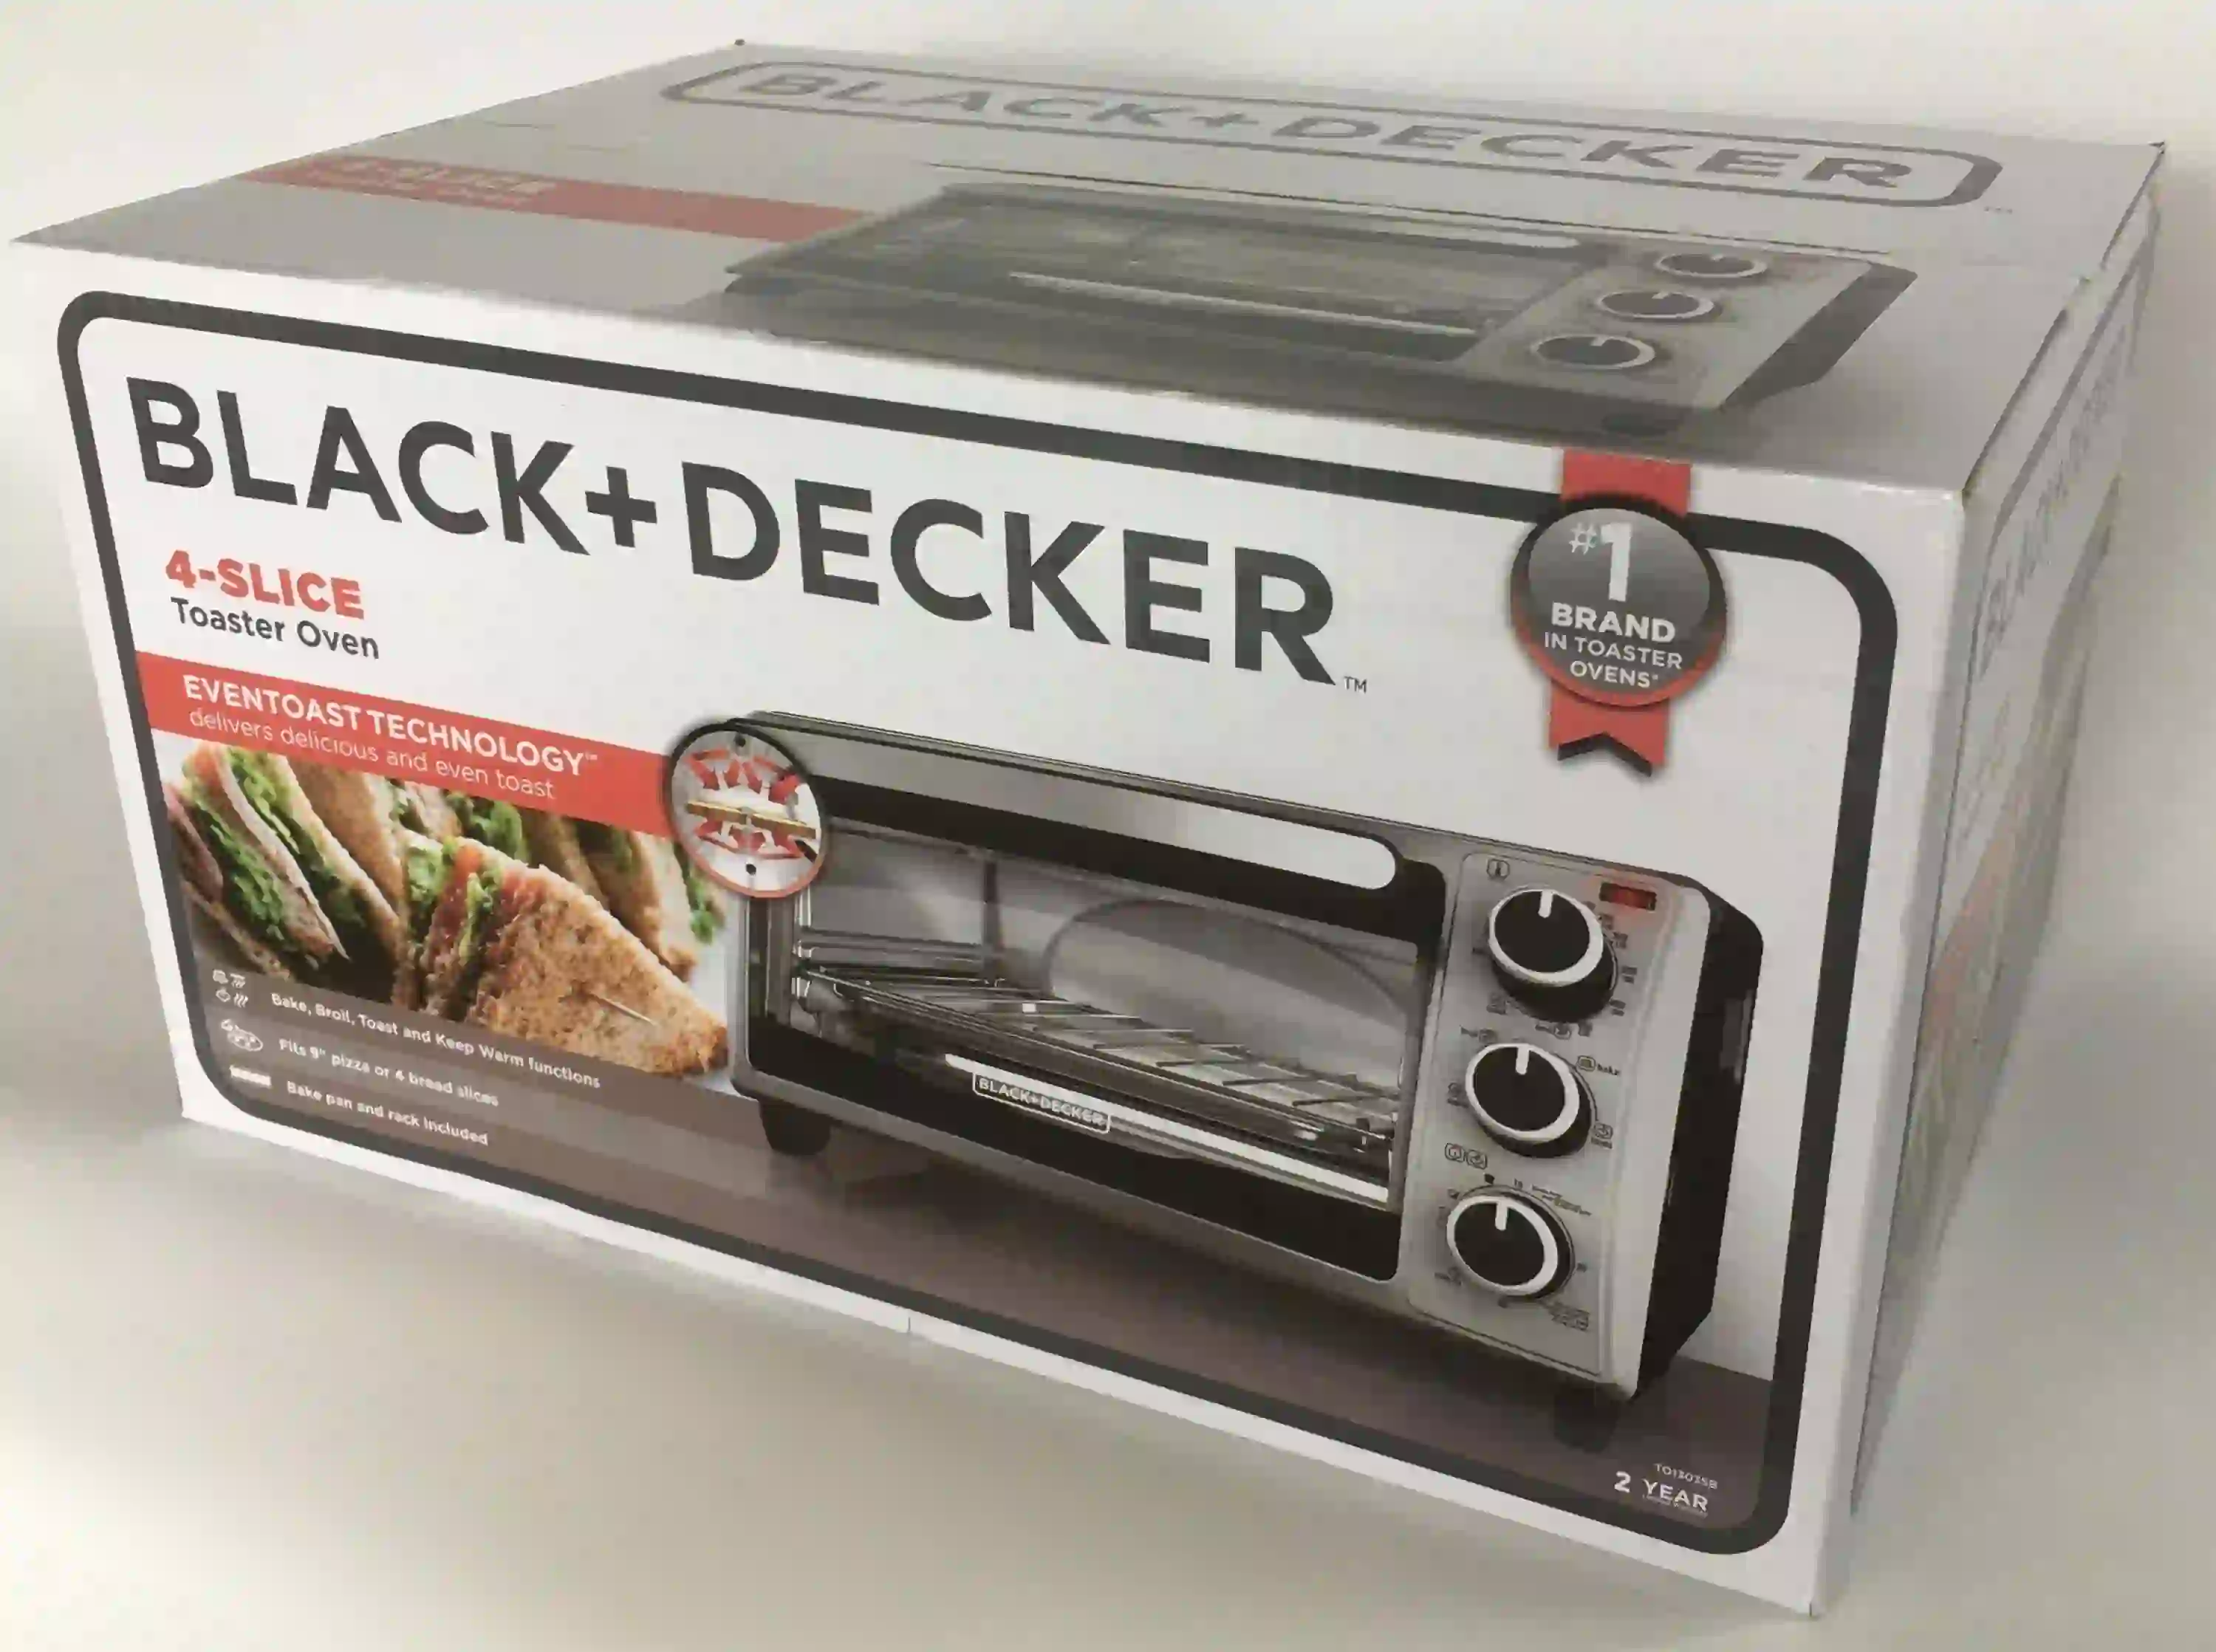
Choosing the Right Toaster Oven for Reflow Soldering
Not all toaster ovens are suitable for reflow soldering. When selecting one for soldering SMD components at home, consider the following factors to ensure safety and performance:
Key Features to Look for in a Toaster Oven
- Size: Choose an oven with enough interior space to hold your PCBs comfortably. A medium-sized oven with at least 9-12 liters of capacity works for most hobbyist projects.
- Temperature Control: Look for an oven with adjustable temperature settings up to at least 250°C (482°F), as reflow profiles often require specific heat levels.
- Convection Heating: Ovens with a fan for even heat distribution are ideal, as they prevent hot spots that could damage components or create uneven soldering.
- Timer Function: A built-in timer helps in following the reflow profile accurately, though manual control is also an option.
- Glass Door: A transparent door lets you monitor the soldering process without opening the oven and losing heat.
Setting Up a Toaster Oven for Reflow Soldering
Once you’ve chosen your toaster oven, the next step in DIY reflow soldering techniques is setting it up for safe and effective use. This involves some modifications and safety precautions to ensure consistent results.
Step 1: Safety First
Before starting, remember that you’re working with high temperatures and electronics. Take these precautions:
- Work in a well-ventilated area to avoid inhaling fumes from melting solder paste, which may contain flux.
- Use heat-resistant gloves when handling the oven or PCBs after soldering.
- Keep flammable materials away from the oven during operation.
Step 2: Insulate the Oven (Optional)
Some hobbyists add insulation, like ceramic fiber or heat-resistant tape, to the inside of the oven to improve heat retention and reduce temperature fluctuations. While not mandatory, this can help maintain a stable reflow profile.
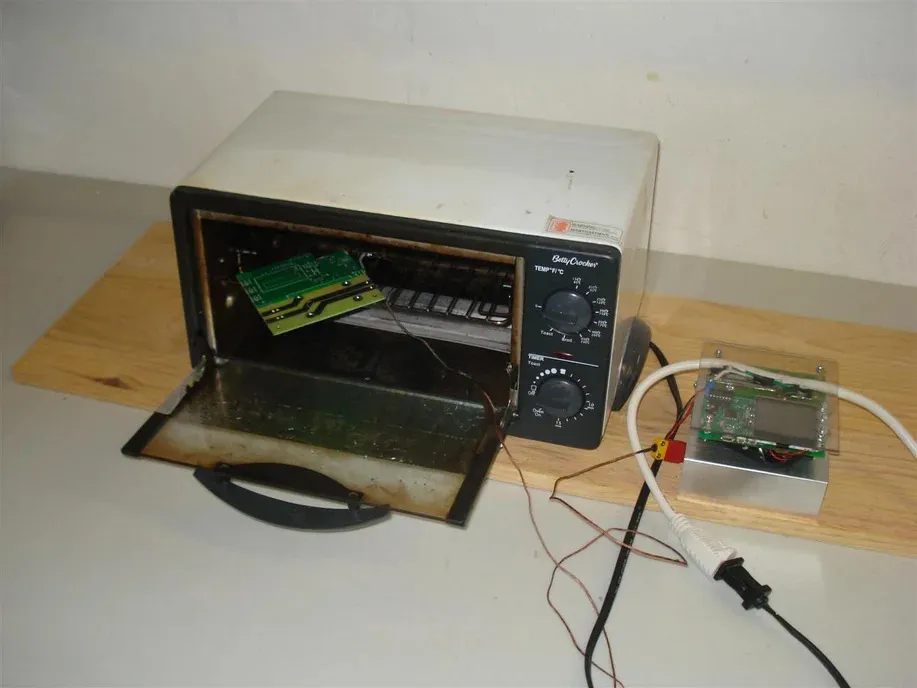
Step 3: Add a Thermocouple for Temperature Monitoring
Most toaster ovens don’t have precise temperature sensors, so adding a thermocouple is a game-changer. A thermocouple, connected to a digital thermometer, lets you monitor the internal temperature in real-time. Attach the sensor near the PCB tray for accurate readings. Affordable thermocouple kits are widely available and often cost less than $20.
Step 4: Test the Oven’s Heating Behavior
Before soldering, run a test cycle to understand how your oven heats up. Set it to 150°C (302°F) and use the thermocouple to track how long it takes to reach this temperature and whether it overshoots. Note any inconsistencies, as you’ll need to account for them when creating a reflow profile.
 ."
."
Creating a Reflow Profile for Soldering SMD Components
A reflow profile is a specific temperature curve that dictates how the solder paste melts and bonds with components. It’s the heart of successful reflow soldering with a toaster oven. Without a proper profile, you risk damaging components or creating weak solder joints.
Understanding the Stages of a Reflow Profile
A standard reflow profile for lead-free solder paste (commonly used today) includes four main stages:
- Preheat (Soak): Gradually heat the board from room temperature to around 150-180°C (302-356°F) over 60-90 seconds. This activates the flux in the solder paste and prevents thermal shock to components.
- Thermal Soak: Maintain a steady temperature of 180-200°C (356-392°F) for 60-120 seconds to ensure even heating across the board.
- Reflow (Peak): Quickly raise the temperature to 235-250°C (455-482°F) for 20-40 seconds. This melts the solder paste, forming strong joints. Avoid exceeding 260°C (500°F) to prevent damage.
- Cooling: Allow the board to cool down naturally to below 100°C (212°F) over 60-120 seconds. Rapid cooling can cause thermal stress and cracks.
Adapting the Profile to a Toaster Oven
Since toaster ovens lack built-in programmable controls, you’ll need to manually adjust the temperature knob or power settings to approximate the profile. Use your thermocouple to monitor progress and make adjustments. For example, if the oven overshoots during the reflow stage, briefly turn it off or lower the setting to avoid overheating.
Step-by-Step Guide to Soldering SMD Components at Home
Now that your toaster oven is set up and you understand the reflow profile, let’s go through the complete process of soldering SMD components using this DIY method.
Step 1: Prepare Your PCB and Components
- Clean the PCB with isopropyl alcohol to remove dirt or residue.
- Apply solder paste to the pads using a stencil for precision. If you don’t have a stencil, carefully apply small dots of paste with a syringe.
- Place the SMD components onto the solder paste using tweezers. Ensure they are aligned correctly with the pads.
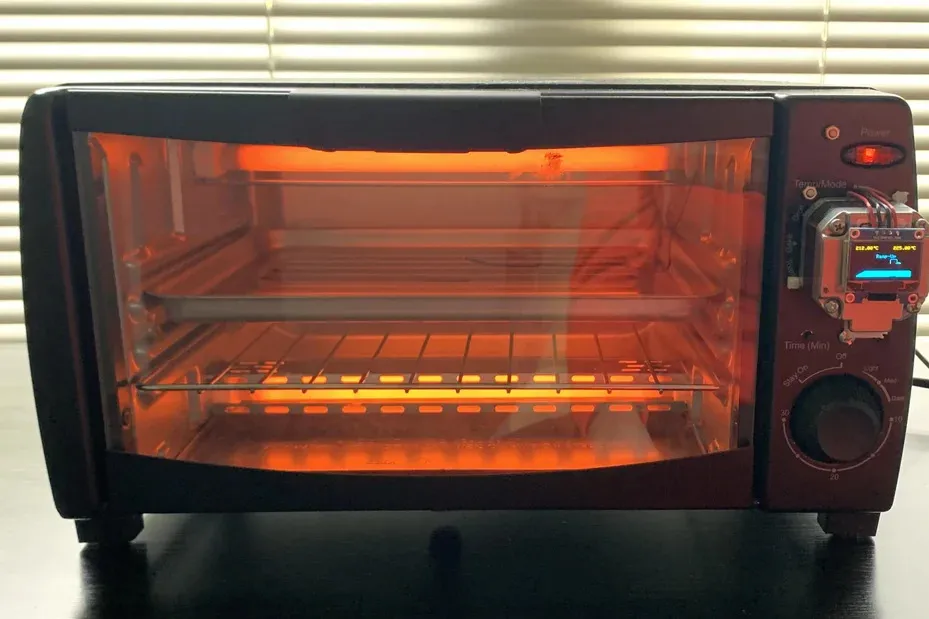
Step 2: Position the PCB in the Oven
Place the PCB on a heat-resistant tray or a piece of aluminum foil in the center of the oven rack. Avoid placing it too close to the heating elements to prevent uneven heating. If possible, elevate the PCB slightly using small metal standoffs to improve air circulation.
Step 3: Follow the Reflow Profile
Start the heating process based on the reflow profile you’ve created:
- Set the oven to around 150°C (302°F) for the preheat stage and monitor the temperature with your thermocouple.
- Adjust the knob to maintain 180-200°C (356-392°F) for the thermal soak.
- Increase to 235-250°C (455-482°F) for the reflow peak, watching closely to avoid overheating.
- Turn off the oven and open the door slightly to begin cooling once the peak stage is complete.
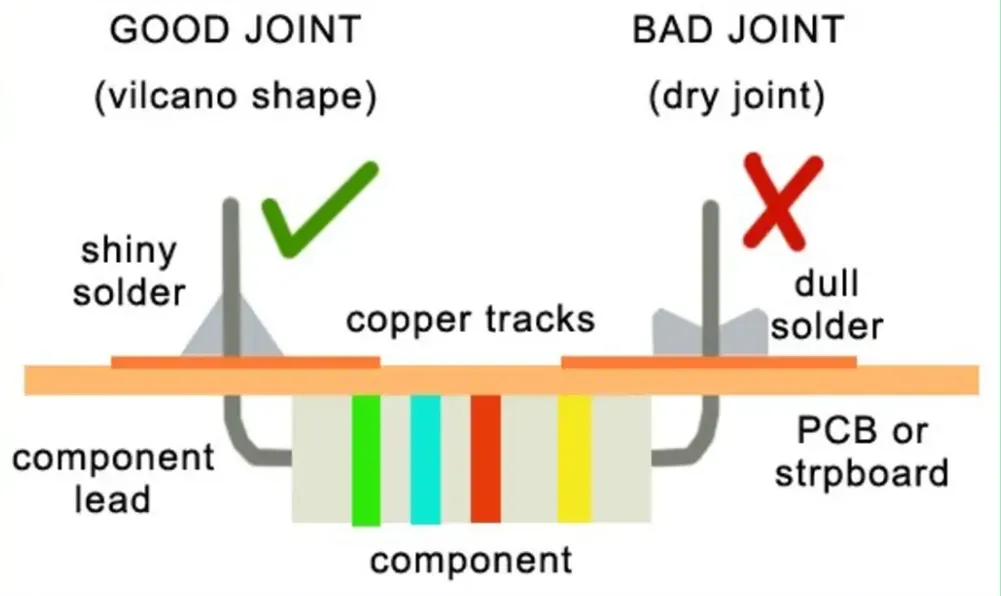
Step 4: Inspect the Results
After the PCB cools to room temperature, inspect the solder joints with a magnifying glass or microscope. Look for shiny, smooth joints without cracks or bridges (solder connecting adjacent pads). If joints appear dull or uneven, it may indicate insufficient heat or poor solder paste application.
Tips and Tricks for Better DIY Reflow Soldering
Reflow soldering with a toaster oven can take some trial and error. Here are additional tips to improve your results when soldering SMD components at home:
- Practice First: Test your setup and profile on a scrap PCB before working on a valuable project.
- Use Quality Solder Paste: Opt for a reputable lead-free solder paste with a no-clean flux to minimize residue and cleanup.
- Avoid Overcrowding: Don’t place too many PCBs in the oven at once, as this can disrupt heat distribution.
- Monitor Multiple Points: If possible, use multiple thermocouples to check temperature consistency across different areas of the oven.
- Clean After Use: Wipe down the oven interior after soldering to remove flux residue and prevent buildup.
Common Issues and How to Fix Them
Even with careful preparation, you might encounter issues during DIY reflow soldering. Here are some common problems and solutions:
Uneven Soldering or Tombstoning
Problem: Components lift on one side (tombstoning) or solder doesn’t melt evenly.
Solution: Ensure even heat distribution by using a convection oven or placing the PCB centrally. Check that solder paste is applied uniformly on both pads of each component.
Overheating Components
Problem: Components get damaged or discolored due to excessive heat.
Solution: Stick closely to the reflow profile, especially during the peak stage. Use a thermocouple to prevent temperatures from exceeding 260°C (500°F).
Poor Solder Joints
Problem: Joints look dull, grainy, or weak.
Solution: Verify that the soak stage lasted long enough to activate the flux. Also, ensure the cooling phase isn’t too rapid, as this can affect joint formation.
Conclusion: Mastering Reflow Soldering with a Toaster Oven
Reflow soldering with a toaster oven is a practical and budget-friendly way to assemble PCBs with SMD components at home. By carefully setting up your toaster oven for reflow, creating a precise reflow profile, and following the steps outlined in this guide, you can achieve professional-quality results without investing in expensive machinery.
Start small, experiment with your setup, and refine your DIY reflow soldering techniques over time. With patience and practice, you’ll be able to tackle complex electronics projects right from your kitchen. Remember to prioritize safety and precision at every step, and soon, soldering SMD components at home will become second nature.
Thank you for following this detailed guide. We hope it helps you succeed in your electronics endeavors and inspires you to explore more innovative solutions for PCB assembly.


