 ALLPCB


Are you struggling with dry film solder mask adhesion problems in PCB manufacturing? Issues like peeling or delamination can lead to costly rework and delays. In this guide, we’ll dive into the causes of dry film solder mask adhesion issues and provide practical solutions to improve adhesion, from surface preparation to process optimization. Whether you're dealing with dry film solder mask peeling or seeking ways to prevent delamination, this blog offers actionable steps to ensure a reliable and durable solder mask application.
What is Dry Film Solder Mask and Why Does Adhesion Matter?
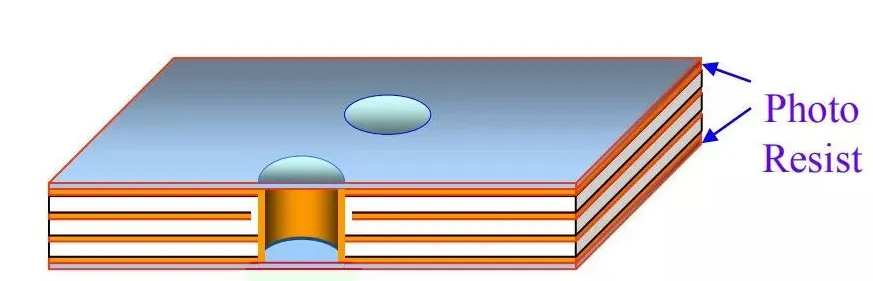
Dry film solder mask is a thin, photosensitive polymer layer applied to printed circuit boards (PCBs) to protect copper traces from oxidation, prevent solder bridging, and provide electrical insulation. Unlike liquid photoimageable solder masks, dry film comes as a solid sheet sandwiched between protective layers, which is laminated onto the PCB surface under heat and pressure. This method is widely used in PCB manufacturing for its precision and uniformity.
Adhesion is critical because poor bonding between the dry film and the PCB surface can result in defects such as peeling or delamination. These issues expose copper traces to environmental damage, increase the risk of short circuits, and compromise the board’s reliability. For manufacturers, adhesion problems can lead to higher rejection rates, increased production costs, and delays in delivery. Solving dry film solder mask adhesion problems is essential for maintaining high-quality PCB production.
Common Dry Film Solder Mask Adhesion Problems
Before diving into solutions, let’s identify the most common adhesion issues encountered in PCB manufacturing. Recognizing these problems early can help you address them before they escalate.
- Dry Film Solder Mask Peeling: This occurs when the solder mask detaches from the PCB surface, often during handling, soldering, or environmental testing. Peeling can expose copper traces, leading to corrosion or electrical failures.
- Dry Film Solder Mask Delamination: Delamination happens when the solder mask separates into layers or lifts off in larger sections. This is often caused by poor bonding or stress during thermal cycles.
- Blistering or Bubbling: Air or moisture trapped between the dry film and the PCB surface can create blisters, weakening adhesion and causing the mask to lift.
- Cracking: Stress from thermal expansion or mechanical handling can cause cracks in the solder mask, which may lead to adhesion failure over time.
These issues not only affect the PCB’s functionality but also its long-term durability. Let’s explore the root causes of dry film solder mask adhesion problems to better understand how to prevent them.
Dry Film Solder Mask Delamination Causes: What Goes Wrong?
Understanding the causes of adhesion failure is the first step toward effective troubleshooting. Here are the primary reasons for dry film solder mask delamination and peeling:
1. Inadequate Surface Preparation
The PCB surface must be clean and free of contaminants like oil, dust, or oxidation before applying the dry film. Even minor residues can prevent proper bonding. For instance, a copper surface with an oxide layer as thin as 10 nanometers can reduce adhesion by up to 30%, according to industry studies.
2. Improper Lamination Conditions
Lamination requires precise control of temperature, pressure, and speed. If the temperature is too low (e.g., below 100°C), the dry film may not bond properly. Conversely, excessive heat (above 120°C) can degrade the film’s adhesive properties. Pressure inconsistencies can also result in uneven adhesion.
3. Moisture Contamination
Moisture trapped in the PCB substrate or on the surface can vaporize during lamination or soldering, causing blisters or delamination. Boards stored in humid environments (above 60% relative humidity) are particularly prone to this issue.
4. Material Incompatibility
Not all dry film solder masks are compatible with every PCB substrate or copper finish. For example, using a film designed for standard FR-4 on a high-frequency laminate may result in poor adhesion due to differences in surface chemistry.
5. Mechanical or Thermal Stress
During soldering or thermal cycling, differences in the coefficient of thermal expansion (CTE) between the solder mask and the PCB can create stress, leading to cracking or delamination. A CTE mismatch of just 10 ppm/°C can increase failure rates by 15% in high-temperature applications.
Dry Film Solder Mask Surface Preparation: Key to Strong Adhesion
Proper surface preparation is the foundation of improving dry film solder mask adhesion. A clean, roughened surface ensures better mechanical interlocking and chemical bonding. Follow these steps for optimal preparation:
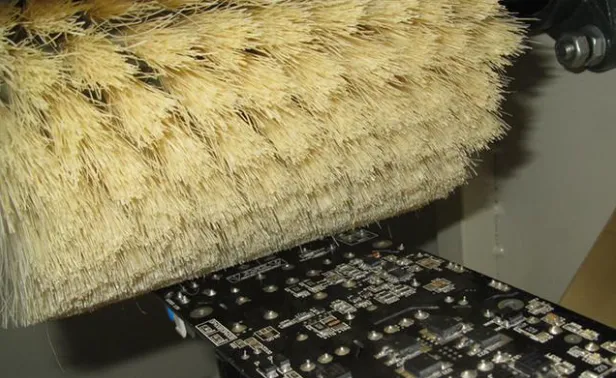
1. Cleaning the PCB Surface
Remove all contaminants using a chemical cleaner or micro-etching solution. A common approach is to use a 10% sulfuric acid solution with hydrogen peroxide to etch away oxide layers on copper. Ensure the surface is rinsed thoroughly with deionized water to avoid residue.
2. Surface Roughening
Create a micro-rough surface to enhance mechanical adhesion. Techniques like pumice scrubbing or chemical micro-etching can achieve a surface roughness (Ra) of 0.5 to 1.0 micrometers, which is ideal for most dry film applications. Over-roughening, however, can trap air and reduce contact area.
3. Drying the Board
After cleaning, dry the PCB in a controlled environment at 80-100°C for 10-15 minutes to eliminate moisture. Avoid storing boards in high-humidity areas before lamination, as even 0.1% moisture content by weight can cause adhesion issues.
4. Surface Inspection
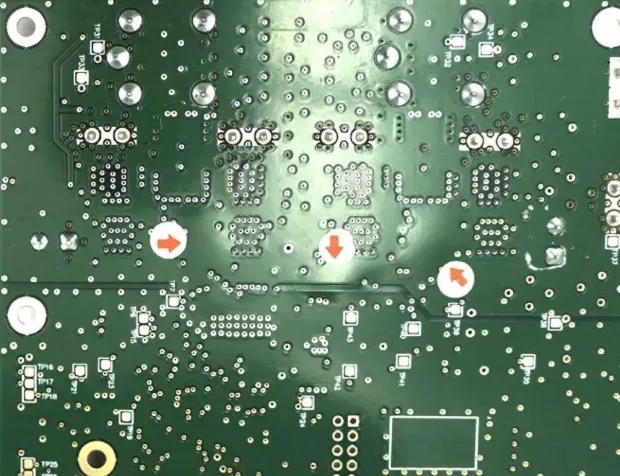
Use a magnifying glass or automated optical inspection (AOI) to check for remaining contaminants or defects. A clean surface should appear uniform and free of discoloration.
Improving Dry Film Solder Mask Adhesion: Practical Solutions
Once the surface is prepared, focus on optimizing the application process and environmental conditions to prevent dry film solder mask peeling and other adhesion issues. Here are actionable tips:
1. Optimize Lamination Parameters
Ensure your lamination equipment is calibrated to maintain consistent temperature (typically 100-110°C), pressure (around 30-50 psi), and speed (1-2 meters per minute). Test different settings on sample boards to find the ideal combination for your specific dry film and PCB material. For example, a 10% increase in pressure can improve adhesion by up to 20% if done within safe limits.
2. Control Environmental Conditions
Maintain a cleanroom environment with humidity below 50% and temperature between 20-25°C during lamination. Use dehumidifiers or air conditioning if necessary to prevent moisture absorption.
3. Use Compatible Materials
Match the dry film solder mask to your PCB substrate and copper finish. Consult with your material supplier to ensure compatibility, especially for high-frequency or flexible boards. Some films are formulated specifically for ENIG (Electroless Nickel Immersion Gold) finishes, which require different adhesion properties than bare copper.
4. Post-Lamination Baking
After lamination, bake the PCB at 80-100°C for 20-30 minutes to remove any residual moisture and enhance adhesion. This step is particularly important for boards that will undergo high-temperature soldering processes.
5. Test Adhesion Regularly
Perform adhesion tests, such as the tape test (per IPC-TM-650 standards), to evaluate bonding strength. Apply a piece of adhesive tape to the solder mask, press firmly, and peel it off at a 90-degree angle. If any mask lifts with the tape, revisit your surface preparation or lamination process.
Troubleshooting Dry Film Solder Mask Adhesion Problems: Step-by-Step
If adhesion issues persist despite preventive measures, follow this troubleshooting guide to identify and resolve the problem:
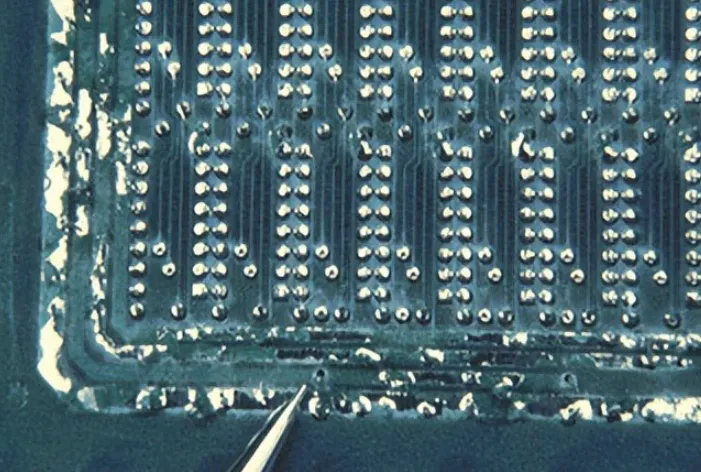
- Inspect the PCB Surface: Check for contamination or oxidation using a microscope or AOI system. Reclean the board if necessary.
- Review Lamination Settings: Verify that temperature, pressure, and speed are within the recommended range for your dry film. Adjust settings and test on a sample board.
- Check for Moisture: If blistering or bubbling is present, measure the board’s moisture content using a moisture analyzer. Bake the board to remove moisture before re-laminating.
- Evaluate Material Compatibility: Confirm that the dry film matches the PCB substrate and finish. Switch to a different film if incompatibilities are suspected.
- Assess Thermal Stress: If delamination occurs after soldering, test the board’s thermal profile. Reduce peak temperatures or use a solder mask with a higher CTE match to the substrate.
Document each step and result to build a knowledge base for future troubleshooting. Consistent monitoring and adjustment can reduce adhesion failure rates by up to 40% over time.
Preventing Future Adhesion Issues: Best Practices
To avoid recurring dry film solder mask adhesion problems, integrate these best practices into your manufacturing process:
- Standardize Procedures: Create detailed standard operating procedures (SOPs) for surface preparation, lamination, and testing. Train staff to follow these guidelines consistently.
- Monitor Material Storage: Store dry film rolls and PCBs in a controlled environment with low humidity and stable temperature to prevent degradation.
- Conduct Regular Equipment Maintenance: Calibrate lamination machines monthly to ensure accurate settings. Replace worn rollers or heating elements to avoid uneven application.
- Invest in Quality Control: Use automated inspection tools to detect adhesion issues early in the production cycle, reducing scrap rates and rework costs.
Conclusion: Mastering Dry Film Solder Mask Adhesion
Troubleshooting dry film solder mask adhesion problems in PCB manufacturing requires a systematic approach, from thorough surface preparation to optimized lamination and environmental control. By addressing the root causes of issues like dry film solder mask peeling and delamination, you can significantly improve the reliability and quality of your PCBs. Implementing the practical solutions and best practices outlined in this guide will help you achieve strong adhesion, reduce defects, and streamline your production process.


