 ALLPCB


Are you an electronics hobbyist eager to dive into building circuits or repairing gadgets? Setting up your first manual soldering station is the perfect starting point! In this beginner's guide, we'll walk you through everything you need to create an entry level soldering station, from choosing basic soldering tools for electronics to setting up a soldering workspace. Whether you're looking for a soldering station for beginners or curious about essential soldering accessories, we've got you covered with practical tips and step-by-step advice.
Why Start with a Manual Soldering Station?
Soldering is a fundamental skill for anyone interested in electronics projects. A manual soldering station gives you control over the process, helping you connect components on circuit boards, repair devices, or build DIY gadgets. Unlike automated setups, a manual station is affordable and ideal for beginners who want to learn the ropes. Plus, with the right tools and workspace, you can ensure safety and precision in every project.
Let’s dive into the details of setting up your first station. This guide will break down the tools, workspace setup, safety tips, and more to get you started on the right foot.
What You Need for an Entry Level Soldering Station
Creating an entry level soldering station doesn’t have to break the bank. You can start with a few key items and upgrade as you gain experience. Here’s a list of must-haves to get going:
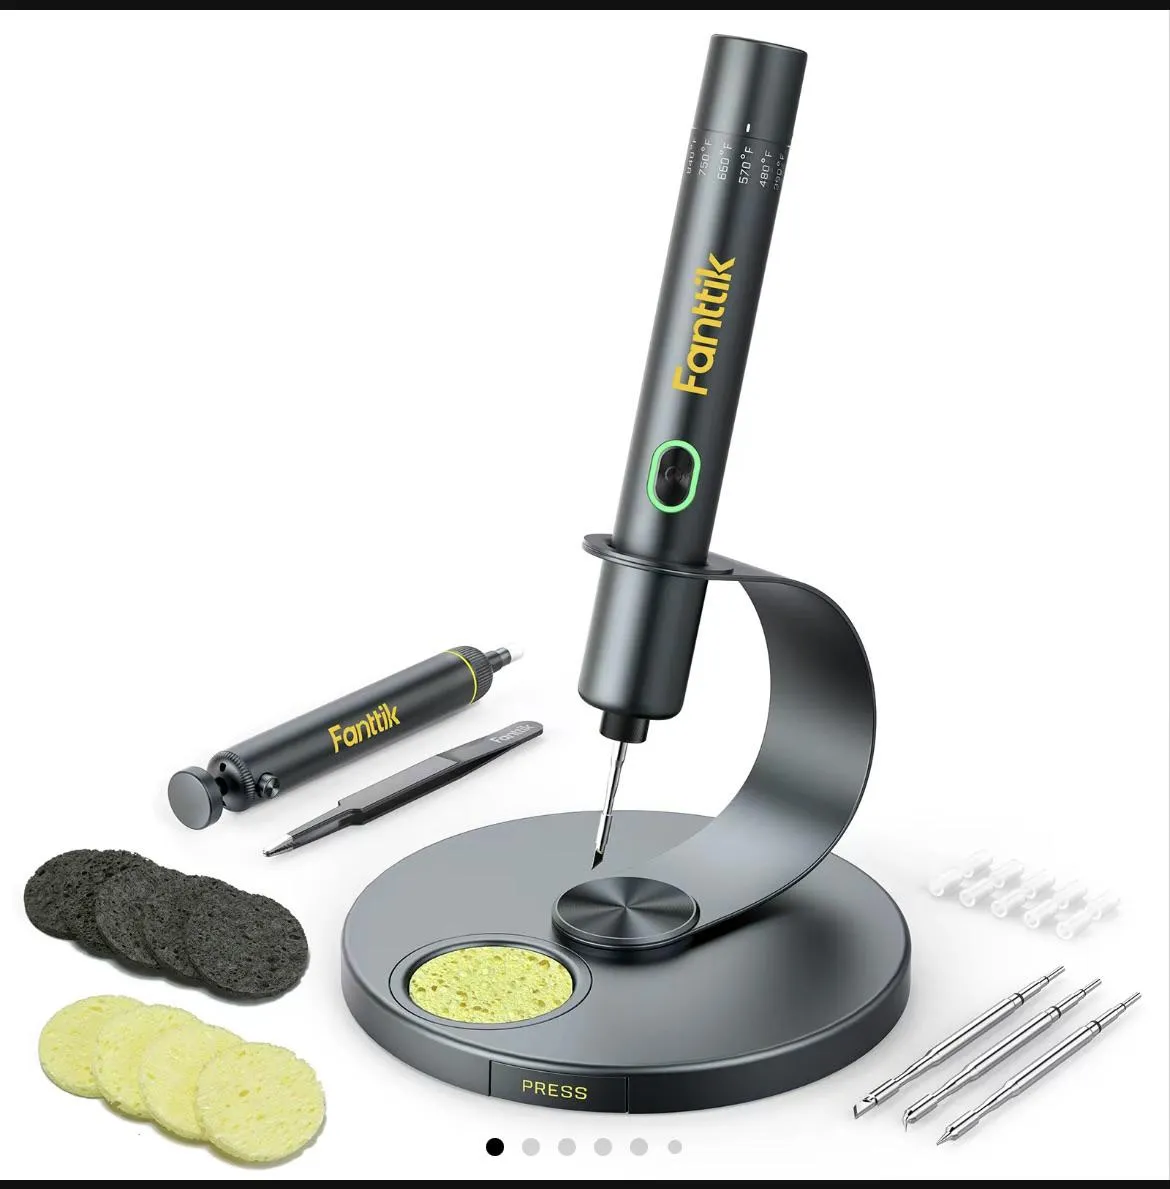
- Soldering Iron or Station: The heart of your setup. For beginners, a soldering iron with adjustable temperature control (like the X-Tronic Model 3020-XTS, often recommended for hobbyists) is ideal. Look for one with a wattage between 20-60W, which is sufficient for most electronics projects.
- Solder Wire: Choose a rosin-core solder with a 60/40 tin-lead ratio for general use. A diameter of 0.6mm to 1mm works well for small components.
- Soldering Iron Stand: A stand keeps your hot iron safe when not in use, preventing burns or damage to your workspace.
- Cleaning Sponge or Brass Wire: These help clean the soldering tip to ensure good heat transfer and clean joints.
- Work Surface: A heat-resistant mat or board to protect your desk from heat and solder drips.
Choosing Basic Soldering Tools for Electronics
When it comes to basic soldering tools for electronics, quality matters more than quantity. Investing in reliable tools ensures better results and safety. Let’s break down what to look for:
1. Soldering Iron or Station
For beginners, a temperature-controlled soldering station is a game-changer. Unlike basic plug-in irons, stations allow you to adjust the heat (typically between 200°C to 450°C) based on the components you're working with. Delicate components like microchips need lower temperatures to avoid damage, while larger connectors may require higher heat. A good entry-level option costs around $30-$60.
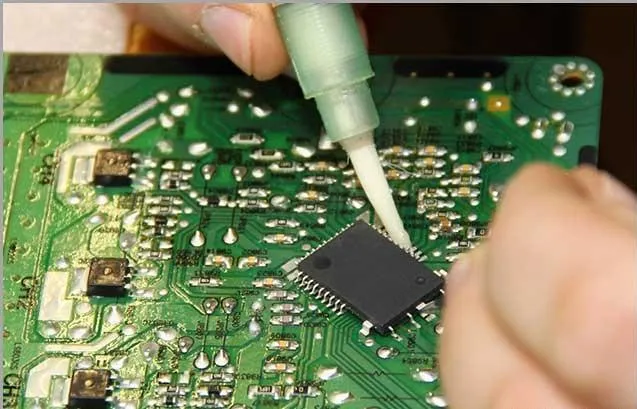
2. Solder and Flux
Solder is the material that melts to join components. A 60/40 tin-lead solder is beginner-friendly due to its lower melting point (around 183°C). Flux, often built into rosin-core solder, helps clean the surfaces being soldered for a stronger bond. If you’re working on older electronics, separate flux paste might be handy.
3. Desoldering Tools
Mistakes happen, especially when you’re learning. A desoldering pump (also called a solder sucker) or desoldering wick helps remove excess solder. These tools are inexpensive, often under $10, and save time when fixing errors.
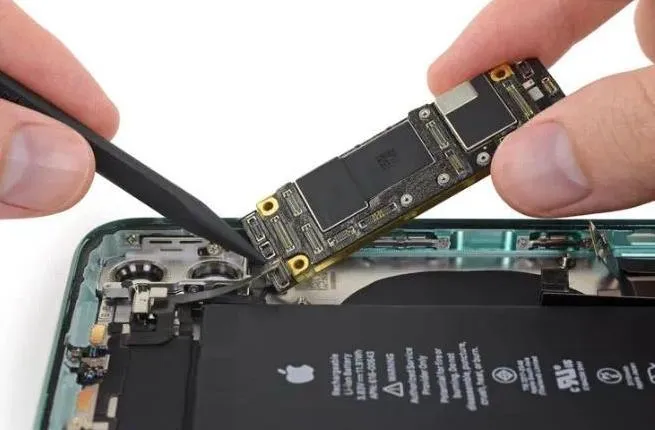
4. Precision Tools
Small electronics projects require precision. Keep a set of tweezers, needle-nose pliers, and wire cutters handy for handling tiny components and trimming leads. A basic set can cost as little as $15.
Setting Up a Soldering Workspace
A well-organized workspace is critical for safety and efficiency. Setting up a soldering workspace doesn’t require much space, but it does need careful planning. Here’s how to create a functional area:
1. Choose a Well-Ventilated Area
Soldering produces fumes from melting solder and flux, which can be harmful if inhaled. Set up your station near a window or use a small desk fan to direct fumes away. For added safety, consider a fume extractor, which can cost between $30-$100.
2. Use a Heat-Resistant Surface
Protect your desk with a silicone soldering mat or a piece of ceramic tile. These materials can withstand temperatures up to 500°C and prevent damage from stray solder or hot tools.
3. Organize Your Tools
Keep your tools within reach but clutter-free. Use a small organizer or tray for items like solder wire, tweezers, and desoldering tools. A soldering iron stand with a built-in sponge holder is perfect for keeping your iron secure.
4. Ensure Good Lighting
Electronics work often involves tiny components, so good lighting is a must. A desk lamp with adjustable brightness or a magnifying light (priced around $20-$50) can help you see details clearly.
Finding the Right Soldering Station for Beginners
Choosing a soldering station for beginners can feel overwhelming with so many options available. The key is to focus on features that match your skill level and project needs. Here are some tips to help you decide:
- Temperature Control: Adjustable temperature is crucial for versatility. Look for a station with a digital display for precise settings.
- Wattage: A 40-60W station is powerful enough for most hobbyist projects without risking damage to delicate components.
- Ergonomics: A lightweight iron with a comfortable grip reduces hand fatigue during long sessions.
- Price: Entry-level stations range from $30 to $80. Avoid the cheapest options (under $20), as they often lack durability and safety features.
One popular choice among beginners is the X-Tronic Model 3020-XTS, praised for its LED display and reliable performance. It typically retails for around $55 and comes with extra tips for different tasks.
Essential Soldering Accessories You Shouldn’t Skip
Beyond the basics, there are a few essential soldering accessories that can make your projects smoother and safer. These tools aren’t mandatory for your first day, but they’re worth adding as you grow:
1. Helping Hands Tool
This tool has adjustable arms with alligator clips to hold components in place while you solder. It’s like having an extra set of hands and costs around $10-$20.
2. Multimeter
A multimeter helps test connections and troubleshoot circuits. For beginners, a basic model under $20 can measure voltage, current, and resistance—enough to verify your soldering work.
3. Safety Gear
Safety should never be an afterthought. Wear safety glasses to protect your eyes from solder splashes, and consider heat-resistant gloves if you’re working with larger components. A basic pair of glasses costs less than $10.
4. Tip Cleaner and Tinner
Over time, soldering tips oxidize and lose effectiveness. A tip tinner (around $5) cleans and re-tins the tip, extending its life and improving performance.
Safety Tips for Your Soldering Station
Soldering involves high heat and potentially toxic fumes, so safety is non-negotiable. Follow these tips to protect yourself and your workspace:
- Never Leave the Iron Unattended: Always place the iron in its stand when not in use. A hot iron (up to 450°C) can cause severe burns or start a fire in seconds.
- Work in a Ventilated Space: Avoid breathing in solder fumes. If ventilation is limited, use a fume extractor or wear a mask rated for chemical fumes.
- Keep a Fire Extinguisher Nearby: Accidents can happen. A small, portable extinguisher (Class E for electrical fires) is a smart precaution.
- Wash Hands After Soldering: Solder often contains lead, which is toxic if ingested. Wash your hands thoroughly after every session.
Getting Started: Your First Soldering Project
Once your entry level soldering station is set up, it’s time to practice. Start with a simple project, like soldering wires together or assembling a basic LED circuit kit (often available for under $10 online). Here’s a quick step-by-step for soldering two wires:
- Prepare the Wires: Strip about 0.5 inches of insulation from the ends of both wires using a wire stripper.
- Tin the Wires: Heat your iron to around 300°C, apply a thin layer of solder to each wire end. This makes joining them easier.
- Join the Wires: Twist the tinned ends together, heat the joint with the iron, and apply more solder until it flows evenly.
- Inspect and Cool: Check for a shiny, smooth joint. Let it cool naturally—don’t blow on it, as this can create weak connections.
Practice on scrap materials before moving to real projects. If the solder joint looks dull or lumpy, it’s a “cold joint” and won’t conduct electricity well. Reheat and add more solder if needed.
Common Mistakes Beginners Make (and How to Avoid Them)
Learning to solder takes patience, and mistakes are part of the process. Here are some common pitfalls and how to steer clear of them:
- Using Too Much Solder: Excess solder can create bridges between components, causing shorts. Use just enough to cover the joint—think of a small, shiny dome.
- Not Cleaning the Tip: A dirty tip won’t transfer heat properly. Wipe it on a damp sponge or brass wire after every few joints.
- Overheating Components: Heat-sensitive parts like LEDs or transistors can be damaged if exposed to heat for too long. Work quickly (under 3-5 seconds per joint) and use a heat sink clip if needed.
Upgrading Your Soldering Station as You Grow
As your skills improve, you might want to upgrade your setup. Consider investing in a higher-wattage station (60-80W) for larger projects or a hot air rework station for surface-mount components. These tools start at around $80 and open up more advanced possibilities like repairing modern electronics with tiny chips.
You can also explore lead-free solder for eco-friendly projects, though it has a higher melting point (around 217°C) and requires more heat control.
Final Thoughts on Your Soldering Journey
Setting up your first manual soldering station is an exciting step into the world of electronics. With the right basic soldering tools for electronics, a safe and organized soldering workspace, and a reliable soldering station for beginners, you’re ready to tackle projects from simple repairs to complex builds. Don’t forget to stock up on essential soldering accessories and prioritize safety at every step.


