ALLPCB


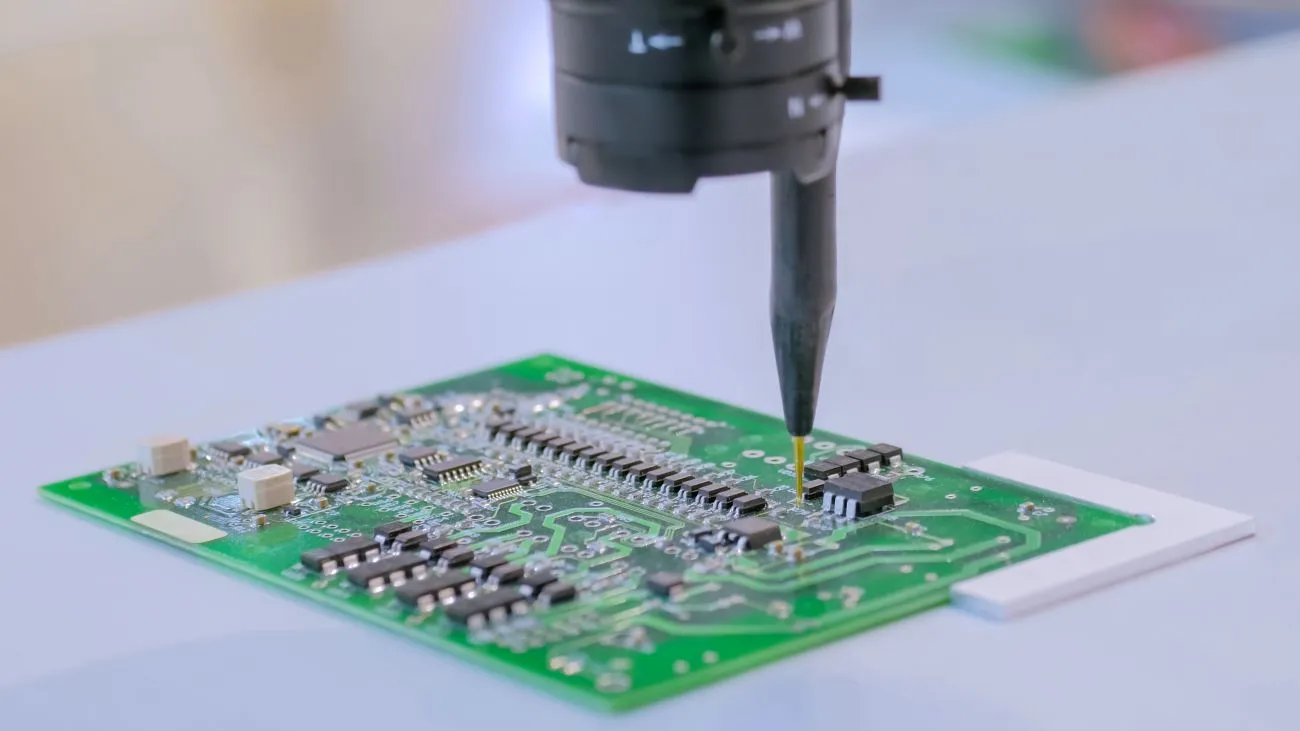
When it comes to SMT (Surface Mount Technology) assembly, one of the most critical steps is stencil printing, where solder paste is applied to a printed circuit board (PCB) before components are placed. A key decision for manufacturers is whether to use automated stencil printing or manual stencil printing for their production needs. The right choice largely depends on your production volume and the level of precision and efficiency required.
In short, manual stencil printing is ideal for low-volume production or prototyping, typically under 150 boards per day, due to its low cost and simplicity. On the other hand, automated stencil printing suits medium to high-volume production, exceeding 500 boards per day, offering consistency and speed. For volumes in between, semi-automated options provide a balanced approach. This blog post will dive deep into the differences between these stencil printer types, their impact on SMT assembly automation, and how to choose the best method for your specific needs.
What Is Stencil Printing in SMT Assembly?
Stencil printing is the process of depositing solder paste onto a PCB through a thin metal stencil with precise cutouts that match the board's pad layout. This step is crucial because it ensures that the right amount of solder paste is applied to each pad, enabling proper component attachment during the reflow soldering process. Errors in stencil printing, such as uneven paste application or misalignment, can lead to defects like bridging or insufficient solder joints, affecting the overall quality of the final product.
There are two primary approaches to stencil printing: manual and automated. Each method has distinct advantages and limitations, especially when considering factors like production volume, cost, and precision. Let’s explore both in detail to help you make an informed decision for your manufacturing setup.
Manual Stencil Printing: Basics and Benefits
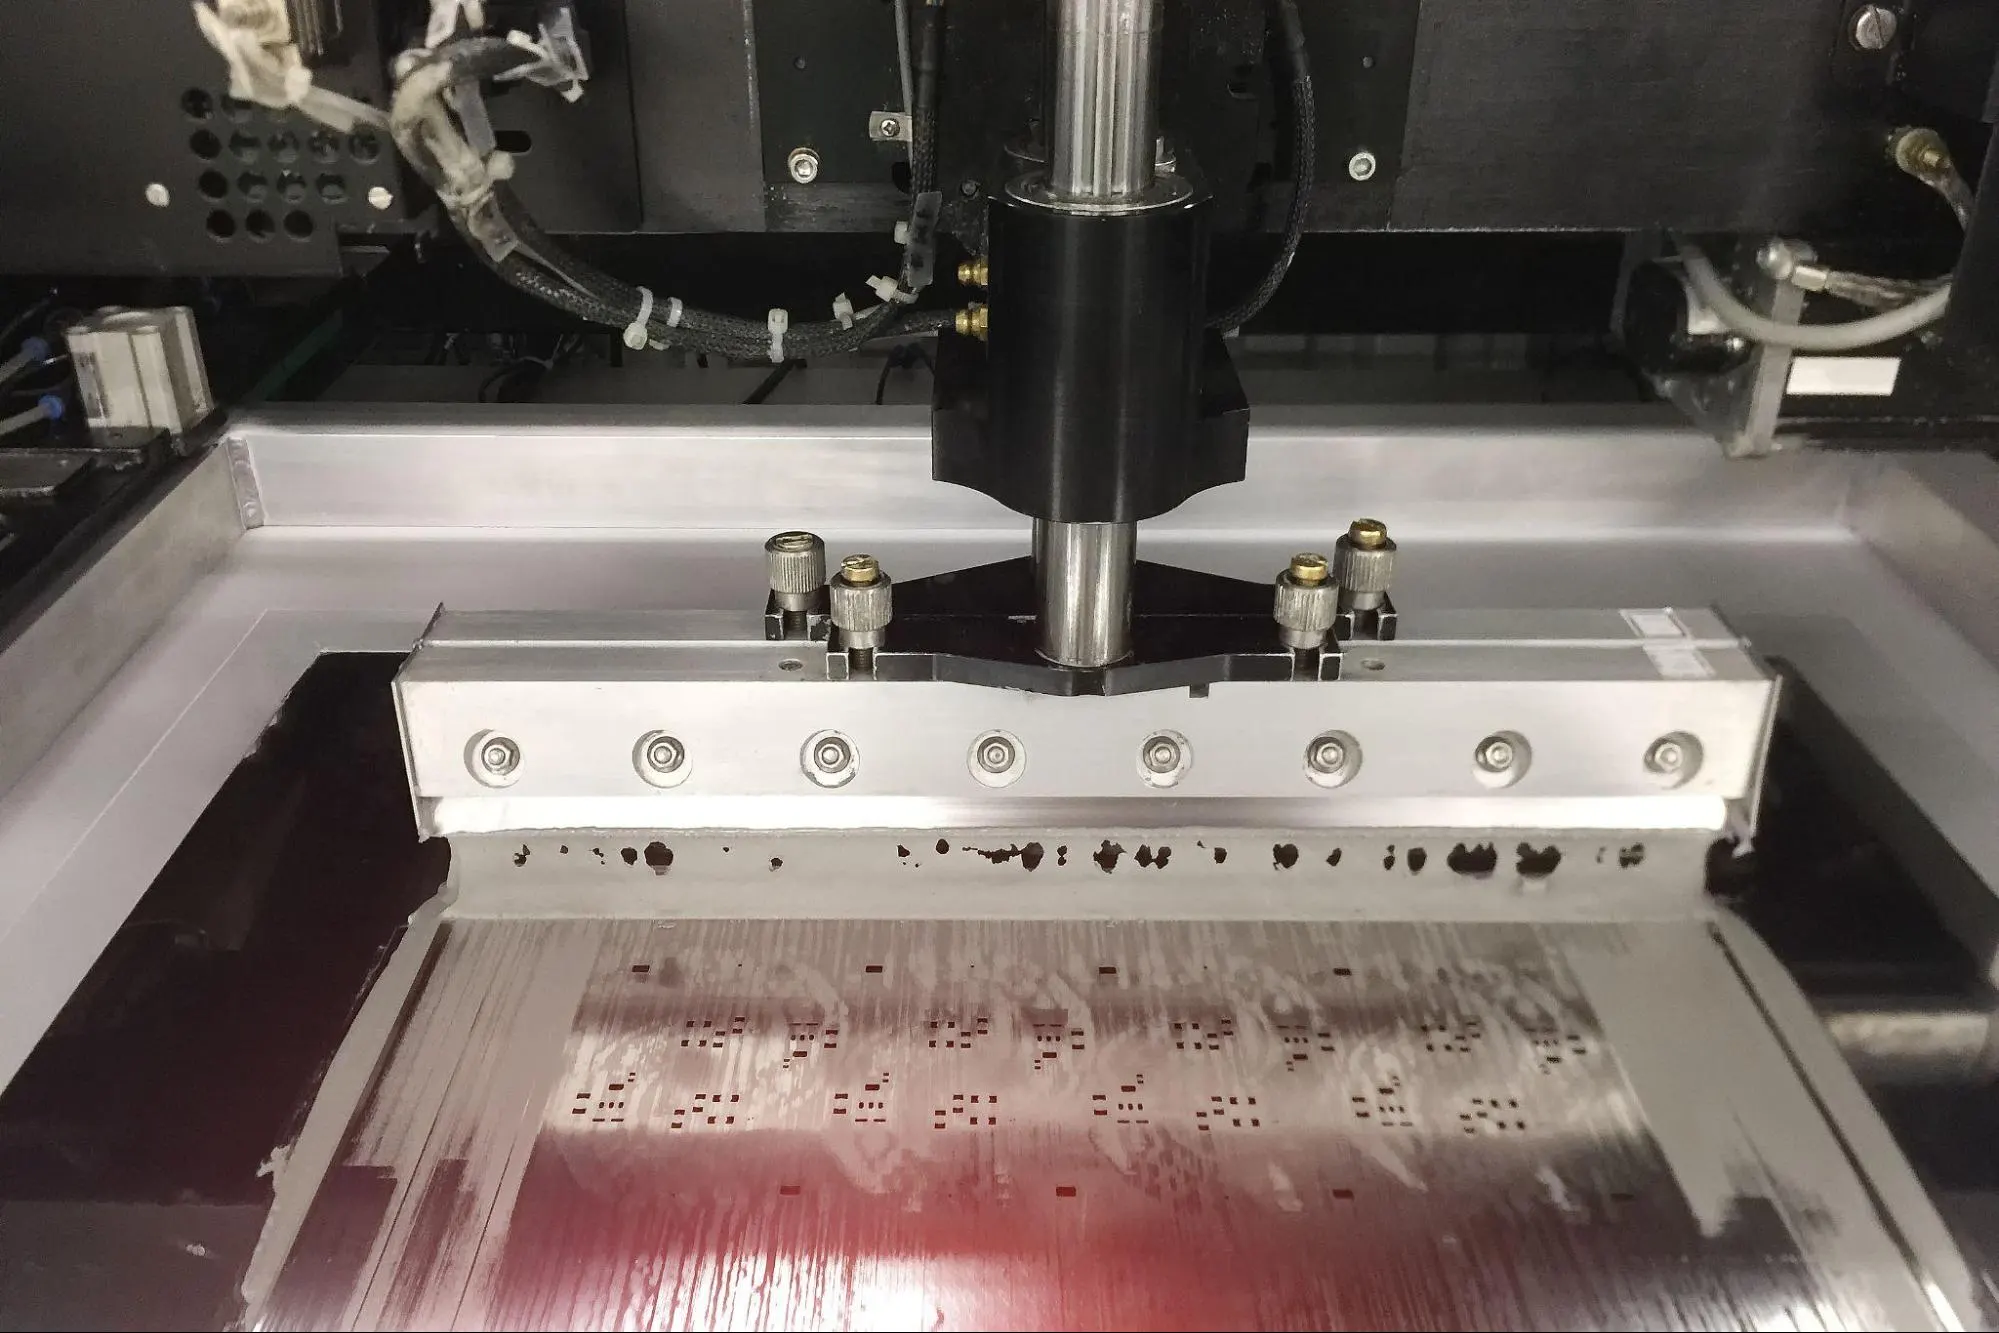
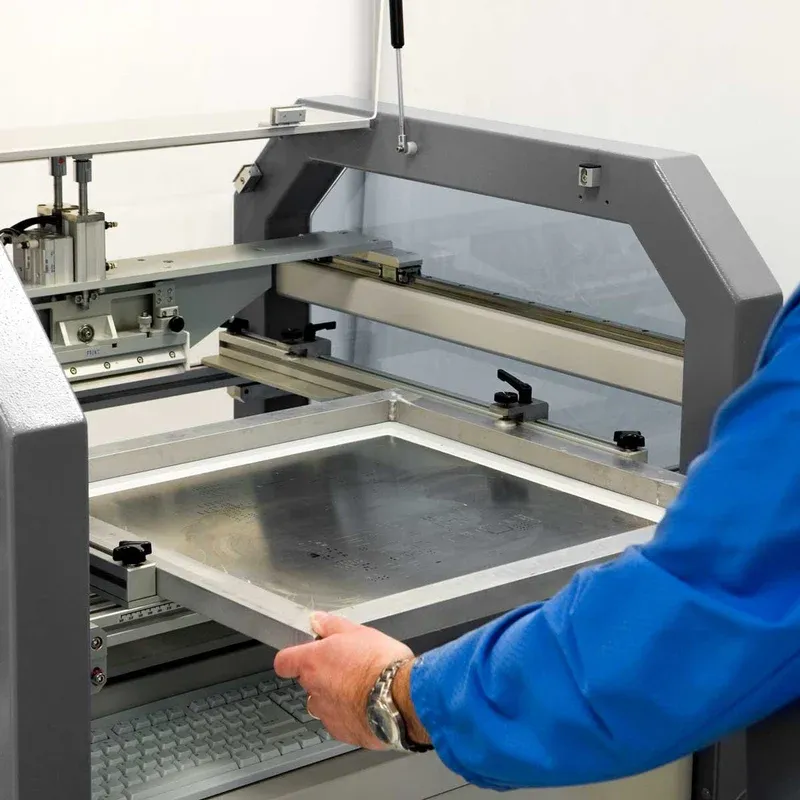
Manual stencil printing involves an operator physically aligning the stencil over the PCB and using a squeegee to spread solder paste across the stencil’s openings. This method is often done by hand or with the assistance of a simple frame or jig to hold the stencil in place.
Advantages of Manual Stencil Printing
- Low Cost: Manual stencil printers are the most affordable option, with basic setups costing between $2,000 and $5,000 for new equipment. This makes them ideal for startups or small-scale operations with limited budgets.
- Flexibility: This method works well for prototyping or small batches where designs may change frequently. Operators can quickly adjust or swap stencils without complex reprogramming.
- Simplicity: Manual printing requires minimal training and setup time, making it accessible for small teams or hobbyists working on low-volume projects.
Limitations of Manual Stencil Printing
- Inconsistency: Human error can lead to uneven solder paste application, misalignment, or varying pressure on the squeegee, resulting in defects. For instance, too much pressure might cause excess paste, leading to solder bridging.
- Low Speed: Manual printing is time-consuming, often limiting production to fewer than 150 boards per day. This makes it impractical for larger runs.
- Operator Fatigue: The repetitive nature of manual printing can lead to fatigue, further increasing the risk of errors over long shifts.
Best Use Case for Manual Stencil Printing
Manual stencil printing is best suited for low-volume production, such as prototyping or small batches under 150 boards per day. It’s an excellent choice for R&D environments where flexibility and cost are prioritized over speed and repeatability.
Automated Stencil Printing: Precision and Efficiency
Automated stencil printing uses advanced machinery to apply solder paste with high precision and speed. These systems often include vision systems for stencil alignment, programmable settings for paste application, and automated squeegee movement. There are two main categories within this approach: semi-automated and fully automated printers.
Semi-Automated Stencil Printing
Semi-automated printers require some manual intervention, such as loading the PCB and stencil, but automate critical tasks like paste application and alignment. These systems are typically priced between $8,000 and $14,000 and can handle medium-volume production, up to 500 boards per day.
Fully Automated Stencil Printing
Fully automated printers handle the entire process with minimal human involvement, often integrating with other SMT assembly lines for seamless operation. These machines are designed for high-volume production, exceeding 500 boards per day, and can cost $30,000 or more, depending on features like advanced vision systems or real-time defect detection.
Advantages of Automated Stencil Printing
- Consistency: Automated systems ensure uniform solder paste deposition across every board, reducing defects. For example, precise control over squeegee pressure and speed can achieve paste thickness consistency within ±10 micrometers.
- Speed: Automation significantly increases throughput, with fully automated systems capable of processing thousands of boards per day, ideal for high-volume production.
- Reduced Errors: Vision systems and programmable settings minimize misalignment and human error, ensuring repeatability even for complex PCB designs with fine-pitch components.
- Integration: Automated printers can integrate with other SMT equipment, such as pick-and-place machines and reflow ovens, creating a streamlined SMT assembly automation workflow.
Limitations of Automated Stencil Printing
- High Cost: The upfront investment for automated systems is significant, especially for fully automated models, which may not be feasible for small businesses or low-volume runs.
- Complexity: These systems require technical expertise for setup, programming, and maintenance, along with longer training periods for operators.
- Less Flexibility: Automated printers are less adaptable to frequent design changes, as reprogramming or stencil swaps can slow down production.
Best Use Case for Automated Stencil Printing
Automated stencil printing excels in medium to high-volume production environments. Semi-automated systems are ideal for 150 to 500 boards per day, while fully automated setups are best for over 500 boards daily, particularly in industries like consumer electronics or automotive manufacturing where precision and speed are critical.
Key Factors to Consider When Choosing Between Automated and Manual Stencil Printing
Selecting the right stencil printing method for your operation involves evaluating several factors based on your specific needs. Here’s a breakdown of the most important considerations:
1. Production Volume
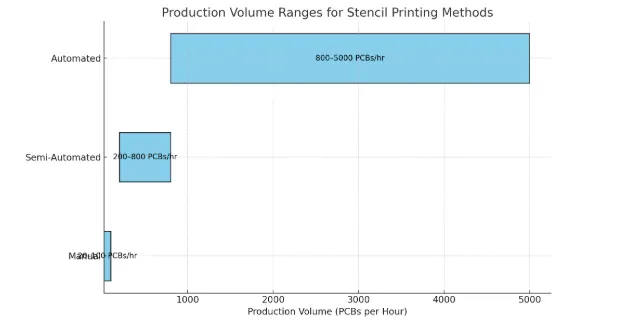
Your daily or monthly board output is the primary determinant of which method to choose. As a general guideline:
- Low Volume (Up to 150 boards/day): Opt for manual stencil printing to keep costs low and maintain flexibility.
- Medium Volume (150-500 boards/day): Consider semi-automated systems for a balance of cost, speed, and consistency.
- High Volume (Over 500 boards/day): Invest in fully automated stencil printing to maximize efficiency and minimize defects.
2. Budget Constraints
Budget plays a significant role in the decision-making process. While manual systems are affordable, automated systems offer long-term savings through reduced labor costs and fewer defects. For example, a high-volume operation might recover the cost of a $30,000 automated printer within a year due to increased throughput and lower defect rates.
3. Precision Requirements
If your PCBs involve fine-pitch components (e.g., 0.4mm pitch or smaller) or high-density designs, automated stencil printing is often necessary to achieve the required accuracy. Manual methods struggle to maintain consistent paste volume for such intricate layouts, leading to higher defect rates.
4. Scalability Needs
Consider your future growth plans. If you anticipate scaling up production, investing in an automated system now might save you from needing to upgrade later. Conversely, if your focus remains on small batches or prototyping, a manual setup may suffice.
5. Labor Availability and Skill Level
Manual printing relies heavily on operator skill and availability, which can be a bottleneck in regions with high labor costs or shortages. Automated systems reduce dependency on skilled labor but require trained technicians for setup and maintenance.
How Stencil Printer Types Impact SMT Assembly Automation
The choice between manual and automated stencil printing directly influences the overall level of SMT assembly automation in your production line. Automation in SMT assembly refers to the integration of machines to handle tasks like stencil printing, component placement, and reflow soldering with minimal human intervention.
In a fully automated SMT line, stencil printers communicate with downstream equipment, such as pick-and-place machines, to ensure seamless operation. For instance, an automated printer can signal when a board is ready for component placement, reducing idle time. This level of integration is only possible with automated stencil printers, making them a cornerstone of high-volume, automated production environments.
In contrast, manual stencil printing often creates bottlenecks in automated lines, as operators must manually transfer boards between processes. This can disrupt workflow and reduce overall efficiency, even if other stages like reflow soldering are automated.
For businesses aiming to transition to full SMT assembly automation, starting with at least a semi-automated stencil printer is a practical step. It bridges the gap between manual processes and full automation, allowing for gradual investment in equipment as production scales.
Cost-Benefit Analysis: Manual vs. Automated Stencil Printing
Understanding the financial implications of each method is essential for making an informed decision. Below is a simplified cost-benefit analysis based on typical production scenarios.
- Manual Stencil Printing:
- Initial Cost: $2,000 - $5,000
- Labor Cost: High due to manual operation (e.g., $20/hour for an operator, 8 hours/day = $160/day)
- Defect Rate: Higher, potentially 5-10% rework rate, costing additional time and materials
- Throughput: Low, up to 150 boards/day
- Semi-Automated Stencil Printing:
- Initial Cost: $8,000 - $14,000
- Labor Cost: Moderate, reduced operator time (e.g., $80/day for partial operation)
- Defect Rate: Lower, around 2-5% rework rate
- Throughput: Medium, up to 500 boards/day
- Fully Automated Stencil Printing:
- Initial Cost: $30,000 or more
- Labor Cost: Low, minimal operator involvement (e.g., $40/day for oversight)
- Defect Rate: Very low, under 1% rework rate
- Throughput: High, over 500 boards/day, often thousands
While automated systems have a higher upfront cost, they often provide a better return on investment for medium to high-volume production due to lower labor costs and reduced defects. For low-volume operations, the savings from manual printing outweigh the benefits of automation.
Tips for Optimizing Stencil Printing Regardless of Method
Whether you choose manual or automated stencil printing, optimizing the process can improve results. Here are some practical tips:
- Use High-Quality Stencils: Invest in laser-cut stencils for precise apertures, especially for fine-pitch components. A stencil thickness of 0.1mm to 0.15mm is common for most SMT applications.
- Control Environmental Factors: Maintain a clean, temperature-controlled environment (around 22-25°C) to prevent solder paste from drying out or becoming too viscous.
- Regular Maintenance: Clean stencils after every 5-10 prints to avoid paste buildup, which can cause defects. For automated systems, follow manufacturer guidelines for machine calibration.
- Monitor Solder Paste: Use fresh solder paste and store it at recommended temperatures (typically 2-10°C) to ensure consistent performance during printing.
Conclusion: Making the Right Choice for Your Production Volume
Deciding between automated stencil printing and manual stencil printing boils down to your production volume, budget, and quality requirements. For low-volume runs or prototyping, manual stencil printing offers a cost-effective and flexible solution. For medium to high-volume production, investing in semi-automated or fully automated systems ensures consistency, speed, and integration with SMT assembly automation.
By carefully assessing your current needs and future goals, you can select the right stencil printer type to optimize your manufacturing process. At ALLPCB, we’re committed to supporting your PCB assembly journey with tailored solutions and expert guidance. Whether you’re just starting out or scaling up, understanding the nuances of stencil printing can help you achieve reliable, high-quality results every time.