 ALLPCB


Hand soldering is a critical skill for electrical engineers, whether you're assembling prototypes, repairing circuits, or working on intricate PCB designs. Mastering hand soldering techniques can elevate your work from functional to flawless. In this guide, we’ll explore hand soldering best practices for professionals, delve into advanced hand soldering techniques, and discuss the value of hand soldering certification for electrical engineers. Whether you're a beginner or a seasoned professional, this comprehensive resource will help you achieve perfection in your soldering projects.
Why Hand Soldering Matters for Electrical Engineers
Hand soldering is more than just joining components with molten metal; it’s about precision, reliability, and ensuring the integrity of electrical connections. For electrical engineers, poor soldering can lead to circuit failures, signal interference, or even complete system breakdowns. A single cold solder joint, for instance, can introduce resistance as high as 0.1 ohms, disrupting a circuit’s performance in sensitive applications like high-frequency designs operating at 2.4 GHz or above.
By mastering hand soldering, you ensure that your projects meet industry standards, reduce rework, and save time. Let’s dive into the essentials of hand soldering, from tools to techniques, to help you achieve consistent, high-quality results.
Essential Tools for Hand Soldering Success
Before exploring techniques, let’s cover the foundational tools every electrical engineer needs for effective hand soldering. Using the right equipment can significantly impact the quality of your work.
- Soldering Iron: Choose a temperature-controlled soldering iron with adjustable settings (typically 25-40 watts for electronics). A temperature range of 260-315°C (500-600°F) is ideal for most PCB components.
- Solder: Opt for lead-free solder with a rosin core, typically a 60/40 or 63/37 tin-lead alloy for better flow and reliability. A diameter of 0.5-1.0 mm works well for most tasks.
- Soldering Tip: Use a fine chisel or conical tip (1-2 mm) for precision work on small components like 0402 resistors or SOIC chips.
- Desoldering Tools: A solder wick or desoldering pump is essential for removing excess solder or correcting mistakes.
- Flux: Apply flux to improve solder flow and prevent oxidation, especially when working on older boards or components.
- Workbench Setup: Ensure a clean, well-lit workspace with a soldering mat, helping hands (adjustable clamps), and proper ventilation to avoid inhaling fumes.
Investing in quality tools is the first step toward achieving professional-grade results. With the right setup, you’re ready to tackle even the most intricate soldering tasks.
Hand Soldering Best Practices for Professionals
Consistency and attention to detail are the cornerstones of professional hand soldering. Below are key best practices to ensure reliable and durable connections, tailored for electrical engineers working on complex projects.
1. Prepare Your Components and Workspace
Always clean the PCB and component leads before soldering. Use isopropyl alcohol (90% or higher) and a brush to remove dirt, grease, or oxidation. A clean surface ensures better adhesion and reduces the risk of cold joints. Additionally, tin the soldering iron tip by applying a thin layer of fresh solder to prevent oxidation and improve heat transfer.
2. Control Temperature and Timing
Set your soldering iron to the appropriate temperature based on the component and solder type. For standard through-hole components, 300°C (572°F) is often ideal, while surface-mount devices (SMDs) may require slightly lower temperatures around 260°C (500°F) to avoid thermal damage. Limit contact time to 2-3 seconds per joint to prevent overheating, which can degrade components or lift PCB pads.
3. Apply Solder Sparingly and Correctly
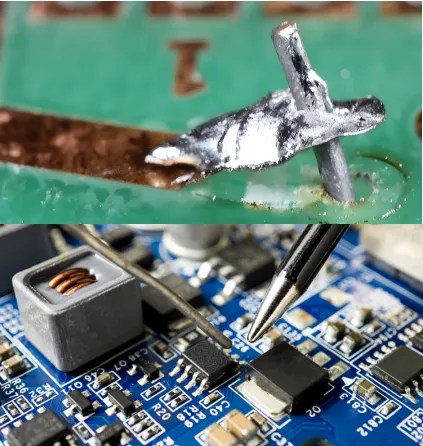
Use just enough solder to create a concave fillet around the joint—over-soldering can cause bridges, while under-soldering risks weak connections. For a typical through-hole joint, apply solder to the heated pad and lead simultaneously, allowing it to flow naturally. A good joint should look shiny and smooth, not dull or grainy, indicating proper bonding.
4. Inspect and Test Every Joint
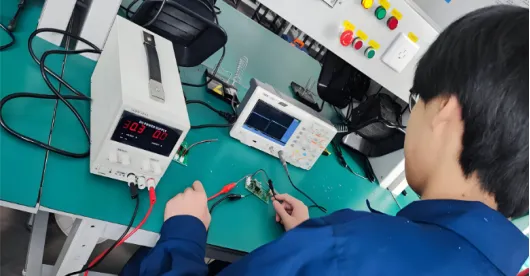
After soldering, visually inspect each joint for cracks, voids, or excess solder. Use a multimeter to check continuity and resistance, ensuring values are within expected ranges (e.g., near 0 ohms for a direct connection). This step is crucial for high-reliability applications like power electronics or RF circuits where signal integrity is paramount.
Following these best practices minimizes errors and ensures your soldered connections withstand the test of time, even in demanding environments.
Advanced Hand Soldering Techniques for Precision Work
For electrical engineers tackling intricate designs, such as densely populated PCBs or micro-components, advanced hand soldering techniques are essential. These methods require practice but can significantly improve your efficiency and output quality.
1. Surface-Mount Device (SMD) Soldering
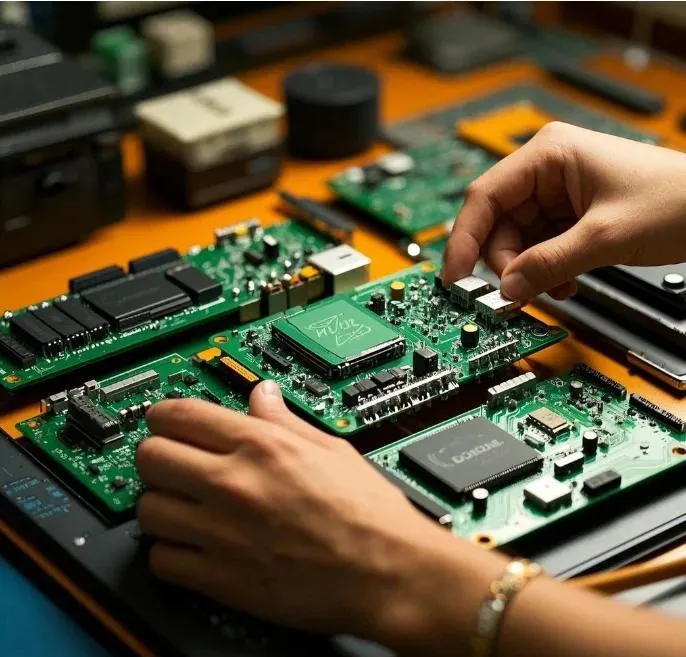
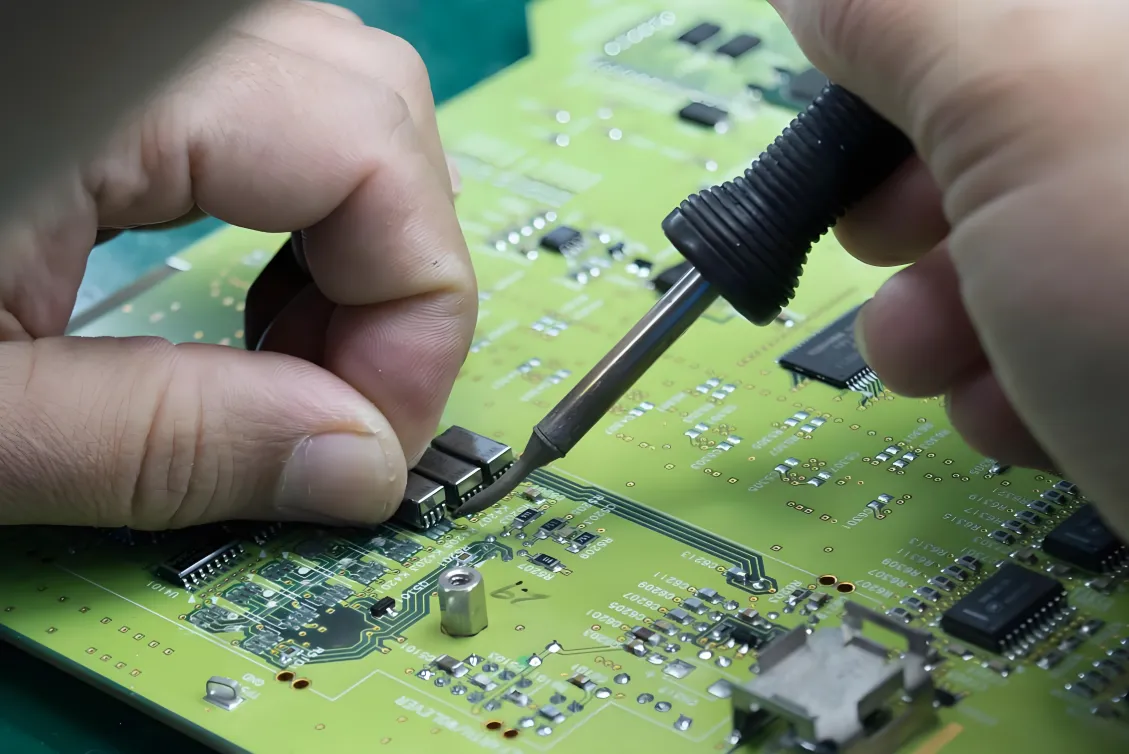
SMD components, like 0201 resistors or QFN packages, demand precision due to their small size and close pin spacing. Use a fine-tip soldering iron (1 mm or smaller) and apply a small amount of solder to one pad first. Position the component with tweezers, then heat the pre-soldered pad to secure it. Solder the remaining pins individually, using flux to prevent bridging. For multi-pin components, drag soldering—applying solder across pins and removing excess with a wick—can save time while maintaining clean joints.
2. Rework and Desoldering
Reworking a board often involves removing and replacing components without damaging the PCB. For through-hole parts, use a desoldering pump to suck up molten solder while heating the joint. For SMDs, apply heat to all pins simultaneously with a hot air rework station set to 300-350°C (572-662°F), then lift the component with tweezers. Clean the pads with solder wick and flux before installing the replacement part. This technique is vital for repairing high-value prototypes where pad damage could cost hours of redesign.
3. Working with Heat-Sensitive Components
Components like LEDs, capacitors, or ICs can be damaged by excessive heat. Use a heat sink (a small metal clip) on the component lead to dissipate heat during soldering. Alternatively, solder at the lowest effective temperature and minimize contact time to under 2 seconds. For multilayer boards with high thermal mass, preheating the board to 100-120°C (212-248°F) with a hot plate can reduce the thermal shock on components.
These advanced techniques allow electrical engineers to handle complex assemblies with confidence, ensuring both functionality and durability in their designs.
The Value of Hand Soldering Certification for Electrical Engineers
While hands-on experience is invaluable, obtaining a hand soldering certification for electrical engineers can set you apart in the industry. Certifications validate your skills, demonstrate commitment to quality, and often align with recognized standards that employers value.
Why Pursue Certification?
Certifications, such as those based on industry standards like IPC J-STD-001 (Requirements for Soldered Electrical and Electronic Assemblies), provide structured training in soldering techniques, safety, and quality control. They often include hands-on assessments where you must achieve defect-free joints under strict criteria—ensuring you meet professional benchmarks. Certified engineers are more likely to be trusted with high-stakes projects, such as aerospace or medical device assemblies, where reliability is non-negotiable.
Benefits for Career Growth
A certification can enhance your resume, opening doors to roles in quality assurance, manufacturing, or R&D. It also equips you with knowledge of electrostatic discharge (ESD) precautions, material handling, and documentation—skills that go beyond soldering itself. Many programs offer both in-person and online training, making them accessible regardless of your location or schedule.
How to Get Certified
Look for programs offered by reputable organizations that focus on electronics assembly standards. Courses typically span 1-5 days and cover topics like soldering theory, practical skills, and inspection methods. Passing a final exam or practical test (often requiring an 80% or higher score) earns you a certificate, which may need renewal every 2-3 years to stay current with evolving practices.
Investing in certification not only sharpens your skills but also signals to employers and clients that you prioritize excellence in your craft.
Common Hand Soldering Mistakes and How to Avoid Them
Even experienced engineers can encounter soldering issues. Here are common pitfalls and tips to avoid them, ensuring your work remains top-notch.
- Cold Joints: These occur when solder doesn’t fully melt or bond, often due to insufficient heat. Ensure your iron is at the correct temperature and make solid contact with both the pad and lead before applying solder.
- Solder Bridges: Excess solder can connect adjacent pins, causing shorts. Use minimal solder and clean up with a wick if bridging occurs, especially on fine-pitch components.
- Overheating Components: Prolonged heat can damage parts or lift PCB traces. Limit soldering time and use heat sinks for sensitive components.
- Poor Joint Appearance: Dull or grainy joints indicate contamination or improper heating. Clean surfaces thoroughly and ensure your iron tip is tinned and free of debris.
By staying vigilant and practicing proper technique, you can avoid these errors and maintain high standards in your soldering work.
Safety Tips for Hand Soldering
Soldering involves high temperatures and potentially harmful fumes, so safety is paramount. Follow these guidelines to protect yourself and your workspace.
- Work in a well-ventilated area or use a fume extractor to avoid inhaling rosin flux vapors.
- Wear safety glasses to protect your eyes from solder splashes or debris.
- Keep your soldering iron in a stand when not in use to prevent burns or fires.
- Handle components with care to avoid static discharge, using an ESD wrist strap for sensitive electronics.
Safety isn’t just about personal protection—it also ensures the longevity of your tools and the quality of your work.
Conclusion: Elevate Your Skills with Hand Soldering Mastery
Hand soldering is an indispensable skill for electrical engineers, blending technical precision with practical know-how. By adhering to hand soldering best practices for professionals, exploring advanced hand soldering techniques, and considering a hand soldering certification for electrical engineers, you can achieve perfection in every project. From selecting the right tools to mastering complex rework, the techniques and tips in this guide provide a roadmap to excellence.
Start small, practice consistently, and refine your approach with each joint you solder. Over time, you’ll build the confidence and expertise to tackle any soldering challenge, ensuring your designs perform flawlessly in the real world. Let your commitment to quality shine through every connection you create.


