 ALLPCB


Are you looking to create your own LED strip lighting with a custom PCB? Whether you're a hobbyist diving into DIY LED projects or an electronics enthusiast eager to design a unique lighting solution, designing a custom PCB for LED strips is an exciting and rewarding process. In this comprehensive guide, we'll walk you through every step of LED strip PCB design, from planning your project to manufacturing the board using online PCB services. You'll learn about flexible PCB design, SMD LED soldering techniques, and tips for hobbyist electronics projects. Let's get started on bringing your custom lighting ideas to life with custom PCB manufacturing!
Why Design a Custom PCB for LED Strip Lighting?
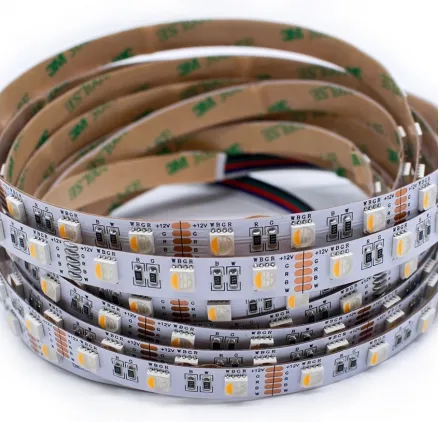
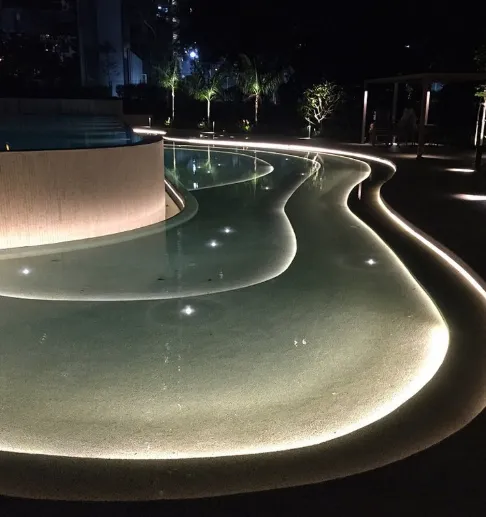
LED strip lighting is incredibly versatile, used in everything from home decor to automotive lighting and wearable tech. While pre-made LED strips are widely available, designing your own custom PCB offers unmatched flexibility. You can choose the exact layout, LED spacing, power requirements, and even integrate smart controls for dimming or color changes. For hobbyists, DIY LED projects like this provide a hands-on way to learn about circuit design and electronics.
Creating a custom PCB also ensures that your LED strip fits perfectly into your project, whether it's a unique shape or a specific length that off-the-shelf options can't provide. Plus, with online PCB services, getting your design manufactured is easier and more affordable than ever. Let's dive into the process of making your vision a reality.

Step 1: Planning Your LED Strip PCB Design
Before you start drawing schematics, take time to plan your project. A well-thought-out plan will save you time and prevent costly mistakes during the design and manufacturing stages. Here are the key factors to consider for your LED strip PCB design:
- Purpose and Application: What will your LED strip be used for? Is it for ambient lighting, a display, or a wearable item? The application will determine the size, shape, and flexibility of the PCB.
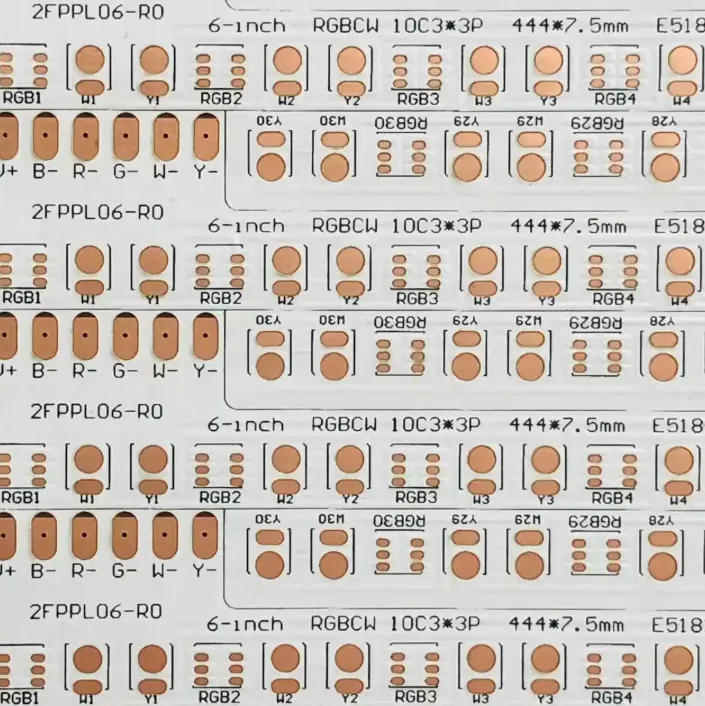
- LED Type and Specifications: Decide on the type of LEDs you’ll use, such as SMD (Surface-Mount Device) LEDs. Common sizes for LED strips include 2835, 5050, or 3528, which refer to the dimensions in millimeters (e.g., 2.8mm x 3.5mm for 2835). Check the voltage and current requirements—most LEDs operate at 3V to 5V per segment with currents ranging from 20mA to 60mA per LED.
- Power Supply: Calculate the total power consumption. For example, if you have 60 LEDs per meter, each drawing 20mA at 5V, a 1-meter strip will need 1.2A (60 x 0.02A). Ensure your power source can handle this load.
- Flexibility: Will your strip need to bend or curve? If so, opt for a flexible PCB design using materials like polyimide, which can handle bending without breaking.
- Control Features: Do you want to add dimming, color-changing (RGB), or smart control via a microcontroller? Plan for additional components like resistors, capacitors, or IC chips if needed.
Once you’ve outlined these details, you’re ready to move on to the design phase. Proper planning ensures your custom PCB meets both functional and aesthetic goals for your DIY LED projects.
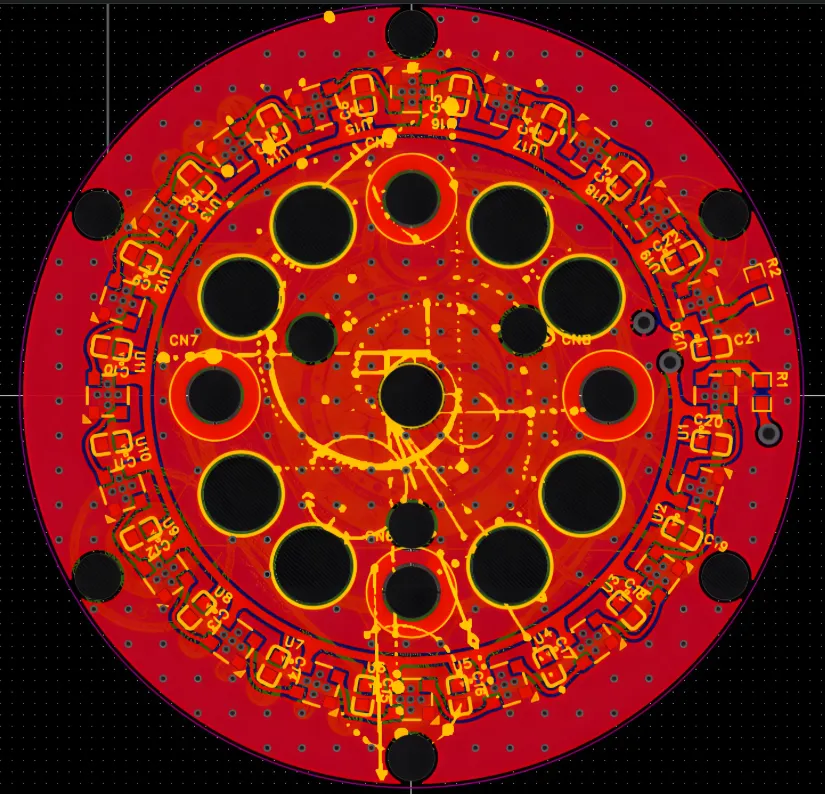
Step 2: Designing the PCB Layout for Your LED Strip
Designing the PCB is the heart of this project. This step involves creating a schematic and laying out the board to ensure proper electrical connections and functionality. Here’s how to approach it, especially if you’re new to hobbyist electronics.
Choosing Design Software
Start by selecting a PCB design software that suits your skill level. Many free or low-cost tools are available with user-friendly interfaces and extensive libraries of components. These tools allow you to draw schematics, place components, and route traces for your LED strip.
Creating the Schematic
Your schematic is a blueprint of how components connect. For an LED strip, the design is often a repeating pattern:
- Place LEDs in parallel or series-parallel configurations depending on voltage. For a 12V system, group LEDs in sets of 3 (each at 3V-4V) with a current-limiting resistor per group (typically 120-220 ohms for 20mA LEDs).
- Add power input pads for connecting to your power source.
- Include optional components like connectors for easy installation or ICs for control features.
Board Layout
Once the schematic is ready, switch to the board layout mode in your software. Here are some tips for LED strip PCB design:
- Trace Width: Ensure copper traces are wide enough to handle the current. For a strip drawing 1A, a trace width of 0.5mm to 1mm on a 1oz copper layer is usually sufficient.
- Spacing: Maintain adequate spacing between LEDs for even light distribution. A common spacing is 16.7mm for 60 LEDs per meter.
- Flexibility: If using a flexible PCB design, avoid sharp corners in traces and use curved paths to reduce stress during bending.
- Thermal Management: LEDs generate heat, so consider adding thermal vias or using a PCB material with good heat dissipation for high-power designs.
Double-check your design for errors before finalizing it. Many software tools have built-in design rule checks (DRC) to catch issues like unconnected pins or overlapping traces.
Step 3: Manufacturing Your Custom PCB with Online Services
After completing your design, the next step is to manufacture the PCB. Thanks to advancements in custom PCB manufacturing, hobbyists can now order professional-grade boards without breaking the bank. Using online PCB services, you can upload your design files and receive finished boards in just a few days.
Preparing Files for Manufacturing
Export your design as Gerber files, which are the standard format for PCB fabrication. These files include layers for copper traces, solder mask, silkscreen, and drill holes. Also, provide a Bill of Materials (BOM) if you want components assembled by the manufacturer.
Choosing a Service Provider
Look for a reliable service that offers options for both rigid and flexible PCBs, quick turnaround times, and affordable pricing for small batches. Check if they support flexible PCB design if your LED strip requires bending. Many services also offer assembly, which can save time on SMD LED soldering.
Reviewing and Ordering
Upload your files and review the design preview provided by the service to ensure everything looks correct. Pay attention to specifications like board thickness (0.2mm to 0.4mm is common for flexible PCBs) and copper weight (1oz is standard for most LED strips). Once confirmed, place your order and wait for delivery.
Step 4: Assembling and Soldering Your LED Strip PCB
Once your PCB arrives, it’s time to assemble the components. For many hobbyists, SMD LED soldering can seem intimidating, but with the right tools and techniques, it’s manageable even for beginners in hobbyist electronics.
Tools You’ll Need
- Soldering iron with a fine tip (25-30W is ideal for SMD work)
- Solder wire (0.6mm to 0.8mm diameter, lead-free recommended)
- Flux to help solder flow smoothly
- Tweezers for placing small components
- Magnifying glass or microscope for precision
Soldering SMD LEDs
SMD components are tiny, so patience is key. Follow these steps:
- Apply a small amount of flux to the PCB pads where the LED will sit.
- Place a tiny dot of solder on one pad using your soldering iron.
- Position the LED on the pads using tweezers, ensuring correct polarity (check the datasheet for anode/cathode markings).
- Heat the pad with solder and place the LED into it, then solder the other side.
- Inspect for cold joints or bridges and clean up excess solder with a desoldering wick if needed.
If soldering feels too challenging, consider opting for assembly services during manufacturing to have components pre-soldered.
Step 5: Testing and Troubleshooting Your LED Strip
After assembly, test your LED strip to ensure everything works as planned. Connect it to your power source and check if all LEDs light up. If some don’t, here are common issues to troubleshoot:
- Polarity Issues: Double-check that LEDs are oriented correctly. Reversing polarity prevents them from lighting.
- Power Supply Mismatch: Ensure the voltage and current match your design specs. Overloading can damage components.
- Soldering Errors: Look for cold joints or broken connections. Reflow solder if needed.
- Trace Damage: Inspect for cuts or breaks in the PCB traces, especially in flexible PCB design after bending.
Testing ensures your hard work pays off with a functional and reliable LED strip for your DIY LED projects.
Step 6: Installing and Using Your Custom LED Strip
With testing complete, install your LED strip in its intended application. Use adhesive backing, mounting brackets, or custom enclosures depending on the project. For flexible strips, avoid excessive bending beyond the recommended radius (often specified as 10-20mm for polyimide-based boards) to prevent damage.
If you’ve added smart controls, connect the strip to a microcontroller or driver circuit to enable features like color changes or dimming. Enjoy the satisfaction of seeing your custom design illuminate your space or project!
Tips for Success in Hobbyist Electronics Projects
As you dive deeper into hobbyist electronics and DIY LED projects, keep these tips in mind to improve your skills and outcomes:
- Start with simple designs before tackling complex layouts with RGB or smart features.
- Always double-check component datasheets for voltage, current, and polarity to avoid damaging parts.
- Practice soldering on scrap PCBs to build confidence with SMD LED soldering.
- Take advantage of community forums and tutorials for troubleshooting and inspiration.
- Iterate on your designs—your first PCB might not be perfect, but each project teaches valuable lessons.
Conclusion: Bring Your LED Strip Ideas to Life
Designing your own custom PCB for LED strip lighting is a fantastic way to personalize your projects and learn about electronics. From planning and designing to manufacturing with online PCB services and assembling with SMD LED soldering, each step builds your skills in hobbyist electronics. Whether you’re working on ambient lighting, wearable tech, or artistic displays, LED strip PCB design opens up endless possibilities.
With the right tools, a bit of patience, and access to custom PCB manufacturing, you can turn your ideas into reality. Start small, experiment with flexible PCB design if needed, and watch your DIY LED projects shine brighter than ever. Get started on your custom LED strip today and illuminate your world!


