ALLPCB


Are you a hobbyist looking to master hand soldering for prototype assembly? Whether you're building a DIY PCB or tinkering with electronics projects, hand soldering is a critical skill. In this detailed guide, we'll walk you through essential hand soldering techniques, soldering iron selection, solder types for electronics, flux application, and the best DIY PCB assembly tools. Let's dive into the art of hand soldering with ALLPCB and help you create reliable, professional-quality prototypes from your workbench.
Why Hand Soldering Matters for Hobbyists
Hand soldering is the backbone of electronics prototyping. It allows hobbyists to assemble components onto printed circuit boards (PCBs), repair gadgets, or create custom projects with precision. Unlike automated soldering used in mass production, hand soldering gives you full control over every joint, making it ideal for small-scale or one-off builds. Mastering this skill can save you time, money, and frustration while ensuring your projects function as intended.
In the sections below, we'll break down everything you need to know to get started or refine your soldering game. From choosing the right tools to applying flux correctly, this guide is packed with practical tips tailored for electronic hobbyists.
Getting Started: Essential Tools for Hand Soldering
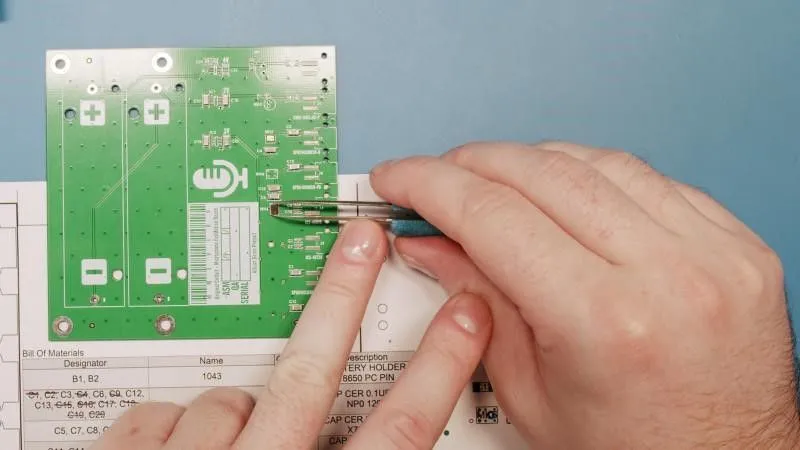
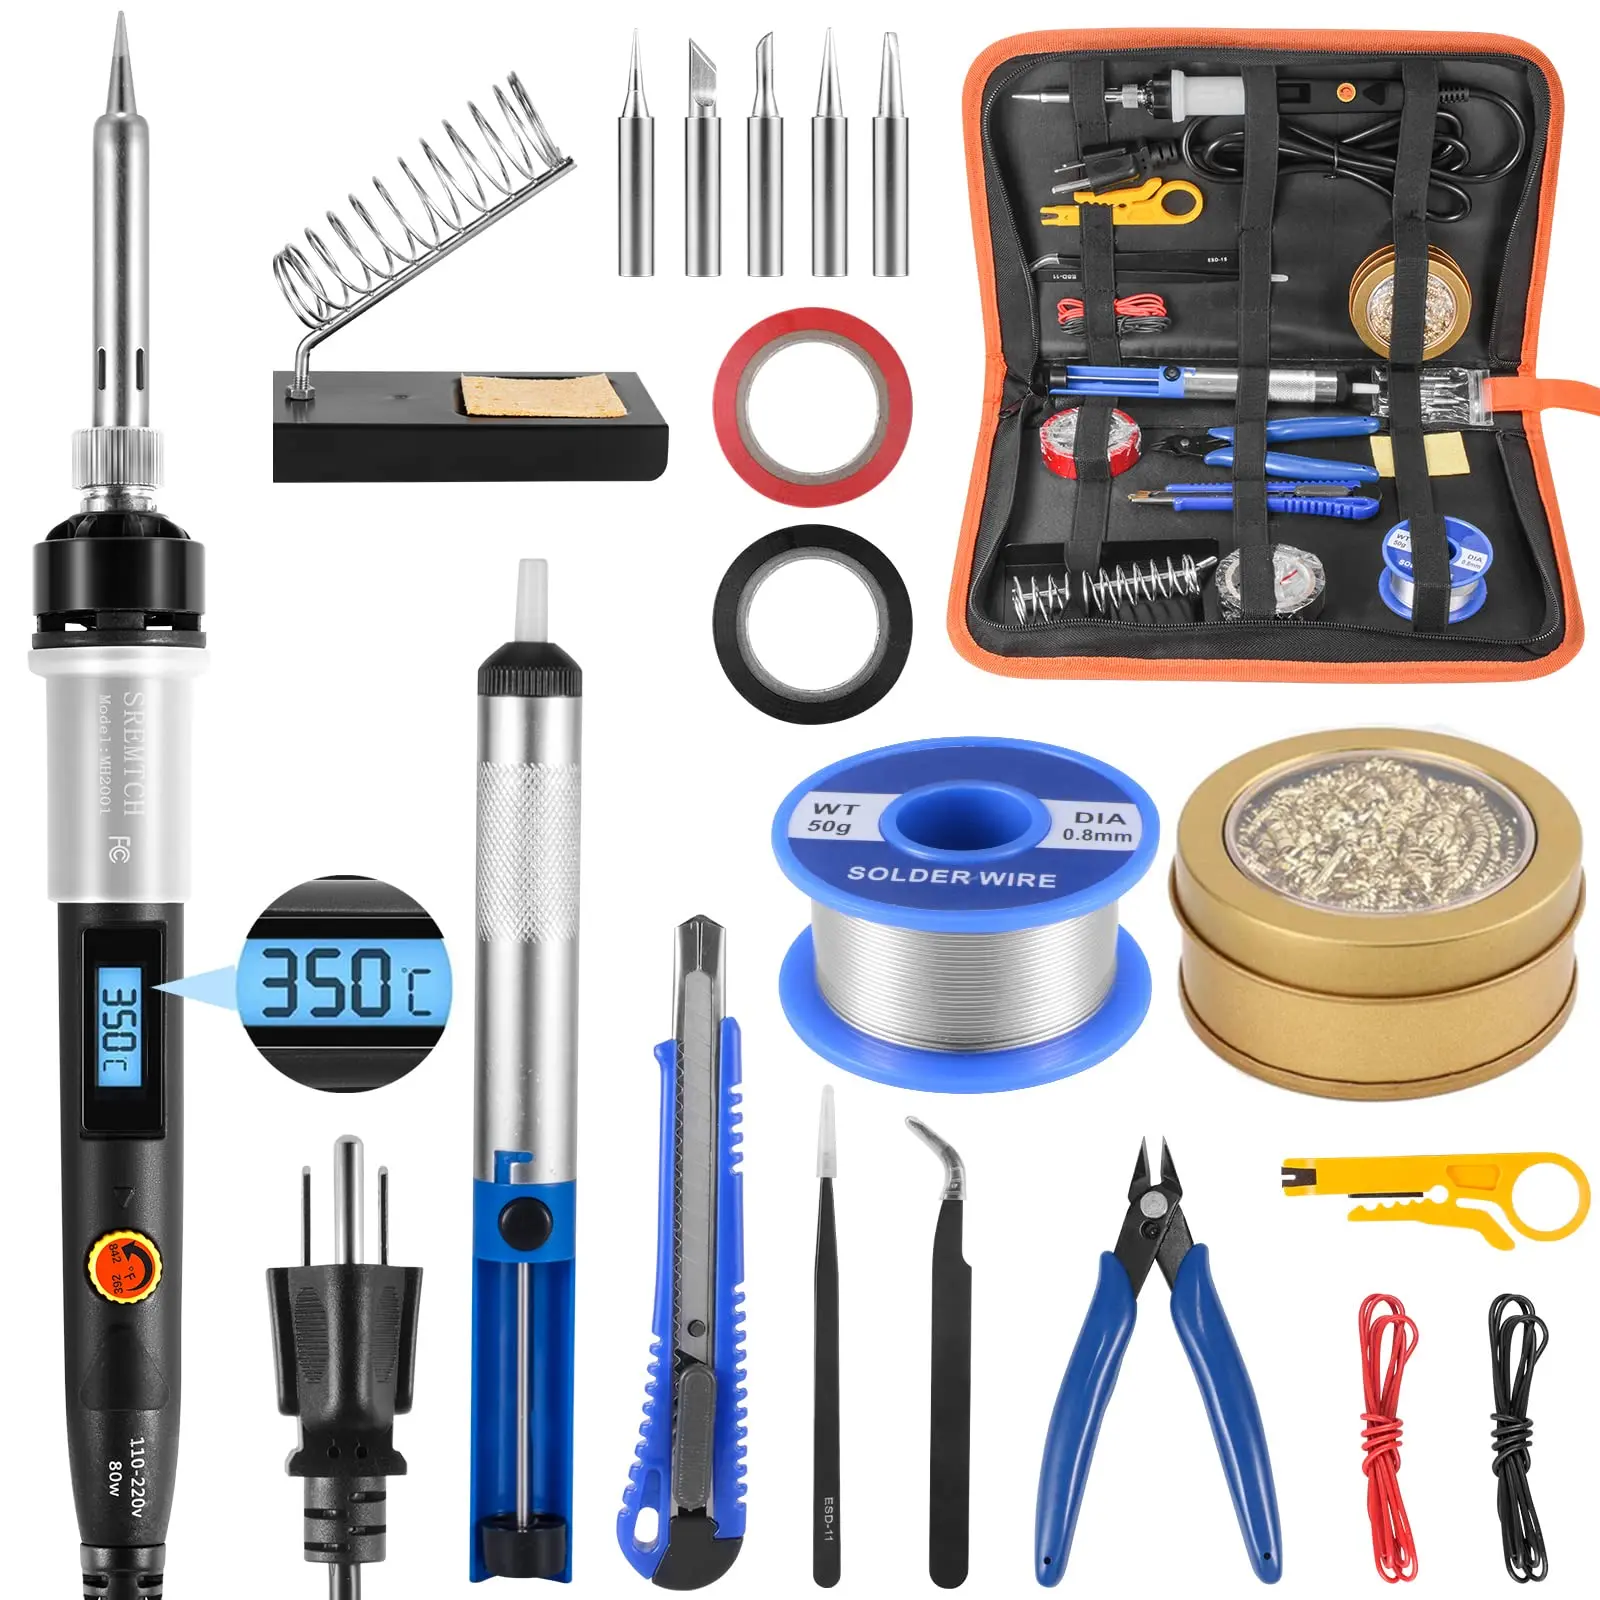
Before you heat up a soldering iron, you need the right tools. Having a well-equipped setup not only makes soldering easier but also ensures safety and quality. Here's a rundown of the must-have tools for DIY PCB assembly:
- Soldering Iron: The heart of your setup. Choose a temperature-controlled soldering iron with adjustable settings between 300°C to 400°C for electronics work. A 25-40 watt iron is ideal for most hobbyist projects.
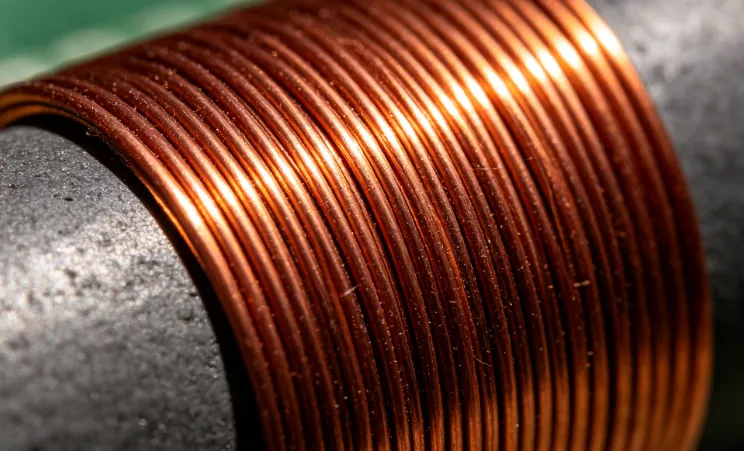
- Solder Wire: Opt for lead-free rosin-core solder with a diameter of 0.5mm to 1mm for precise work on small components.
- Flux: Helps clean surfaces and improve solder flow. Use a flux pen or liquid flux for surface-mount components.
- Desoldering Tools: A solder sucker or desoldering braid is essential for fixing mistakes or removing components.
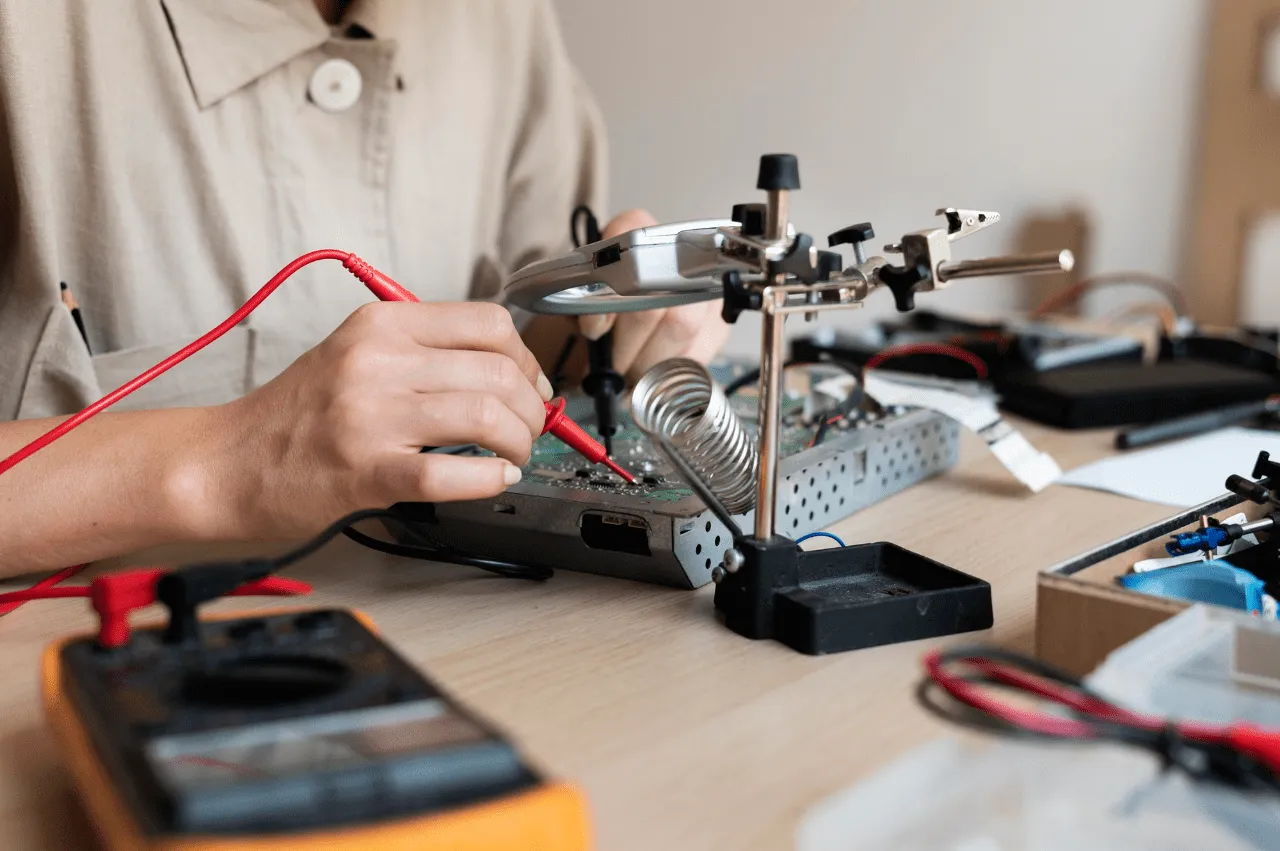
- Helping Hands: These adjustable clamps hold your PCB or components steady while you work.
- Safety Gear: Safety glasses and a well-ventilated workspace protect you from fumes and accidental burns.
- Cleaning Tools: Isopropyl alcohol (90% or higher) and a small brush to clean flux residue after soldering.
Investing in quality tools upfront can make a huge difference. For example, a cheap soldering iron without temperature control might overheat delicate components, causing damage. A reliable iron like the Hakko FX-888D, often praised by hobbyists, offers precise control and durability for around $100.
Soldering Iron Selection: Finding the Perfect Tool
Choosing the right soldering iron is crucial for successful prototype assembly. Not all irons are created equal, and the wrong choice can lead to poor joints or damaged components. Here are key factors to consider when selecting a soldering iron:
- Wattage: For electronics, 25-40 watts is sufficient. Higher wattage (60W+) is better for larger components or wires but can overheat small PCBs.
- Temperature Control: Adjustable temperature is a must. Most components require 300°C to 350°C, while lead-free solder often needs up to 400°C.
- Tip Type: Fine conical tips (1mm or smaller) are ideal for precision work on small pads, while chisel tips work well for larger joints.
- Ergonomics: A lightweight, comfortable grip reduces hand fatigue during long sessions.
As a hobbyist, you don’t need to break the bank. Budget-friendly options like the Weller WLC100 (around $40) offer adjustable temperature and decent performance. If you’re willing to invest more, a soldering station with digital controls provides better accuracy and often comes with replaceable tips for versatility.
Pro Tip: Keep your soldering iron tip clean by wiping it on a damp sponge or using a brass wire cleaner. A clean tip ensures better heat transfer and cleaner joints.
Choosing the Right Solder Type for Electronics
The type of solder you use directly impacts the quality of your joints. Solder is a metal alloy that melts to form a conductive bond between components and PCB pads. Here’s what hobbyists need to know about solder types:
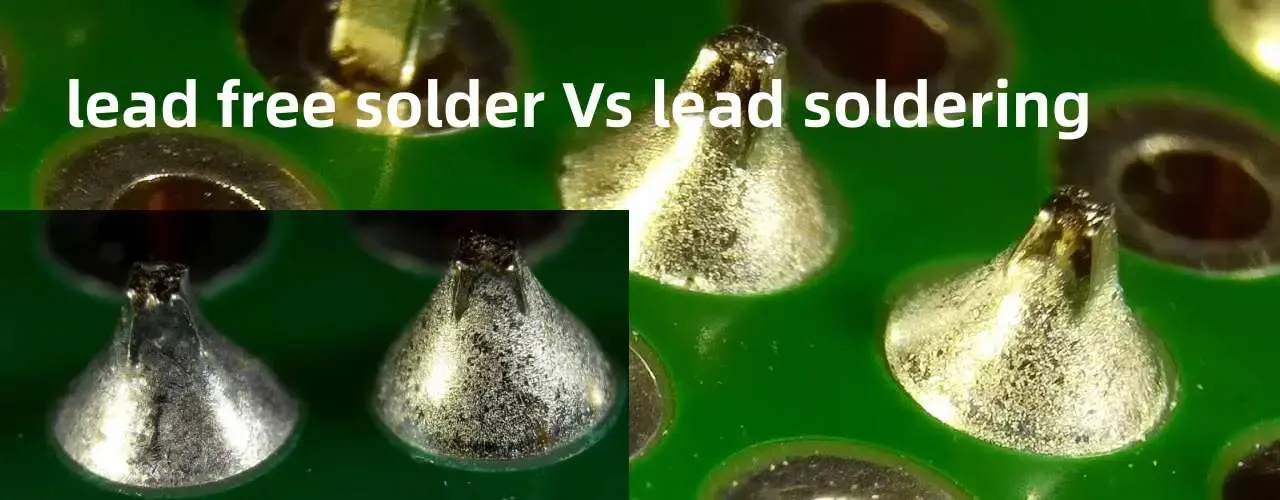
- Lead vs. Lead-Free: Lead solder (60/40 tin-lead) melts at a lower temperature (around 183°C) and flows easily, but it’s toxic. Lead-free solder (usually tin-silver-copper) is safer but requires higher temperatures (up to 217°C) and can be trickier to work with.
- Core Type: Rosin-core solder has built-in flux, making it convenient for most tasks. Avoid acid-core solder, as it’s corrosive to electronics.
- Diameter: Use 0.5mm to 1mm diameter solder for fine electronics work. Thicker solder (1.5mm+) is better for larger connections like wires.
For most hobbyist projects, a 0.8mm lead-free rosin-core solder works well. It’s a good balance of safety, ease of use, and precision. Brands like Kester or MG Chemicals are widely trusted and available in small spools for under $10.
Remember: Always store solder in a cool, dry place to prevent oxidation, which can lead to poor joints.
Mastering Hand Soldering Techniques
Now that you have your tools and materials, let’s cover the core hand soldering techniques every hobbyist should know. Good technique ensures strong, reliable joints and prevents damage to components or PCBs.
1. Preparing Your Workspace and Components
Start with a clean, organized workspace. Secure your PCB in a helping hands tool or vise to keep it steady. Tin your soldering iron tip by applying a thin layer of fresh solder—this improves heat transfer. Finally, ensure your components and PCB pads are clean; use isopropyl alcohol and a brush if needed.
2. Applying Heat and Solder
Place the soldering iron tip on both the component lead and the PCB pad simultaneously to heat them evenly. After 2-3 seconds, touch the solder wire to the joint (not the iron tip). The solder should melt and flow smoothly around the lead and pad, forming a shiny, cone-shaped joint. Remove the solder wire first, then the iron, and let the joint cool naturally—don’t blow on it!
3. Avoiding Common Mistakes
Poor soldering can cause the cold joint (dull, grainy appearance) or solder bridge (solder connecting unintended pads). To avoid these:
- Don’t overheat—limit contact to 3-5 seconds per joint to prevent lifting pads or burning components.
- Use just enough solder; too much creates blobs, too little leads to weak connections.
- Check for cold joints by gently tugging on components after soldering. If they move, reheat and add more solder.
Practice on a scrap PCB or kit before tackling your main project. For instance, soldering a simple LED and resistor circuit can help you get a feel for heat control and solder flow.
Suggested Reading: The Art of Hand Soldering: Techniques for Perfect Manual Assembly
Flux Application: The Secret to Clean Joints
Flux is a chemical agent that cleans metal surfaces by removing oxidation, allowing solder to bond properly. Proper flux application can make or break your soldering results. Here’s how to use it effectively:
- When to Use Flux: Apply flux to pads or leads before soldering, especially if they look oxidized (dull or discolored). It’s also helpful for surface-mount components or rework.
- How to Apply: Use a flux pen for precise application on small areas, or a small brush for liquid flux. Don’t overdo it—a thin layer is enough.
- Cleaning After: Flux residue can be sticky or corrosive over time. Clean it off with isopropyl alcohol and a brush once your joints cool.
I’ve found that using a no-clean flux pen simplifies the process for small projects, as it leaves minimal residue. However, for densely populated PCBs, liquid flux in a syringe offers better control. A small 10ml bottle costs around $5 and lasts for dozens of projects.
Troubleshooting and Reworking Soldered Joints
Mistakes happen, especially when you’re learning. Knowing how to troubleshoot and rework bad joints is just as important as soldering itself. Here are common issues and fixes:
- Cold Joints: Reheat the joint with your iron and add a small amount of fresh solder to restore a shiny, smooth connection.
- Solder Bridges: Use desoldering braid and flux to wick away excess solder between pads.
- Component Removal: Use a solder sucker to remove old solder, then gently lift the component with tweezers while heating the pads.
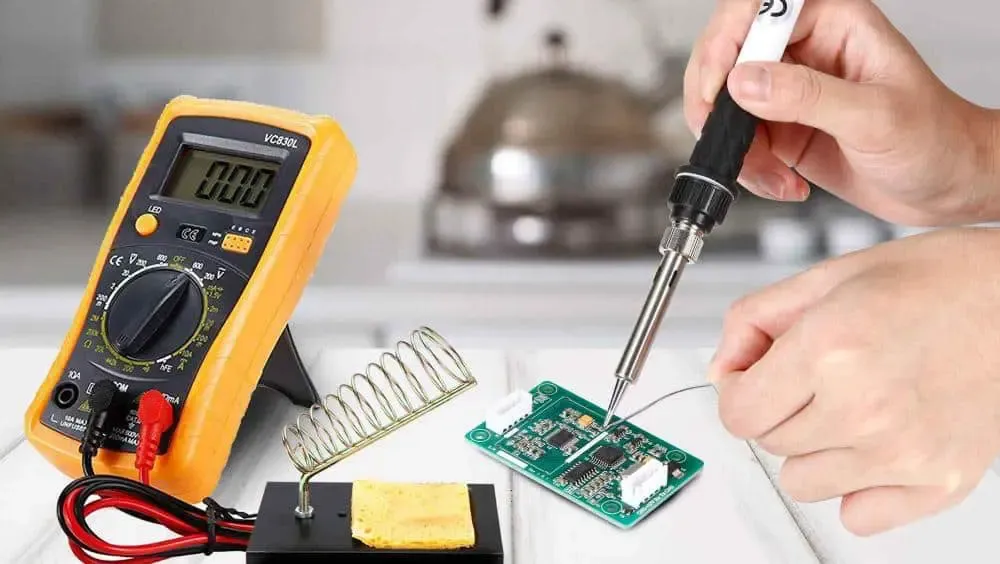
Always test your circuit after rework. A multimeter set to continuity mode can help confirm that joints are solid and there are no shorts. For example, if a resistor shows an unexpected resistance value (say, 1MΩ instead of 1kΩ), you might have a cold joint or misplaced component.
Safety Tips for Hand Soldering
Soldering involves heat and chemicals, so safety is non-negotiable. Follow these tips to protect yourself:
- Work in a well-ventilated area or use a fume extractor to avoid inhaling solder fumes.
- Wear safety glasses to shield your eyes from solder splashes.
- Keep a fire extinguisher nearby in case of accidents.
- Never touch the soldering iron tip—it can reach 400°C and cause severe burns.
- Unplug your iron when not in use and store it in a heat-resistant stand.
I once made the mistake of soldering in a poorly ventilated room and ended up with a headache from the fumes. Since then, I’ve always used a small desk fan to direct fumes away from my face—it’s a simple fix that makes a big difference.
Conclusion: Hone Your Hand Soldering Skills
Hand soldering is both an art and a science, and with the right tools and techniques, any hobbyist can achieve professional results. From selecting the perfect soldering iron to mastering flux application and hand soldering techniques, this guide has covered the essentials for successful DIY PCB assembly. Start with small projects, practice regularly, and don’t be afraid to make mistakes—they’re part of the learning process.
Ready to build your next prototype? Gather your tools, follow these tips, and watch your skills grow. If you found this guide helpful, share it with fellow hobbyists or drop a comment with your soldering questions or experiences. Let’s keep the electronics community buzzing with creativity!