 ALLPCB


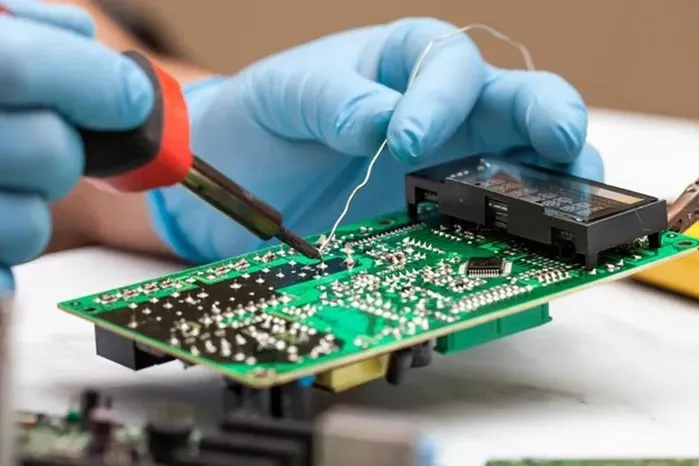
Hand soldering through-hole components is a fundamental skill for anyone working with electronics, whether you're a hobbyist, student, or professional engineer. This process involves manually soldering components with leads that pass through holes in a printed circuit board (PCB) to create secure electrical and mechanical connections. In this comprehensive guide, we'll explore the best techniques and practices for hand soldering through-hole components, covering key areas such as temperature control, essential tools, joint inspection, lead-free soldering, and ESD safety. Let’s dive into the details to help you achieve reliable and professional results every time.
What Is Hand Soldering for Through-Hole Components?
Hand soldering through-hole components refers to the manual process of attaching electronic components to a PCB by inserting their leads through pre-drilled holes and securing them with molten solder. This technique is widely used for components like resistors, capacitors, diodes, and connectors, especially in prototypes, repairs, or low-volume production. Unlike surface-mount technology (SMT), through-hole components offer stronger mechanical bonds, making them ideal for applications where durability is crucial.
In this blog, we'll break down the essential techniques and best practices to ensure your soldering is efficient, safe, and produces high-quality results. Whether you're new to soldering or looking to refine your skills, this guide will provide actionable tips to master the craft.
Essential Hand Soldering Tools for Through-Hole Components
Having the right tools is critical for successful hand soldering. Using high-quality equipment not only makes the process easier but also ensures better results and safety. Here are the must-have tools for soldering through-hole components:
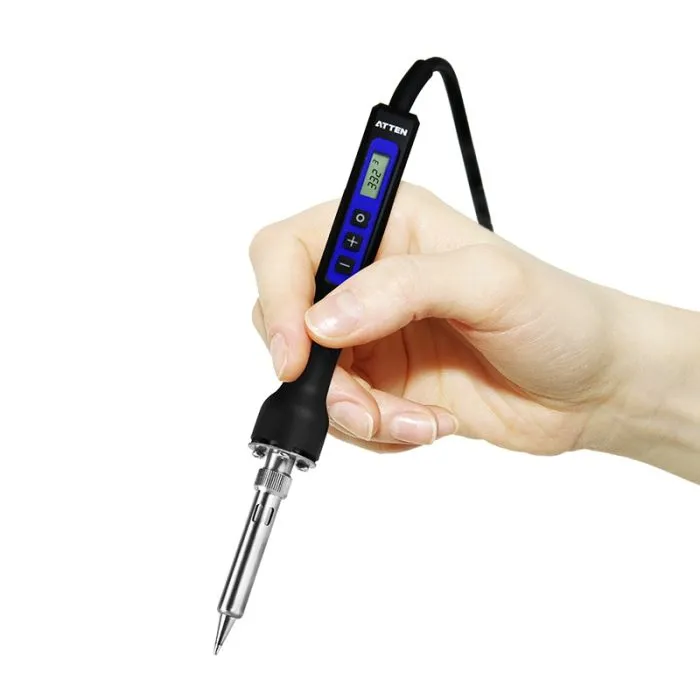
- Soldering Iron: A temperature-controlled soldering iron with a fine tip (around 1mm to 2mm) is ideal for through-hole work. Look for a model with adjustable temperature settings between 250°C to 350°C to handle various solder types.
- Solder Wire: Use rosin-core solder wire with a diameter of 0.5mm to 1mm for precise application. Choose between leaded (60/40 tin-lead) or lead-free options based on your project requirements.
- Flux: Flux helps clean the surfaces and improves solder flow. Use a flux pen or liquid flux for better control on through-hole joints.
- Desoldering Tools: A desoldering pump or braid is essential for removing excess solder or correcting mistakes.
- Wire Cutters: Flush cutters are perfect for trimming component leads after soldering to achieve a clean finish.
- Tweezers: Precision tweezers help position components and handle small parts during soldering.
- Magnifying Glass or Loupe: Useful for inspecting solder joints and ensuring no defects are present.
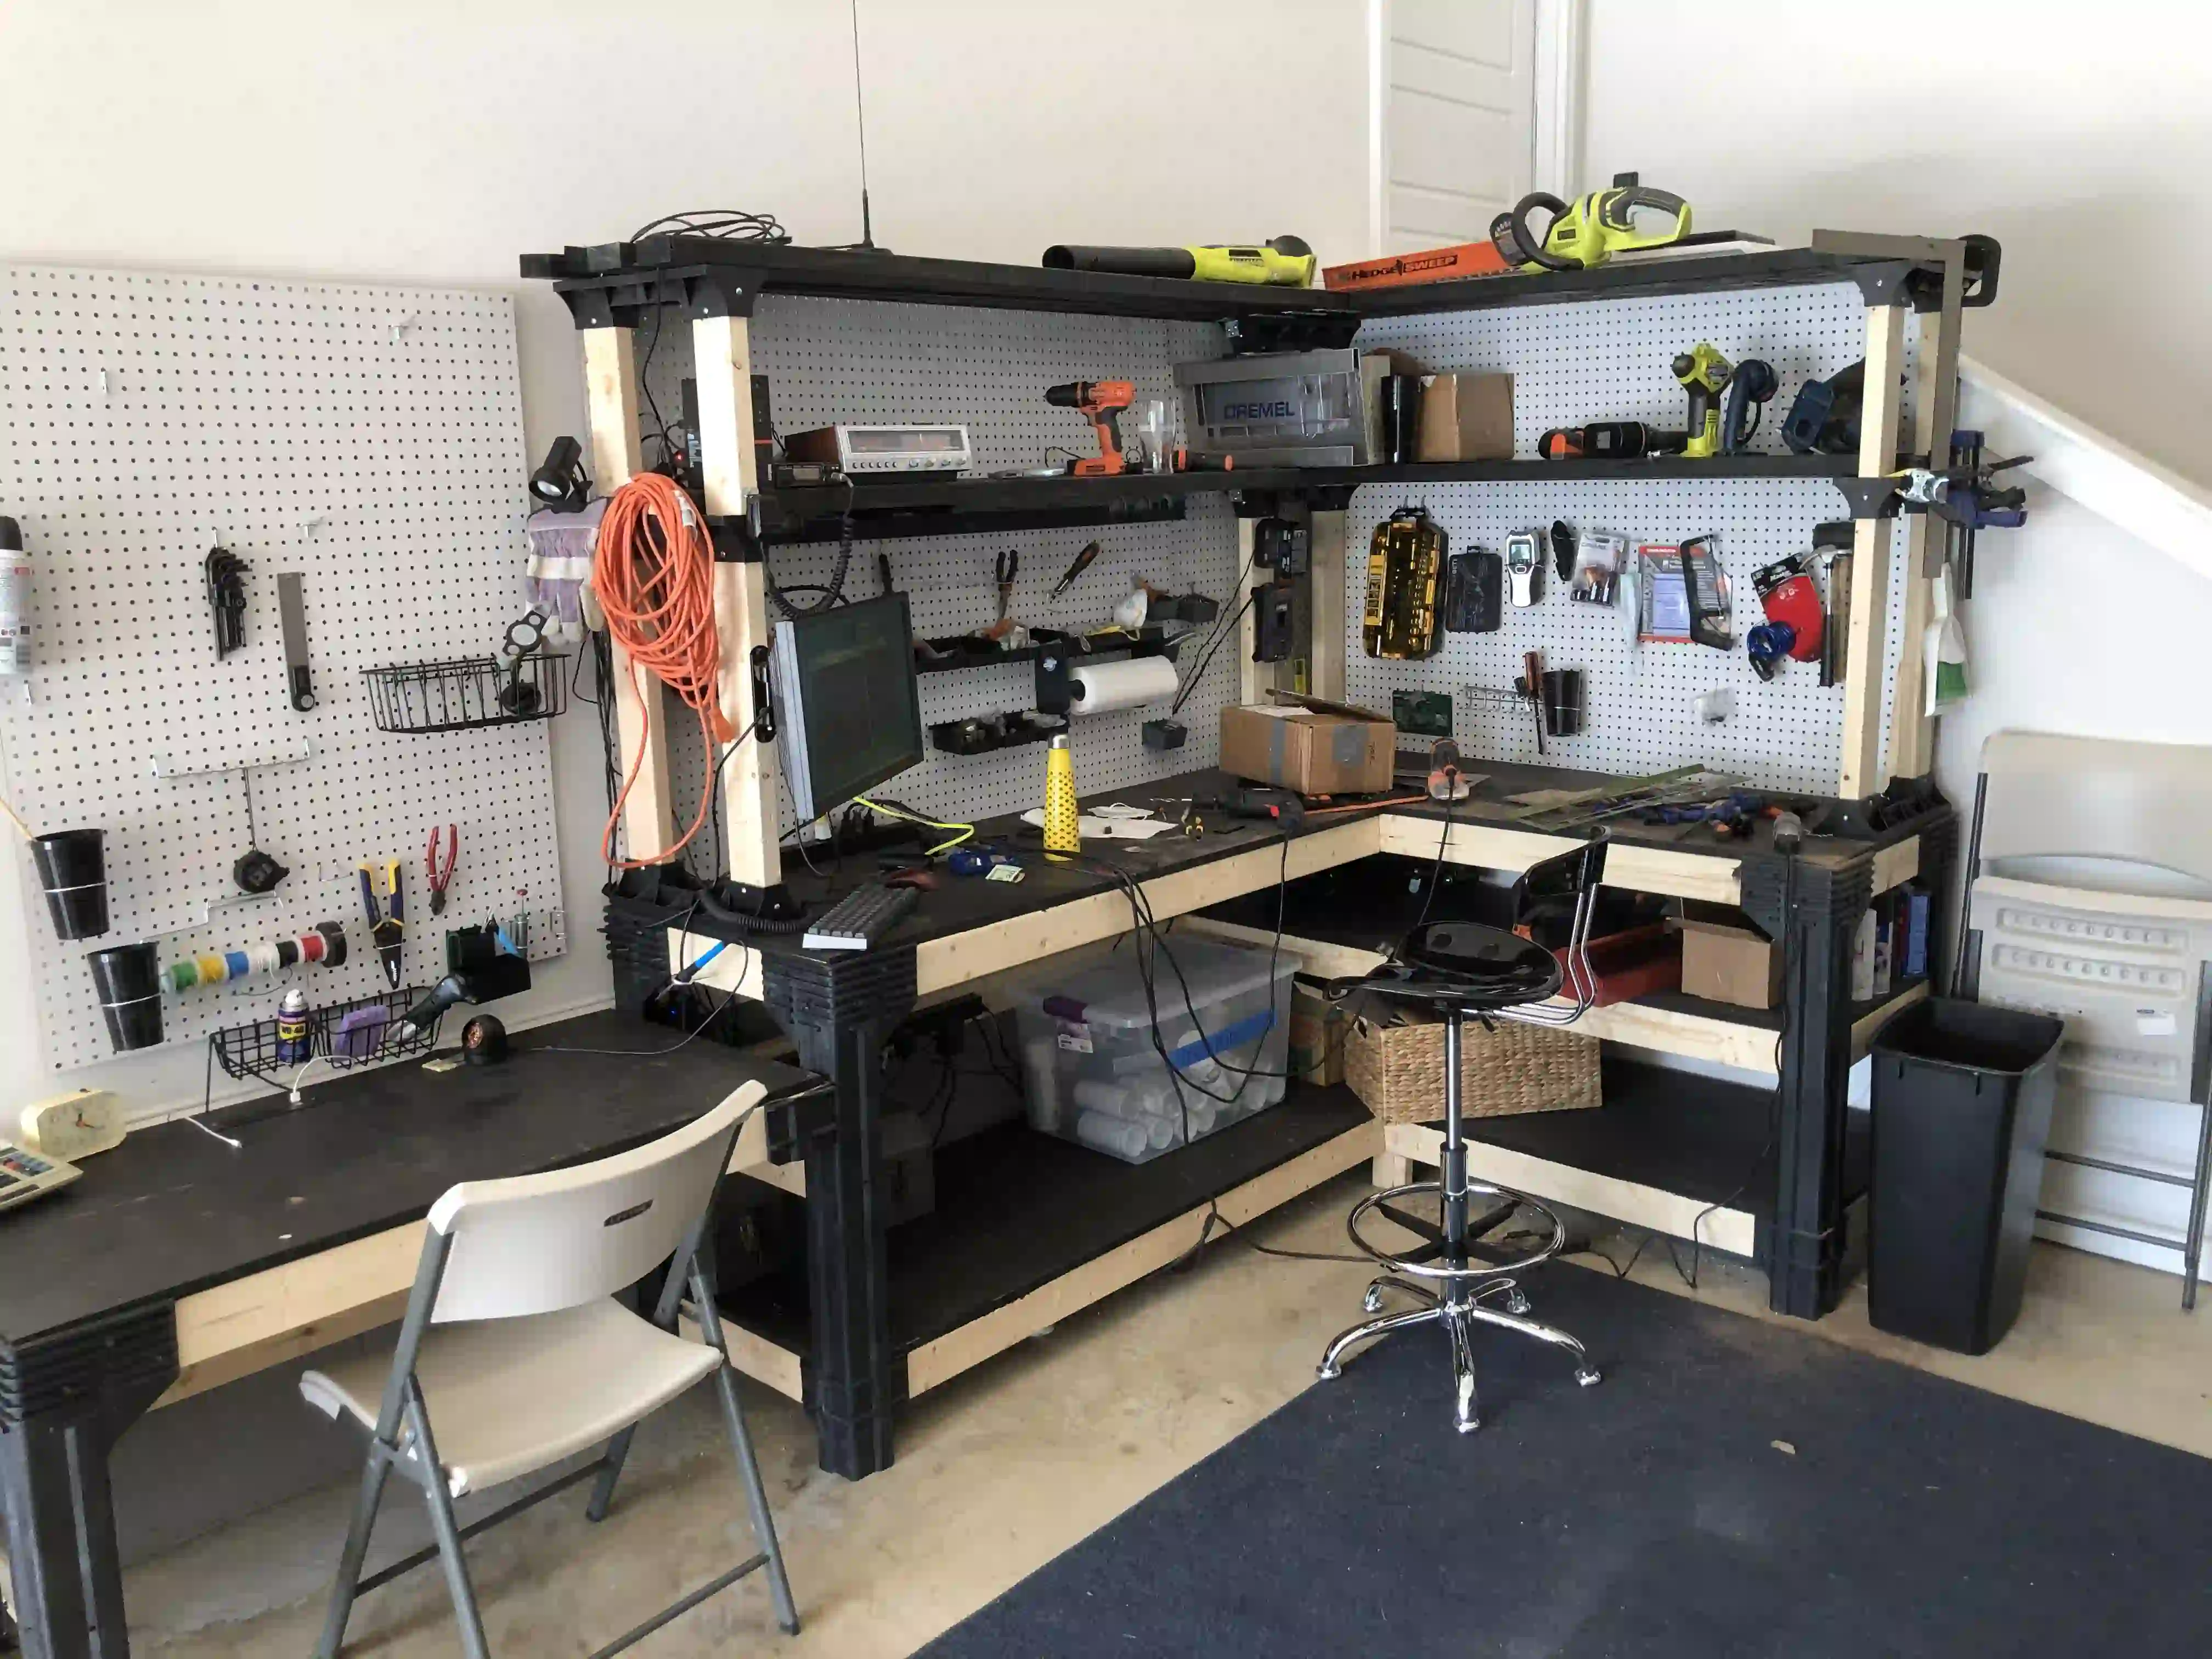
- Workbench Setup: A well-lit, ventilated workspace with a heat-resistant mat protects surfaces and ensures safety.
Investing in quality tools can make a significant difference in the precision and durability of your solder joints. Always keep your tools clean and well-maintained for consistent performance.
Hand Soldering Temperature Control: Getting It Right
Temperature control is one of the most critical aspects of hand soldering through-hole components. Using the correct temperature prevents damage to components and the PCB while ensuring a strong solder joint. Here are some key tips for effective hand soldering temperature control:
- Know Your Solder Type: Leaded solder typically melts at around 180°C to 190°C, while lead-free solder requires higher temperatures, often between 220°C and 250°C. Set your soldering iron accordingly.
- Component Sensitivity: Some components, like LEDs or certain ICs, are heat-sensitive. Use a temperature of 250°C to 300°C and minimize contact time (under 3-5 seconds per joint) to avoid damage.
- PCB Thickness: Thicker PCBs or those with large ground planes may require slightly higher temperatures (up to 350°C) as they dissipate heat quickly.
- Use a Temperature-Controlled Iron: Avoid cheap, non-adjustable irons as they can overheat and damage components or lift PCB traces.
A good rule of thumb is to start at a lower temperature and increase it slightly if the solder doesn’t flow properly. Always test on a scrap PCB if you're unsure about the settings for a specific project.
Step-by-Step Techniques for Hand Soldering Through-Hole Components
Mastering the technique of hand soldering through-hole components requires practice and attention to detail. Follow these steps for consistent, high-quality results:
- Prepare the Workspace: Ensure your workbench is clean, well-lit, and free of clutter. Wear safety glasses to protect your eyes from stray solder or clipped leads.
- Insert the Component: Place the component leads through the appropriate holes on the PCB. Bend the leads slightly on the underside to hold the component in place if needed.
- Clean the Surfaces: Use flux to clean the component leads and PCB pads. This helps the solder flow smoothly and creates a stronger bond.
- Heat the Joint: Place the soldering iron tip on both the component lead and the PCB pad simultaneously to heat them evenly. Hold for about 1-2 seconds.
- Apply Solder: Touch the solder wire to the heated joint (not the iron tip). The solder should melt and flow around the lead and pad, forming a shiny, cone-shaped joint. Use only enough solder to cover the joint—typically 1-2mm of wire.
- Remove the Iron: Withdraw the solder wire first, then the iron, to avoid creating cold joints. Let the joint cool naturally without blowing on it.
- Trim Excess Leads: Use flush cutters to trim the component leads close to the solder joint for a neat finish.
Practice these steps on a scrap board to build confidence before working on a critical project. Consistency in heating and solder application is key to avoiding weak or defective joints.
Related Reading: Hand Soldering with Solder Paste: A Step by Step Guide for Beginners
Hand Soldering Joint Inspection: Ensuring Quality
Inspecting your solder joints is crucial to ensure reliability and functionality. Poor joints can lead to electrical failures or mechanical issues over time. Here’s how to perform a thorough hand soldering joint inspection:
- Visual Check: A good solder joint should be shiny, smooth, and cone-shaped, fully covering the pad and lead without excess solder. Dull or grainy joints may indicate a "cold solder joint," which is weak and prone to failure.
- Mechanical Test: Gently tug on the component to ensure it’s secure. If it moves, the joint may need rework.
- Use Magnification: A magnifying glass or loupe can help spot tiny cracks, insufficient solder, or bridging (solder connecting adjacent pads).
- Electrical Testing: Use a multimeter to check for continuity between the soldered points. This confirms the joint provides a proper electrical connection.
If a joint fails inspection, desolder it using a desoldering pump or braid, clean the area, and resolder. Taking the time to inspect and correct issues prevents long-term problems in your circuit.
Related Reading: Improving Hand Soldering Quality: Advanced Techniques for Stronger, More Reliable Joints
Lead-Free Hand Soldering: Challenges and Tips
Lead-free hand soldering has become increasingly common due to environmental and health regulations, such as RoHS (Restriction of Hazardous Substances). However, lead-free solder poses unique challenges compared to traditional leaded solder. Here’s how to handle lead-free hand soldering effectively:
- Higher Melting Point: Lead-free solder, often made of tin-silver-copper alloys, melts at higher temperatures (around 217°C to 227°C) compared to leaded solder. Adjust your soldering iron to 300°C to 350°C for best results.
- Poor Wetting: Lead-free solder doesn’t flow as easily, which can result in weaker joints. Use additional flux to improve wetting and ensure a strong bond.
- Brittleness: Lead-free joints are more prone to cracking under stress. Avoid excessive mechanical strain on the soldered components.
- Tip Wear: Higher temperatures can wear out soldering iron tips faster. Use high-quality tips and clean them regularly with a damp sponge or brass wire cleaner.
While lead-free soldering requires more care, with the right tools and techniques, you can achieve reliable results. Always prioritize safety by working in a well-ventilated area to avoid inhaling fumes.
ESD Safety in Hand Soldering: Protecting Your Components
Electrostatic discharge (ESD) can damage sensitive electronic components, leading to immediate failure or latent defects. Implementing ESD safety in hand soldering is essential to protect your work. Follow these best practices:
- Use an ESD-Safe Workstation: Work on an ESD mat connected to ground to dissipate static charge. Ensure your soldering iron is ESD-safe with a grounded tip.
- Wear an ESD Wrist Strap: A wrist strap connected to ground prevents static buildup on your body from discharging into components.
- Handle Components Properly: Store sensitive components in ESD-safe bags or containers until ready for use. Avoid touching component leads with bare hands.
- Minimize Movement: Excessive movement can generate static, especially on dry or carpeted surfaces. Keep your workspace static-free by avoiding unnecessary shuffling.
ESD damage isn’t always visible immediately but can cause intermittent failures over time. Investing in proper ESD protection is a small price to pay compared to the cost of replacing damaged parts.
Common Mistakes to Avoid in Hand Soldering Through-Hole Components
Even experienced solderers can make mistakes. Being aware of common pitfalls can help you avoid them and improve your results. Here are some frequent errors and how to prevent them:
- Overheating: Holding the iron on a joint too long can damage components or lift PCB traces. Limit contact to 3-5 seconds per joint.
- Insufficient Solder: Using too little solder can create weak joints. Ensure the solder fully covers the pad and lead without gaps.
- Cold Joints: If the joint looks dull or grainy, it may not have been heated properly. Reheat and apply fresh solder to fix it.
- Solder Bridging: Excess solder can connect adjacent pads, causing shorts. Use a desoldering tool to remove unwanted solder.
- Poor Cleaning: Failing to clean flux residue can lead to corrosion over time. Use isopropyl alcohol and a brush to clean the board after soldering.
By paying attention to these details, you can minimize errors and produce professional-quality solder joints every time.
Conclusion: Mastering Hand Soldering for Through-Hole Components
Hand soldering through-hole components is a valuable skill that requires the right tools, techniques, and attention to detail. By focusing on key areas like temperature control, joint inspection, lead-free soldering practices, and ESD safety, you can achieve reliable and durable results in your electronic projects. Whether you're assembling a prototype or repairing a device, following these best practices ensures your solder joints are both mechanically strong and electrically sound.
Start with quality tools, practice your technique, and always prioritize safety. With time and experience, hand soldering will become second nature, allowing you to tackle even the most complex PCB assemblies with confidence. Keep learning, stay patient, and enjoy the rewarding process of bringing your electronic designs to life.


