 ALLPCB


Repairing damaged PCB traces is a critical skill for anyone working with electronics, whether you're a hobbyist or a professional engineer. Using a rework station for trace repair can make the process precise and efficient, saving circuit boards from becoming scrap. In this detailed guide, we'll explore the essentials of PCB trace repair, the role of a rework station for trace repair, and step-by-step methods for circuit board trace repair. From identifying damage to executing flawless repairs, we've got you covered with actionable tips and techniques for repairing damaged PCB traces and even trace replacement.
Why PCB Trace Repair Matters
Printed Circuit Boards (PCBs) are the backbone of modern electronics, connecting components through thin copper pathways called traces. When these traces get damaged—whether due to physical stress, overheating, or manufacturing defects—the entire circuit can fail. Instead of replacing the whole board, which can be costly and time-consuming, mastering PCB trace repair allows you to restore functionality quickly. This not only saves money but also extends the life of your electronic devices.
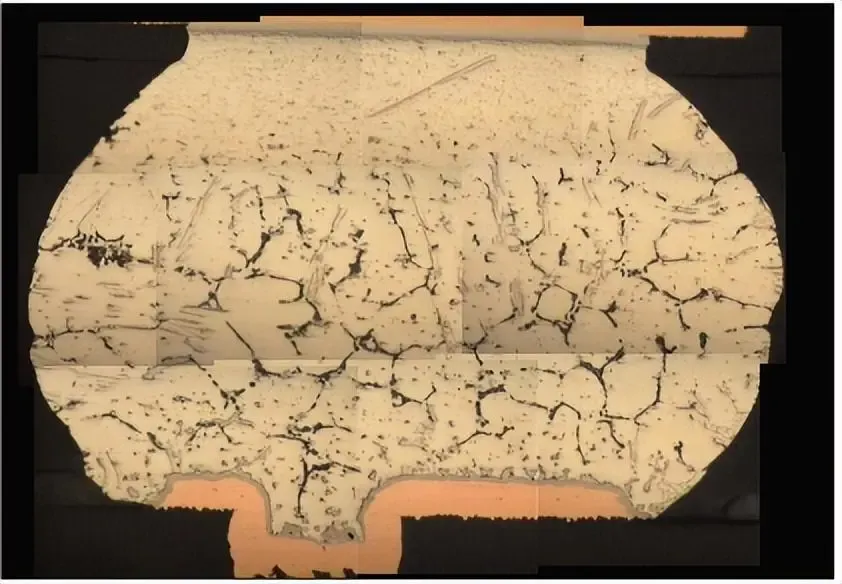
Understanding PCB Trace Damage
Before diving into repair techniques, it’s important to understand the common causes of trace damage. Here are the main culprits:
- Physical Damage: Scratches or cuts from mishandling or tools can sever traces.
- Thermal Stress: Excessive heat from soldering or component failure can burn or lift traces, disrupting connections.
- Corrosion: Moisture or chemical exposure can erode copper traces over time.
- Manufacturing Defects: Poor etching or weak adhesion during production can lead to fragile traces.
Identifying the type of damage helps determine the right approach for repairing damaged PCB traces. For instance, a clean cut might need a simple bridge, while corrosion may require more extensive trace replacement.
What is a Rework Station for Trace Repair?
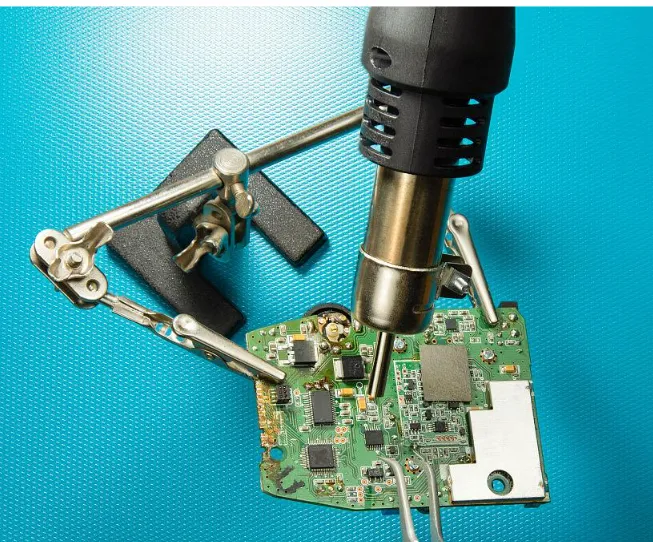
A rework station is a specialized toolset designed for precision work on electronics, including circuit board trace repair. It typically includes a hot air gun, soldering iron, and sometimes a desoldering tool, all mounted on a stable workstation with adjustable temperature controls. The hot air gun is particularly useful for heating specific areas without damaging nearby components, while the soldering iron allows for detailed work on small traces.
Using a rework station for trace repair offers several advantages:
- Precision: Adjustable settings ensure you apply just the right amount of heat (e.g., 300-350°C for most soldering tasks).
- Safety: Focused heat minimizes the risk of overheating sensitive components.
- Versatility: Suitable for various tasks beyond trace repair, like component replacement.
Tools and Materials for PCB Trace Repair
Before starting any repair, gather the necessary tools and materials to ensure a smooth process. Here’s a comprehensive list for PCB trace repair using a rework station:
- Rework Station: Equipped with a hot air gun and soldering iron.
- Soldering Flux: Helps clean the area and improve solder adhesion.
- Solder Wire: Use a thin gauge (e.g., 0.5mm) for precision work.
- Copper Foil or Wire: For creating new traces during trace replacement.
- Precision Knife: To remove damaged sections or clean up traces.
- Tweezers: For handling small components and wires.
- Multimeter: To test continuity and impedance (aim for values close to the original trace, typically under 0.1 ohms for short traces).
- Isopropyl Alcohol and Brush: For cleaning the board after repair.
- Magnifying Glass or Microscope: To inspect small traces and ensure accuracy.
Having these tools ready will streamline the process of repairing damaged PCB traces and help avoid common mistakes like applying too much heat or using the wrong materials.
Step-by-Step Guide to Circuit Board Trace Repair
Now, let’s walk through a detailed process for circuit board trace repair using a rework station. Follow these steps carefully to achieve reliable results.
Step 1: Assess the Damage
Start by closely inspecting the PCB under good lighting or with a magnifying tool. Identify whether the trace is scratched, burned, or completely severed. Use a multimeter to check for continuity—if there’s no signal, the trace is broken. Note the width and length of the damaged trace (e.g., a typical trace width might be 0.2mm) to match it during repair.
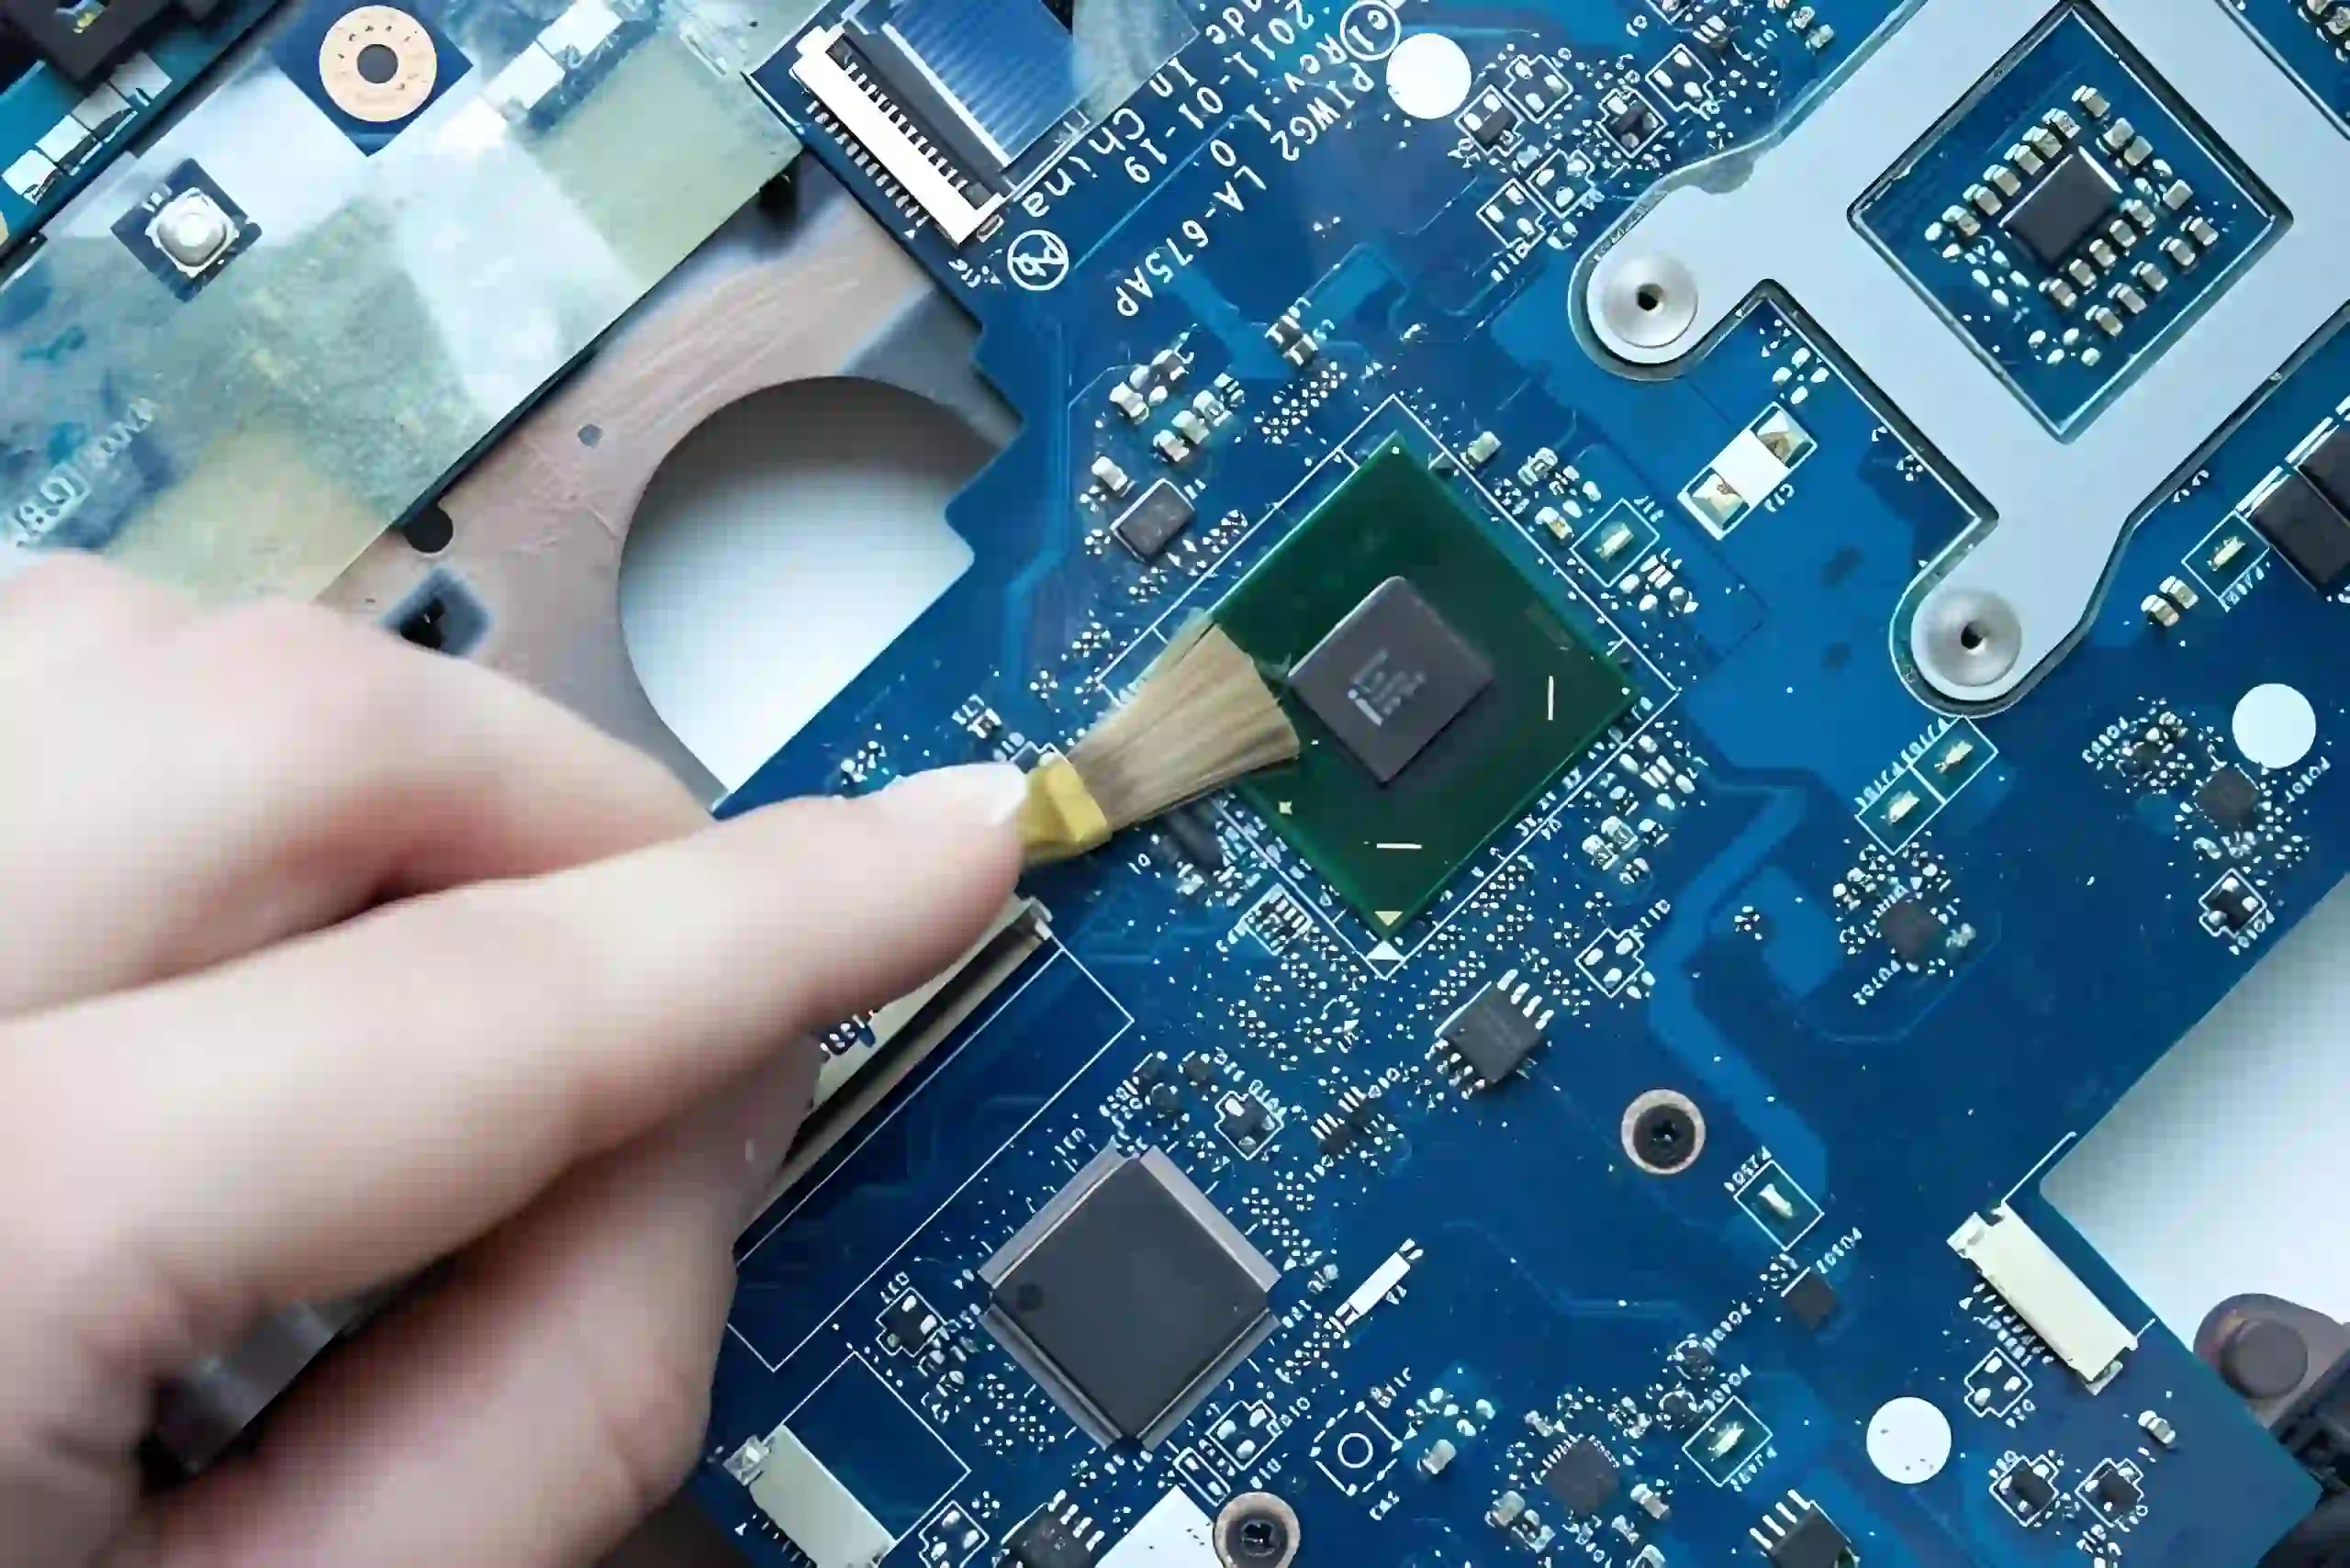
Step 2: Prepare the Area
Clean the damaged area using isopropyl alcohol and a brush to remove dirt, debris, or oxidation. If the trace is partially lifted or burned, use a precision knife to carefully scrape away the damaged section. Be gentle to avoid further damage to the surrounding board.
Step 3: Apply Flux
Apply a small amount of soldering flux to the damaged trace area. Flux removes oxidation and ensures the solder bonds properly to the copper. Spread it evenly using a small brush or applicator.
Step 4: Use the Rework Station for Soldering
Set your rework station’s soldering iron to a suitable temperature, typically around 300°C for standard copper traces. If the trace is simply cracked, you can bridge the gap with a small amount of solder. For a completely severed trace, cut a piece of thin copper wire or foil to match the original trace dimensions. Place it over the gap and solder it into place, ensuring a secure connection.
If heat-sensitive components are nearby, use the hot air gun at a low setting (e.g., 250°C) to avoid damage while still heating the area enough for soldering.
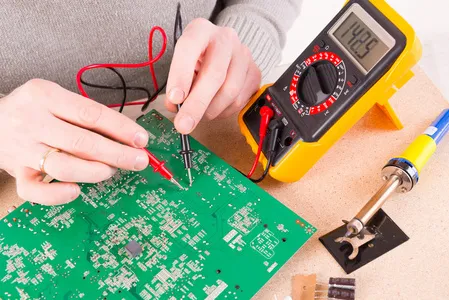
Step 5: Test the Repair
After soldering, let the board cool for a few minutes. Then, use a multimeter to test continuity across the repaired trace. Ideally, the resistance should be minimal (close to 0 ohms). Also, check for signal integrity if the trace carries high-speed data—mismatched repairs can affect signal speeds (e.g., delays in nanoseconds for traces over 10cm long).
Step 6: Clean and Inspect
Once the repair is confirmed, clean off excess flux with isopropyl alcohol and a brush. Inspect the area under magnification to ensure there are no solder bridges or loose connections that could cause shorts.
Advanced Techniques for Trace Replacement
In cases where a trace is too damaged to repair, trace replacement becomes necessary. This involves creating a new conductive path to replace the original trace. Here’s how to do it with a rework station:
- Remove the Damaged Trace: Use a precision knife to cut away the damaged section completely, exposing the bare substrate.
- Prepare a New Path: Cut a piece of copper foil or wire to match the original trace’s dimensions (e.g., 0.2mm width for standard signal traces). If using foil, adhesive-backed options can help secure it in place.
- Attach the New Trace: Position the copper foil or wire over the path and solder it to the existing endpoints using the rework station’s soldering iron at around 300°C. Ensure the connection is smooth and without gaps.
- Secure and Insulate: If the new trace crosses other traces, apply a thin layer of insulating material (like kapton tape) to prevent shorts.
- Test the Replacement: As with repairs, use a multimeter to confirm continuity and low resistance.
This method is more time-consuming but essential for severe damage. It ensures the board remains functional without compromising performance.
Common Mistakes to Avoid in PCB Trace Repair
Even with the right tools, mistakes can happen during PCB trace repair. Here are some pitfalls to watch out for:
- Overheating: Applying too much heat (above 350°C for prolonged periods) can damage the board or nearby components. Always monitor temperature settings on your rework station.
- Poor Soldering: Insufficient solder or cold joints can lead to unreliable connections. Ensure the solder flows evenly across the joint.
- Ignoring Signal Integrity: For high-speed circuits, mismatched trace lengths or widths can introduce impedance issues (e.g., deviations from 50 ohms in RF designs). Match the replacement trace as closely as possible to the original.
- Skipping Testing: Failing to test after repair can leave hidden issues. Always verify with a multimeter.
Tips for Successful Trace Repair with a Rework Station
To elevate your skills in circuit board trace repair, keep these tips in mind:
- Practice First: Use scrap boards to practice soldering and trace replacement before working on valuable projects.
- Work in a Clean Environment: Dust or debris can contaminate the repair site, leading to poor connections.
- Use Proper Lighting: Good visibility is crucial when working on traces as small as 0.1mm wide.
- Document Repairs: Take photos or notes of the board before and after repair to track changes, especially for complex boards.
When to Seek Professional Help
While many trace repairs can be handled with a rework station for trace repair, some situations call for expert intervention. If the board has multiple damaged layers, high-density traces (under 0.1mm spacing), or critical high-speed signals (e.g., over 1GHz), professional services may be necessary. Specialized equipment and experience can prevent further damage and ensure reliability.
Conclusion
Mastering the art of PCB trace repair using a rework station is a valuable skill that can save time, money, and resources. Whether you’re tackling a simple fix or a full trace replacement, a rework station for trace repair provides the precision and control needed for success. By following the steps outlined in this guide—assessing damage, preparing the area, soldering with care, and testing thoroughly—you can confidently handle repairing damaged PCB traces and restore functionality to your circuit boards.
With practice and the right tools, circuit board trace repair becomes less daunting and more rewarding. Equip yourself with a reliable rework station, gather your materials, and start reviving those damaged boards today.


