ALLPCB


Are you looking to dive into DIY smart home projects with custom PCB designs? If you're a beginner eager to explore PCB design for smart home automation using platforms like Arduino or Raspberry Pi, you're in the right place. This guide will walk you through the basics of creating easy PCB projects tailored for smart home applications, helping you transform your ideas into functional devices. Whether it's controlling lights, monitoring temperature, or automating appliances, we'll cover everything you need to get started with PCB design for beginners.
In this comprehensive blog, we'll break down the essentials of designing and building PCBs for DIY smart home projects. From understanding the tools and components to step-by-step project ideas with Arduino and Raspberry Pi, you'll gain the confidence to create your own smart home solutions. Let's get started on this exciting journey!
What Are DIY Smart Home PCB Projects?
DIY smart home PCB projects involve designing and building printed circuit boards (PCBs) to control or automate various home functions. These projects often integrate microcontrollers like Arduino or Raspberry Pi to manage tasks such as lighting, security, or climate control. By creating custom PCBs, you can tailor your smart home devices to fit specific needs, save costs, and gain a deeper understanding of electronics.
For beginners, starting with easy PCB projects is a great way to learn the ropes. PCBs act as the backbone of your smart home devices, connecting components like sensors, relays, and microcontrollers in a compact, reliable format. Unlike breadboards, which are temporary, a well-designed PCB offers a permanent and professional solution for your DIY smart home projects.
Why Choose PCB Design for Smart Home Automation?
Using PCBs in your smart home projects offers several advantages:
- Reliability: PCBs provide stable connections compared to loose wires or breadboards, reducing the risk of short circuits.
- Compactness: A custom PCB can shrink your project into a smaller, neater package, perfect for fitting into tight spaces like wall switches or enclosures.
- Scalability: Once you've designed a PCB, you can replicate it for multiple devices, making it easier to expand your smart home system.
- Learning Opportunity: Designing PCBs teaches you valuable skills in electronics, circuit design, and troubleshooting.
Getting Started with PCB Design for Beginners
If you're new to PCB design, don't worry—it's easier than it looks with the right tools and guidance. Let's go through the basics to help you build a foundation for your DIY smart home projects.
Essential Tools and Software for PCB Design
Before you start designing, you'll need a few tools and software programs to create and fabricate your PCB:
- Design Software: Use free or affordable software to draw your circuit schematics and lay out your PCB. Popular options include tools that are widely available online for beginners.
- Soldering Kit: A basic soldering iron (25-40W), solder wire, and a desoldering pump are essential for assembling components on your PCB.
- Multimeter: This tool helps you test connections and measure voltages (e.g., ensuring a 5V output from a regulator for your Arduino).
- Components: Stock up on resistors, capacitors, LEDs, sensors, and microcontrollers specific to your smart home project needs.
Most design software allows you to simulate your circuit before manufacturing, helping you catch errors like incorrect resistor values (e.g., using a 1kΩ resistor instead of a 10kΩ for a pull-up configuration) early on.
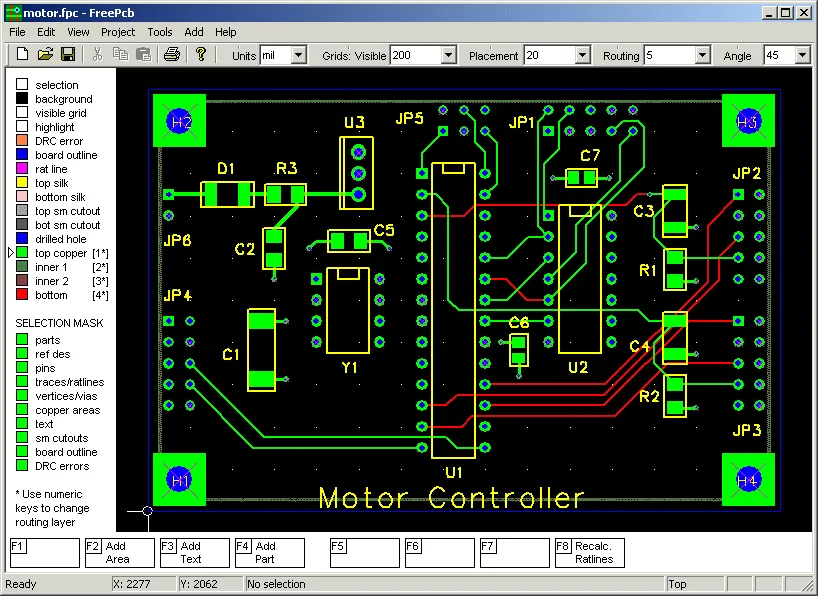
Understanding Basic PCB Design Principles
For beginners, PCB design can seem intimidating, but focusing on a few key principles will simplify the process:
- Keep It Simple: Start with single-layer designs to avoid complexity. Most smart home projects don’t require multi-layer boards.
- Trace Width: Ensure traces are wide enough to handle current. For example, a trace carrying 1A at 5V should be at least 0.5mm wide to prevent overheating.
- Spacing: Maintain adequate spacing between traces (at least 0.2mm) to avoid short circuits.
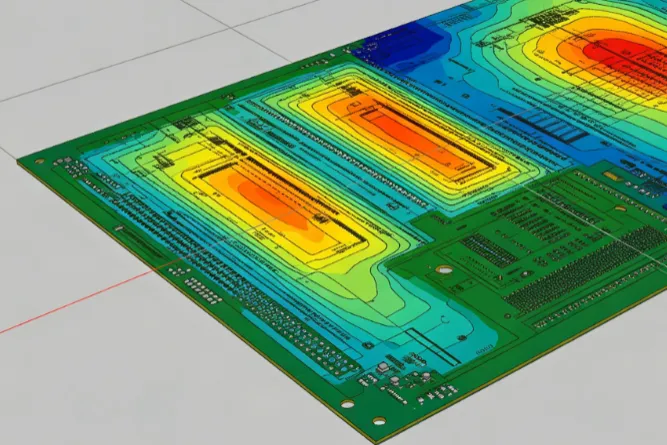
- Ground Plane: Include a ground plane to reduce noise, especially for projects with microcontrollers like Raspberry Pi, which can be sensitive to interference.
Related Reading: DIY Smart Home Automation: Using Relays with Microcontrollers for Beginners
Easy PCB Projects for DIY Smart Home Automation
Now that you have a grasp of the basics, let’s explore some easy PCB projects tailored for smart home applications. These projects use beginner-friendly platforms like Arduino and Raspberry Pi, making them perfect for learning PCB design while building useful devices.
Project 1: Smart Light Controller with Arduino
Overview: This project involves creating a PCB to control room lighting using an Arduino microcontroller. The system can turn lights on or off based on a motion sensor input.
Components Needed:
- Arduino Nano (or similar)
- PIR motion sensor
- Relay module (5V, 10A rating)
- Resistors (220Ω for LEDs)
- Capacitors (10uF for decoupling)
Steps to Design and Build:
- Draw the schematic in your design software, connecting the PIR sensor output to an Arduino digital pin (e.g., D2) and the relay input to another pin (e.g., D3).
- Lay out the PCB, placing the Arduino Nano centrally and routing traces to the sensor and relay. Keep power traces (5V) at least 0.5mm wide for safety.
- Export the design files and have the PCB manufactured through a reliable service.
- Solder the components onto the PCB, ensuring correct polarity for capacitors and diodes.
- Upload a simple Arduino sketch to detect motion and activate the relay, which controls a 220V AC light (always handle high voltage with caution).
Technical Tip: Ensure the relay is rated for the current your light draws. For a 100W bulb at 220V, the current is approximately 0.45A, so a 10A relay provides a safe margin.
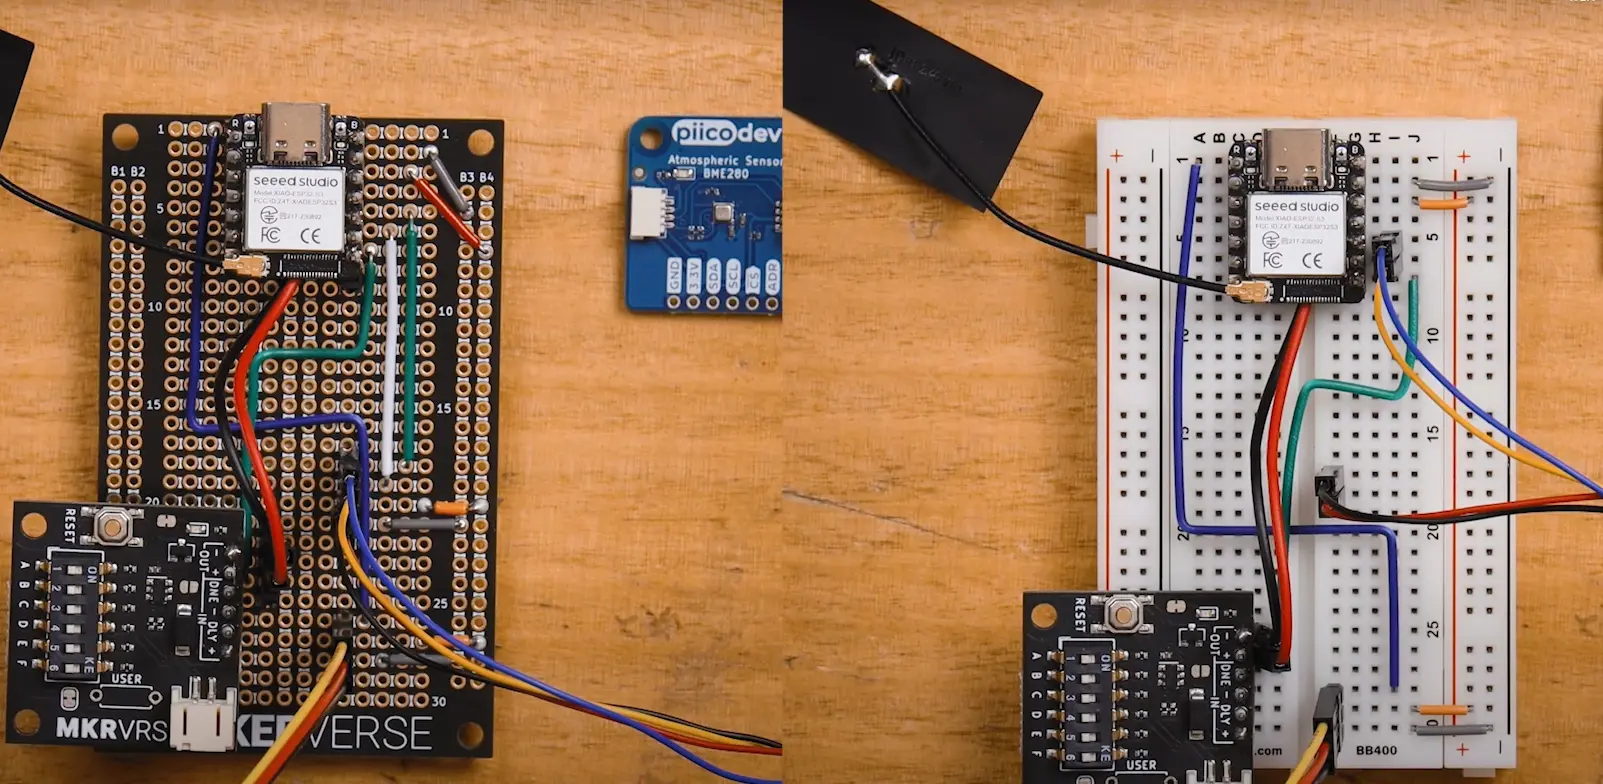
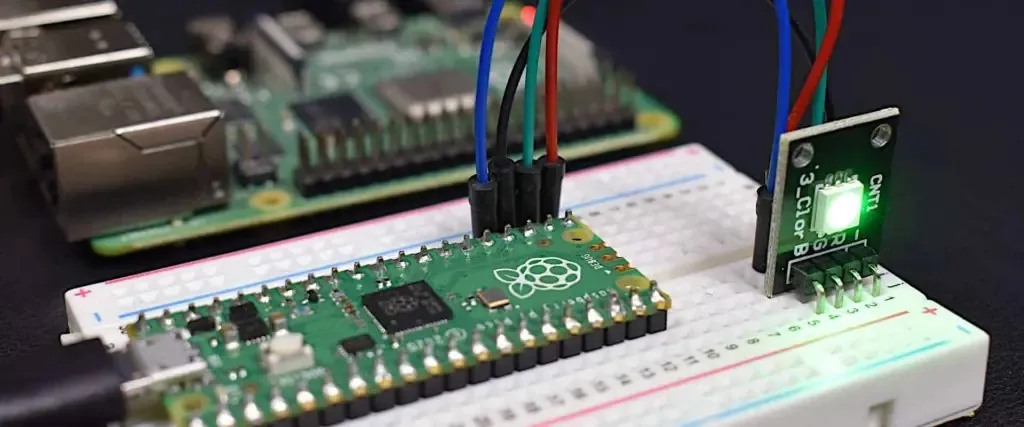
Project 2: Temperature Monitor with Raspberry Pi
Overview: Build a PCB to monitor room temperature using a Raspberry Pi and a digital temperature sensor. The data can be displayed on a small screen or sent to your phone via Wi-Fi.
Components Needed:
- Raspberry Pi (any model with GPIO pins)
- DHT22 temperature and humidity sensor
- OLED display (128x64 pixels, I2C interface)
- Resistors (4.7kΩ for pull-up on sensor data line)
Steps to Design and Build:
- Create a schematic connecting the DHT22 data pin to a GPIO pin on the Raspberry Pi (e.g., GPIO4) with a 4.7kΩ pull-up resistor to 3.3V.
- Design the PCB layout, ensuring short traces for the I2C lines to the OLED display to minimize signal noise (aim for trace lengths under 10cm).
- Manufacture the PCB and assemble the components, double-checking pin alignments.
- Program the Raspberry Pi using Python to read temperature data every 5 seconds and display it on the OLED screen.
Technical Tip: The DHT22 sensor operates at 3.3V-5V, but for Raspberry Pi, use 3.3V to avoid damaging the GPIO pins. Signal speed for data transfer is low (around 1Hz), so trace length isn’t a critical issue unless interference is high.
Project 3: Smart Door Lock Control with Arduino
Overview: Design a PCB to control a smart door lock using an Arduino and a servo motor. This project can be expanded with RFID or a keypad for added security.
Components Needed:
- Arduino Uno or Nano
- Servo motor (5V, 1A max current)
- Push button or RFID module
- Resistors (1kΩ for button pull-down)
Steps to Design and Build:
- In your schematic, connect the servo control pin to an Arduino PWM pin (e.g., D9) and the button to a digital input (e.g., D4).
- Lay out the PCB with a dedicated power trace for the servo (0.8mm width) to handle its current draw.
- Manufacture and assemble the PCB, ensuring the servo connector is secure.
- Program the Arduino to rotate the servo 90 degrees to unlock the door when the button is pressed.
Technical Tip: Servos can draw significant current (up to 1A at 5V during startup), so include a 100uF capacitor near the servo power pin to stabilize voltage and prevent Arduino resets.
Related Reading: The DIY Smart Home: Assembling Your Own Home Appliance Control PCBs with Open-Source Tools
Tips for Success in DIY Smart Home PCB Projects
As you embark on your journey with PCB design for smart home projects, keep these tips in mind to ensure smooth progress:
- Start Small: Begin with easy PCB projects to build confidence before tackling complex designs with multiple sensors or wireless modules.
- Test Thoroughly: Use a multimeter to check for continuity and correct voltages (e.g., 5V or 3.3V at microcontroller pins) before powering up your project.
- Safety First: When dealing with high-voltage components like relays for AC power, ensure proper insulation and never work on live circuits.
- Document Everything: Keep notes on your schematic designs and code to troubleshoot issues or replicate the project later.
- Iterate and Improve: Your first PCB might not be perfect. Learn from mistakes, such as incorrect trace widths or component placements, and refine your designs.
Common Challenges in PCB Design for Beginners and How to Overcome Them
Beginners often face hurdles when starting with PCB design. Here are some common issues and solutions:
- Component Misplacement: Double-check component footprints in your design software to match the physical parts. A mismatched footprint (e.g., a 0805 resistor instead of 0603) can halt assembly.
- Signal Interference: If your Arduino or Raspberry Pi project experiences glitches, add a ground plane and keep sensitive traces (like I2C or SPI) short (under 5cm if possible).
- Overheating Traces: Calculate current needs using online trace width calculators. For a 2A load at 5V, a trace should be at least 1mm wide with 1oz copper thickness.
Expanding Your DIY Smart Home Projects
Once you're comfortable with basic PCB projects, consider expanding your smart home system with more advanced features:
- Wireless Control: Add Wi-Fi or Bluetooth modules to control devices remotely using your smartphone.
- Integration: Combine multiple PCBs into a central hub for controlling lights, temperature, and security from one interface.
- Energy Monitoring: Design a PCB with current sensors to track power usage of appliances, helping you save on electricity.
Conclusion: Start Building Your Smart Home Today
DIY smart home PCB projects are an exciting way to bring automation and convenience into your life while learning valuable electronics skills. With platforms like Arduino and Raspberry Pi, even beginners can create powerful, custom solutions through easy PCB projects. By starting with simple designs and gradually tackling more complex systems, you'll soon have a fully automated home tailored to your needs.
At ALLPCB, we're passionate about supporting your journey in PCB design and manufacturing. Whether you're working on a smart light controller or a temperature monitor, our services ensure high-quality boards to bring your ideas to life. Dive into PCB design for beginners today, and watch your smart home dreams become reality!