 ALLPCB


Stencil printing is a critical step in SMT (Surface Mount Technology) assembly, playing a pivotal role in ensuring the quality and reliability of PCB (Printed Circuit Board) assembly. If you're looking to understand how stencil printing works and why it matters in the manufacturing process, you're in the right place. This guide dives deep into the essentials of stencil printing, its importance in SMT assembly, and best practices for achieving precise solder paste application. Whether you're an engineer, a manufacturer, or simply curious about PCB assembly, this blog will provide you with actionable insights and detailed information.
What Is Stencil Printing in SMT Assembly?
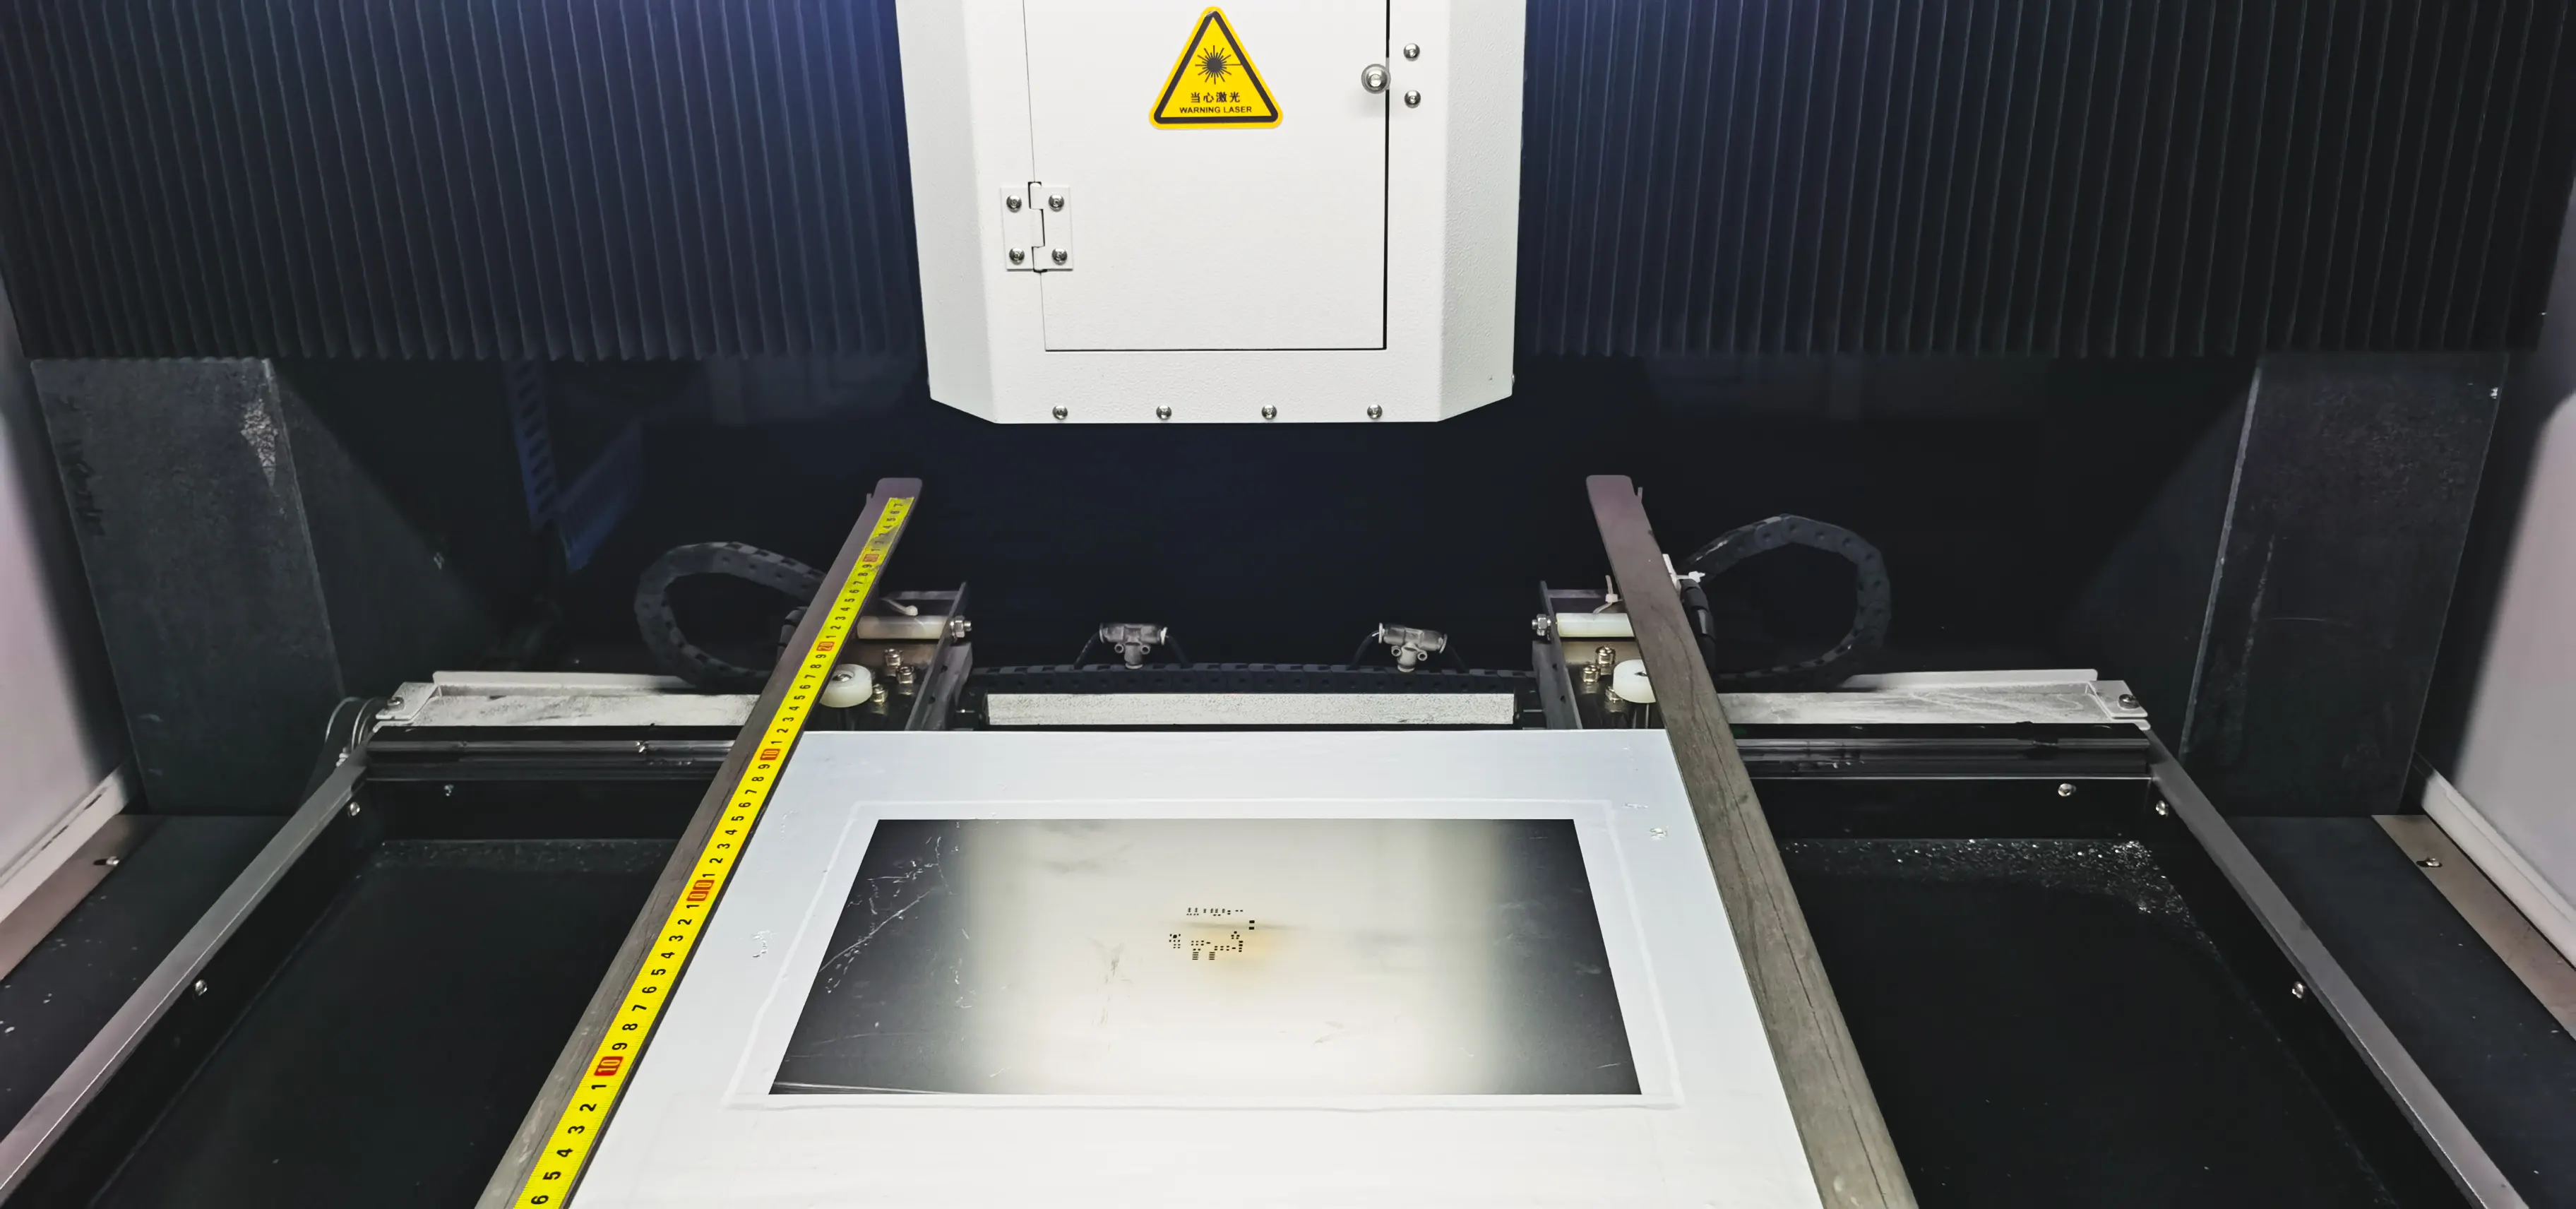
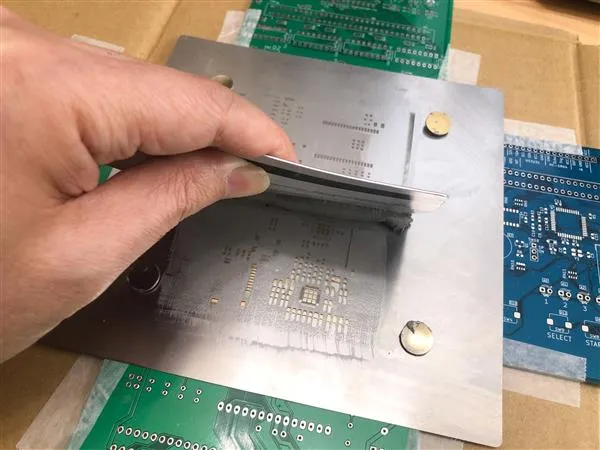
Stencil printing is the process of applying solder paste onto a PCB using a specially designed stencil. This step is the foundation of SMT assembly, where electronic components are mounted onto the board. The stencil, typically made of stainless steel, has precise openings that align with the pads on the PCB. Solder paste, a mixture of tiny solder particles and flux, is spread across the stencil using a squeegee, depositing the paste only where it's needed for component attachment.
This process is vital because it directly impacts the quality of solder joints. Poor stencil printing can lead to issues like insufficient solder, bridging, or misalignment, which can cause failures in the final product. By mastering stencil printing, manufacturers can ensure consistent and reliable PCB assembly, reducing defects and improving efficiency.
Why Is Stencil Printing Important in PCB Assembly?
In SMT assembly, precision is everything. Stencil printing accounts for a significant portion of potential defects if not done correctly. Studies suggest that up to 60% of SMT assembly failures can be traced back to issues during solder paste application. The process ensures that the right amount of solder paste is deposited in the exact locations where components will be placed. This precision is crucial for creating strong, reliable connections during the reflow soldering stage.
Without proper stencil printing, you might face problems like:
- Insufficient Solder: Too little paste can lead to weak joints, causing components to fail under stress.
- Excess Solder: Too much paste can create bridges between pads, leading to short circuits.
- Misalignment: Incorrect paste placement can result in components not adhering properly.
By focusing on stencil printing quality, manufacturers can minimize rework, reduce costs, and deliver high-performing electronic products.
The Stencil Printing Process: Step by Step
Understanding the stencil printing process is key to optimizing SMT assembly. Here's a detailed breakdown of how it works:
1. Stencil Design and Fabrication
The process begins with designing the stencil based on the PCB layout. The stencil must have openings that match the size and location of the pads on the board. Modern stencils are often made using laser cutting or chemical etching techniques for high precision. The thickness of the stencil, typically between 0.1mm and 0.15mm, is chosen based on the component types and solder paste requirements.
2. Solder Paste Selection
Solder paste is a critical material in this process. It consists of solder alloy particles (often a mix of tin, silver, and copper) suspended in a flux medium. The particle size, known as the "type" (e.g., Type 3 or Type 4), affects how well the paste flows through the stencil openings. For fine-pitch components, a smaller particle size like Type 4 or Type 5 is preferred for better accuracy.
3. Stencil Alignment
The stencil is carefully aligned with the PCB using fiducial marks or automated vision systems in modern equipment. Perfect alignment ensures that the solder paste is deposited exactly where it's needed. Misalignment by even 0.05mm can lead to defects, especially for small components with tight tolerances.
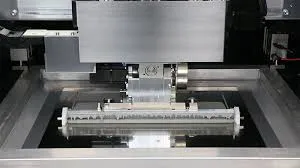
4. Solder Paste Application
A squeegee blade moves across the stencil at a specific angle (usually 45 to 60 degrees) and pressure, pushing the solder paste through the openings onto the PCB. Key parameters like squeegee speed (typically 20-70 mm/s) and pressure (around 0.3-0.5 kg/cm) are adjusted to achieve uniform deposition.
5. Stencil Cleaning
After printing, the stencil must be cleaned to remove residual solder paste. This step prevents contamination and ensures consistent results for the next PCB. Automated stencil printers often include under-stencil wiping systems using solvent-soaked wipes or dry cleaning methods.
Types of Stencils Used in SMT Assembly
Not all stencils are the same. Depending on the application and manufacturing needs, different types of stencils are used in PCB assembly. Here's an overview of the most common types:
- Laser-Cut Stencils: These are the most widely used due to their precision and smooth aperture walls, which allow for better solder paste release. They are ideal for fine-pitch components with pad sizes as small as 0.4mm.
- Chemically Etched Stencils: These are less expensive but have rougher edges, which can affect paste release. They are suitable for larger components and less complex designs.
- Electroformed Stencils: Made through a plating process, these offer exceptional accuracy and are used for ultra-fine pitch applications, such as components with 0.3mm spacing or smaller.
- Step Stencils: These have varying thicknesses in different areas to accommodate components with different solder paste volume needs, optimizing deposition for mixed assemblies.
Choosing the right stencil type depends on your PCB design, component sizes, and production volume. For high-volume manufacturing, investing in a high-quality laser-cut or electroformed stencil often pays off in terms of consistency and reduced defects.
Key Factors Affecting Stencil Printing Quality
Achieving consistent results in stencil printing requires careful control of several variables. Here are the main factors to consider:
1. Stencil Thickness and Aperture Design
The thickness of the stencil and the size of its apertures directly influence the volume of solder paste deposited. A common guideline is to maintain an aspect ratio (aperture width to stencil thickness) of at least 1.5 to ensure proper paste release. For example, for a 0.15mm thick stencil, the aperture width should be at least 0.225mm.
2. Squeegee Parameters
The angle, pressure, and speed of the squeegee blade impact how evenly the paste is applied. A steeper angle (closer to 60 degrees) is better for thicker stencils, while a shallower angle (around 45 degrees) works for thinner ones. Adjusting the speed between 20-50 mm/s can help balance throughput and precision.
3. Solder Paste Properties
The viscosity and particle size of the solder paste must match the stencil design and component requirements. For instance, a paste with a viscosity of 800-1000 kcps (kilo centipoise) is often ideal for most SMT applications, ensuring it flows well without clogging the apertures.
4. Environmental Conditions
Temperature and humidity in the manufacturing area can affect solder paste behavior. Ideally, the printing environment should be kept at 22-25°C and 40-60% relative humidity to prevent the paste from drying out or becoming too fluid.
Common Challenges in Stencil Printing and How to Overcome Them
Even with the best equipment and materials, stencil printing can present challenges. Here are some common issues and solutions:
- Insufficient Paste Deposition: This can occur due to clogged apertures or low squeegee pressure. Regular stencil cleaning and adjusting the pressure (e.g., increasing to 0.4 kg/cm) can help.
- Solder Bridging: Excess paste can cause bridges between pads. Reducing stencil thickness or adjusting the aperture size can minimize this risk.
- Paste Smearing: This happens when the stencil isn't cleaned properly or the PCB isn't aligned. Implementing automated under-stencil wiping and using vision alignment systems can address this issue.
- Inconsistent Paste Volume: Variations in paste volume can result from uneven squeegee pressure or worn-out blades. Regularly inspect and replace squeegee blades, and monitor pressure settings closely.
Best Practices for Optimizing Stencil Printing in SMT Assembly
To achieve the best results in stencil printing, follow these proven practices:
- Regular Maintenance: Clean the stencil after every 5-10 prints, depending on production volume, to prevent paste buildup. Use appropriate cleaning solvents to avoid damaging the stencil.
- Inspection After Printing: Use automated optical inspection (AOI) systems to check solder paste deposition for volume, alignment, and defects. Catching issues early prevents costly rework later.
- Control Paste Storage: Store solder paste at 2-10°C to maintain its properties, and allow it to reach room temperature (about 1-2 hours) before use to avoid condensation issues.
- Calibrate Equipment: Regularly calibrate stencil printers to ensure consistent squeegee pressure, speed, and alignment. Even a 0.1mm deviation can affect results.
- Train Operators: Ensure that staff are trained in handling solder paste, operating equipment, and troubleshooting common issues. Skilled operators can significantly improve process reliability.
Stencil Printing's Role in Modern Manufacturing
As electronics continue to shrink in size, the demand for precision in SMT assembly grows. Stencil printing technology has evolved to meet these needs with advancements like nano-coated stencils for better paste release and automated printers with real-time monitoring. These innovations help manufacturers handle complex designs with components as small as 01005 (0.4mm x 0.2mm), ensuring high yields even in high-density PCB assembly.
Moreover, stencil printing supports high-volume production by enabling fast, repeatable solder paste application. For industries like automotive, aerospace, and consumer electronics, where reliability is non-negotiable, mastering this process is essential for delivering defect-free products.
Conclusion: Mastering Stencil Printing for Better SMT Assembly
Stencil printing is the backbone of successful SMT assembly, directly influencing the quality of solder joints and the overall performance of a PCB. By understanding the process, selecting the right materials, and following best practices, manufacturers can achieve consistent, high-quality results in PCB assembly. From choosing the appropriate stencil type to controlling environmental conditions, every detail matters in this critical step of the manufacturing process.
At ALLPCB, we are committed to supporting your SMT assembly needs with advanced solutions and expertise. Whether you're tackling a small prototype or a large-scale production run, mastering stencil printing can elevate your manufacturing process, reduce defects, and ensure reliable electronic products. Dive into this guide, apply these insights, and take your PCB assembly to the next level.


