 ALLPCB


Introduction
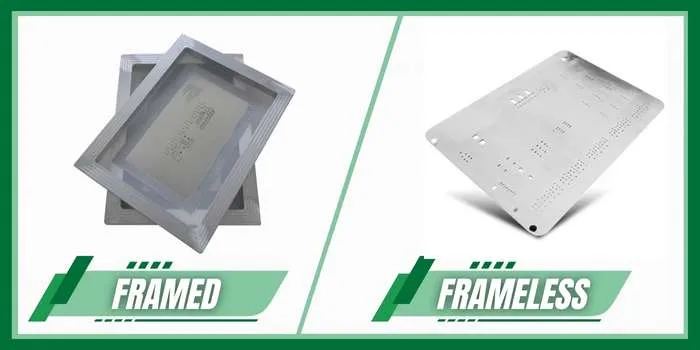
Choosing between unmounted stencils and framed stencils plays a direct role in SMT assembly efficiency. Engineers and procurement teams often evaluate these options based on production volume, budget constraints, and available equipment. Unmounted stencils, also called frameless stencils, consist of a thin metal sheet without a supporting frame. Framed stencils come pre-tensioned inside a rigid aluminum or steel frame. The decision affects stencil alignment process, overall cost, and long-term storage requirements. Practical experience shows that matching the stencil type to the specific project requirements reduces defects and improves throughput.
What Are SMT Stencils and Why the Choice Matters
SMT stencils serve as precision tools that deposit solder paste onto PCB pads during assembly. The stencil comparison framed vs frameless centers on how each type maintains flatness and tension during repeated use. Framed stencils provide built-in tension that remains stable across thousands of prints. Unmounted stencils require an external tensioning system or manual clamping. This difference influences smt assembly efficiency, especially in high-mix or low-volume environments. Proper selection also impacts stencil cost benefits and how easily teams can manage inventory on the production floor.
Technical Principles Behind Stencil Performance
Stencil tension directly controls paste release and print accuracy. In framed designs, the mesh or foil stays stretched at a consistent level, which minimizes warpage during squeegee passes. Unmounted stencils rely on the printer’s tensioning mechanism to achieve similar flatness. When tension drops, the foil can flex, leading to incomplete paste deposits or bridging. Industry standards such as IPC-A-610 guide acceptable solder paste volumes and print quality to avoid these issues. Engineers troubleshoot by measuring foil flatness before production runs and adjusting printer settings accordingly.
Related Reading: SMT Stencils for Beginners: Choosing Materials and Techniques
Stencil Alignment Process and Practical Considerations
The stencil alignment process begins with precise registration of the stencil apertures to the PCB pads. Framed stencils lock into the printer frame quickly and maintain alignment over long runs. Unmounted stencils often need additional setup time to secure the foil and verify position. In troubleshooting scenarios, teams check for foil movement or printer table drift when prints show offset deposits. Consistent alignment reduces rework and supports higher smt assembly efficiency. Practical guidance includes calibrating the printer’s vision system regularly and verifying stencil flatness after every batch change.
Storage Requirements and Cost Benefits
Storage requirements differ significantly between the two stencil types. Framed stencils occupy more rack space and may need climate-controlled areas to prevent frame distortion. Unmounted stencils store flat in protective sleeves, taking less room and lowering handling damage risk. Stencil cost benefits favor unmounted versions for prototype or low-volume work because initial purchase prices are lower and no frame replacement is required. Over time, framed stencils can deliver better value in high-volume lines where repeated use justifies the higher upfront investment. Teams track these factors by logging storage space usage and replacement frequency.
Best Practices for Selecting the Right Stencil
Evaluate production volume first. High-volume runs benefit from framed stencils that maintain tension without frequent adjustments. Low-volume or prototype projects gain from unmounted stencils that reduce initial costs and simplify storage. Always verify that the chosen stencil meets the required foil thickness and aperture tolerances for the specific solder paste. Following guidelines in J-STD-001 helps ensure reliable solder joint formation after printing. Regular cleaning and inspection of both stencil types prevents paste buildup that can degrade print quality over time.
Troubleshooting Common Issues in SMT Assembly
When paste volume varies across the board, check stencil tension and alignment first. Framed stencils rarely lose tension, but the frame itself can warp if dropped or stored improperly. Unmounted stencils may slip if the tensioning clamps are not tightened evenly. Measure print height with a calibrated gauge and compare results against target volumes. Adjusting squeegee pressure or speed often resolves minor inconsistencies without changing stencil type. Documenting these troubleshooting steps helps teams repeat successful setups on future projects.
Related Reading: Framed vs. Frameless Stencils: Understanding the Pros and Cons for SMT Assembly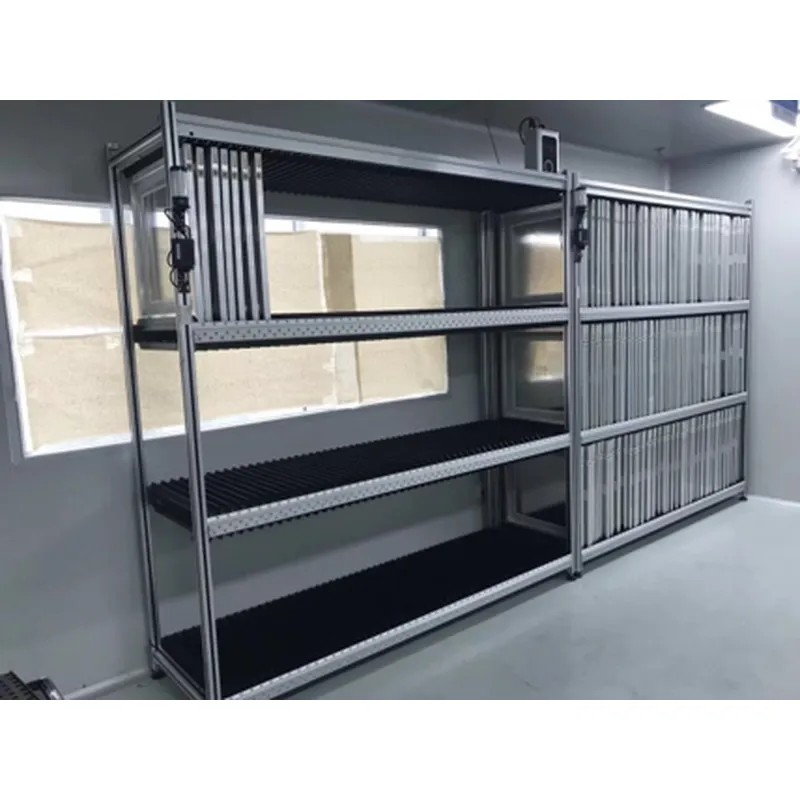
Conclusion
The choice between unmounted stencils and framed stencils ultimately depends on balancing stencil cost benefits, storage requirements, and smt assembly efficiency needs. Framed stencils excel in stable, high-volume environments where quick alignment and consistent tension matter most. Unmounted stencils offer flexibility and lower entry costs for varied or smaller production runs. By focusing on the stencil alignment process and following established industry practices, engineering teams can select the option that minimizes defects and supports reliable PCB assembly outcomes.
FAQs
Q1: What factors should engineers consider in a stencil comparison framed vs frameless for their next project?
A1: Engineers evaluate production volume, available printer equipment, and long-term storage space when comparing framed and unmounted stencils. Framed versions provide stable tension for high-volume SMT lines, while unmounted options reduce initial costs and simplify inventory management. The stencil alignment process also differs, with framed stencils typically requiring less setup time. Practical testing on sample boards helps confirm which type delivers the best smt assembly efficiency for the specific application.
Q2: How do stencil cost benefits influence the decision between framed and unmounted options?
A2: Unmounted stencils generally offer lower purchase prices and avoid frame replacement expenses, making them attractive for prototype and low-volume work. Framed stencils carry higher upfront costs but can improve overall value through faster setup and fewer print defects in sustained production. Teams calculate total ownership costs by including storage requirements and maintenance time. This analysis ensures the selected stencil supports both budget goals and smt assembly efficiency targets.
Q3: What are the main stencil storage requirements for framed versus unmounted stencils?
A3: Framed stencils need dedicated vertical racks to prevent frame bending and may require controlled temperature environments. Unmounted stencils store flat in protective sleeves, occupying less floor space and reducing handling risks. Both types benefit from clean, dry conditions to avoid foil corrosion or paste residue buildup. Proper storage directly supports consistent stencil alignment process performance and extends stencil life across multiple SMT runs.
Q4: How does stencil type affect the stencil alignment process during SMT setup?
A4: Framed stencils lock securely into the printer, allowing rapid and repeatable alignment with minimal adjustments. Unmounted stencils require careful clamping and verification to achieve the same registration accuracy. Misalignment in either case leads to paste offset and increased rework. Regular calibration of vision systems and tension checks help maintain high smt assembly efficiency regardless of stencil format.


