 ALLPCB


If you're looking to understand the PCBA assembly steps or the complete PCBA manufacturing process, you're in the right place. PCBA, or Printed Circuit Board Assembly, is the process of mounting electronic components onto a bare PCB to create a functional electronic device. This guide will walk you through every stage of the PCBA production flow, including SMT assembly (Surface Mount Technology) and THT assembly (Through-Hole Technology), with clear explanations and practical insights.
Whether you're an engineer, a product designer, or a business owner managing electronics production, this step-by-step guide will help you grasp the essentials of PCBA assembly. Let’s dive into the detailed process to give you a full understanding of how a bare board transforms into a working circuit board assembly.
What is PCBA Assembly?
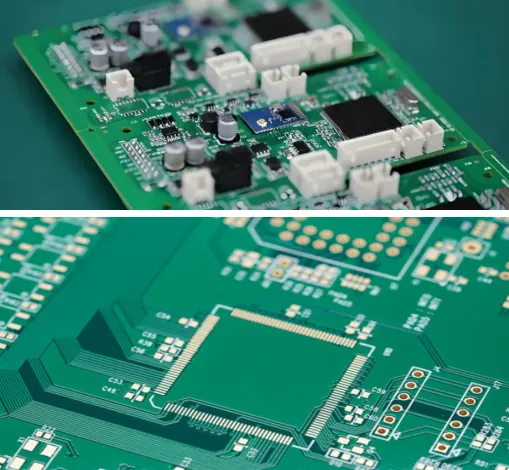
PCBA assembly is the process of attaching electronic components to a printed circuit board (PCB) to create a functional electronic system. A bare PCB is just a board with conductive traces and pads, but it becomes a PCBA once components like resistors, capacitors, ICs (integrated circuits), and connectors are mounted and soldered onto it. The process involves multiple stages, precise equipment, and strict quality control to ensure reliability and performance.
The two primary methods used in this process are SMT assembly, which involves mounting components directly onto the surface of the board, and THT assembly, where component leads are inserted through holes in the board and soldered on the opposite side. Both techniques have their unique applications, and often, a combination of both is used in a single PCBA project.
Why Understanding PCBA Assembly Steps Matters
Knowing the PCBA manufacturing process is crucial for anyone involved in electronics design or production. It helps in optimizing designs for manufacturability, reducing costs, and ensuring the final product meets quality standards. By understanding the PCBA production flow, engineers can avoid common design errors, such as incorrect component placement or spacing issues, which can lead to delays or defective products.
For businesses, a clear grasp of the process aids in selecting the right manufacturing partner and managing timelines effectively. With this knowledge, you can ensure that your project moves smoothly from design to delivery.
Overview of the PCBA Production Flow
The PCBA production flow consists of several key stages, each critical to the success of the final product. Here's a quick overview before we dive into the detailed steps:
- Design and Pre-Production Checks
- Solder Paste Application (for SMT)
- Component Placement (SMT and THT)
- Soldering (Reflow for SMT, Wave or Manual for THT)
- Inspection and Testing
- Final Assembly and Packaging
Now, let’s break down each of these PCBA assembly steps in detail to give you a comprehensive view of the process.
Step 1: Design and Pre-Production Checks
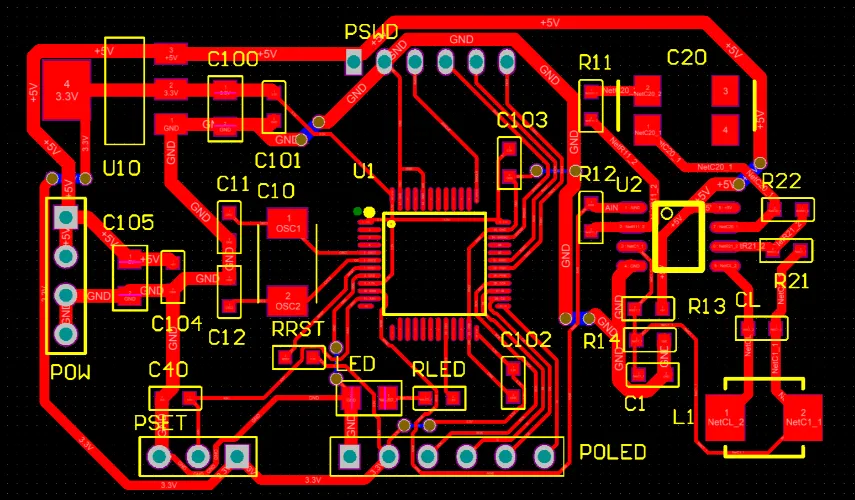
The PCBA journey begins long before any components are placed on the board. It starts with the design phase, where engineers create a schematic and layout for the PCB using specialized software. This design includes the placement of components, routing of traces, and specifications for impedance control, often targeting values like 50 ohms for high-speed signals in applications such as USB or HDMI.
Once the design is complete, a Design for Manufacturability (DFM) check is conducted. This step ensures that the board can be manufactured without issues. Manufacturers review the design files to identify potential problems, such as components placed too close together (violating spacing rules of, say, 0.2 mm) or missing solder pads. Addressing these issues early prevents costly rework later in the PCBA manufacturing process.
Step 2: Solder Paste Application for SMT Assembly
For projects involving SMT assembly, the next step is applying solder paste to the PCB. Solder paste, a mixture of tiny solder particles and flux, is applied to the pads where surface-mount components will be placed. This is done using a stencil—a thin metal sheet with openings matching the pad layout on the PCB.
The stencil is aligned over the board, and solder paste is spread across it using a squeegee, ensuring precise deposition only on the designated areas. Accuracy here is critical, as even a slight misalignment can lead to soldering defects. Modern equipment can achieve placement tolerances as tight as 0.05 mm, ensuring high reliability for densely packed boards.

Step 3: Component Placement in SMT and THT Assembly
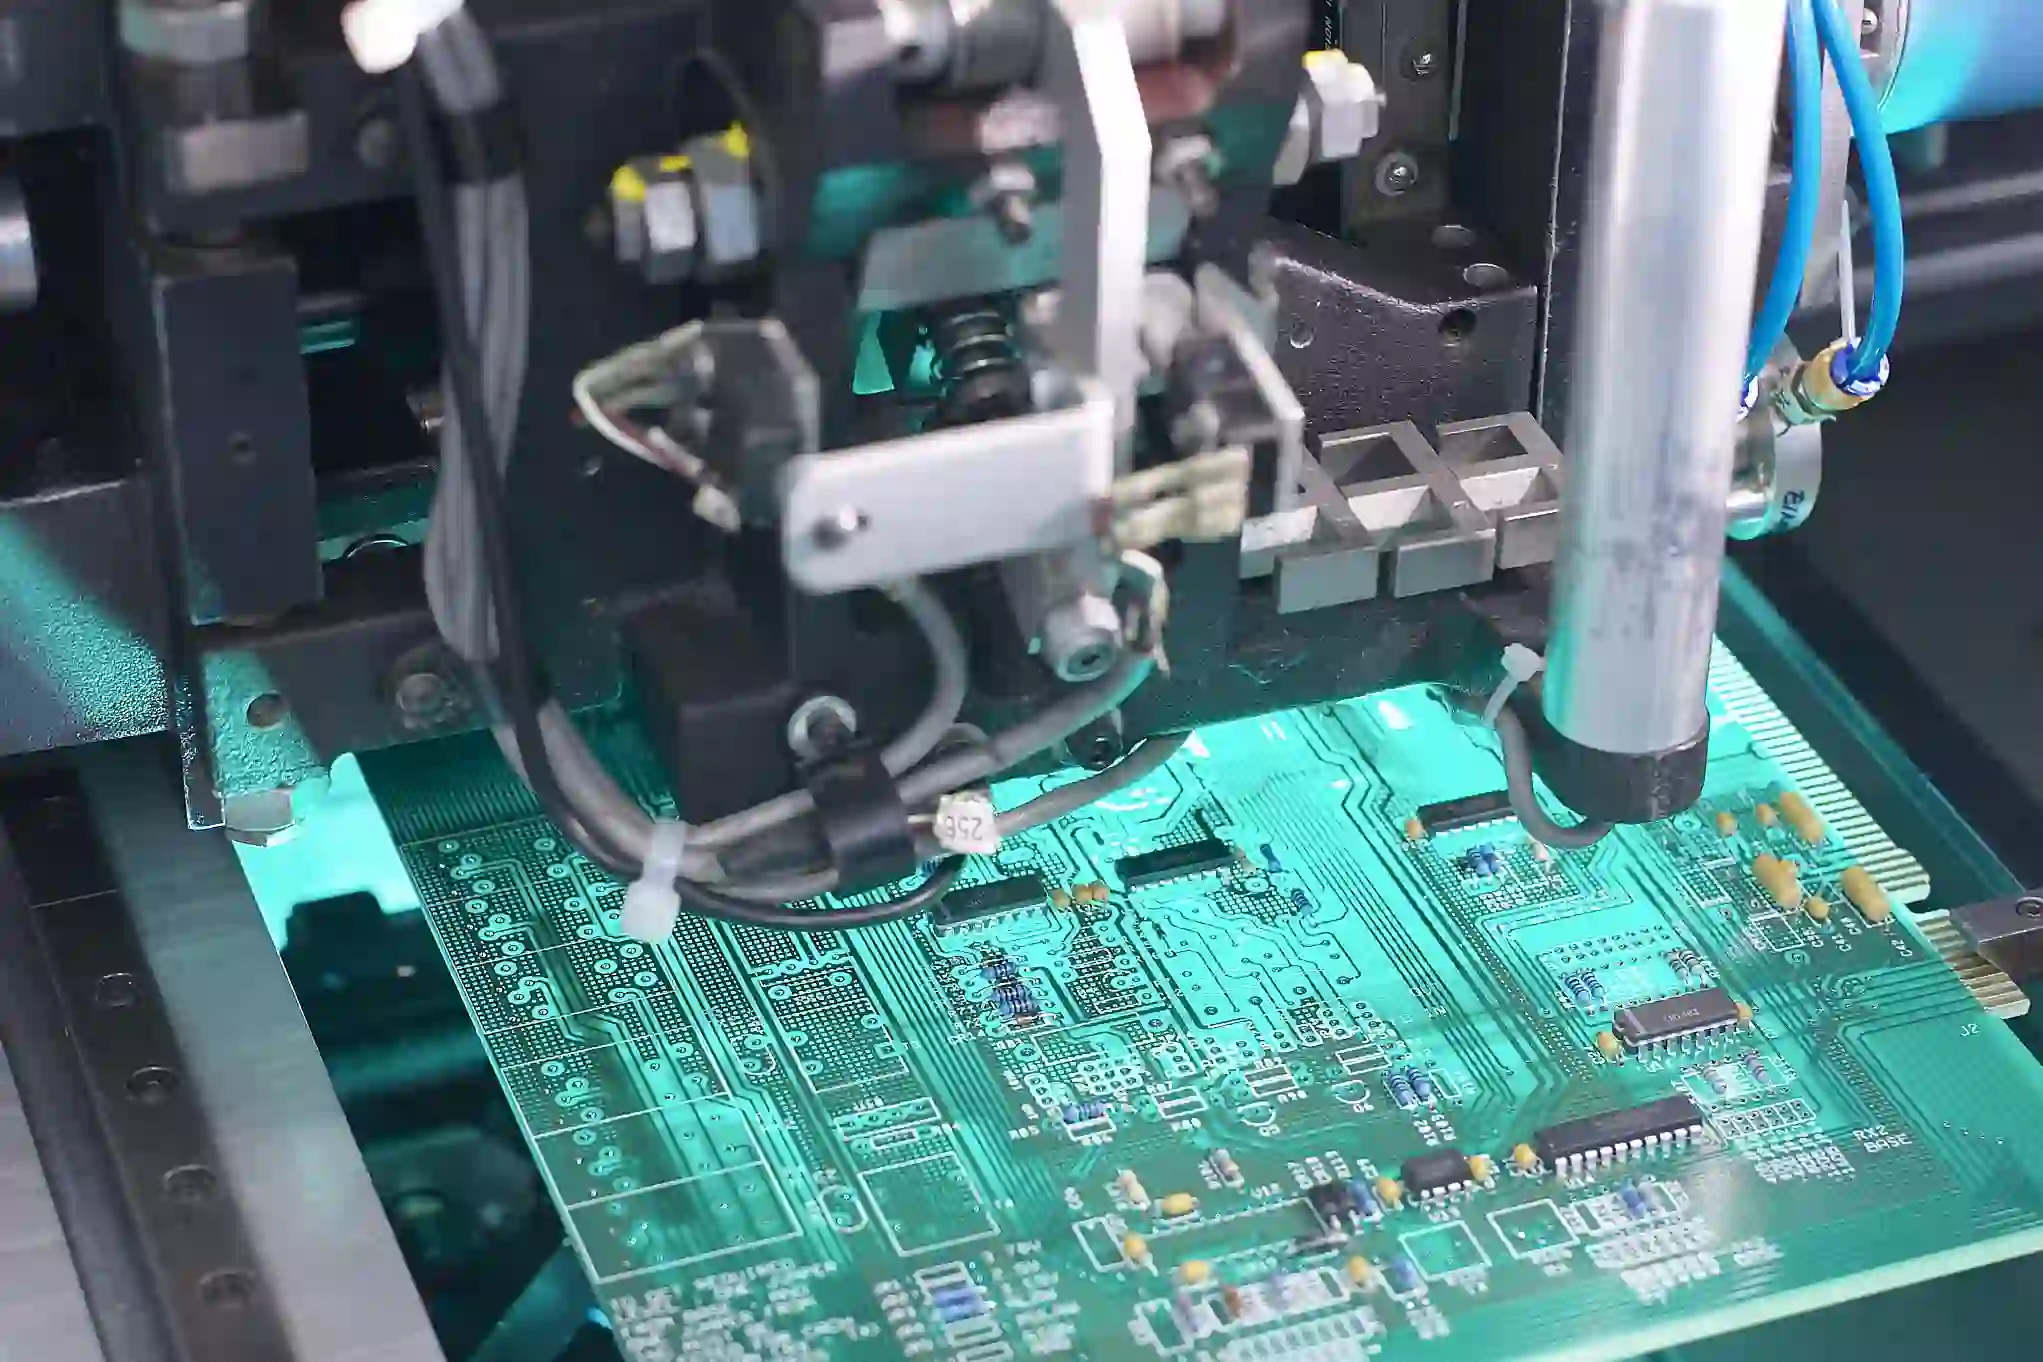
Once the solder paste is applied, it’s time to place the components on the board. In SMT assembly, automated pick-and-place machines are used to position surface-mount components with incredible speed and precision. These machines can place thousands of components per hour, handling tiny parts as small as 0.4 mm x 0.2 mm (0402 package size).
For THT assembly, components with longer leads, such as large capacitors or connectors, are inserted through pre-drilled holes in the PCB. This process is often done manually or with semi-automated equipment, as THT components are typically larger and less densely packed. THT is preferred for components that need to withstand mechanical stress, as the through-hole connection provides a stronger bond.
In many cases, a PCB will use a mix of SMT and THT components, requiring careful planning to ensure both processes are executed efficiently in the PCBA production flow.
Step 4: Soldering Components to the PCB
After component placement, the next step in the PCBA assembly steps is soldering, which permanently attaches the components to the board.
Soldering in SMT Assembly
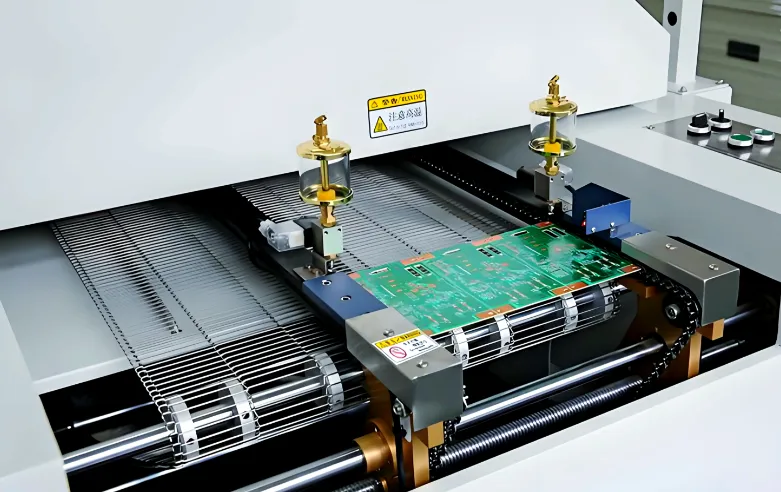
For SMT assembly, the board passes through a reflow oven. Inside the oven, the solder paste melts and forms a solid bond between the component leads and the PCB pads. The reflow process involves multiple temperature zones, starting with a preheat phase (around 150°C), followed by a peak temperature of about 245°C to melt the solder, and finally a cooling phase to solidify the joints. This controlled heating prevents thermal shock to components, ensuring reliability.
Soldering in THT Assembly
In THT assembly, soldering is typically done using a wave soldering machine or by hand. Wave soldering involves passing the bottom of the PCB over a wave of molten solder, which adheres to the exposed leads and pads. For smaller batches or delicate components, manual soldering with a soldering iron is used, though this is slower and less consistent.
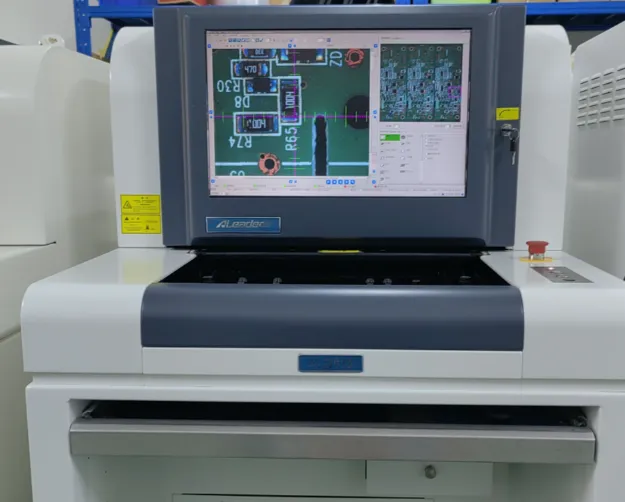
Step 5: Inspection and Quality Control
Quality control is a vital part of the PCBA manufacturing process. After soldering, the board undergoes several inspection methods to ensure there are no defects, such as misaligned components, solder bridges, or cold joints.
Automated Optical Inspection (AOI) uses cameras to scan the board and compare it against the design file, identifying issues with placement or soldering. For more complex boards, X-ray inspection might be used to check hidden solder joints under components like Ball Grid Arrays (BGAs). Additionally, manual visual inspections are often performed for THT components or unique designs.
Testing doesn’t stop at visual checks. Functional testing ensures the PCBA operates as intended, while In-Circuit Testing (ICT) verifies electrical performance by checking for shorts, opens, and correct resistance values (e.g., ensuring a resistor measures within 1% of its specified 10 kΩ value).
Step 6: Final Assembly and Packaging
Once the PCBA passes all inspections and tests, it moves to the final assembly stage. This might involve attaching additional hardware, such as heat sinks or enclosures, to complete the product. The boards are then cleaned to remove any flux residue or contaminants that could affect long-term performance.
Finally, the PCBA is packaged for shipping. Packaging is designed to protect the delicate components from static electricity and physical damage during transit. Anti-static bags and foam padding are commonly used to ensure the product arrives in perfect condition.
Key Differences Between SMT and THT Assembly
Understanding the differences between SMT assembly and THT assembly can help in designing and planning your PCBA project. Here’s a quick comparison:
- Size and Density: SMT allows for smaller components and higher density, ideal for compact devices like smartphones. THT components are larger and take up more space.
- Strength: THT provides stronger mechanical bonds, making it suitable for components subject to stress, such as power connectors.
- Cost and Speed: SMT is faster and more cost-effective for high-volume production due to automation. THT often requires more manual labor, increasing costs.
Many modern designs use a combination of both techniques to balance performance, cost, and reliability in the PCBA production flow.
Common Challenges in PCBA Assembly and How to Avoid Them
Even with advanced technology, challenges can arise during the PCBA assembly steps. Here are some common issues and tips to mitigate them:
- Component Misalignment: Ensure accurate stencil design and use high-precision pick-and-place machines to avoid placement errors.
- Soldering Defects: Control reflow oven temperatures and use quality solder paste to prevent issues like tombstoning or insufficient solder.
- Design Errors: Conduct thorough DFM checks to catch potential issues before production begins.
Partnering with an experienced manufacturer can also help navigate these challenges, ensuring a smoother PCBA manufacturing process.
Conclusion: Mastering the PCBA Assembly Process
The PCBA assembly steps are a complex but fascinating journey from a bare board to a fully functional electronic assembly. By understanding the PCBA production flow, including both SMT assembly and THT assembly, you can make informed decisions that enhance the quality and efficiency of your projects.
From design and solder paste application to component placement, soldering, and testing, each stage of the PCBA manufacturing process plays a critical role in the success of the final product. With this guide, you now have a clear roadmap to navigate the process, whether you're designing a simple prototype or scaling up for mass production.
At ALLPCB, we’re committed to supporting you through every step of your PCBA journey. With expertise in both SMT and THT techniques, we ensure precision, reliability, and timely delivery for all your projects. Let’s bring your electronic designs to life with seamless assembly solutions.


