Tesla Coil Light Box
Published on 11/11/2021 1:47:51 AM
Video Link: https://www.instagram.com/p/CWD791Nlxm5/
Components Used in the Project
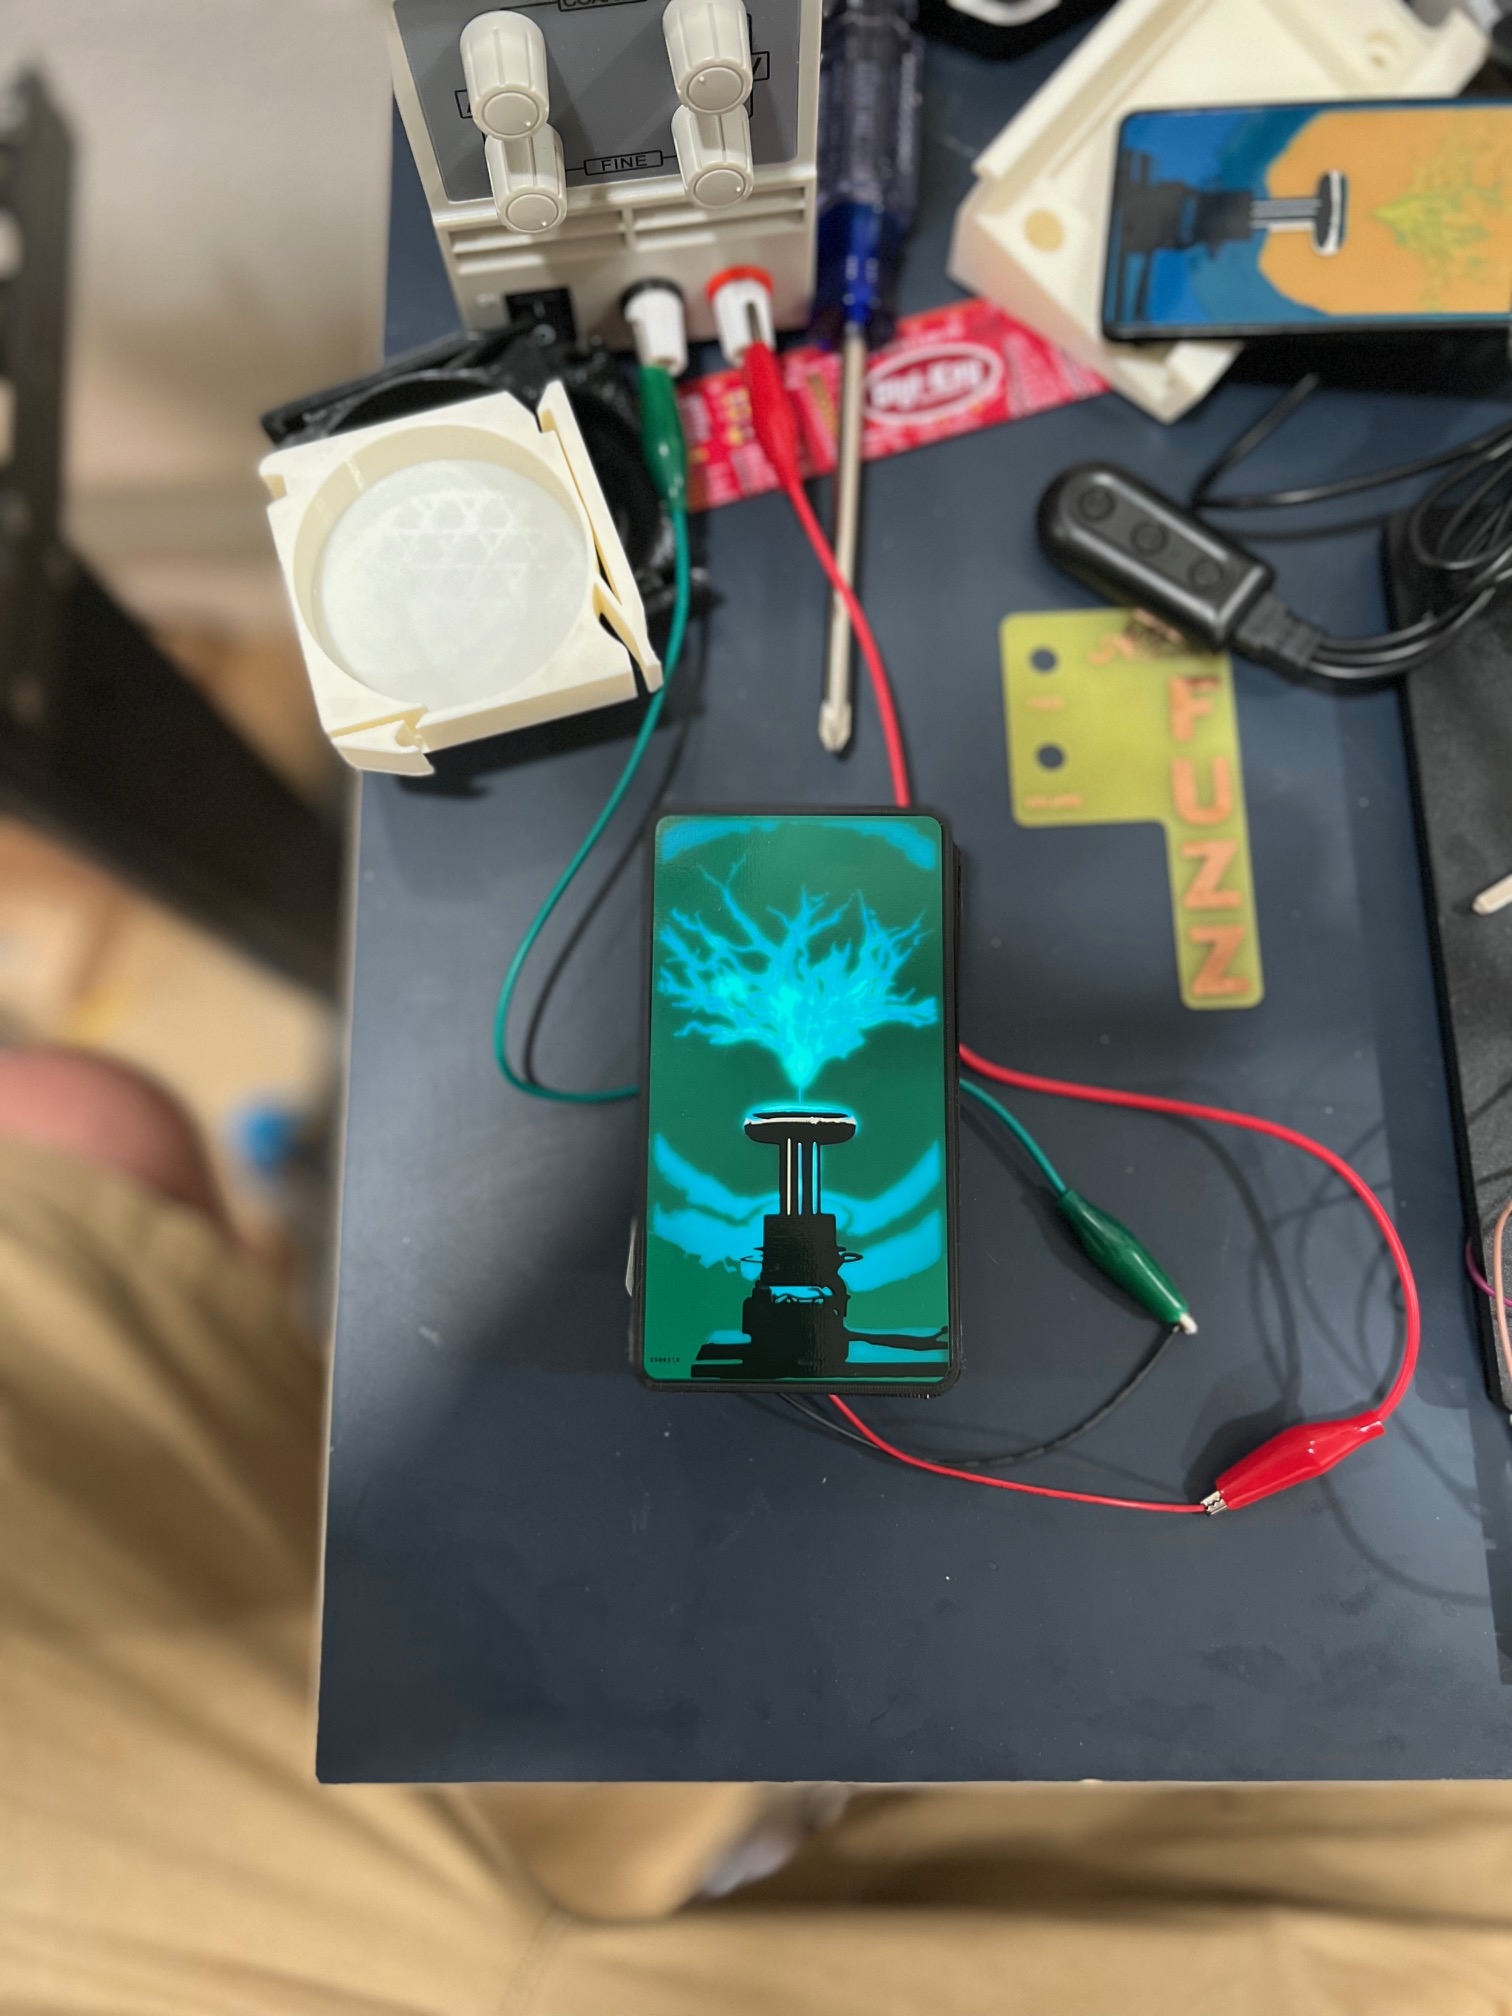
- LED Backlight *1
- 3D Printed Frame *1
Description
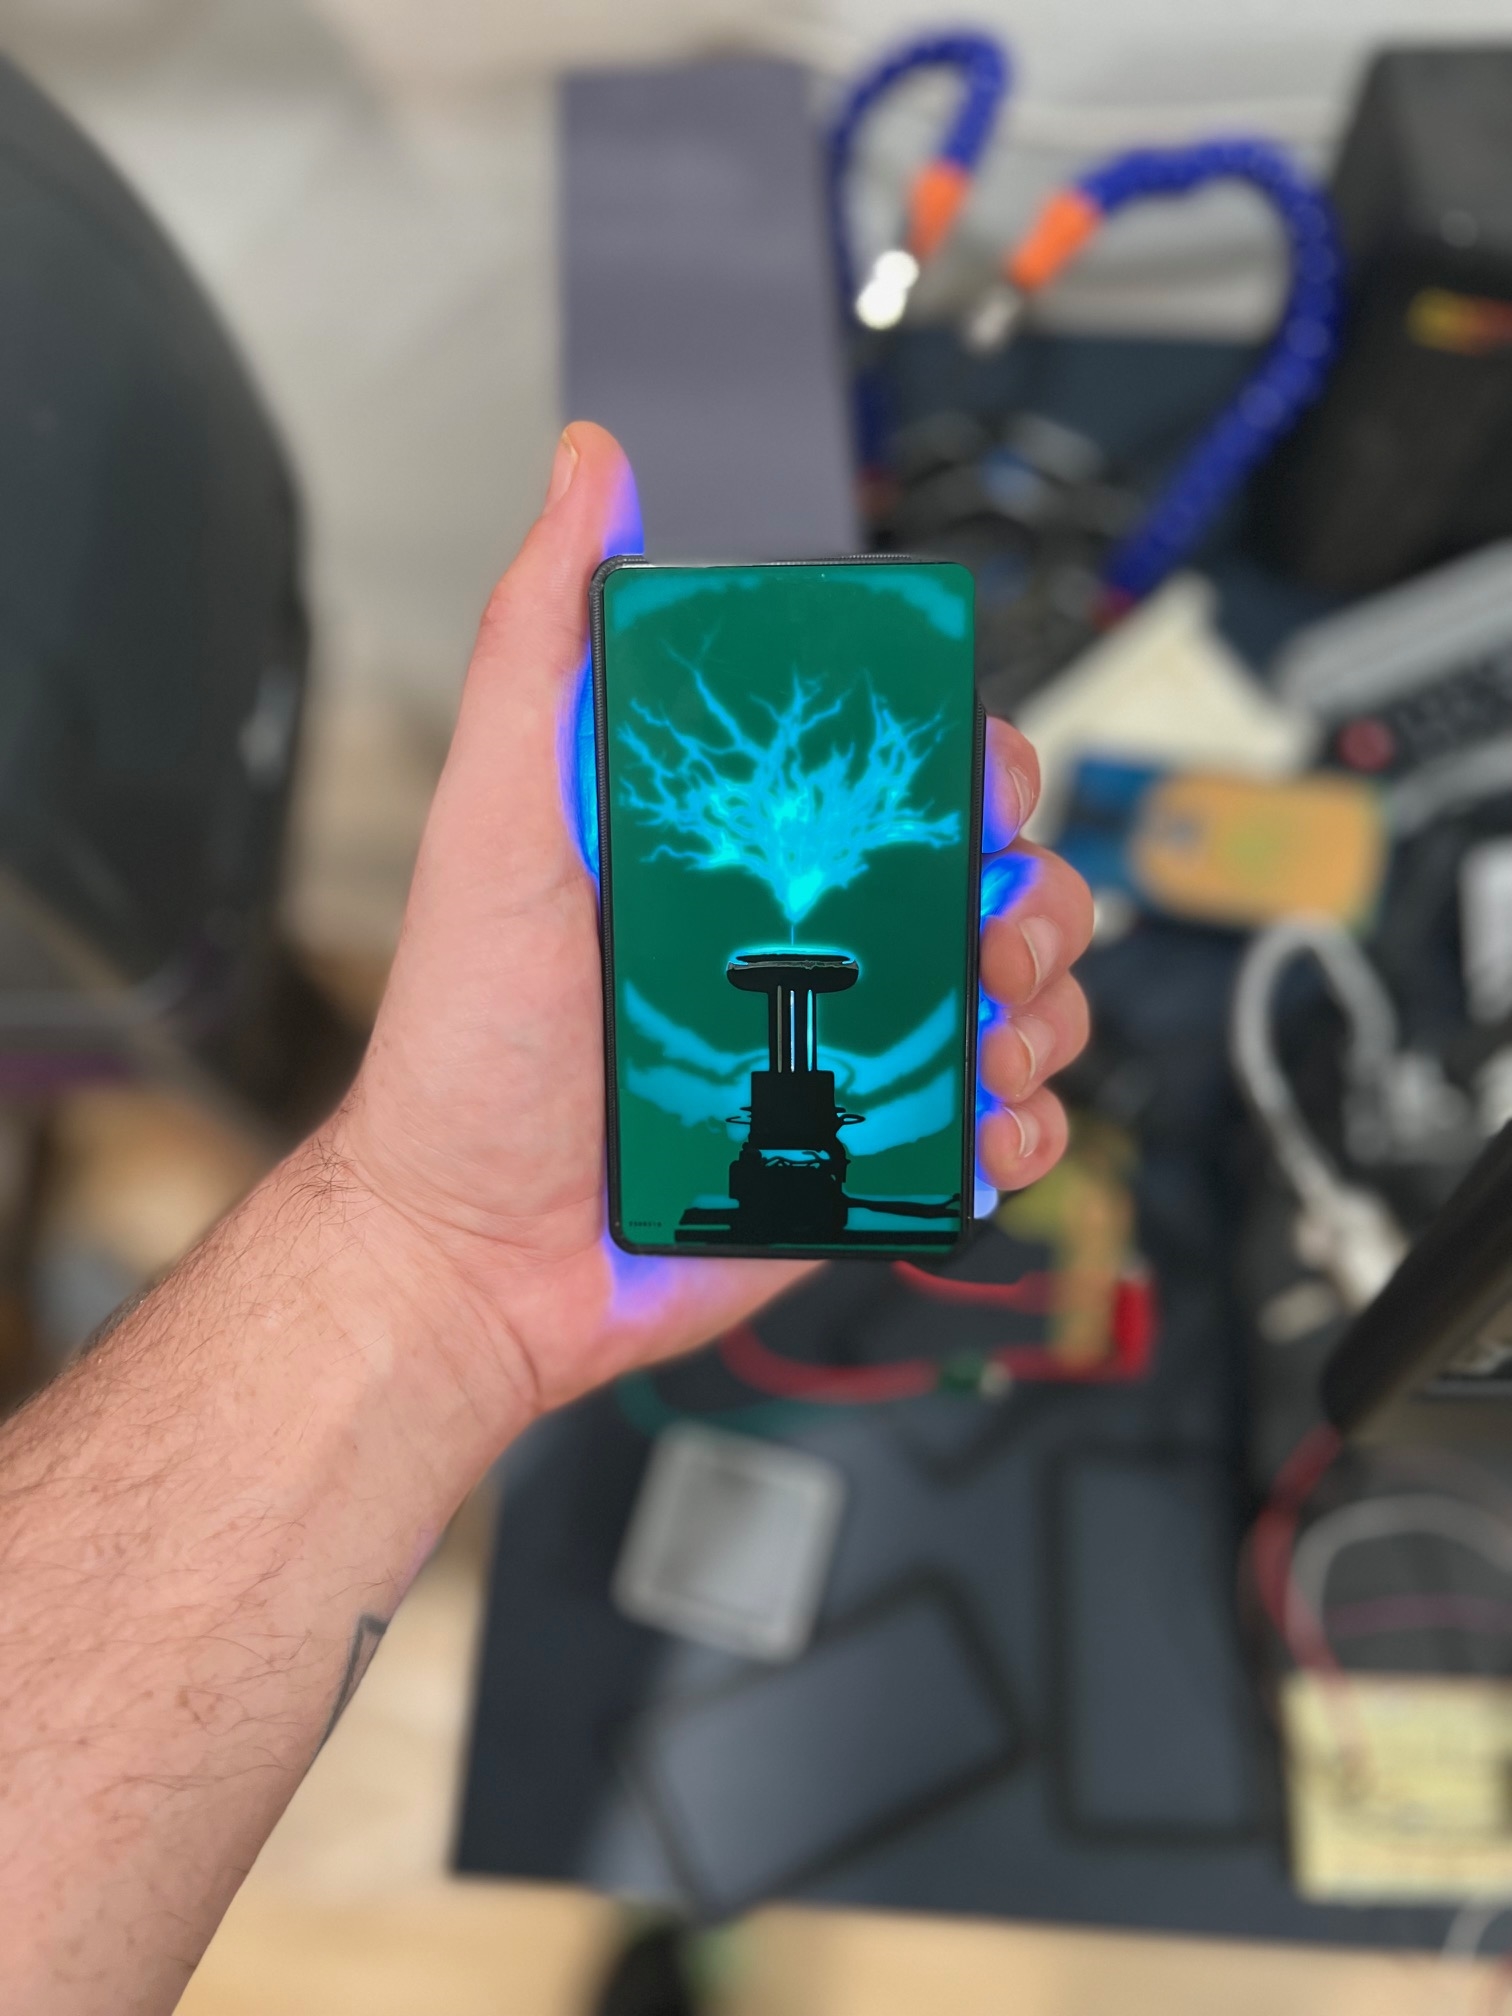
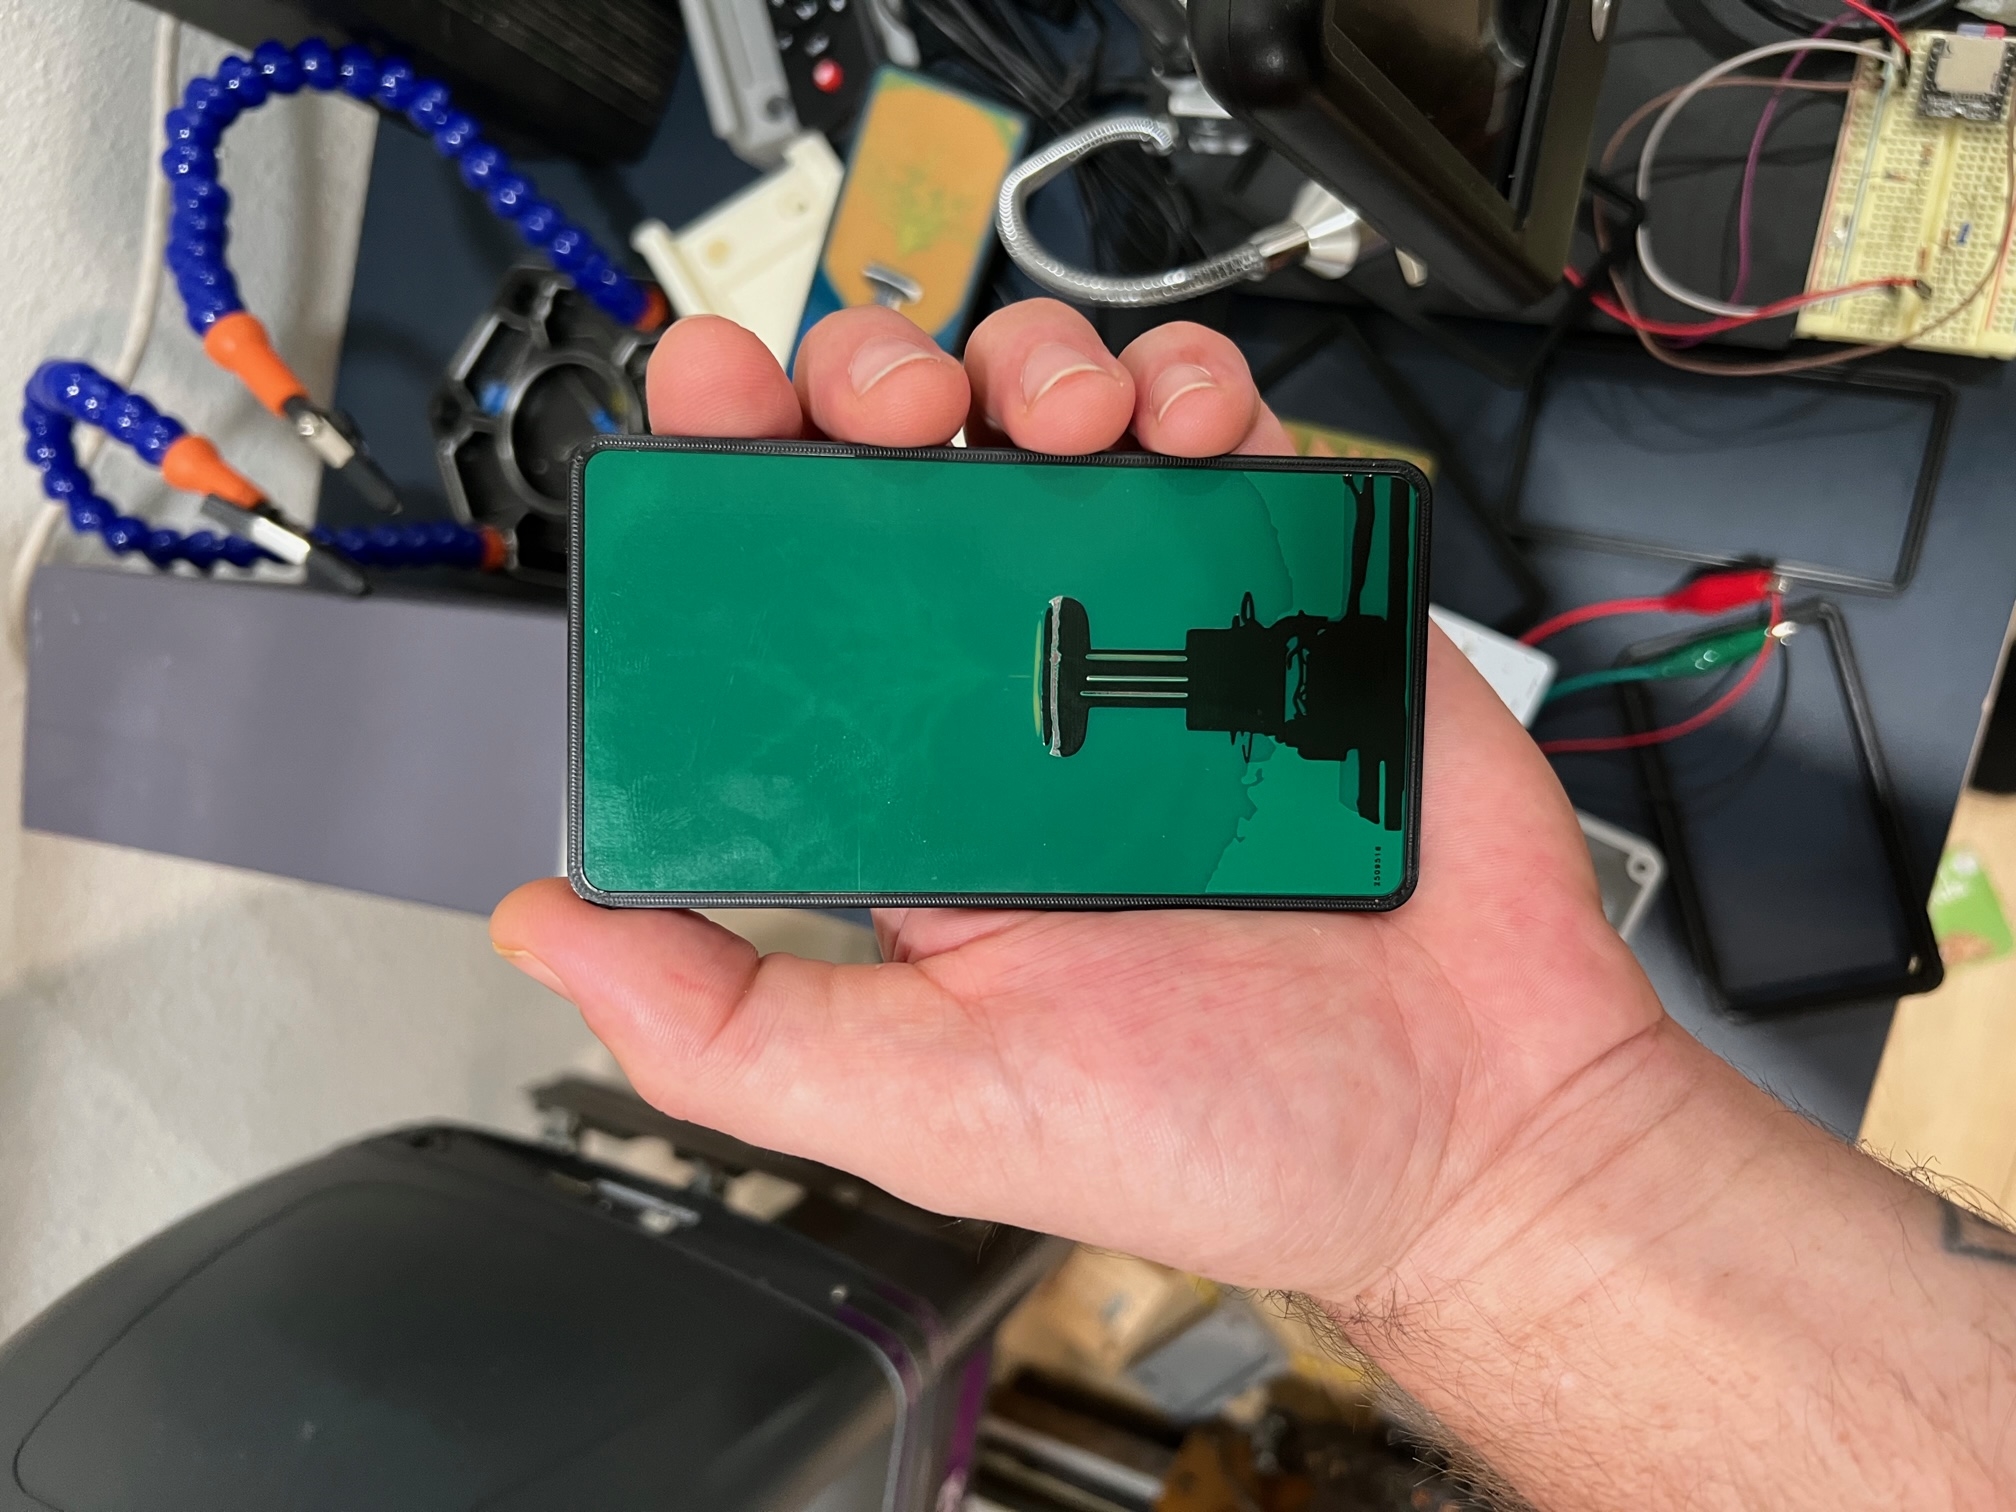
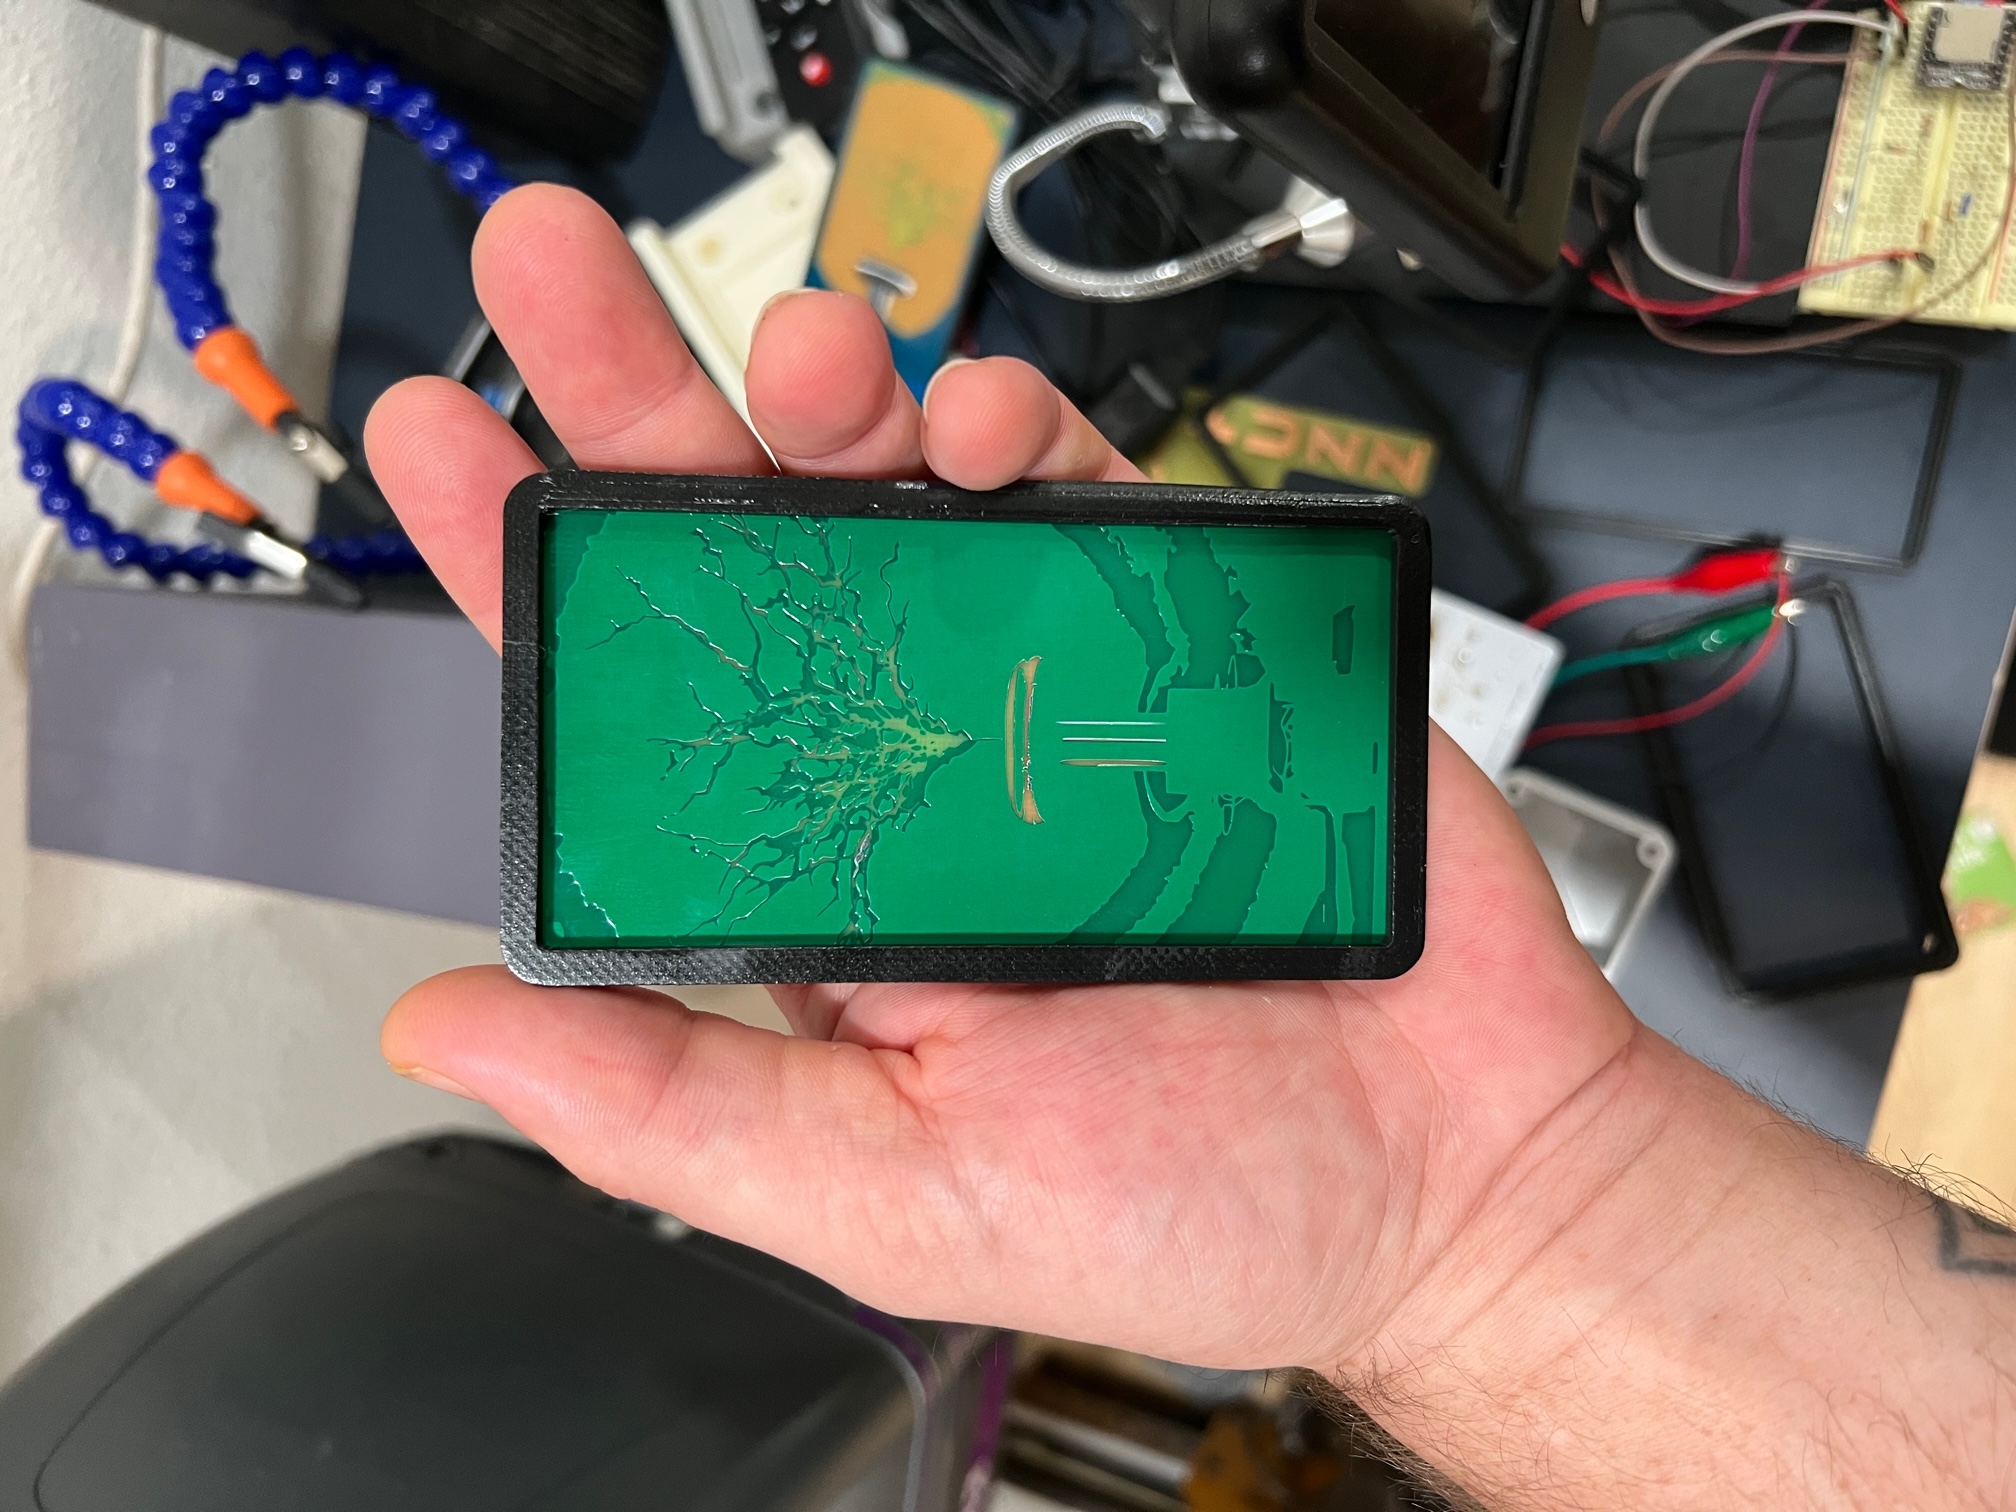
This is a light up display PCB with hidden features on the Bottom layer. With no backlight, PCB just looks like a Tesla Coil sitting on a desk. Once the backlight is turned on, it shines light through the exposed FR4 features on the back and makes it look like the Tesla Coil has turned on and is putting out sparks. Very important for board to be thin. 0.8mm PCB thickness works well You could add an LED flicker circuit to this so that the light intensity changes and it looks like the Tesla Coil is really working. I have done a couple of projects like this but this one is my favorite so far. Previous projects include X-ray type features so you just see a face or hand with no backlight. Then when backlight is added you see the skull and bones shining through. I have also done a haunted forest. Another possible variation to this circuit is to add SMD LEDs directly to the bottom layer so that the project is self contained. You could even build in the flicker circuit and power (battery or DC jack). You could even change LED to addressable LED type like the WS2812B. Then add MCU and have all types of cool lighting features. Could even make the circuit audio responsive so that when you play music in your house or car the display with flash to the beat of the music. The most important aspects to consider for a project like this is the configuration of the top and bottom layers to control how the light shines through. You get the most intense light when there is exposed FR4 on both sides of the PCB. Next most intense light is when there is a FR4 on one side and Mask on the other. Next most intense is when there is mask on both sides, and finally, There is no light that passes when there is copper on either side. You can still use the copper to create cool layering effects of the image, but with no light. Remember...display works best when the PCB is thin. 0.8mm thickness works well and is the best option without having to add extra cost to the PCB. My experience with AllPCB has been fantastic. Definitely the best price and the quality of the boards is great. Shipping is always pretty fast too. I hope to continue to use AllPCB for many projects like this in the future. Thank you
2
comment
All comments
 acornamps
3864
0
2
Rules about cashback: 1. Valid time: ALLPCB cashback activity will end on April 1st. 2. Capped amount: The capped amount of cashback for each account is $5,000. Each order can get a maximum of $2,000 cashback. That means every author can get $5,000 max. 3. Cashback range: The cashback activity only covers the corresponding PCB order. The order amount for other combined payment products will be invalid. 4. Clicking your own promotional link will be invalid. The same email address, shipping address, contact information, and phone number are all recognized as the same account. 5. ALLPCB has the final interpretation right of the cashback activity.
ALLPCB will donate 2% to the author for this promotion link.
Other Projects
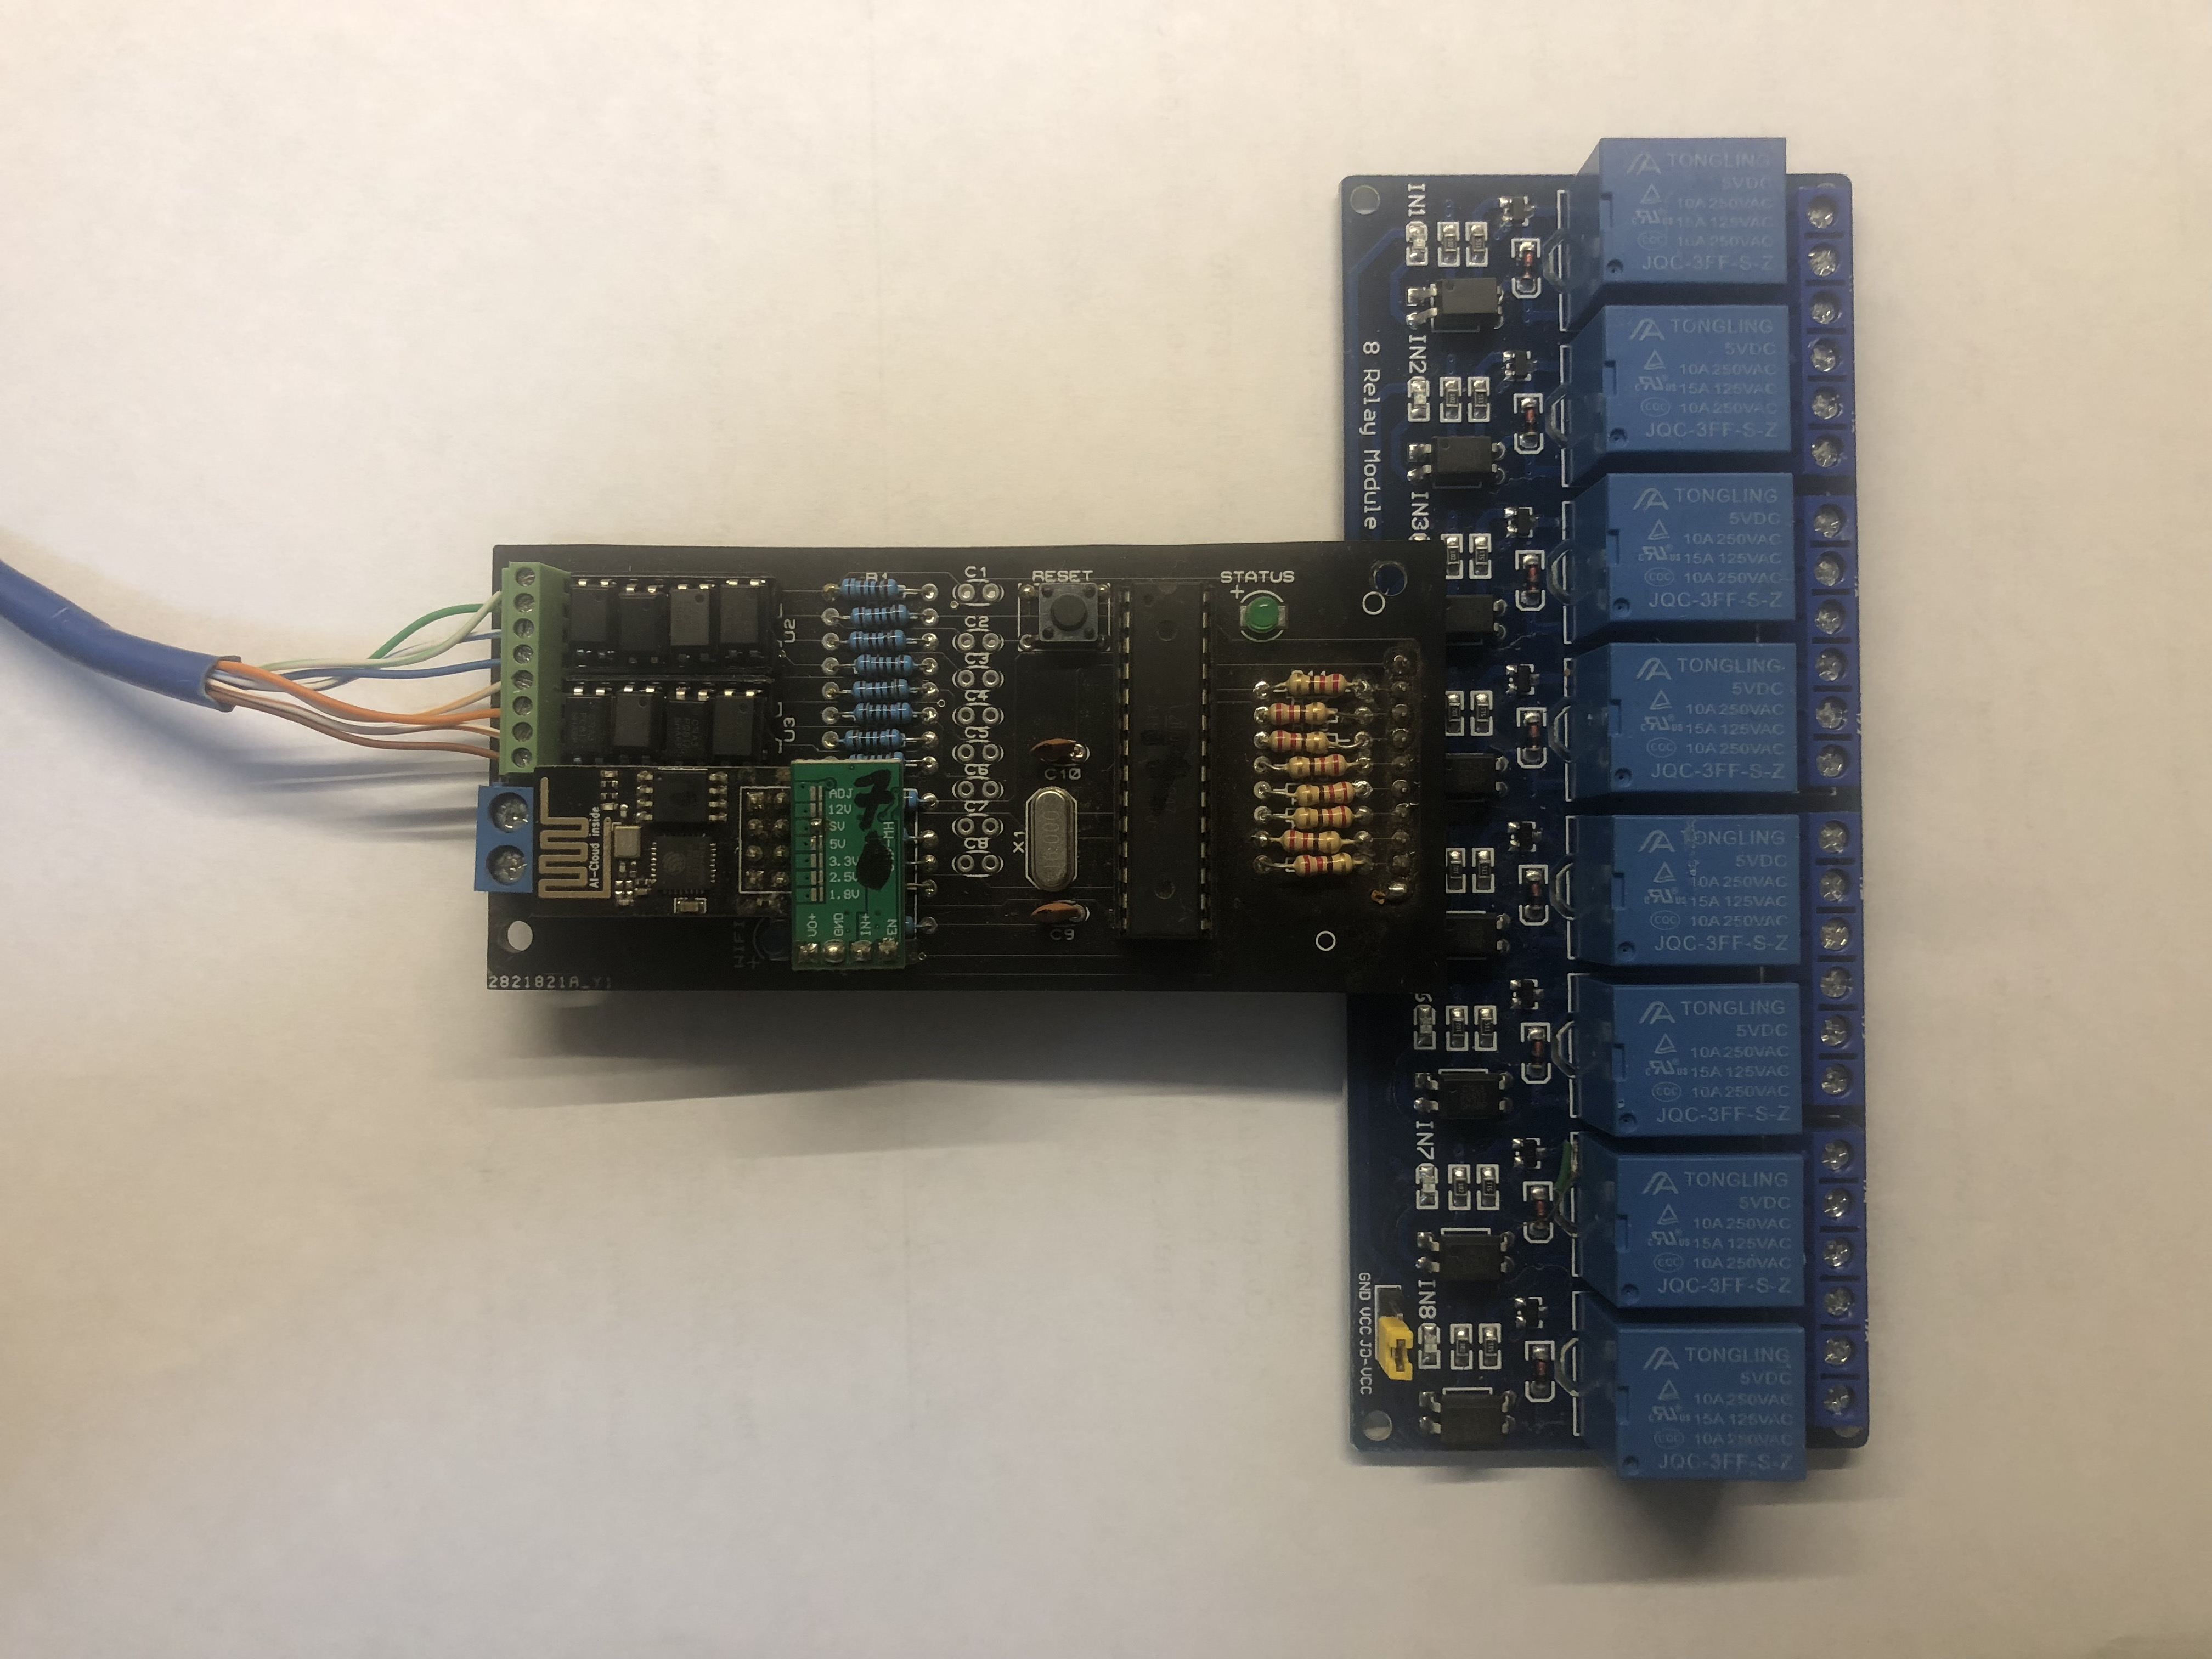
Home / Industrial Automation low Cost with Arduino an ESP01
3144
0
314
 josemarjr