Capacitive Touch MIDI Keyboard
Published on 11/9/2021 11:16:47 PM
Video Link: https://www.youtube.com/watch?v=dzY-IRwaqVM
Components Used in the Project
- Arduino *1
- 2.54 Female Header *2
- MPR121 *1
- Jumper Wires *4
Description
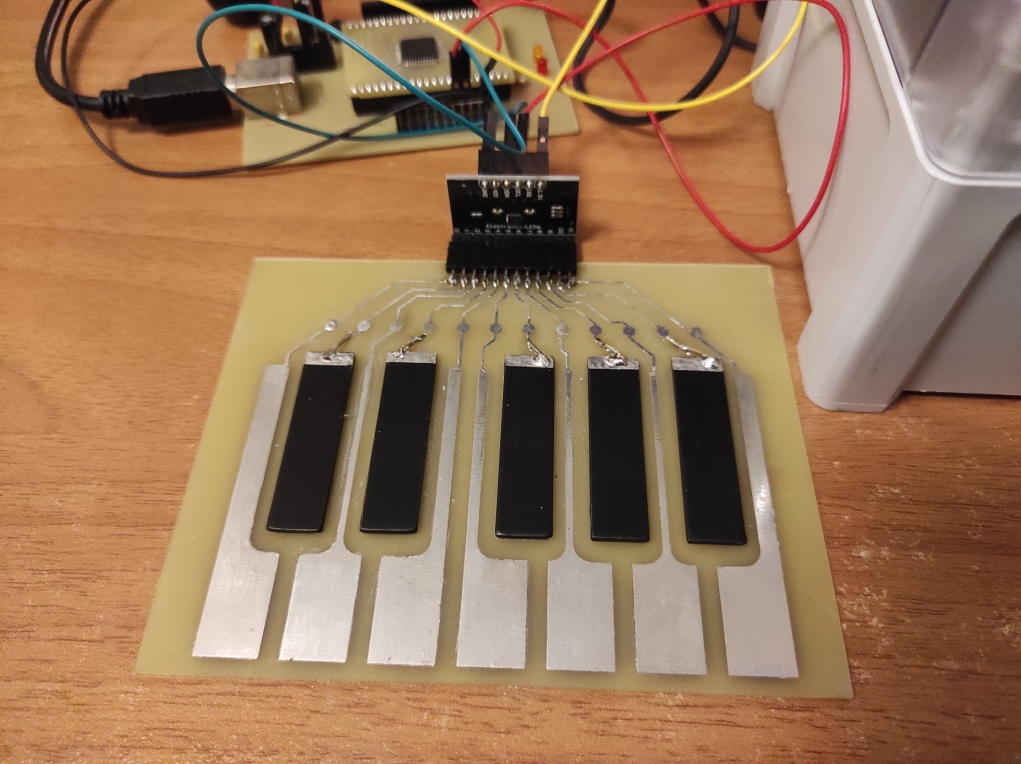
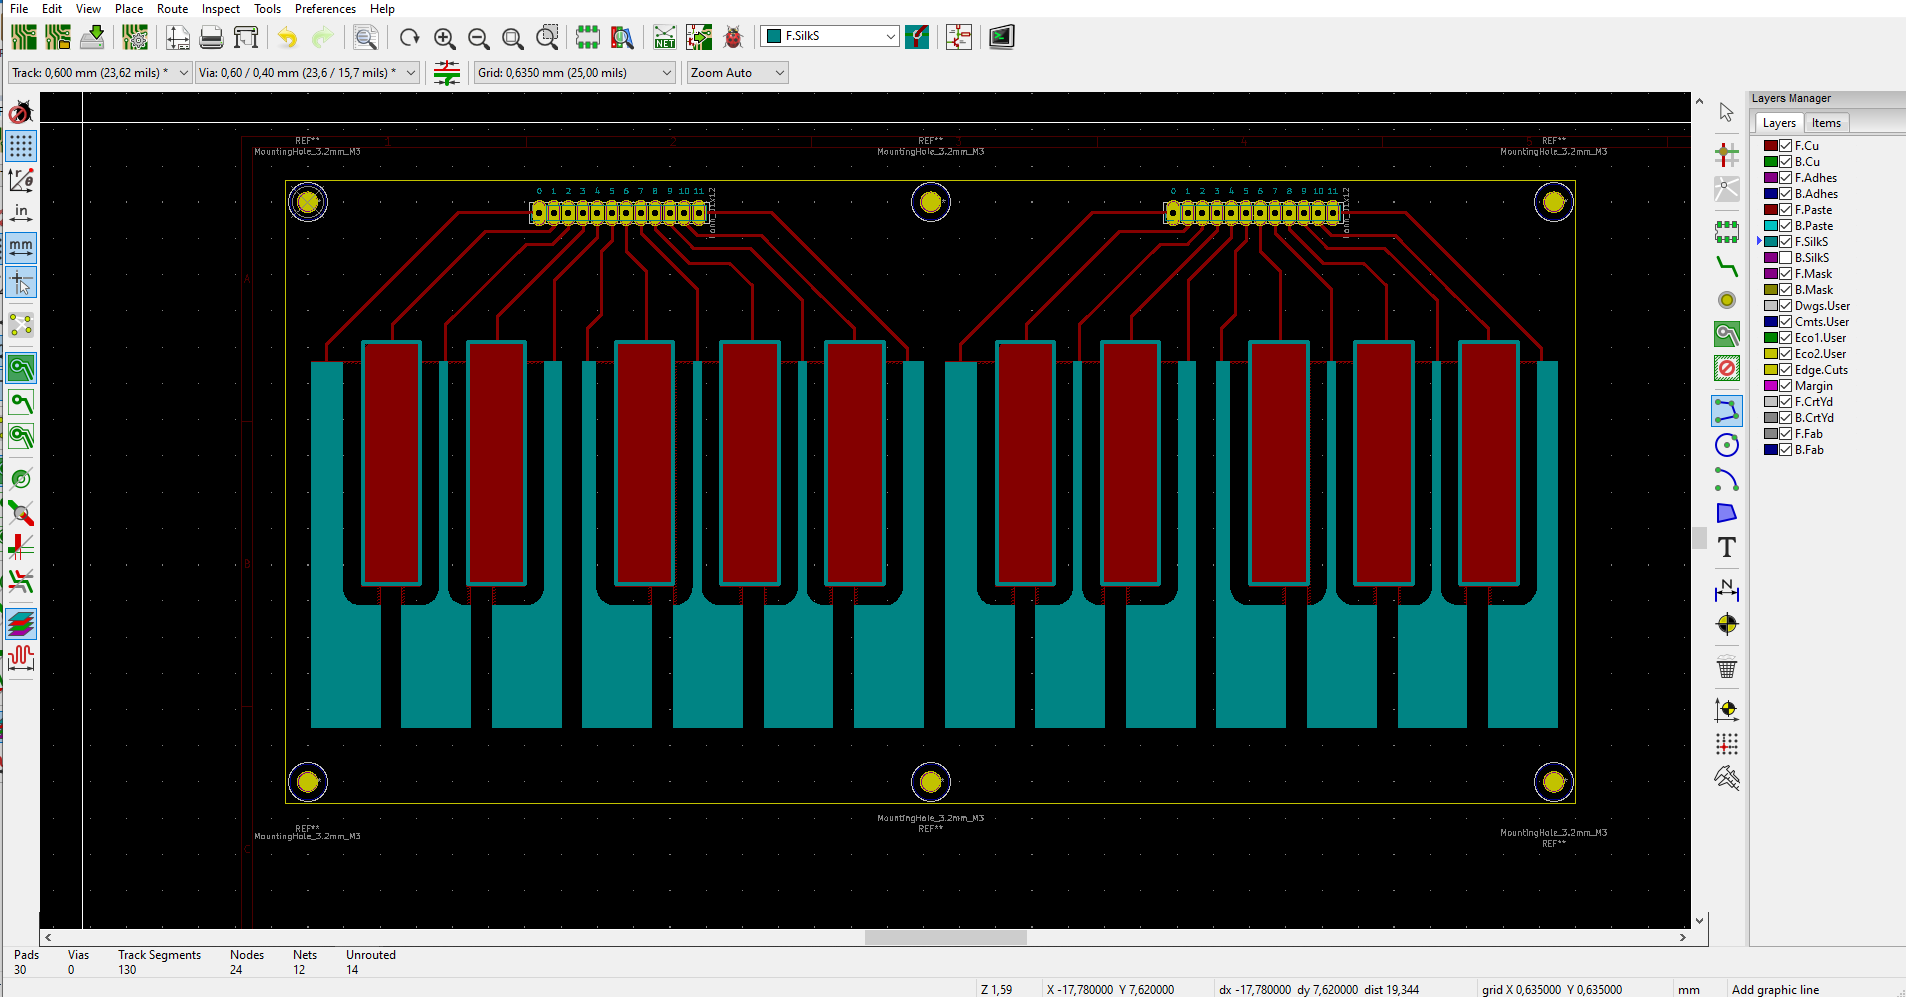
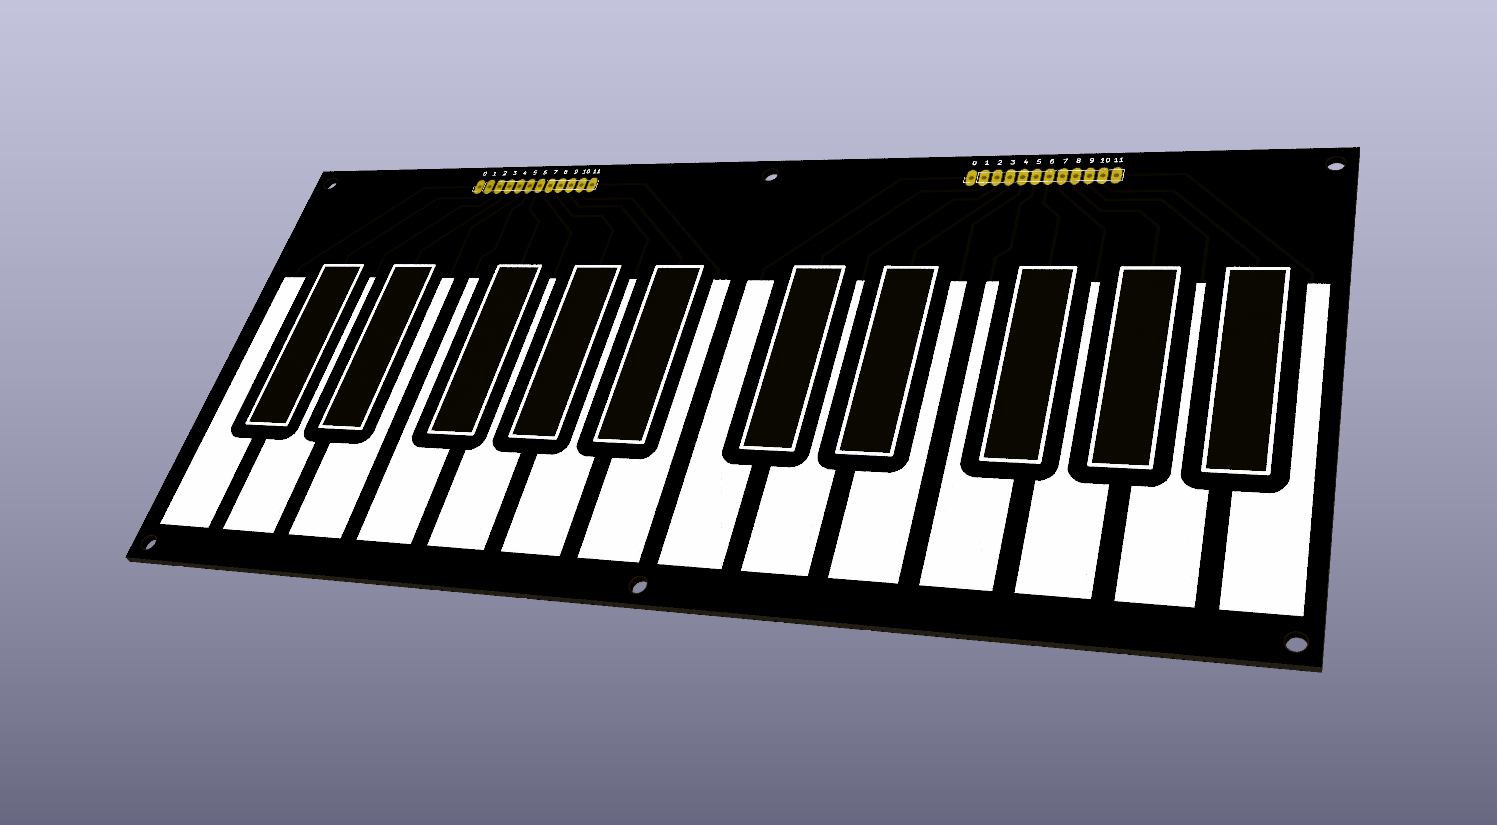
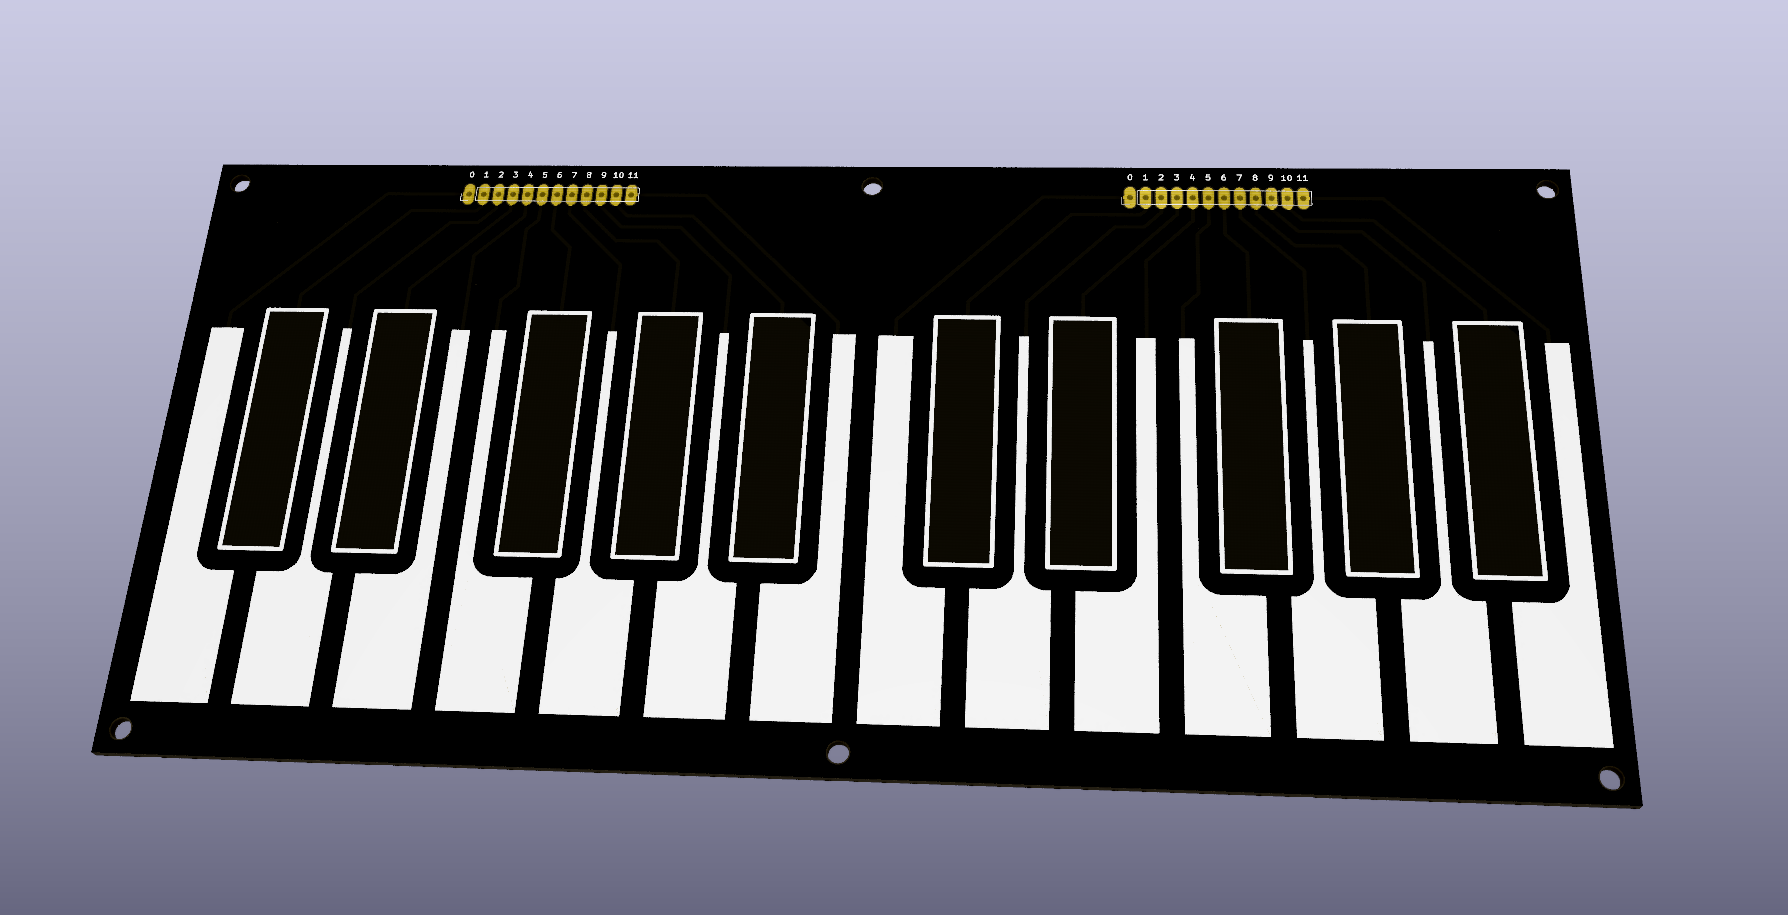
Hello my name is Orestis Mokas and this is my project named Capacitive Touch MIDI Keyboard The whole idea was to create a simple and effective MIDI controller, which can be controlled only with capacitive touch buttons so the cost is kept low and using pcb material only. Its was challenging because it was not easy to design it and it went through many revisions before its ready to use. The whole PCB is made using KiCad. It is not exactly useless design but if you don't connect it with anything then its useless and can be used to decorate your room or give it to kids to play with, but if you connect with the rest of the project is a very nice midi controller. The rest of the project constists of ATMEGA32U4 in a custom PCB which translates the MPR121 capacitive module messages to MIDI messages. Its very limited due to being 1 or 2 octave keyboard, although I am thinking of adding a button to switch octaves in the future. It is designed in KiCad software which is an opensource CAD software for PCBs. The video on this project shows the prototype which was homemade pcb using the photosensitive method to exposure the pcb and then etched and painted. Components used for the whole project: a) Arduino b) MPR121 (two of them if you make the 2 octave version of the keyboard) c) 2.54 Female Headers The firmware was written in Arduino IDE for PC and you can find it in the following link below: https://paste.ofcode.org/QtTPpA3dLHMsJHChqCccwb The requirements are that you must install two libraries, one for MPR121 capacitive module and one for the MIDI output. In the links below you can find those two libraries: https://github.com/FortySevenEffects/arduino_midi_library https://github.com/adafruit/Adafruit_MPR121 I have also uploaded the gerber files for anyone to use, if someone finds it useful can also order it. I learned about ALLPCB from a friend which is also a pcb designer and he told me that their quality is excellent and that I should try them out because they have a free coupon to test the pcbs. I actually used the coupon to order a sample and it was made and shipped fast. I was amazed by the quality and delivery speed so I will order from them in the future all my designs. Keep up the good work ALLPCB you are the best :)
0
comment
All comments
 omokas
4832
0
0
Rules about cashback: 1. Valid time: ALLPCB cashback activity will end on April 1st. 2. Capped amount: The capped amount of cashback for each account is $5,000. Each order can get a maximum of $2,000 cashback. That means every author can get $5,000 max. 3. Cashback range: The cashback activity only covers the corresponding PCB order. The order amount for other combined payment products will be invalid. 4. Clicking your own promotional link will be invalid. The same email address, shipping address, contact information, and phone number are all recognized as the same account. 5. ALLPCB has the final interpretation right of the cashback activity.
ALLPCB will donate 2% to the author for this promotion link.
Other Projects
Home / Industrial Automation low Cost with Arduino an ESP01
3046
0
314
 josemarjr