


Desktop Washing Machine
Published on 2021/10/21 14:58:47
Video Link: https://drive.google.com/file/d/10ZMJEcRhVqLU0Dz1XIT2FKdauePF_KZv/view?usp=sharing
Components Used in the Project
Description
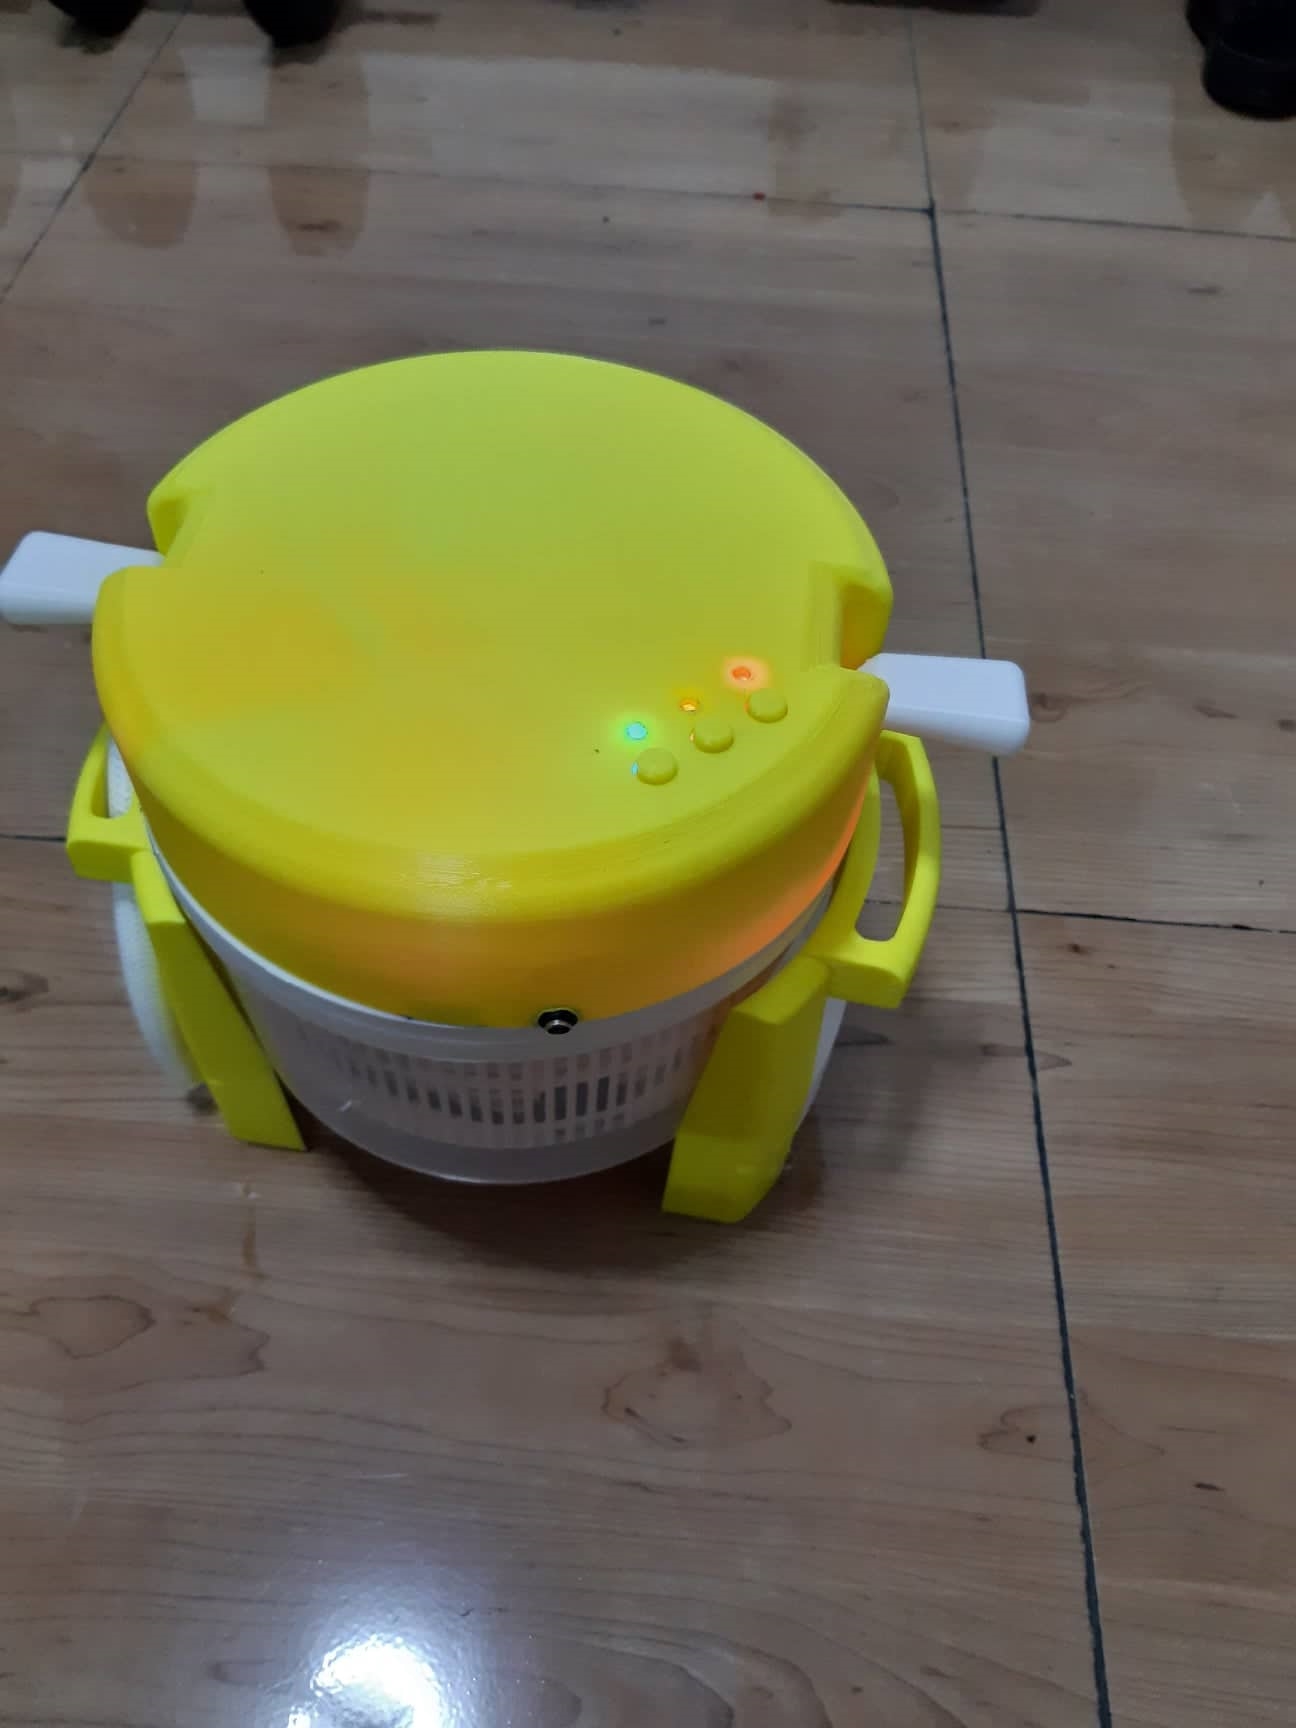
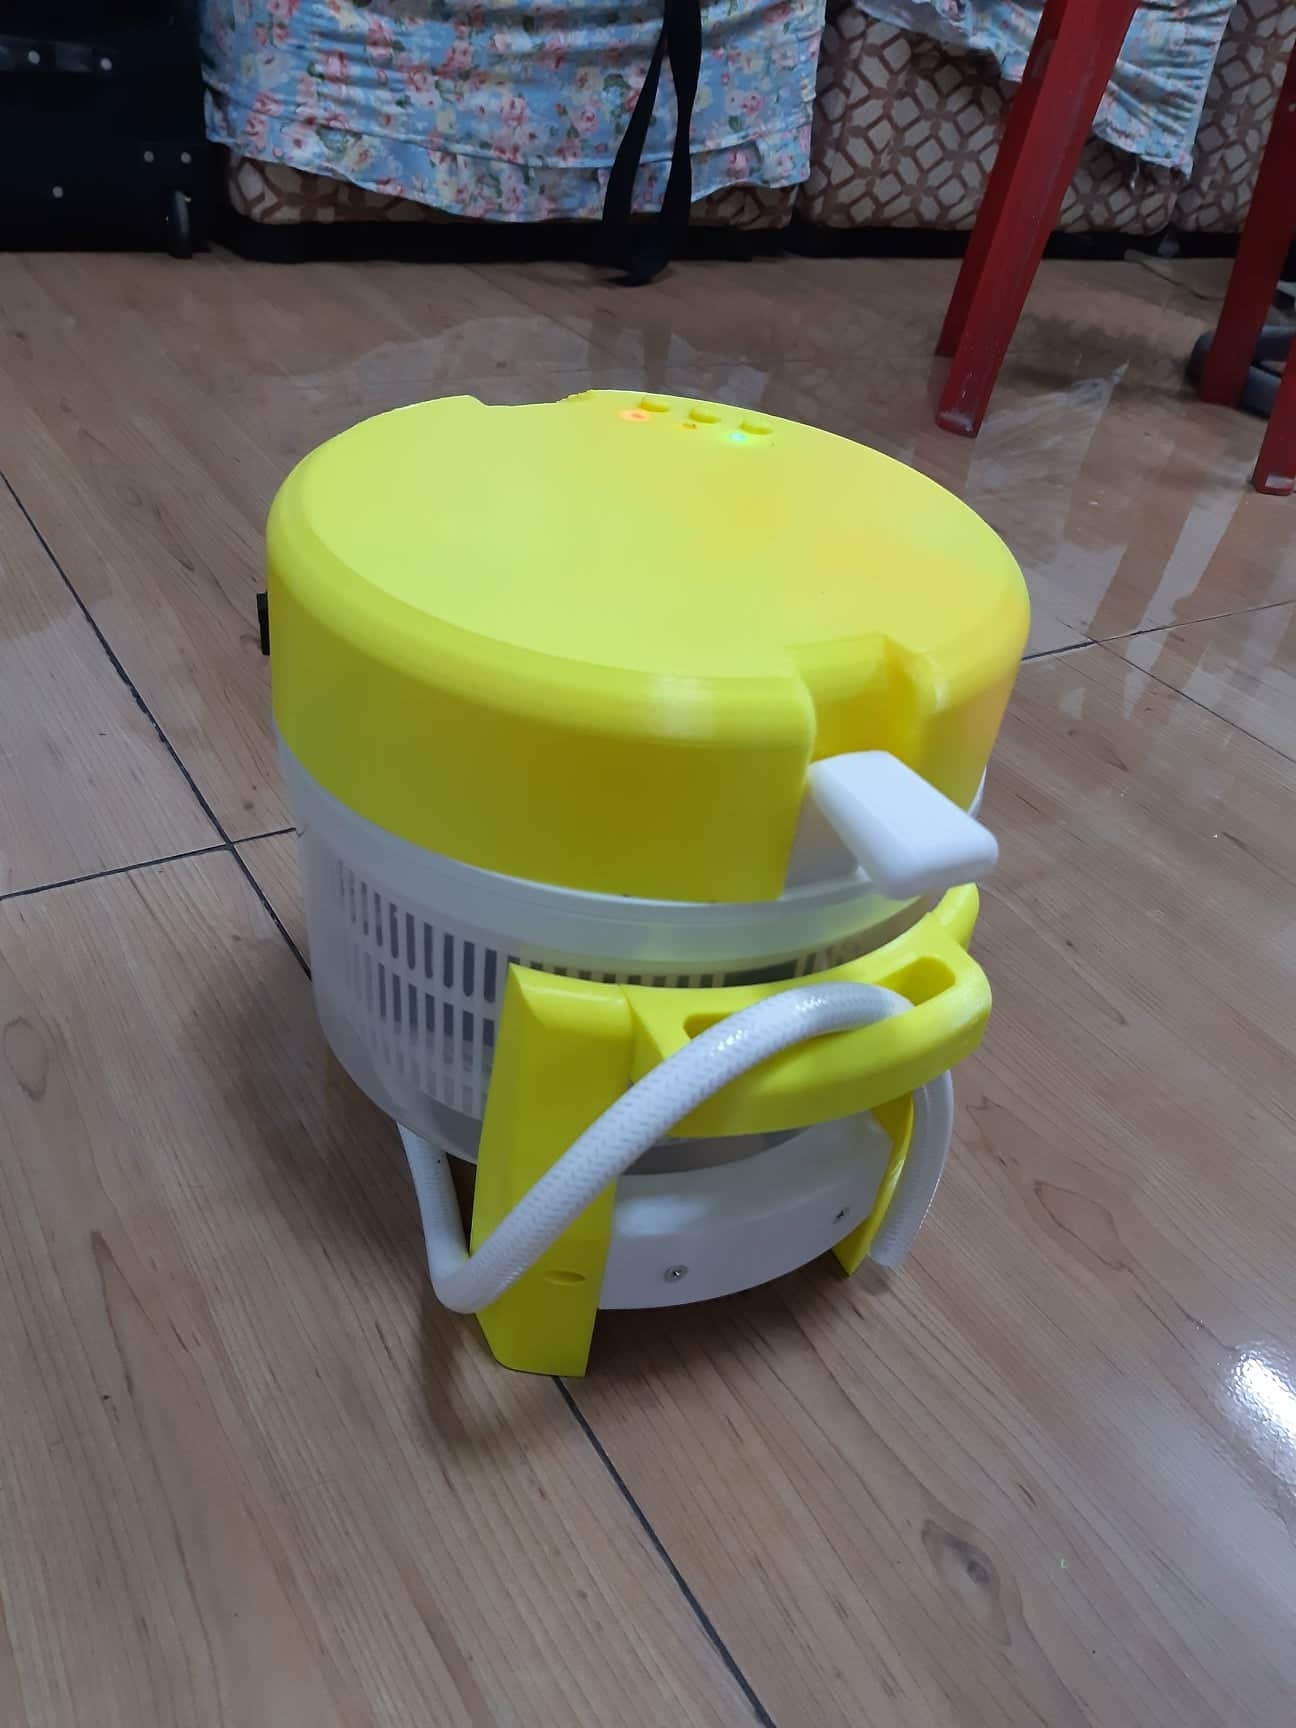
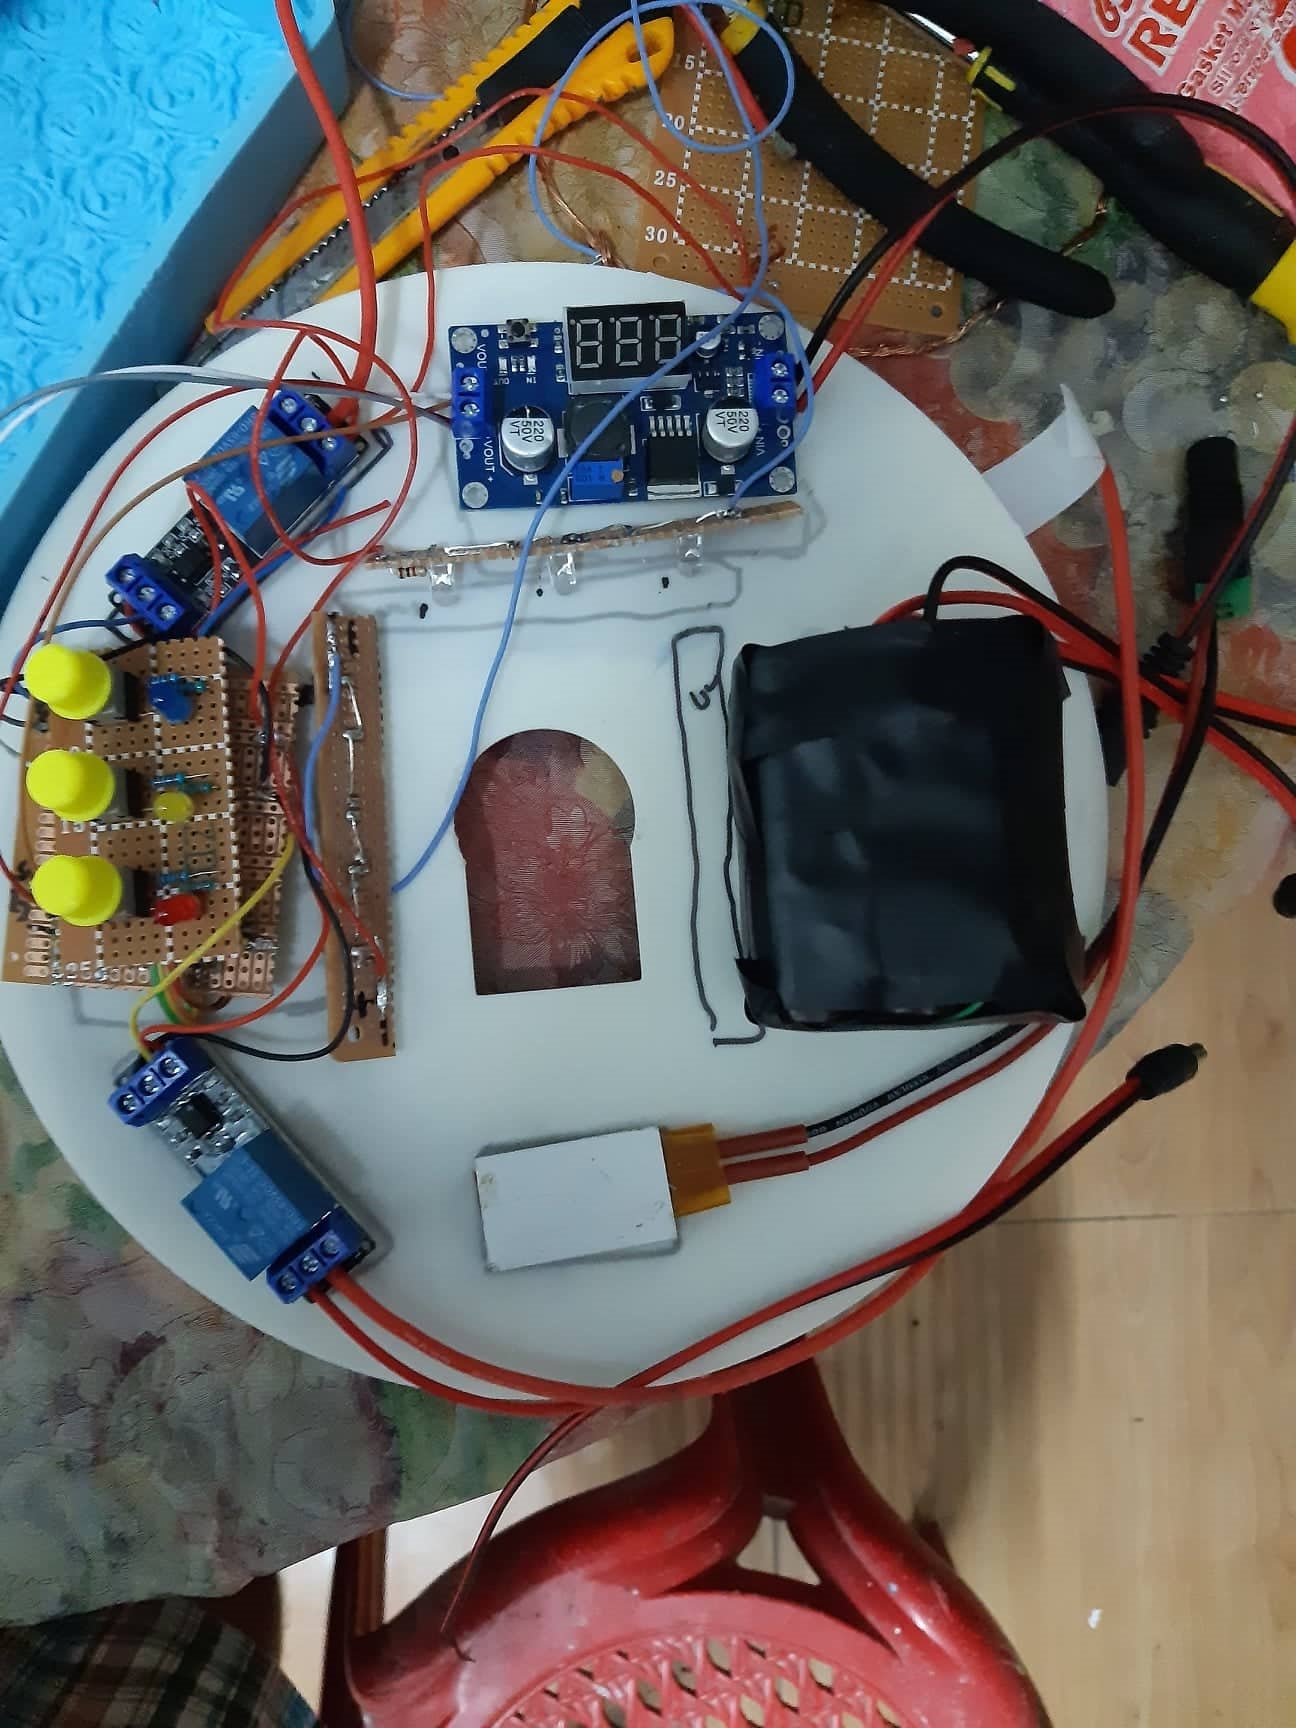
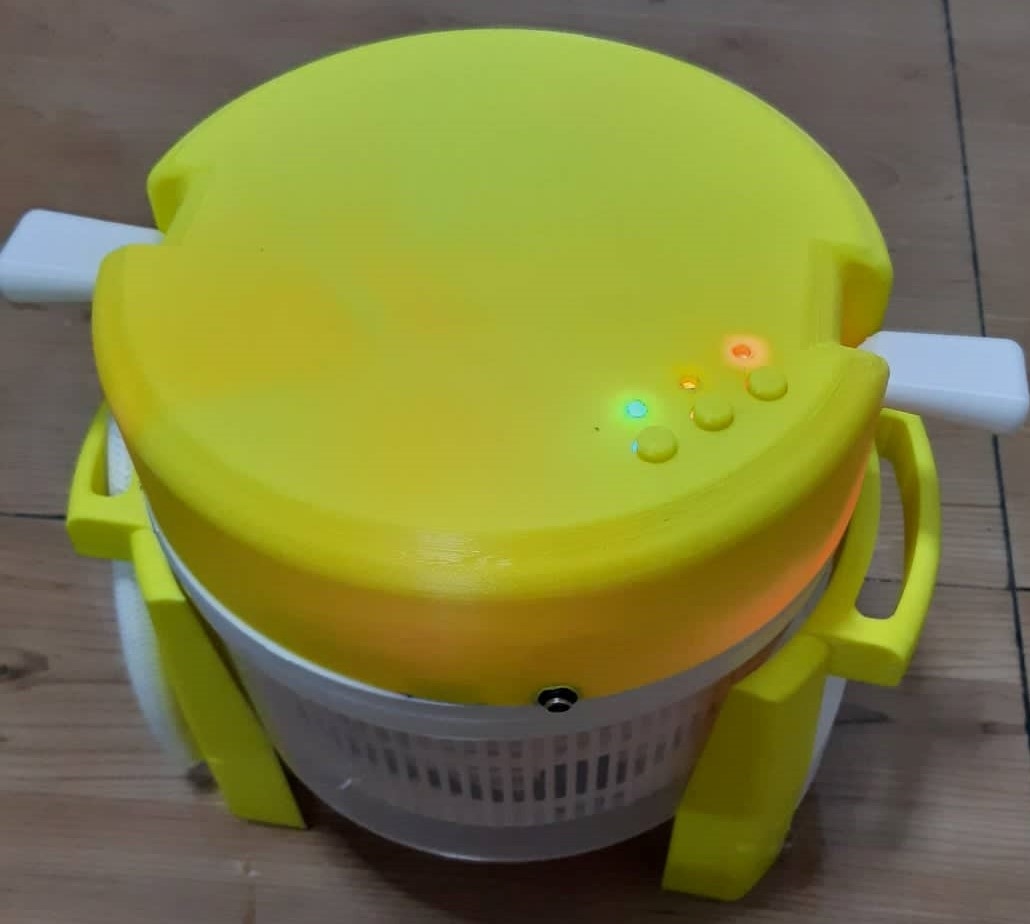
Desktop Washing Machine Arduino based desktop washing machine, the size is around 10x10 inches, and the shape is cylindrical, with two handles and a plug-and-play adapter for charging. To avoid contamination or infection, newborn babies' garments must be cleaned separately from adult clothing due to their sensitive skin. Freshly cleaned baby clothing should not be hung outside to avoid tiny insects and dust particles adhering to them. Rather than hand-washing infant clothes, which takes a long time. Rather than handwashing each item one at a time, this device speeds up the washing process by acting as a personal cleaning machine and dryer for the infant. The size is suitable for indoor use, allowing the baby to have his or her own washing machine rather than having to wash and dry goods themselves. The prototype's 3D printed docking system was built to withstand the rotating action of the motor from the inside. Three lights and three buttons are present: green for washing, orange for drying, and red for emergency stop. The power switch is on the cover, and the hose is embedded beneath the basket, allowing you to drain the water by simply pulling the hose down and resting it on the ground. Features: 1. Heating element 2. UV LED 3. Portable with standalone rechargeable battery 4. GREEN wash system, ORANGE dry system, RED stop. 5. Buttons – there are 3 buttons will be installed in this prototype, and on/off system. 6. Programmable wash cycle time and drying time. *Assembly of Components Procedure 3D print and laser cut the required components. Put together the top enclosure, holders, and brackets. Assemble a control circuit with buttons and LED lights. Place the Arduino, motor, and assembled control circuit in the appropriate brackets. Programming and testing of the assembled circuit Install the top cover. Seal. Install the rotor/basket connector on the motor shaft. Assemble the basket. Place the basket on a stand.
13
comment
All comments

hobby.center25
This is awesome!!
2021/10/25 14:28:11
comment
 hobby.center25@gmail.com
304
1
13
Rules about cashback: 1. Valid time: ALLPCB cashback activity will end on April 1st. 2. Capped amount: The capped amount of cashback for each account is $5,000. Each order can get a maximum of $2,000 cashback. That means every author can get $5,000 max. 3. Cashback range: The cashback activity only covers the corresponding PCB order. The order amount for other combined payment products will be invalid. 4. Clicking your own promotional link will be invalid. The same email address, shipping address, contact information, and phone number are all recognized as the same account. 5. ALLPCB has the final interpretation right of the cashback activity.
ALLPCB will donate 2% to the author for this promotion link.
Other Projects
Home / Industrial Automation low Cost with Arduino an ESP01
1852
0
314
 josemarjr