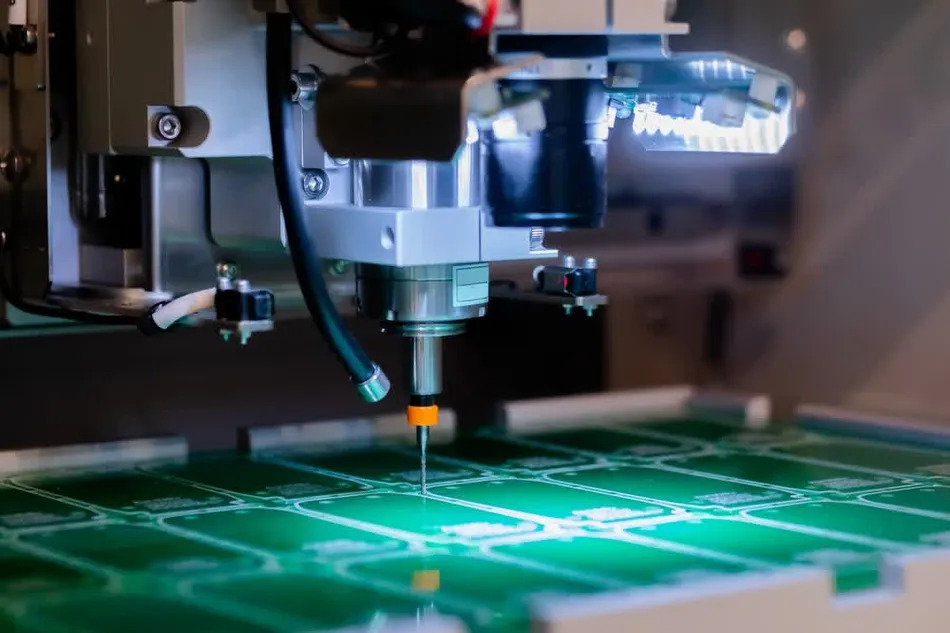
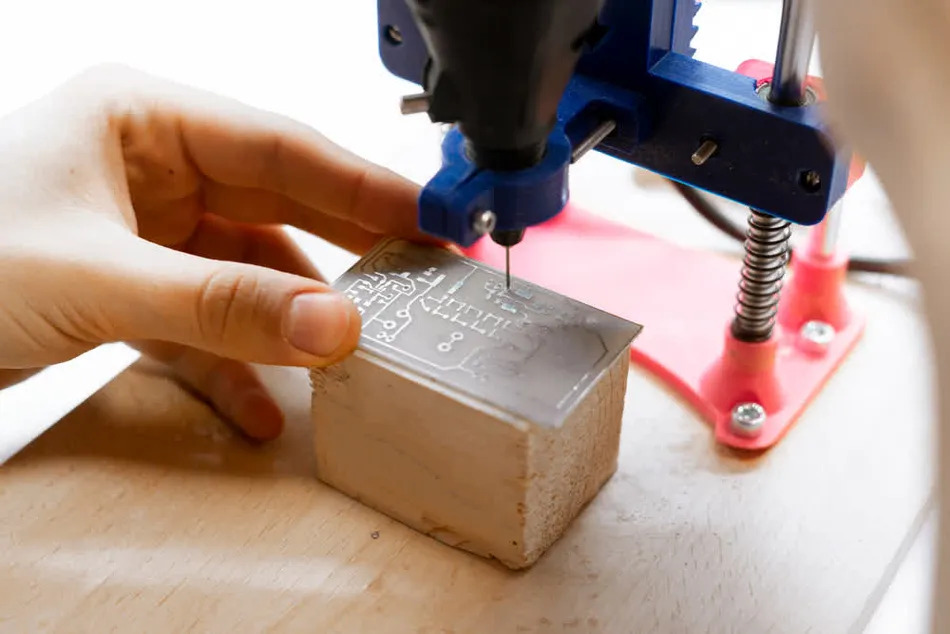
Are you looking to build a smart home sensor with pinpoint accuracy in component placement? Laser drilling offers a cutting-edge solution for creating precise holes and layouts in your DIY sensor project. In this comprehensive guide, we'll walk you through the process of using laser drilling for precise component placement in smart home sensors, from understanding the basics to executing a successful assembly. Whether you're a hobbyist or a seasoned engineer, you'll find actionable steps and technical insights to elevate your laser electronics assembly skills.
Why Laser Drilling Matters for Smart Home Sensors
Smart home sensors are the backbone of modern automation, monitoring everything from temperature and humidity to motion and light. These devices require tiny, accurate placements for components like microcontrollers, resistors, and laser-based detection modules. Traditional drilling methods often fall short when it comes to achieving the precision needed for such compact electronics. Laser drilling, on the other hand, uses focused beams of light to create holes as small as 0.1mm in diameter, ensuring that every component fits perfectly without risking damage to nearby circuits.
In this blog, we'll dive deep into how laser drilling can transform your DIY sensor project. You'll learn the tools, techniques, and best practices for integrating this technology into your workflow, ensuring flawless results in your laser electronics assembly.

What Is Laser Drilling and How Does It Work?
Laser drilling is a non-contact process that uses a high-powered laser beam to remove material from a surface, creating holes or patterns with extreme accuracy. Unlike mechanical drilling, which can cause vibrations and micro-cracks, laser drilling offers a cleaner cut with minimal thermal stress. This makes it ideal for delicate materials like printed circuit boards (PCBs) used in smart home sensors.
The process works by focusing a laser beam, often with a wavelength of 355nm for UV lasers, onto a specific spot. The energy vaporizes or melts the material, forming a hole. Advanced systems can control the beam's intensity and duration to achieve depths ranging from 0.05mm to several millimeters, depending on the project requirements. For a typical DIY sensor project, laser drilling can create vias (vertical interconnect access) with diameters as small as 0.2mm, ensuring precise component placement without compromising the board's integrity.

Benefits of Laser Drilling for DIY Sensor Projects
Using laser drilling in your smart home sensor project comes with several advantages, especially when precision is non-negotiable. Here are the key benefits:
- High Precision: Laser drilling can achieve tolerances as tight as ±0.01mm, ensuring components like surface-mount devices (SMDs) are placed exactly where needed.
- Minimal Damage: The non-contact nature of laser drilling reduces the risk of mechanical stress or cracks, preserving the structural integrity of thin PCBs often used in sensors.
- Versatility: It works on a variety of materials, including FR4 (a common PCB material), ceramics, and even flexible substrates, giving you flexibility in design.
- Speed: Modern laser systems can drill hundreds of holes per minute, speeding up the prototyping phase of your DIY sensor project.
For instance, if you're building a motion sensor with a laser proximity module, precise alignment of the emitter and receiver is critical. A misalignment of even 0.5mm can degrade signal accuracy, leading to false readings. Laser drilling ensures that mounting holes and vias are perfectly positioned, maintaining the sensor's performance.
Tools and Materials Needed for Laser Drilling in Sensor Assembly
Before starting your laser drilling smart home sensor project, gather the necessary tools and materials. While industrial-grade laser drilling machines are expensive, there are accessible options for hobbyists and small-scale projects. Here's a breakdown of what you'll need:
- Laser Drilling Equipment: Entry-level CO2 or UV laser engravers, available for under $500, can handle basic drilling tasks on PCBs. Look for models with at least 5W of power and adjustable focus for better control.
- PCB Material: Choose a high-quality board with a thickness of 0.8mm to 1.6mm for most smart home sensor designs. Ensure it’s compatible with laser processing to avoid excessive charring.
- Design Software: Use CAD tools to create a precise layout of your sensor circuit, marking exact spots for drilling. Export the design in a format compatible with your laser system.
- Safety Gear: Laser drilling generates heat and fumes. Wear protective goggles rated for the laser's wavelength and work in a well-ventilated area.
- Components: Gather the electronic parts for your sensor, such as microcontrollers (e.g., operating at 16MHz), resistors (e.g., 1kΩ), and laser diodes for proximity detection.

Step-by-Step Guide to Laser Drilling for Precise Component Placement
Now that you have your tools ready, let’s walk through the process of using laser drilling for your smart home sensor. Follow these steps to ensure accuracy and safety in your laser electronics assembly.
Step 1: Design Your Sensor Layout
Start by creating a detailed schematic of your smart home sensor. Identify the placement of each component, including where holes or vias are needed for mounting or electrical connections. For example, if you're building a temperature sensor, ensure the thermistor placement allows for optimal heat detection, with vias spaced at least 0.3mm apart to prevent signal interference. Export the design as a file compatible with your laser system, typically in DXF or SVG format.
Step 2: Prepare the PCB
Secure your PCB material on the laser machine's workbed using clamps or double-sided tape to prevent movement during drilling. Clean the surface to remove dust or debris that could interfere with the laser beam. Set the laser focus to match the material thickness—most systems have a manual adjustment or autofocus feature for this purpose.
Step 3: Configure Laser Settings
Adjust the laser power, speed, and pulse duration based on your PCB material. For a standard 1.6mm FR4 board, start with a power setting of 60-70% and a speed of 10-15mm/s on a 5W laser engraver. Test on a scrap piece first to avoid damaging your main board. The goal is to create clean holes without burning through the substrate.
Step 4: Drill the Holes
Run the laser program to drill holes at the marked locations. Monitor the process to ensure the beam doesn’t deviate or overheat the material. For a typical sensor board, you might drill 10-20 holes ranging from 0.2mm to 1mm in diameter for component leads and vias. After drilling, inspect the holes under a magnifying glass to confirm their accuracy and cleanliness.
Step 5: Assemble Components
With the holes drilled, begin placing and soldering your components. Use a fine-tip soldering iron (around 25W) to avoid damaging small pads. For a laser proximity sensor, align the emitter and detector precisely within the drilled holes to ensure the beam path is unobstructed. Test the circuit for continuity and signal integrity—expect a typical impedance of around 50Ω for well-designed traces.
Common Challenges in Laser Drilling and How to Overcome Them
While laser drilling offers unmatched precision, it’s not without challenges. Here are some common issues in DIY sensor projects and how to address them:
- Material Burning: Excessive laser power can char the PCB. Reduce power to 50% or increase speed to 20mm/s for thinner materials. Use a protective coating if needed.
- Misalignment: If holes don’t match your design, double-check the calibration of your laser machine and ensure the PCB is securely positioned.
- Fume Hazards: Laser drilling produces harmful fumes. Always work in a ventilated space or use a fume extractor to maintain air quality.
- Component Fit Issues: If drilled holes are too small, re-run the laser at a slightly higher power to widen them by 0.05mm increments until the fit is perfect.
Tips for Optimizing Your Laser Electronics Assembly
To get the best results from your laser drilling smart home sensor project, keep these tips in mind:
- Start Small: Practice on scrap PCBs before working on your final design to fine-tune your laser settings.
- Use High-Quality Materials: Invest in durable PCB substrates that can withstand laser heat without warping.
- Maintain Equipment: Clean the laser lens regularly to prevent beam distortion, which can affect hole accuracy.
- Test Continuously: After each assembly step, test your sensor's functionality. For instance, a laser proximity sensor should detect objects within a range of 10-50cm with a response time under 100ms.
Applications of Laser-Drilled Smart Home Sensors
The precision of laser drilling opens up a wide range of possibilities for smart home sensors. Here are a few applications where this technique shines:
- Motion Detection: Create compact sensors with laser-aligned components for accurate detection of movement within 5-10 meters.
- Environmental Monitoring: Build temperature or humidity sensors with tightly packed components, ensuring reliable data with minimal noise (signal-to-noise ratio above 40dB).
- Security Systems: Design laser tripwire alarms where precise placement of emitters and receivers prevents false triggers.
Conclusion: Elevate Your DIY Sensor Project with Laser Drilling
Laser drilling is a game-changer for anyone building a smart home sensor. By enabling precise component placement, it ensures your DIY sensor project performs reliably and efficiently. From selecting the right tools to mastering the drilling process, the steps outlined in this guide provide a clear path to success in laser electronics assembly. With practice and attention to detail, you can create professional-grade sensors that enhance your smart home setup.
Embrace the power of laser drilling and take your projects to the next level. The precision and versatility it offers will not only improve your current designs but also inspire innovation in future endeavors. Start experimenting today, and see the difference that precise component placement can make in your smart home automation journey.
 ALLPCB


