 ALLPCB


If you're diving into the world of electronics and looking to master DIY soldering, especially SMT soldering, you're in the right place. Surface Mount Technology (SMT) soldering can seem daunting for beginners, but with the right techniques, tools, and tricks, you can achieve professional results at home. Whether you're working on reflow soldering or hand soldering for beginner electronics projects, this guide will walk you through everything you need to know to succeed.
In this comprehensive blog, we'll cover the basics of SMT soldering, the tools you need, step-by-step methods for both reflow and hand soldering, and practical tips to avoid common pitfalls. Let’s get started on your journey to becoming a soldering pro!
What is SMT Soldering and Why Should You Learn It?
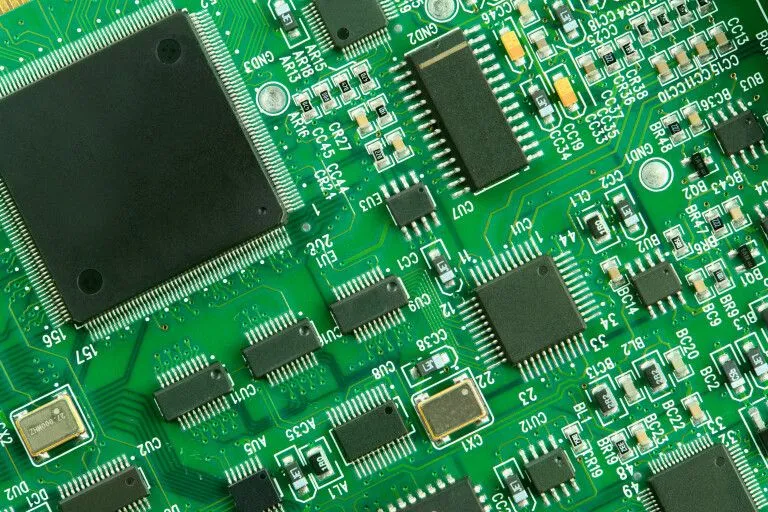
SMT soldering refers to the process of attaching surface-mount devices (SMDs) to a printed circuit board (PCB). Unlike traditional through-hole components, SMDs are smaller and are soldered directly onto the surface of the board, making them ideal for compact, modern electronics. Learning DIY SMT soldering is essential for hobbyists and engineers because it opens up opportunities to work on smaller, more advanced projects like smartphones, IoT devices, and custom gadgets.
The benefits of mastering SMT soldering include creating more compact designs, improving circuit performance due to shorter connections, and keeping up with the industry trend of miniaturization. While it may seem tricky at first, with practice and the right approach, even beginners can achieve clean, reliable solder joints.
Essential Tools for DIY SMT Soldering
Before you start soldering, having the right tools is critical for success. Here's a breakdown of the must-have equipment for both hand soldering and reflow soldering in beginner electronics.
- Soldering Iron or Station: For hand soldering, a temperature-controlled soldering iron with a fine tip (0.5mm to 1mm) is ideal for precision work on small SMDs. Look for a model with adjustable temperature settings between 250°C and 350°C to match different solder types.
- Solder Paste: This is a mix of tiny solder particles and flux, used primarily in reflow soldering. It’s applied to PCB pads before placing components.
- Flux: Flux cleans the surfaces and helps solder flow smoothly, reducing the risk of cold joints. It’s a must for both hand and reflow methods.
- Tweezers: Precision tweezers are essential for placing tiny SMD components accurately on the board.
- Hot Air Rework Station: Useful for reflow soldering or removing SMDs. It blows hot air to melt solder evenly across components.
- Reflow Oven or Hot Plate: For larger projects, a reflow oven or hot plate can heat the entire board to melt solder paste uniformly.
- Solder Wick and Desoldering Pump: These help remove excess solder or correct mistakes during hand soldering.
- Magnifying Glass or Microscope: SMD components are tiny, often less than 1mm in size. A magnifying tool helps with inspection and placement.
Investing in quality tools will save you time and frustration. For beginners, start with a basic soldering station and flux, then expand your toolkit as you gain confidence.
Hand Soldering SMT Components: A Step-by-Step Guide
Hand soldering is a great starting point for beginner electronics enthusiasts because it doesn’t require expensive equipment like a reflow oven. It’s ideal for small projects or when you only need to solder a few components. Follow these steps to get started with DIY soldering of SMT parts.
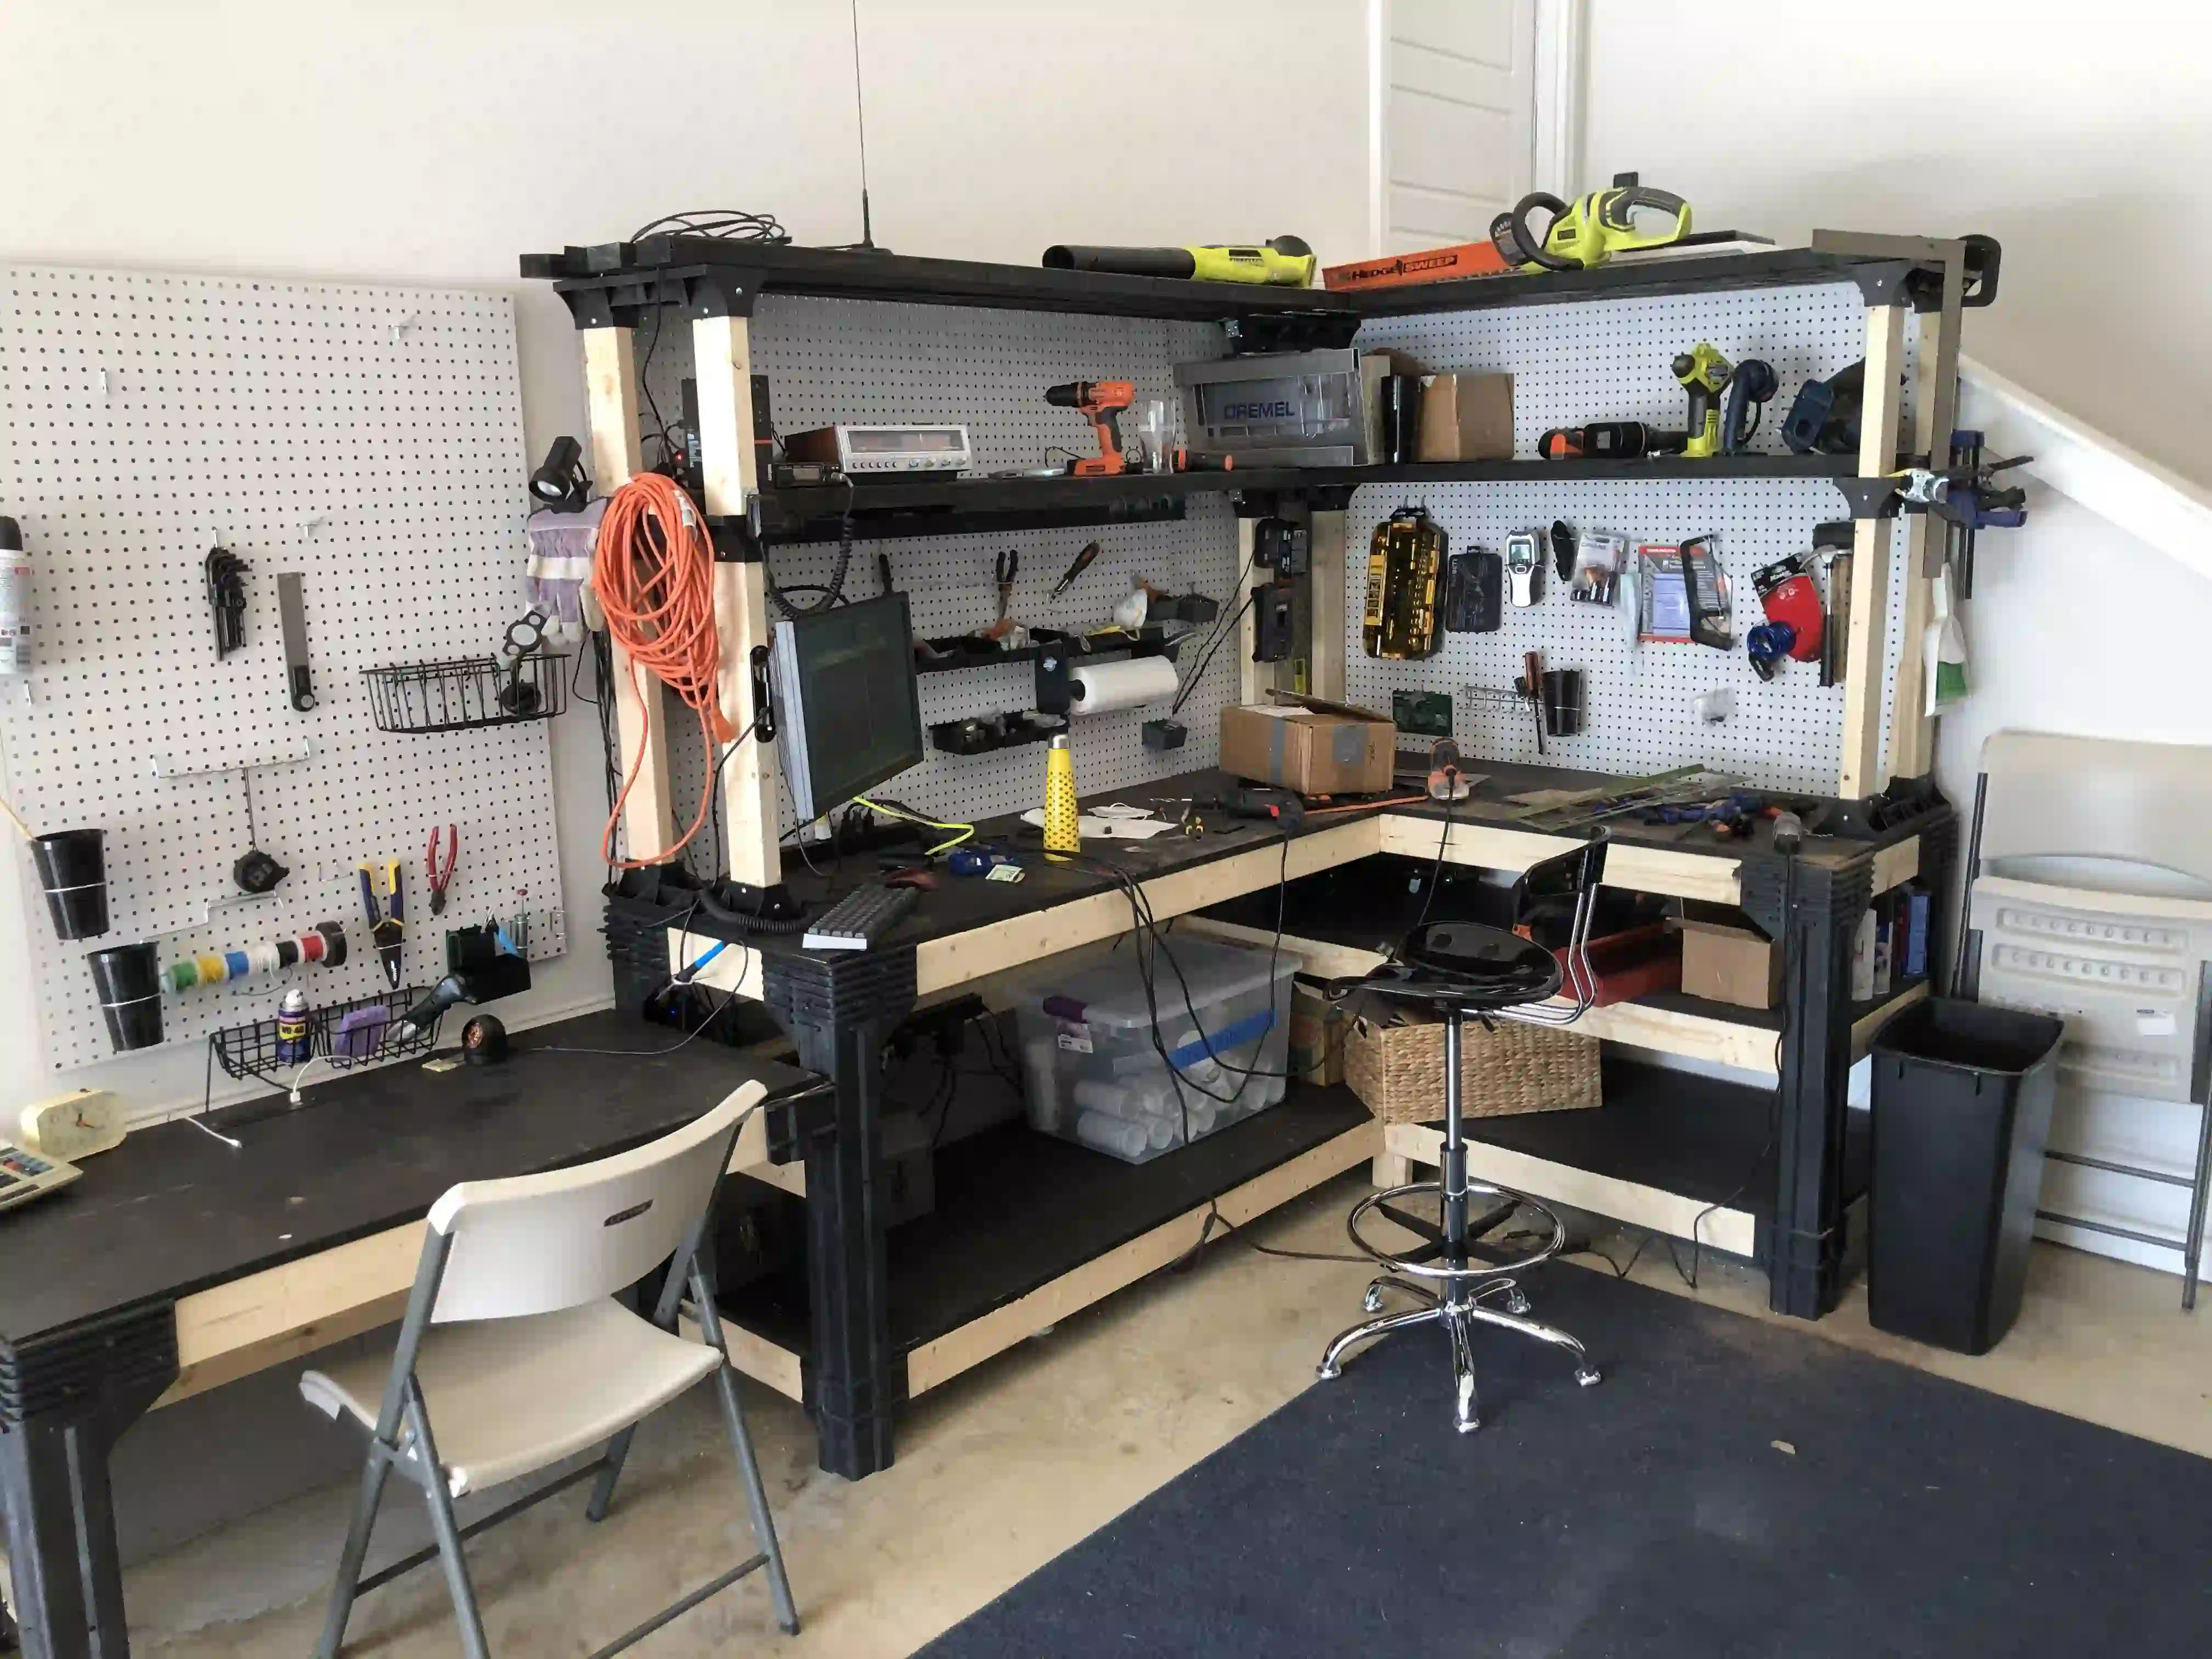
- Prepare Your Workspace: Work in a well-lit, ventilated area. Lay down a heat-resistant mat to protect your surface, and keep your tools within reach.
- Clean the PCB: Use isopropyl alcohol and a brush to clean the PCB pads. This removes dirt and oxidation, ensuring better solder adhesion.
- Apply Flux: Dab a small amount of flux onto the pads where you’ll place the component. Flux prevents oxidation and helps the solder flow.
- Place the Component: Using tweezers, carefully position the SMD component on the pads. Ensure the pins align perfectly with the pads.
- Solder One Pin First: Heat your soldering iron to around 300°C. Apply a small amount of solder to the tip, then touch it to one of the pads with a pin. This “tacks” the component in place.
- Solder Remaining Pins: Add solder to the other pins, ensuring a smooth, shiny joint. Avoid excess solder to prevent bridges between pins.
- Inspect and Clean: Use a magnifying glass to check for cold joints or bridges. Clean the area with alcohol to remove flux residue.
Tip: For components with many pins, like ICs, use the “drag soldering” technique. Apply flux, add solder to all pins, then drag the iron tip across them to distribute solder evenly. Remove excess with solder wick if needed.
Reflow Soldering SMT Components: A Beginner’s Guide
Reflow soldering is a more advanced technique used in SMT soldering for assembling multiple components at once. It’s commonly used in professional manufacturing but can be adapted for DIY soldering with the right tools. Here’s how to do it at home.
- Gather Materials: You’ll need solder paste, a stencil (if available), a hot air station or reflow oven, and your PCB with components.
- Apply Solder Paste: If you have a stencil, align it over the PCB and spread solder paste over the pads using a squeegee. If not, apply paste manually with a syringe for small projects.
- Place Components: Use tweezers to position SMD components on the paste-covered pads. Double-check alignment under magnification.
- Heat the Board: If using a hot air station, set it to around 220°C to 250°C (depending on your solder paste specifications) and move the nozzle in circular motions over the components for even heating. For a reflow oven, follow the recommended temperature profile, often peaking at 245°C for lead-free solder.
- Cool and Inspect: Allow the board to cool naturally. Inspect for proper solder joints—shiny and smooth connections indicate success. Rework any poorly soldered areas with a soldering iron.
Note: Temperature control is critical in reflow soldering. Most lead-free solder pastes follow a profile with a preheat stage (150°C-180°C for 60-90 seconds), a soak stage, and a reflow stage (above 220°C for 20-40 seconds). Check the datasheet of your solder paste for exact values.
Top Tips and Tricks for SMT Soldering Success
Whether you’re using hand soldering or reflow soldering, these practical tips will help ensure success in your DIY SMT soldering projects.
- Use Plenty of Flux: Flux is your best friend in SMT soldering. It reduces oxidation and helps create clean joints, especially for tiny components.
- Start with Larger Components: If you’re new to beginner electronics, practice on larger SMDs (like 1206 resistors) before moving to smaller ones (like 0402 capacitors).
- Avoid Overheating: Excessive heat can damage components or lift PCB pads. Limit soldering iron contact to 2-3 seconds per joint, and use the lowest effective temperature.
- Check Polarity: For components like LEDs and capacitors, ensure correct orientation before soldering. Reversing polarity can ruin your circuit.
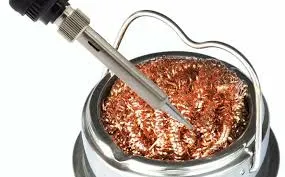
- Keep Your Iron Tip Clean: A dirty tip can lead to poor heat transfer and bad joints. Wipe it on a damp sponge or use a brass wire cleaner after every few joints.
- Work in Batches for Reflow: When using a hot air station, focus on one section of the board at a time to avoid uneven heating.
- Practice on Scrap Boards: Before working on your actual project, test your skills on old or practice PCBs to build confidence.
Common Mistakes to Avoid in DIY SMT Soldering
Even with the best tools and techniques, mistakes can happen. Here are some common issues in DIY soldering and how to avoid them.
- Cold Solder Joints: These occur when the solder doesn’t fully melt or bond with the pad and component. They look dull and can cause unreliable connections. Fix this by reheating the joint with flux and fresh solder.
- Solder Bridges: Excess solder can create unwanted connections between pins. Prevent this by using minimal solder and removing excess with solder wick.
- Component Misalignment: Placing components incorrectly can lead to poor connections. Always double-check placement before soldering, and use tweezers for precision.
- Overheating Components: Sensitive parts like ICs can be damaged by prolonged heat. Work quickly, and use a heat sink or lower temperature if needed.
Troubleshooting SMT Soldering Problems
If something goes wrong during your SMT soldering project, don’t panic. Here are quick fixes for common issues.
- Component Won’t Stick: If a component moves during soldering, reapply flux and tack it down again with a small amount of solder on one pin.
- Uneven Solder Joints: Add flux and reheat the joint with your iron or hot air tool to smooth out the solder.
- Removing a Component: Use a hot air station to heat all pins simultaneously, then lift the component with tweezers. Clean the pads with solder wick before replacing it.
Why Practice Makes Perfect in DIY Soldering
SMT soldering, whether through hand soldering or reflow soldering, is a skill that improves with time and repetition. Start with simple projects, like assembling a small LED circuit, and gradually move to more complex designs. Each project will teach you something new about heat control, component placement, and troubleshooting.
Remember, even professionals make mistakes. The key is to learn from each soldering session and refine your technique. Over time, you’ll develop a steady hand and an eye for detail, making DIY SMT soldering second nature.

Conclusion: Start Your SMT Soldering Journey Today
Mastering DIY SMT soldering is an achievable goal for anyone interested in beginner electronics. By understanding the basics of hand soldering and reflow soldering, gathering the right tools, and following proven tips and tricks, you can create reliable, professional-quality PCB assemblies at home. Whether you’re building a custom gadget or repairing a device, these skills will serve you well in the ever-evolving world of electronics.
Take your time, practice regularly, and don’t be afraid to experiment with different techniques. With each project, you’ll gain confidence and expertise in SMT soldering. So, grab your soldering iron or hot air tool, and let’s start building something amazing today!


