 ALLPCB


If you're an electrical engineer working on through-hole assembly, you know that flux residue can be a silent enemy, potentially causing corrosion, electrical shorts, or reduced board reliability over time. So, how do you ensure cleanliness in through-hole assembly? The answer lies in effective flux removal methods tailored to your specific needs—whether it's solvent cleaning, aqueous cleaning, ultrasonic techniques, or even leveraging no-clean flux options. In this comprehensive guide, we'll dive deep into these flux removal methods, offering practical tips and insights to keep your printed circuit boards (PCBs) pristine and performing at their best.
Why Flux Removal Matters in Through-Hole Assembly
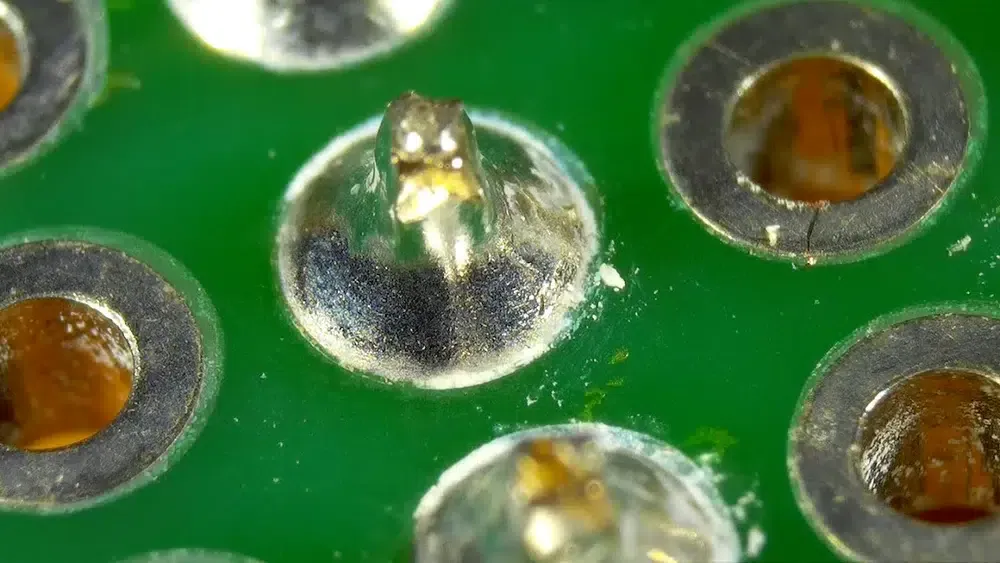
Flux is a critical material in soldering during through-hole assembly. It helps remove oxides from metal surfaces, ensuring a strong bond between the component leads and the PCB pads. However, once the soldering is done, leftover flux residue can become a problem. These residues, if not cleaned, can attract moisture, leading to corrosion, or create conductive paths that cause short circuits. For engineers, this can mean costly rework or even field failures—something no project can afford.
In through-hole assembly, where components are inserted through holes and soldered on the opposite side, flux residue can be particularly tricky to remove due to the geometry of the board. Residue can hide under components or inside holes, making thorough cleaning essential. Let's explore the best flux removal methods to tackle this challenge.
Flux Removal Methods for Through-Hole Assembly
There are several proven methods for removing flux from through-hole assemblies. Each method has its own advantages, depending on the type of flux used, the board design, and the production environment. Below, we'll break down the most common techniques, including solvent cleaning, aqueous cleaning, ultrasonic cleaning, and the use of no-clean flux.
1. Solvent Cleaning for Through-Hole Assembly
What is Solvent Cleaning?
Solvent cleaning involves using chemical solvents to dissolve and remove flux residues from PCBs. Common solvents include isopropyl alcohol (IPA), acetone, and specialized flux removers designed for electronics. This method is widely used due to its effectiveness on a variety of flux types, including rosin-based and water-soluble fluxes.
How to Use Solvent Cleaning for Through-Hole Boards
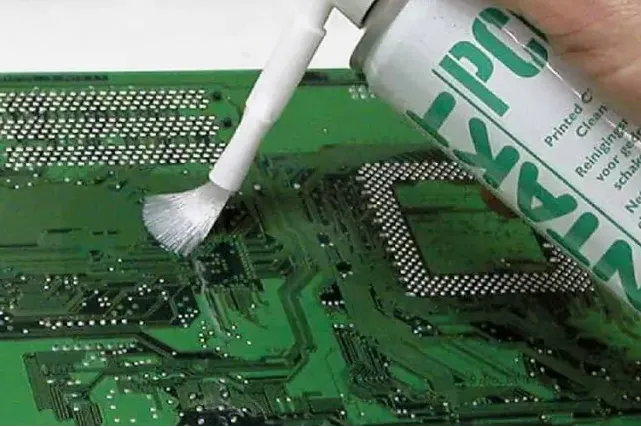
For through-hole assemblies, solvent cleaning can be done manually with a brush or automatically in a vapor degreaser or dip tank. Here's a step-by-step process for manual cleaning:
- Apply a small amount of solvent (like 99% pure IPA) to a lint-free cloth or brush.
- Gently scrub the soldered areas, focusing on through-hole joints where residue often hides.
- Use a compressed air can to blow away excess solvent and residue from hard-to-reach areas.
- Inspect the board under magnification to ensure no residue remains.
Pros and Cons of Solvent Cleaning Through-Hole
Solvent cleaning is fast and effective, often taking just a few minutes per board for manual cleaning. However, solvents like IPA are flammable and require proper ventilation to avoid health risks. Additionally, some solvents may not be compatible with certain board materials or components, so always check the manufacturer's recommendations. For high-volume production, automated solvent cleaning systems can handle batches of boards, reducing labor time by up to 50% compared to manual methods.
2. Aqueous Cleaning for Through-Hole Assembly
What is Aqueous Cleaning?
Aqueous cleaning uses water-based solutions, often mixed with detergents or saponifiers, to remove flux residues. This method is particularly effective for water-soluble fluxes and is considered more environmentally friendly than solvent-based cleaning.
Applying Aqueous Cleaning to Through-Hole Boards
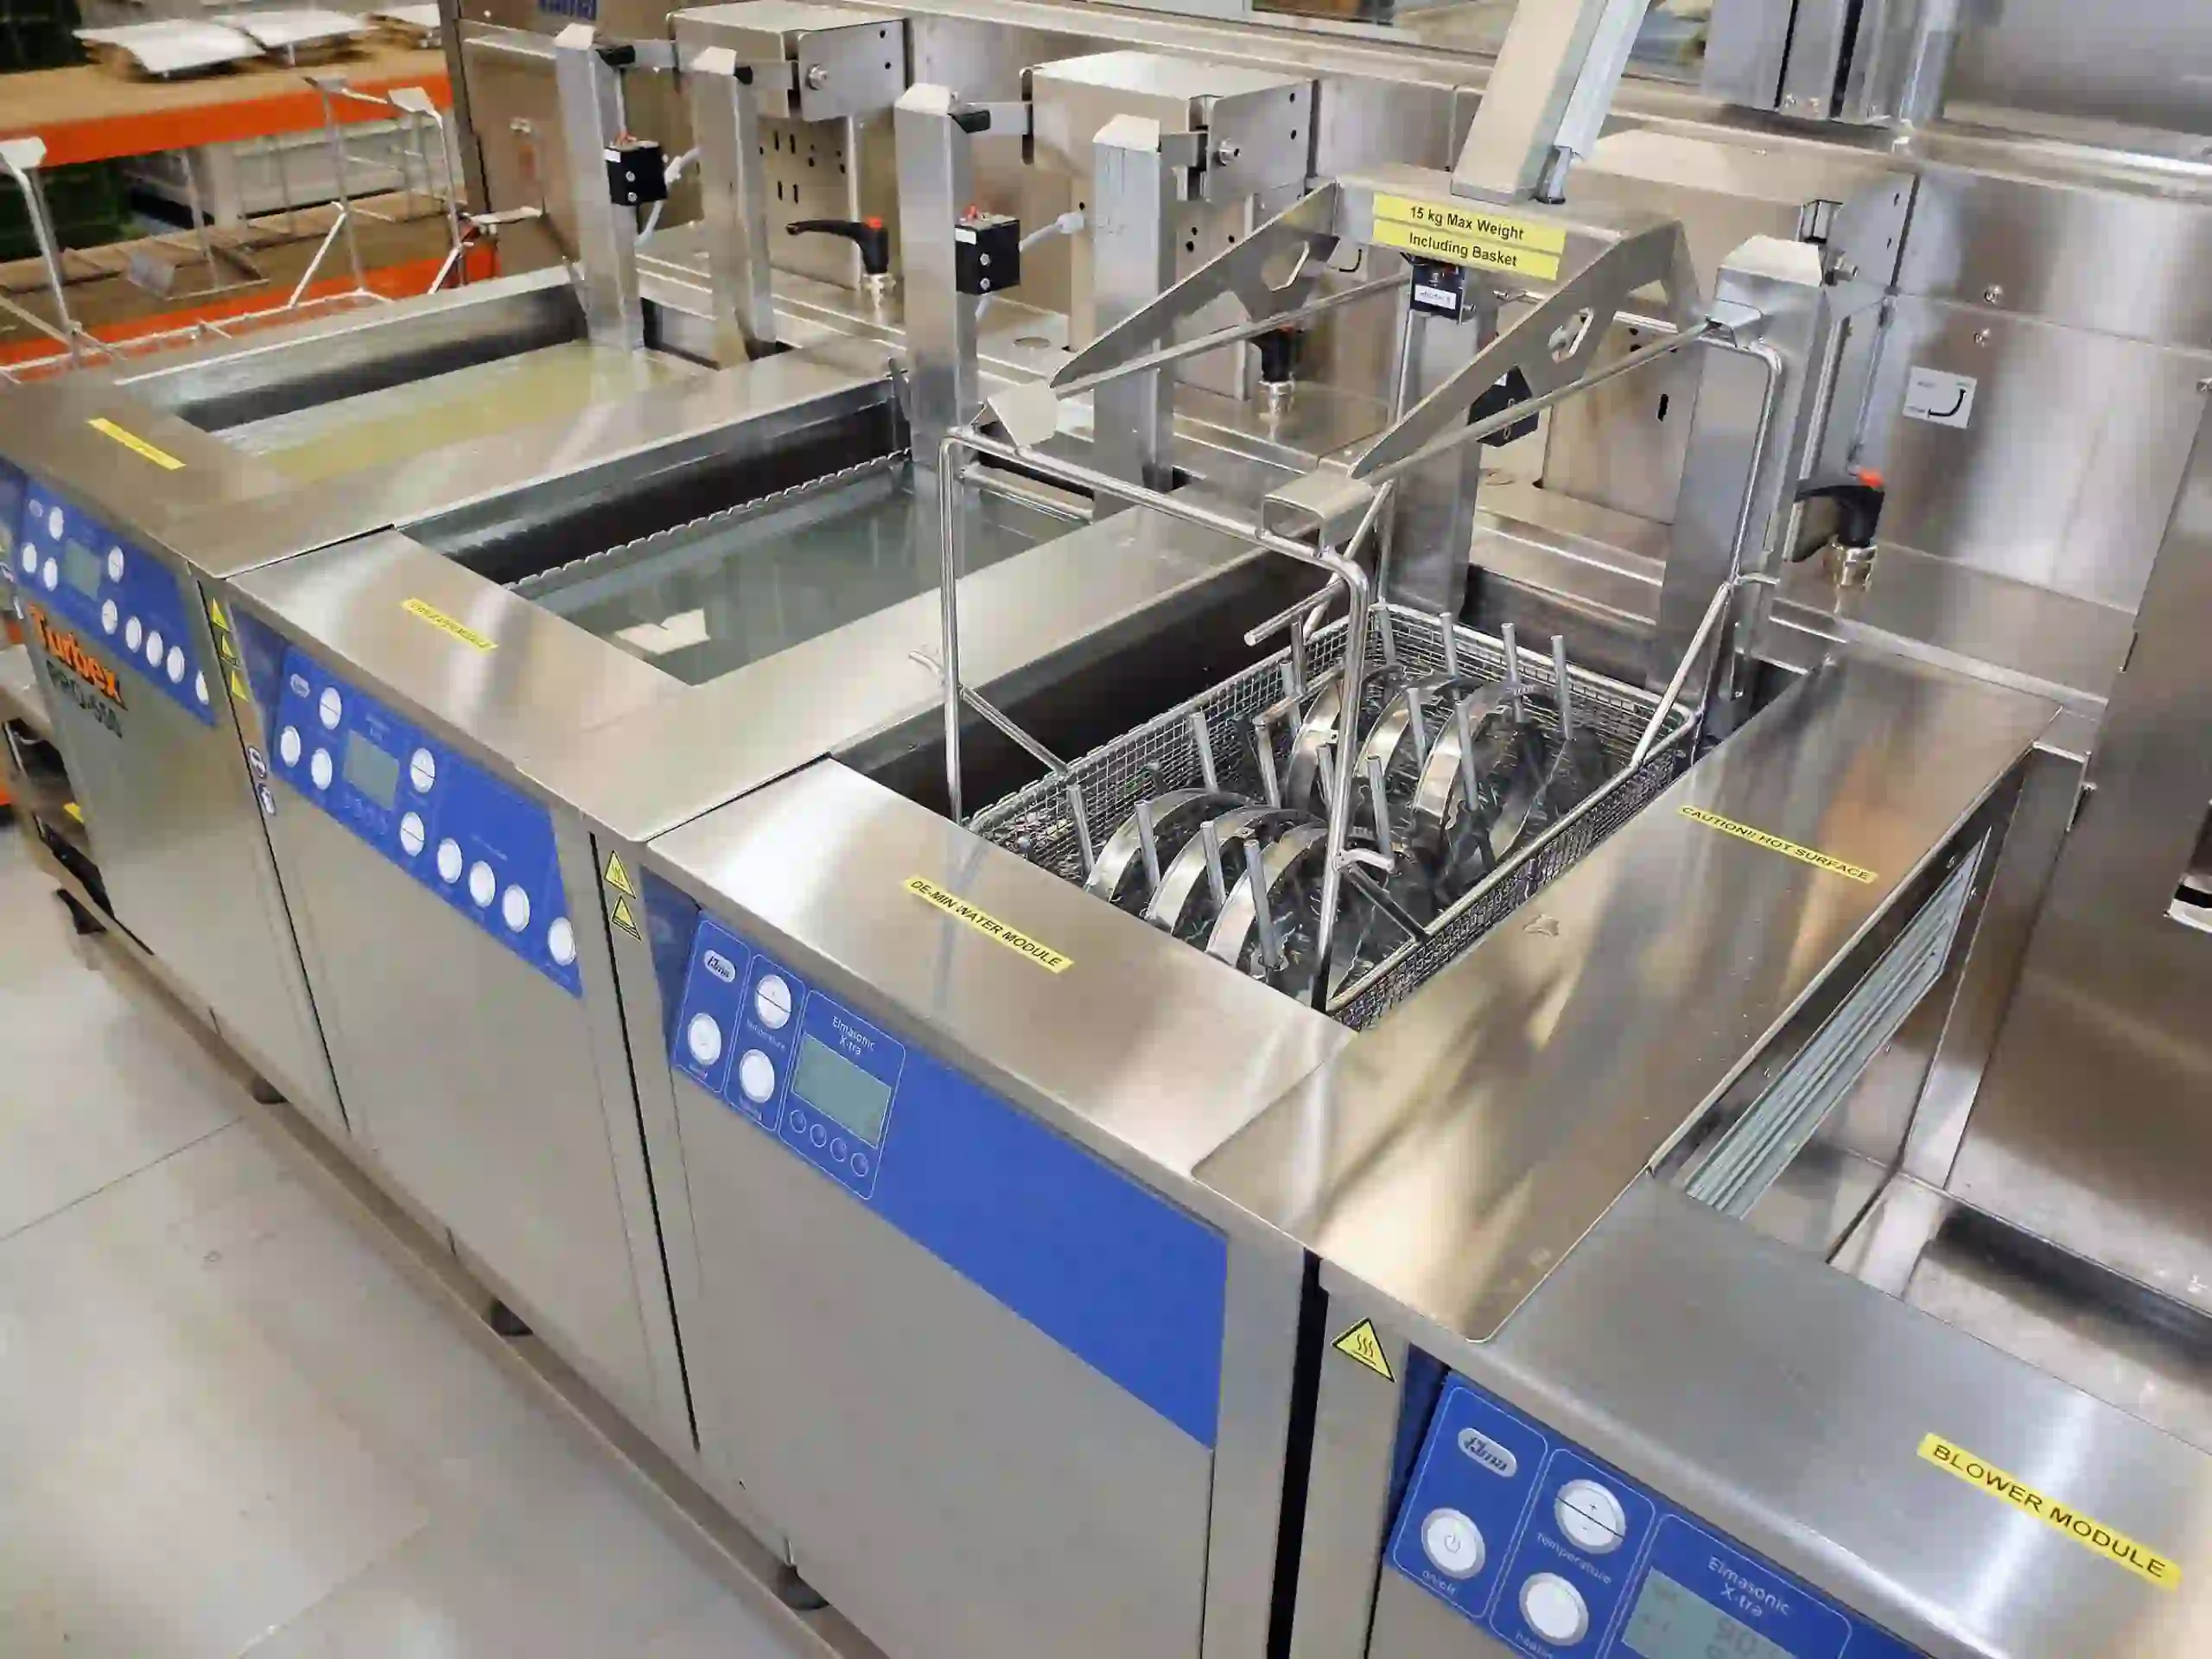
Aqueous cleaning for through-hole assemblies typically involves a spray or immersion process. Here's how it works in a typical setup:
- Place the PCB in a cleaning machine or tank filled with a heated water-based solution (often at 40-60°C for optimal results).
- Agitate the solution using spray nozzles or mechanical brushes to dislodge flux residue from through-hole areas.
- Rinse the board with deionized water to remove any remaining cleaner.
- Dry the board using hot air or a centrifugal dryer to prevent moisture-related issues.
Pros and Cons of Aqueous Cleaning Through-Hole
Aqueous cleaning is safer for workers and the environment, as it avoids harsh chemicals. Modern aqueous cleaning systems can process dozens of boards per hour, making them ideal for medium to high-volume production. However, the drying step is critical—residual moisture in through-hole vias can lead to corrosion if not fully removed. Additionally, this method may not be as effective for non-water-soluble fluxes like rosin-based ones.
3. Ultrasonic Cleaning for Through-Hole Assembly
What is Ultrasonic Cleaning?
Ultrasonic cleaning uses high-frequency sound waves (typically 20-40 kHz) to create cavitation bubbles in a liquid cleaning solution. These bubbles implode near the PCB surface, dislodging flux residues even in hard-to-reach areas like through-hole vias.
How Ultrasonic Cleaning Works for Through-Hole Boards
This method is highly effective for complex through-hole assemblies. Here's a typical process:
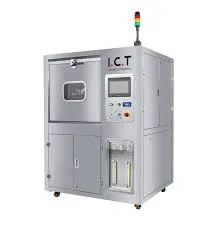
- Place the PCB in an ultrasonic cleaning tank filled with a suitable solution (water-based or solvent-based, depending on the flux type).
- Activate the ultrasonic transducer to generate sound waves, agitating the solution for 5-10 minutes.
- Remove the board, rinse if necessary, and dry thoroughly using compressed air or a drying oven.
Pros and Cons of Ultrasonic Cleaning Through-Hole
Ultrasonic cleaning excels at reaching hidden residues in through-hole assemblies, reducing cleaning time by up to 30% compared to manual methods. It's also highly effective for high-density boards where manual scrubbing is impractical. However, ultrasonic cleaning equipment can be expensive, with entry-level units starting at $500 and industrial systems costing thousands. There's also a risk of damaging delicate components if the frequency or power is too high, so testing on a sample board is recommended.
4. No-Clean Flux for Through-Hole Assembly
What is No-Clean Flux?
No-clean flux is designed to leave behind minimal, non-corrosive residue after soldering, theoretically eliminating the need for cleaning. It's formulated with low-solid content, so the residue is less likely to cause electrical issues.
Using No-Clean Flux in Through-Hole Assembly
For through-hole applications, no-clean flux is applied during soldering just like traditional flux. After soldering, the residue is inspected visually or with testing equipment to ensure it won't affect performance. While cleaning isn't required, some engineers still opt for a light clean if the board will be used in high-reliability applications like aerospace or medical devices.
Pros and Cons of No-Clean Flux Through-Hole
The biggest advantage of no-clean flux is time and cost savings—eliminating the cleaning step can reduce production time by 20-40%. However, "no-clean" doesn't always mean "no residue." In humid environments, even small amounts of residue can absorb moisture and cause issues. For critical applications, engineers often test the board's performance under stress conditions (e.g., 85% humidity at 85°C for 168 hours) to confirm reliability.
Choosing the Right Flux Removal Method for Your Project
Selecting the best flux removal method for your through-hole assembly depends on several factors:
- Flux Type: Water-soluble fluxes pair well with aqueous cleaning, while rosin-based fluxes often require solvents.
- Production Volume: For low-volume prototyping, manual solvent cleaning might suffice. For high-volume production, consider automated aqueous or ultrasonic systems.
- Board Complexity: Dense through-hole boards with hidden areas benefit from ultrasonic cleaning.
- Application Requirements: High-reliability projects may require thorough cleaning even with no-clean flux, while consumer electronics might tolerate minimal residue.
As a general rule, start with the least aggressive method (like no-clean flux) and escalate to more intensive cleaning (like ultrasonic) if testing reveals issues. Always document your cleaning process and results—data like cleaning time, residue levels, and post-cleaning impedance (e.g., ensuring values remain above 10^12 ohms for insulation resistance) can guide future projects.
Tips for Effective Flux Removal in Through-Hole Assembly
Here are some practical tips from years of working with through-hole assemblies to help you achieve spotless results:
- Act Quickly: Clean flux residue as soon as possible after soldering. Fresh residue is easier to remove than hardened residue.
- Use the Right Tools: Invest in ESD-safe brushes and lint-free wipes to avoid damaging components or leaving debris.
- Test for Residue: Use ionic contamination testers to measure residue levels post-cleaning. Industry standards often aim for less than 1.56 μg/cm2 of sodium chloride equivalent.
- Protect Components: Mask sensitive components before cleaning to prevent damage from solvents or water.
- Monitor Drying: Ensure boards are completely dry after aqueous or ultrasonic cleaning to avoid trapped moisture in through-holes.
Common Challenges and How to Overcome Them
Even with the best methods, flux removal in through-hole assembly can present challenges. Here are a few common issues and solutions:
- Residue in Hard-to-Reach Areas: Use ultrasonic cleaning or angled spray nozzles to target through-hole vias.
- Component Damage: Test cleaning methods on a dummy board first to ensure compatibility with sensitive parts.
- Time Constraints: For tight deadlines, consider no-clean flux to skip the cleaning step, but validate performance with environmental testing.
Conclusion: Prioritizing Cleanliness for Reliable Through-Hole Assemblies
For electrical engineers, ensuring cleanliness in through-hole assembly isn't just about aesthetics—it's about reliability and performance. Whether you choose solvent cleaning, aqueous cleaning, ultrasonic methods, or no-clean flux, the key is to match the method to your project's needs. By understanding the strengths and limitations of each flux removal technique, you can prevent issues like corrosion or shorts, ultimately saving time and costs in the long run.


