ALLPCB


Introduction
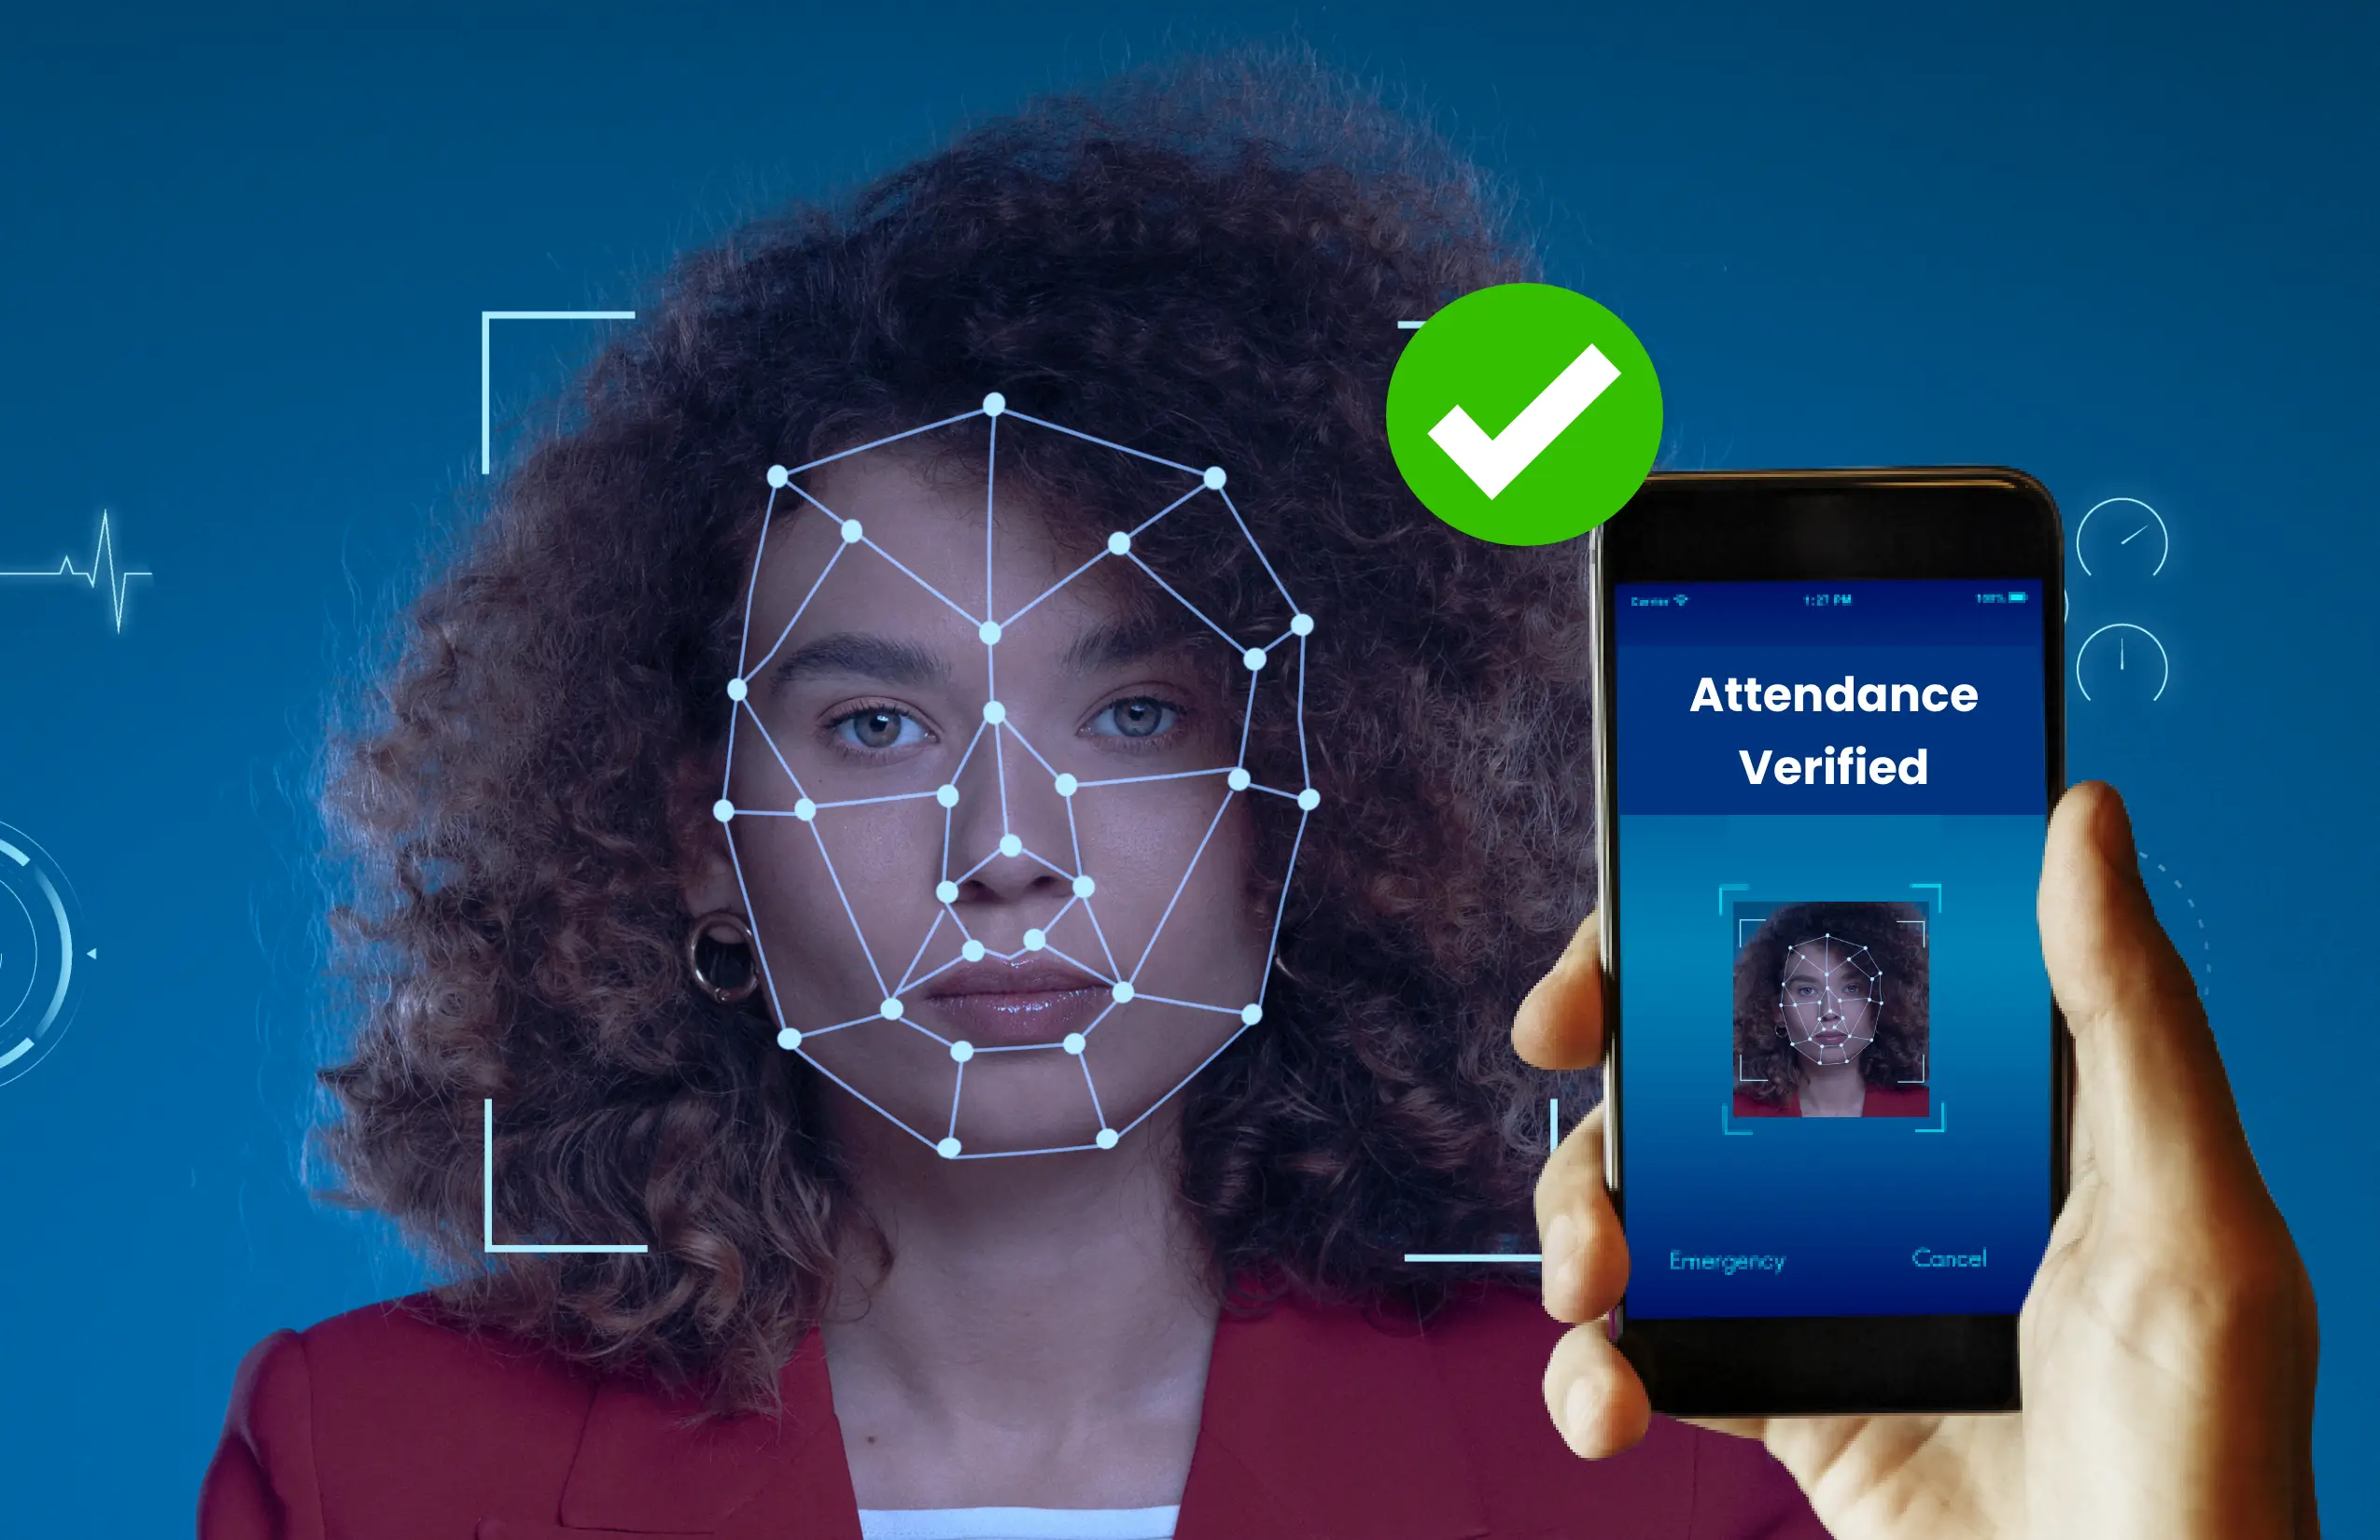
Face recognition is increasingly common and is used in many applications, often without users noticing. From Facebook tag suggestions and Snapchat filters to advanced airport security monitoring, face recognition is already in use. China has started using facial recognition in some schools to monitor attendance and behavior. Retailers have also begun using face recognition to segment customers and flag people with a history of fraud. Given ongoing developments, this technology is likely to become more widespread.
This tutorial shows how to build a simple face recognition system on a Raspberry Pi using the OpenCV library. A portable Raspberry Pi implementation lets you install the system anywhere as a local monitoring unit. As with most face recognition workflows, this tutorial uses two Python scripts: a trainer program that analyzes a set of photos of a person and creates a dataset (a YML file), and a recognizer program that detects faces and uses the YML file to identify people and display names. Both programs here run on Raspberry Pi (Linux) and can be adapted to Windows with minor changes.
Prerequisites
Before proceeding, ensure OpenCV is installed on the Pi. Use a 2A power adapter for the Pi and connect an HDMI cable to a monitor, because video output is required and may not be available over SSH.
How face recognition works with OpenCV
It is important to distinguish face detection from face recognition. Face detection locates faces in an image, but it does not identify who the person is. Face recognition both detects a face and identifies the person. Detection must therefore precede recognition.
Video from a webcam is a stream of continuously updated still images. Each image is a grid of pixels with different values. Algorithms analyze these pixels to detect faces and then attempt to identify the person. Explaining the underlying algorithms is beyond this article, but OpenCV provides tools that make face recognition straightforward without deep knowledge of the underlying methods.
Face detection with cascade classifiers in OpenCV
To recognize a face, we first need to detect it. OpenCV uses classifiers—pretrained data files in XML format—to detect objects such as faces. We will use the pretrained cascade file haarcascade_frontalface_default.xml to detect frontal faces. Classifiers can also detect other features like noses, eyes, license plates, and smiles.
Required packages
Make sure pip is installed, then install the following packages.
Install dlib: dlib is a toolkit for real-world machine learning and data analysis. Install using pip.
Install Pillow: Pillow (PIL) allows opening, manipulating, and saving images in various formats.
Install face_recognition: The Python face_recognition library is one of the simplest libraries for face detection and manipulation. It will be used for training and recognition. The library can be large; to avoid caching during installation use a command with the no-cache option.
Face trainer program
Face_Traineer.py opens all images in the Face_Images directory and searches for faces. When a face is detected, the program crops the face, converts it to grayscale, converts the image to a numpy array, and uses the face_recognition and OpenCV methods to create training data saved to face-trainner.yml. This YML file is later used for recognition. Below are the most important parts of the trainer program, followed by explanations.
The program begins by importing required modules: cv2 for image processing, numpy to represent images as numerical arrays, os to navigate directories, and PIL for image handling.
import cv2 # for image processingimport numpy as np # for converting images to numeric arraysimport os # for handling directories from PIL import Image # for image handling with Pillow
Next the haarcascade_frontalface_default.xml classifier is loaded. Ensure this XML file is in the project folder. Then a local binary patterns histogram (LBPH) face recognizer is created.
face_cascade = cv2.CascadeClassifier('haarcascade_frontalface_default.xml')识别器 = cv2.createLBPHFaceRecognizer()
Change to the Face_Images directory to access training images. The directory should be in the current working directory (CWD).
Face_Images = os.path.join(os.getcwd(), "Face_Images") # tell the program where face images are stored
The script walks the Face_Images directory and opens files ending with jpeg, jpg, or png. The file path is stored in a variable named path, and the folder name containing the image (the person name) is stored in person_name.
for root, dirs, files in os.walk(Face_Images): # go to face images directoryfor file in files: # check each file in the directoryif file.endswith("jpeg") or file.endswith("jpg") or file.endswith("png"): # for image files ending with jpeg, jpg or png路径 = os.path.join(根,文件)person_name = os.path.basename(root)
When the person name changes, increment the Face_ID variable so each person has a unique Face_ID used later to map IDs to names.
if pev_person_name!=person_name: # check if the person name changedFace_ID=Face_ID+1 # if so, increment the ID countpev_person_name = person_name
Convert each image to grayscale using Pillow, resize to 550x550 to ensure consistent dimensions, and convert to a numpy array. Ensure faces are centered in images to avoid cropping faces out. The cascade classifier detects faces and stores results in faces.
Gery_Image = Image.open(path).convert("L") # using Pillow Crop_Image = Gery_Image.resize( (550,550) , Image.ANTIALIAS) # Crop the Gray Image to 550*550 (ensure your face is in center in all images) Final_Image = np.array(Crop_Image, "uint8") faces = face_cascade.detectMultiScale(Final_Image, scaleFactor=1.5, minNeighbors=5) # detect faces in all sample images
For each detected face, crop the region of interest (ROI), append it to x_train, and append the current Face_ID to y_ID. Train the recognizer on the collected data and save it to face-trainner.yml.
for (x,y,w,h) in faces: roi = Final_Image[y:y+h, x:x+w] # crop the Region of Interest (ROI) x_train.append(roi) y_ID.append(Face_ID)识别器.train(x_train, np.array(y_ID)) # create training data matrix识别器.save("face-trainner.yml") # save the matrix as a YML file
Each run updates face-trainner.yml. Re-run the trainer whenever you change photos in the Face_Images directory. The program prints face IDs, path names, person names, and numpy arrays for debugging.

Face recognition program
With the trained data ready, use it to recognize faces. The recognizer program reads real-time video from a USB webcam, converts each frame to an image, and applies face detection. Detected faces are compared with stored Face_IDs from the training file. If a match is found, the program draws a box around the face and writes the recognized person name.
The recognizer imports the same modules and loads the classifier for detection.
import cv2 # for image processingimport numpy as np # for converting images to numeric arraysimport os # for handling directories from PIL import Image # for image handling with Pillow
face_cascade = cv2.CascadeClassifier('haarcascade_frontalface_default.xml')识别器 = cv2.createLBPHFaceRecognizer()
In the labels variable, list the person names in the same order used during training. For example, the author used "Aswinth" and "Elon".
labels = ["Aswinth","Elon Musk"]
Load the trained data from face-trainner.yml.
识别器.load("face-trainner.yml")
The video source is obtained from the USB webcam. If multiple cameras are connected, change the index from 0 to 1 to access the secondary camera.
cap = cv2.VideoCapture(0) # get video source from the camera
Each captured frame is converted to grayscale, and faces are detected. For each detected face, crop the ROI and predict the ID and confidence using the recognizer.
ret, img = cap.read() # split the video into framesgray = cv2.cvtColor(img, cv2.COLOR_BGR2GRAY) # convert video frame to greyscalefaces = face_cascade.detectMultiScale(gray, scaleFactor=1.5, minNeighbors=5) # detect facesfor (x, y, w, h) in faces: roi_gray = gray[y:y+h, x:x+w] # convert face to grayscaleid_, conf = Recognizer.predict(roi_gray) # recognize the face
The conf variable indicates confidence in recognition. If confidence is above a threshold (for example >= 80), retrieve the name using the ID and display it on the frame, drawing a rectangle around the face.
if conf>=80: font = cv2.FONT_HERSHEY_SIMPLEX # font style for the name name = labels[id_] # get name from list using the ID cv2.putText(img, name, (x,y), font, 1 , (0,0,255), 2) cv2.rectangle(img,(x,y),(x+w,y+h),(0,255,0),2)
Finally, display the video feed and break the loop when a key is pressed (for example, 'q').
cv2.imshow('Preview',img) # display the videoif cv2.waitKey(20) & 0xFF == ord('q'): break
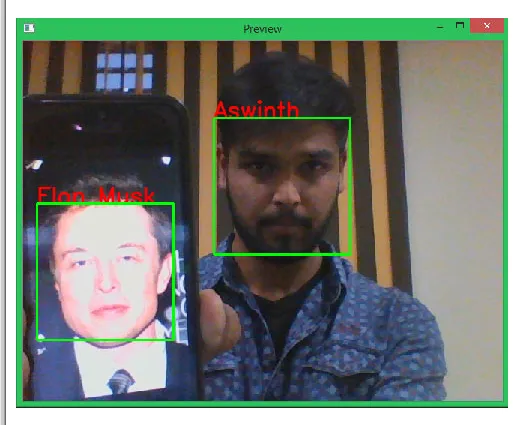
Run the program with the Pi connected to a monitor via HDMI. A window labeled "Preview" will show the video feed. Recognized faces will be boxed and labeled. The author trained the program to recognize themselves and Elon Musk; both were detected in the sample snapshot below.
Performance and limitations
Performance can be slow on a Raspberry Pi; in the author’s tests the frame rate fell to about one frame every three seconds. The same program with minor changes ran much faster on a laptop. Accuracy depends on the quality of training data; a simple dataset will yield limited reliability. Consider using deep learning approaches to improve accuracy and explore methods to increase frames per second in a separate tutorial.
Trainer program (code)
The following is the trainer code as used to create the YAML file.
import cv2 # for image processing import numpy as np # for converting images to numeric arrays import os # for handling directories from PIL import Image # Pillow lib for image handling face_cascade = cv2.CascadeClassifier('haarcascade_frontalface_default.xml') recognizer = cv2.createLBPHFaceRecognizer() Face_ID = -1 pev_person_name = "" y_ID = [] x_train = [] Face_Images = os.path.join(os.getcwd(), "Face_Images") # tell the program where face images are stored print(Face_Images) for root, dirs, files in os.walk(Face_Images): # enter face images directory for file in files: # check each file in the directory if file.endswith("jpeg") or file.endswith("jpg") or file.endswith("png"): # for image files ending with jpeg, jpg or png path= os.path.join(root,file) person_name = os.path.basename(root) print(path, person_name) if pev_person_name!=person_name: # check if the person name changed Face_ID=Face_ID+1 # if so, increment the ID count pev_person_name = person_name Gery_Image = Image.open(path).convert("L") # using Pillow convert the image to grayscale Crop_Image = Gery_Image.resize( (550,550) , Image.ANTIALIAS) # Crop the gray image to 550*550 (ensure your face is in center in all images) Final_Image = np.array(Crop_Image, "uint8") #print(Numpy_Image) faces = face_cascade.detectMultiScale(Final_Image, scaleFactor=1.5, minNeighbors=5) # detect faces in all sample images print(Face_ID, faces) for (x,y,w,h) in faces: roi = Final_Image[y:y+h, x:x+w] # crop the Region of Interest (ROI) x_train.append(roi) y_ID.append(Face_ID) recognizer.train(x_train, np.array(y_ID)) # create training data matrix recognizer.save("face-trainner.yml") # save the matrix as a YML file
Real-time face recognition (code)
The recognizer uses the trained YAML file to detect and identify faces in the webcam stream.
# Program to detect faces and recognize people based on face-trainner.yml data import cv2 # for image processing import numpy as np # for converting images to numeric arrays import os # for handling directories from PIL import Image # Pillow lib for image handling labels = ["Aswinth","Elon Musk"] face_cascade = cv2.CascadeClassifier('haarcascade_frontalface_default.xml') recognizer= cv2.createLBPHFaceRecognizer() recognizer.load("face-trainner.yml") cap = cv2.VideoCapture(0) # get video source from the camera while(True): ret, img = cap.read() # split the video into frames gray = cv2.cvtColor(img, cv2.COLOR_BGR2GRAY) # convert video frame to greyscale faces = face_cascade.detectMultiScale(gray, scaleFactor=1.5, minNeighbors=5) # detect faces for (x, y, w, h) in faces: roi_gray = gray[y:y+h, x:x+w] # convert face to grayscale id_, conf = Recognizer.predict(roi_gray) # recognize the face if conf>=80: font = cv2.FONT_HERSHEY_SIMPLEX # font style for the name name = labels[id_] # get name from list using the ID cv2.putText(img, name, (x,y), font, 1, (0,0,255), 2) cv2.rectangle(img,(x,y),(x+w,y+h),(0,255,0),2) cv2.imshow('Preview',img) # display the video if cv2.waitKey(20) & 0xFF == ord('q'): break # after everything is done, release capture cap.release() cv2.destroyAllWindows()