ALLPCB


1. Why maintenance is necessary
1. To extend service life.
2. To ensure stable equipment operation.
3. It also reflects good 5S practice.
2. Problems when maintenance is neglected
- Dirty cabinets can cause short circuits, arcing, and equipment damage.
- Clogged fan filters reduce cooling and degrade equipment stability.
- High humidity can cause short circuits.
- Local overheating at high-current points can, over time, damage components.
3. Preparations
Tools: screwdrivers, wrenches, insulation tester (megger), multimeter, clamp ammeter, vacuum cleaner, heat gun, marker, file, etc.
Spare parts: fan filters, auxiliary contacts for contactors, relay coils, heat shrink tubing, conductive paste.
Personnel: maintenance requires electricians and programmers. Programmer involvement in software maintenance can prevent many soft faults in advance.
4. Precautions
Make a plan, define detailed steps, and follow procedures. Do not rely on ad hoc decisions; consider all aspects and follow the plan step by step.
- Safety first: disconnect power before disassembly and follow safety procedures.
- Avoid spreading dust when cleaning the cabinet.
- Mark all modified locations and observe them after returning the equipment to service, for example newly reterminated wires or replaced ferrules.
5. Data backup
Back up programs first. This is essential: if a controller fails, having the program allows a replacement controller to be used without losing configuration.
1. For long-term archival data (for example, historical trend data in regulated industries), copy trend data to an external drive, then shut down any Windows-based operating systems such as HMIs running WinCC or similar before disconnecting main power.
2. For controllers without communication access, such as soft starters, manually record internal parameters as a fallback.
6. Power shutdown
After data backup, perform the shutdown sequence: first open individual protection breakers, then the main breaker. On power-up, close the main breaker on the control cabinet first, then close the downstream protection devices in sequence.
Lock out the power after shutdown to prevent accidental energization.
7. Visual and environmental inspection
- Ambient temperature: 0 to 40°C.
- Relative humidity: below 85%.
- Vibration amplitude: less than 0.5 mm (10 to 55 Hz).
- No excessive dust, salt, or iron filings.
- Measure 24 V DC output voltage to confirm it is within the normal range.
- After power is off, test system insulation using an insulation tester.
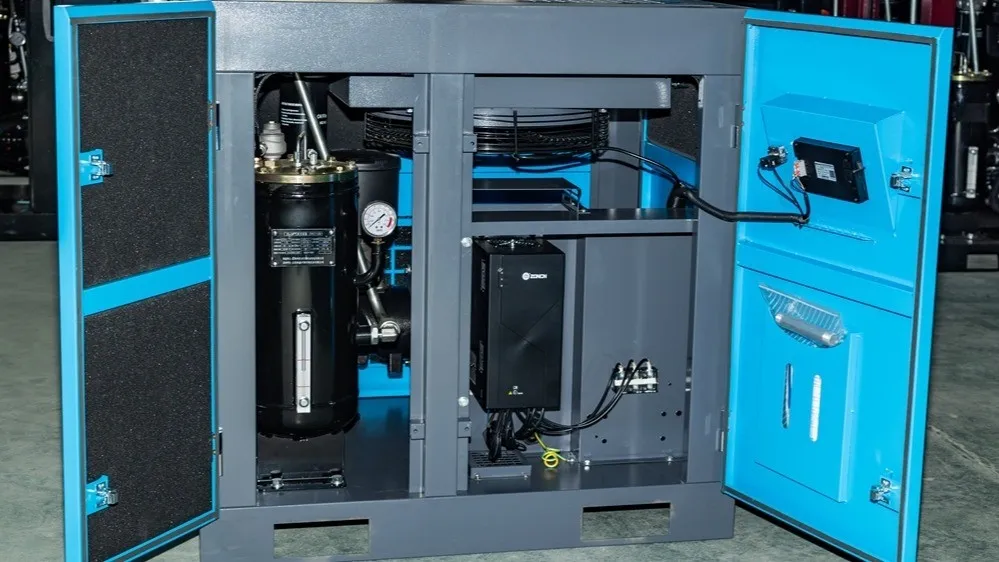
8. Control cabinet cleaning
With power off, protect devices with ventilation holes such as PLCs and frequency inverters, and preferably remove PLC modules before cleaning.
Use only a vacuum cleaner. Do not use compressed air, which can drive dust deeper into equipment and often contains moisture that can cause shorts.
After vacuuming, check for loose wiring.
9. Cable inspection
- Check whether large power cables are loose; loose cables can overheat and fail.
- Inspect large cable terminals for blackening; this indicates poor crimping or excessive current.
10. Grounding checks
Profibus grounding: check whether shield layers have degraded. Degraded shielding can cause poor grounding and lead to lost Profibus stations.
Analog signal grounding: same principle applies.
Check grounding conductors for corrosion and address any corrosion found.
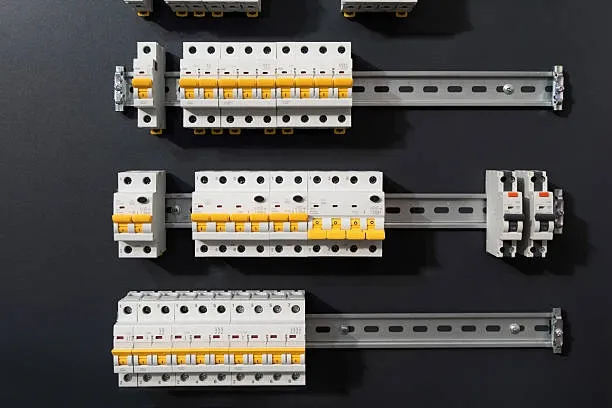
11. Contactor inspection
- Check mounting screws and incoming/outgoing connections on large contactors for looseness.
- Inspect main contacts for signs of arcing or melting, and check arc chutes for blackening or damage.
- Inspect contactor terminals for blackening.
- Measure pull-in time and coil voltage; verify contact continuity on input and output lines.
- Listen to contactor operation: if there is a buzzing noise after engagement, disassemble and inspect the contacts.
12. Busbar inspection
- Check heat shrink tubing for damage.
- Inspect busbar connections: discoloration indicates possible overheating. If necessary, disassemble, realign flat surfaces, apply conductive paste, and retighten.
13. Relay inspection
If solenoid valves fail to energize or fail to release during production, check relays as follows:
- Verify the relay's LED indicator to see if the valve coil is energized. LED on means power present; LED off means no power.
- Use a multimeter to measure voltage at the relay A1 and A2 terminals.
When a solenoid behaves abnormally, typical remediation steps:
Usually only one contact set is damaged. If a relay has two contact sets and one set fails, consider using the other set. For example, if the field wiring uses contacts 11-14 and they are damaged, move the wires to 21-24.
If replacing contacts does not fix the issue, consider replacing the coil by swapping in a coil from a noncritical circuit. When inserting, ensure correct orientation.
14. Replace filters
Replace fan filters every six months to one year depending on site conditions. Clogged filters severely impact cooling.
15. Frequency inverter and power controller fans
Check that fans on frequency inverters and power controllers operate normally.
Check for blocked vents. If the fan expels a visible cloud of dust when started, cleaning is required.
16. Equipment heating checks
- Cabinet internal temperature.
- Temperature of large cables and busbars.
- Cable temperatures in the field.
If available, use a thermal imager; otherwise use an infrared thermometer. Regularly check internal cabinet temperature, large cable temperatures, and field cable temperatures to prevent damage from dust buildup or other causes.
17. Clamp ammeter testing
- Typically one person operates and another acts as observer. Maintain a safety distance of at least 10 cm from live parts.
- Estimate the load current and voltage before measuring to select the appropriate range. If uncertain, start at the highest range and step down based on readings to avoid damaging the clamp meter.
- Do not change the range switch while measuring. The secondary during measurement is effectively shorted; switching ranges can momentarily open the secondary and induce high voltages that may damage internal insulation.
- To reduce error, center the conductor in the clamp jaws. Ensure the jaws close tightly. If there is noise, reopen and close once more; if noise persists, inspect and remove dirt or debris before measuring.
- After measurement, return the range switch to the highest position to prevent accidental damage on subsequent use.
- Clamp meters are intended for low-voltage distribution transformer secondary sides or motor currents. Do not use them on high-voltage lines.
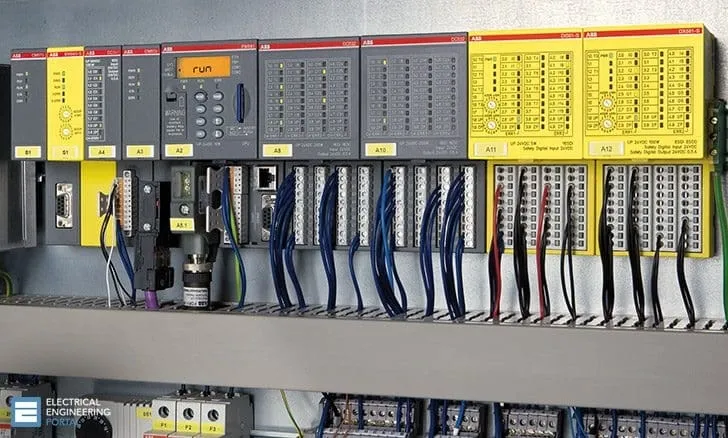
18. Software maintenance: PLC diagnostic buffer
- Record and organize hardware alarms from the equipment.
- Equipment issues may not cause visible downtime but are often recorded in the PLC diagnostic buffer. Regularly reviewing these records is important for maintenance.
- Identify problem stations promptly, investigate causes, and prepare corrective actions.
- If someone cannot interpret the logs, save them as a TXT file and send them to a specialist for review.
Key diagnostic buffer alarms:
A. Intermittent station dropouts. For example, a station disappears and then reappears. This is dangerous and requires inspection. Possible causes include communication interference, DP bus connector oxidation, or shield degradation causing poor grounding. An intermittent fault can become permanent.
B. Missing analog inputs. This should be checked; possible causes include interference.
C. Software-related issues. For example, missing data in a DB block caused by pointer errors that reference nonexisting addresses. For instance, if DB80 has only 1000 bytes and a pointer addresses beyond DBB1000, an error occurs. Persistent pointer errors can lead to crashes.
19. Software maintenance: HMI alarms
Review HMI alarms, focusing on frequently occurring alarms and addressing their root causes:
- If a flow switch frequently alarms, disassemble and clean it.
- If a valve switch often times out, inspect for excessive valve wear.
20. PLC backup battery replacement
- Before removing the battery, power the PLC for at least 15 seconds to charge the backup power capacitor so it can briefly power the PLC when the battery is disconnected, protecting RAM contents.
- Disconnect AC power to the PLC.
- Open the battery cover on the CPU module.
- Remove the old battery and install a new one.
- Replace the battery cover.
Keep the battery replacement time as short as possible, generally not exceeding 3 minutes; otherwise, RAM contents may be lost.
21. Shutdown and holiday precautions
- During long shutdowns, main power may be turned off while keeping lighting and fan circuits energized.
- Always keep the control cabinet ventilation fan or air conditioning running; otherwise, during wet weather the interior can accumulate moisture and cause short circuits.
Example: During a holiday period with several days of rain and fans left off, condensation formed inside PLCs and meters. After power-up the cabinet required extended drying with a heat gun.