 ALLPCB


Introduction
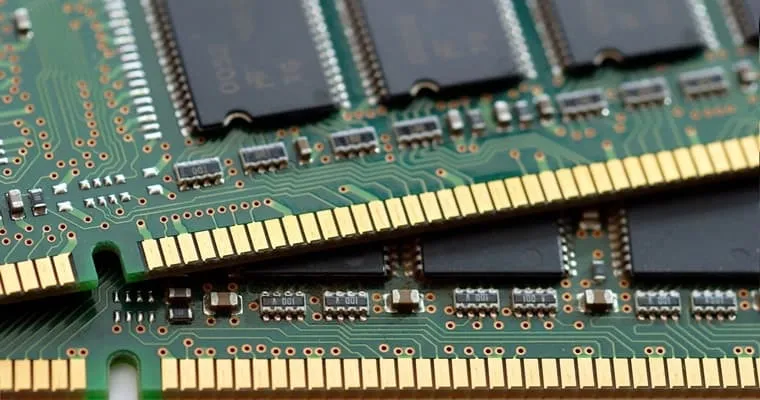
Printed circuit boards from older electronics often feature gold fingers, the plated edge connectors that slide into slots for reliable electrical contact. These components endure repeated insertions and removals, leading to wear that disrupts connectivity in vintage graphics cards, sound cards, and expansion boards cherished by electronic hobbyists. Refurbishing damaged gold fingers offers a cost-effective way to breathe new life into legacy hardware without replacing entire assemblies. For hobbyists tinkering with retro computers or arcade machines, mastering DIY gold finger repair techniques can save time and extend the usability of scarce parts. Cleaning and polishing gold fingers removes contaminants and restores surface integrity, while restoring conductivity to gold fingers ensures stable signal transmission. This guide provides practical steps tailored for home workshops, emphasizing safety and minimal tools to achieve professional results.
What Are PCB Gold Fingers and Why Do They Need Refurbishing?
Gold fingers consist of copper traces exposed at the PCB edge, first plated with nickel for adhesion and durability, then overlaid with a thin hard gold layer for superior conductivity and corrosion resistance. The gold plating, typically microns thick, bevels at a 30-45 degree angle to ease insertion into card slots while maintaining firm contact pressure. In legacy boards, these fingers handle power, data, and control signals, making flawless operation essential for system performance. Over time, damage accumulates from mechanical friction during plugging and unplugging, exposing underlying layers or creating high-resistance spots. Environmental factors like dust, humidity, and oxidation further degrade the surface, causing intermittent connections or total failure. Refurbishing damaged gold fingers prevents these issues, aligning with IPC-A-600K acceptability criteria for visual and functional inspection of printed boards.
Hobbyists frequently encounter such problems when reviving old hardware, where sourcing replacements proves challenging. Without intervention, poor gold finger condition leads to boot failures, signal loss, or overheating in slots. Regular maintenance through cleaning and polishing gold fingers extends board lifespan significantly. Understanding failure modes empowers targeted repairs, turning potential discards into functional gems.
Common Causes of Gold Finger Damage on Legacy Boards
Mechanical wear tops the list, as repeated insertions scrape the soft gold layer, revealing nickel or copper beneath. Each cycle diminishes plating thickness, increasing contact resistance and generating heat buildup during operation. Contamination from fingerprints, solder flux residues, or slot debris accelerates oxidation, forming insulating films that block current flow. Environmental exposure in storage, such as humidity or pollutants, promotes corrosion, especially if protective coatings wear thin. Manufacturing defects like pinholes or uneven plating exacerbate these vulnerabilities over decades of use. For hobbyists, identifying these causes guides effective refurbishing damaged gold fingers strategies.
High insertion counts in arcade PCBs or PC expansions compound the damage, often exceeding design limits. Vibration in machinery or thermal cycling induces micro-cracks, compromising integrity. Dust accumulation in unused gear creates abrasive particles during reconnection. Proactive assessment reveals whether simple cleaning suffices or deeper intervention is required.
Inspecting Gold Fingers Before Refurbishing
Start with a visual check under magnification for scratches, discoloration, or pitting against IPC-A-600K guidelines for surface quality. Use a multimeter in continuity mode to probe each finger against known good traces, noting resistances above a few milliohms as problematic. Inspect bevels for rounding or chipping that hinders slot fit. Clean the board gently first to differentiate true damage from removable dirt. Lighting and a steady hand reveal subtle issues like faint oxidation rainbows. This step prevents unnecessary work and ensures targeted DIY gold finger repair.
For hobbyists, a bright LED lamp and 10x loupe provide pro-level insight without fancy gear. Test in the actual slot if possible, noting intermittent power or data glitches. Document findings with photos for before-and-after comparison. Severe base metal exposure signals limits of polishing, suggesting alternative fixes.
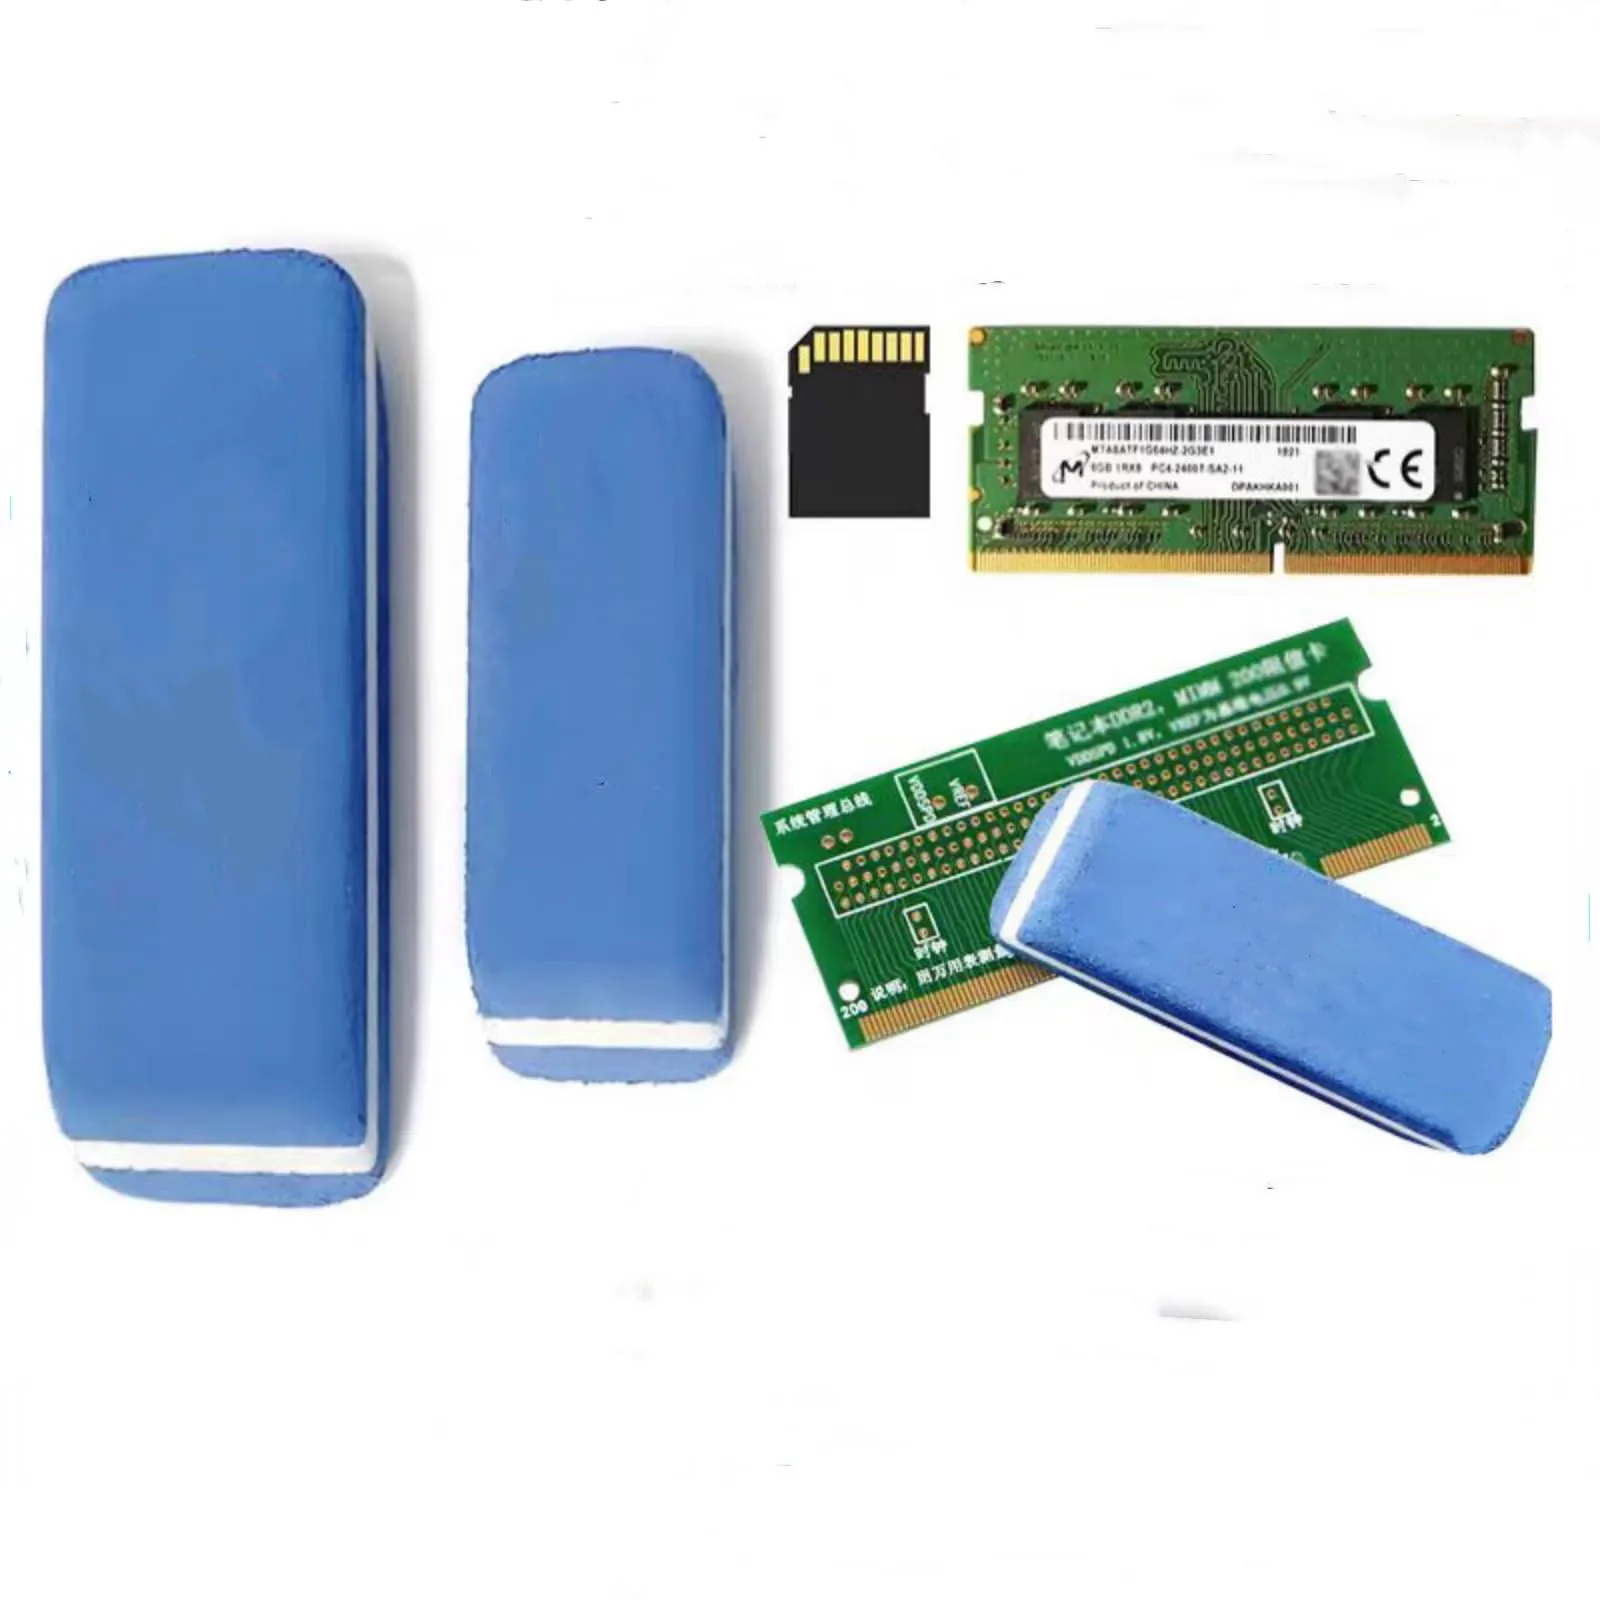
Essential Tools and Materials for DIY Gold Finger Repair
Gather isopropyl alcohol (90% or higher) for solvent cleaning, soft cotton swabs or microfiber cloths for application, and a clean eraser free of grit. Fine abrasives like 2000-grit sandpaper or fiberglass brushes handle polishing judiciously. Anti-static wrist strap guards against ESD damage during handling. Masking tape protects adjacent areas, while a multimeter verifies conductivity restoration. Distilled water aids final rinsing, and lint-free wipes ensure residue-free drying. These basics enable safe, effective cleaning and polishing gold fingers at home.
No specialized equipment is needed, keeping costs low for hobbyist budgets. Work in a ventilated space with gloves to avoid skin oils transfer. Store materials dry to maintain efficacy. Quality matters; cheap erasers shed particles that embed in plating.
Step-by-Step Guide to Cleaning and Polishing Gold Fingers
Power off and remove the PCB from any assembly, grounding yourself with an anti-static strap. Wipe fingers lightly with isopropyl alcohol on a swab to dissolve oils and light oxidation, allowing evaporation before proceeding. Gently rub with a soft eraser using uniform strokes parallel to the edge, checking frequently to avoid over-removal of gold. For stubborn spots, follow with a dampened microfiber cloth and alcohol, drying immediately. This initial cleaning often restores conductivity to gold fingers without abrasion. Test resistance across each finger post-clean.
If scratches persist, mask surrounding board with tape and buff lightly with 2000-grit sandpaper or fiberglass brush in one direction. Limit passes to prevent thinning the plating excessively, rinsing debris with distilled water afterward. Re-clean with alcohol and inspect under light for smoothness. Per IPC-7721 rework guidelines, maintain even surface without exposing base metals. Dry thoroughly in air before slot testing. Many hobbyists report full revival at this stage.
Advanced Tips for Restoring Conductivity to Gold Fingers
For deeper wear, consider conductive restoratives sparingly, applying thin layers to bridge minor pits after cleaning. Avoid over-application to prevent solder-like resistance buildup. Low-heat soldering bridges severe gaps temporarily, followed by polishing. Always verify with multimeter; aim for low milliohm readings matching undamaged neighbors. These methods suit hobbyists pushing legacy boards further. Professional electroplating mimics factory specs but demands kits beyond basic setups.
Monitor for heat during use post-repair, as thin spots conduct poorly. Regular re-cleaning sustains gains. IPC-6012E performance specs underscore the need for durable plating in high-cycle applications.
Best Practices and Common Mistakes to Avoid
Work methodically, starting conservative to preserve original plating. Excessive pressure during polishing exposes nickel, inviting rapid corrosion. Incomplete drying traps moisture, fostering new oxidation. ESD zaps sensitive ICs nearby, so prioritize grounding. Limit repairs to non-critical hobby projects; high-speed signals demand factory precision. Space sessions to inspect progress.
Hobbyists often rush, skipping tests and facing slot misfits. Overlook bevel integrity, causing insertion snags. Ignore storage post-repair, undoing efforts with dust. Patience yields reliable results aligning with industry rework standards.
Troubleshooting Post-Refurbishing Issues
Intermittent contact after repair signals uneven polishing; re-clean and lightly buff again. High resistance points to residue; thorough alcohol swab resolves most. Slot fit problems stem from warped fingers; gentle flexing or bevel touch-up helps. Persistent failure indicates trace delamination beneath, beyond DIY scope. Retest in context for real-world validation.
Log symptoms and fixes for future boards. Community swaps yield shared insights without reinventing wheels.
Reviving a Vintage Graphics Card: A Hobbyist Case Insight
Consider an old AGP card with flaky video output from worn gold fingers. Initial cleaning with eraser and alcohol cleared oxidation, halving resistance. Light fiberglass brushing polished scratches, restoring full slot grip. Post-repair tests confirmed stable display in a retro PC build. This minimal-effort refurbish salvaged a rare part. Similar successes abound in hobby circles restoring ISA or PCI gear.
Conclusion
Refurbishing damaged gold fingers empowers electronic hobbyists to salvage legacy PCBs effortlessly. Simple cleaning and polishing gold fingers tackles most wear, while targeted DIY gold finger repair restores conductivity to gold fingers reliably. Adhering to standards like IPC-A-600K and IPC-7721 ensures quality outcomes without fabrication risks. Invest time in inspection and gentle techniques for lasting revival. Vintage hardware thrives anew, fueling creative projects with minimal waste.
FAQs
Q1: How do I start refurbishing damaged gold fingers on a legacy PCB?
A1: Begin by inspecting visually and with a multimeter for high resistance spots. Clean with isopropyl alcohol and a soft swab to remove oxidation, followed by gentle eraser rubbing. Avoid heavy pressure to preserve plating. Dry fully before testing in-slot performance. This DIY gold finger repair approach revives most hobbyist boards quickly.
Q2: What are effective methods for cleaning and polishing gold fingers at home?
A2: Use 90% isopropyl alcohol on microfiber for initial wipe-down, then a slag-free eraser for oxidation. For scratches, lightly buff with 2000-grit sandpaper parallel to the edge. Rinse with distilled water and dry lint-free. Test conductivity post-process. These steps align with basic rework practices for safe, effective results.
Q3: Can DIY gold finger repair fully restore conductivity to gold fingers?
A3: Yes, for surface-level damage like wear and contamination, cleaning and polishing suffice to drop resistance to milliohms. Eraser and alcohol handle most cases in legacy boards. Deeper issues may need bridging or professional replating. Test iteratively and compare readings with undamaged fingers to ensure reliable performance.
Q4: What precautions should hobbyists take when restoring conductivity to gold fingers?
A4: Wear anti-static protection to shield components, work in ventilated areas, and avoid corrosive cleaners. Limit abrasion to prevent base metal exposure, and dry thoroughly to halt moisture corrosion. Mask nearby areas during polishing, and maintain bevel integrity for smooth insertion. Follow IPC guidelines for inspection to gauge success.
References
IPC-A-600K — Acceptability of Printed Boards. IPC, 2020
IPC-6012E — Qualification and Performance Specification for Rigid Printed Boards. IPC, 2017
IPC-7721 — Rework, Modification and Repair of Electronic Assemblies. IPC, 2000


