ALLPCB


Why Testability Matters in Flex PCB Designs
Flex printed circuit boards enable compact, lightweight electronic designs across industries by allowing bending and folding during assembly and operation. Their mechanical flexibility introduces distinct challenges for electrical testing compared with rigid boards. Design for manufacturability and testability therefore requires early attention to test point placement in flexible circuits and overall accessibility for testing in flex designs. Engineers who address these factors during the layout phase reduce the risk of undetected defects, lower rework costs, and improve production yields. Effective flex PCB testing strategies integrate mechanical constraints with electrical requirements from the outset.
Testability directly influences both quality and cost in flexible circuit production. Without adequate access for probes or fixtures, manufacturers may rely on less reliable visual inspection or functional testing alone. This approach can miss latent defects such as opens, shorts, or impedance variations that only appear under specific mechanical stress. Incorporating designing for manufacturability and testability principles early helps align the board layout with available test equipment and processes. The result is faster throughput and higher confidence in delivered assemblies.
Industry standards provide the framework for these decisions. IPC-6013 outlines qualification and performance requirements specific to flexible printed boards, including expectations for electrical continuity and insulation resistance.
Technical Principles of Flex PCB Testing
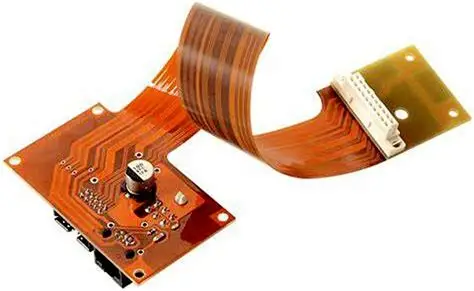
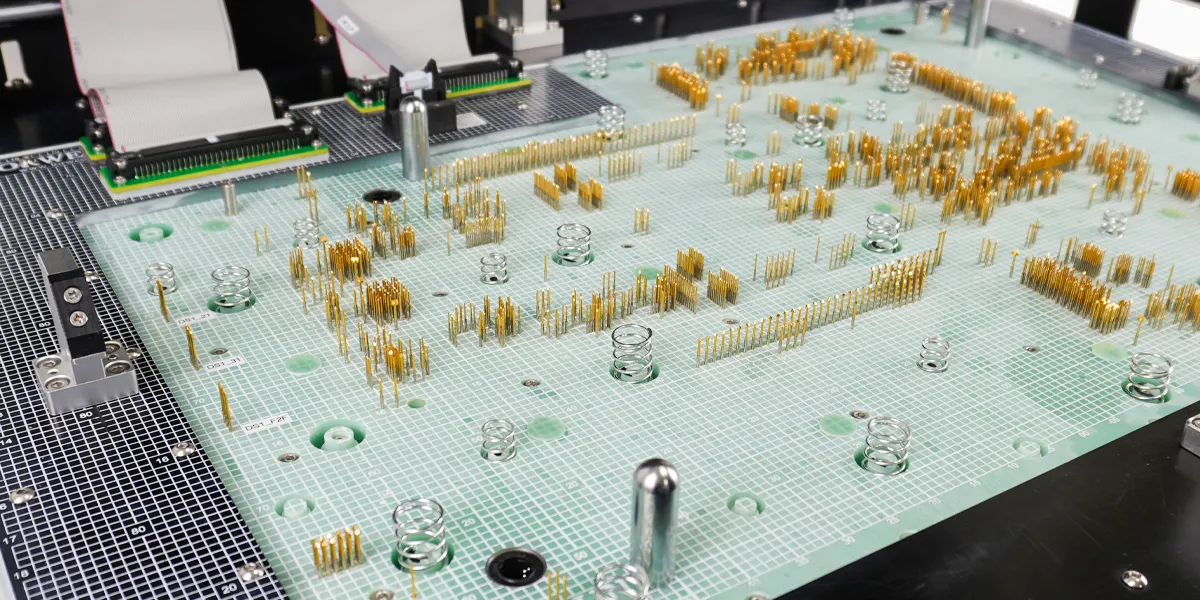
Flexible substrates exhibit different thermal and mechanical behavior than rigid materials, which affects probe contact reliability during in-circuit testing. Bending can shift conductor positions slightly, so test points must remain accessible even after flexing. Probe force must also stay within limits that avoid damaging thin copper traces or coverlay layers. ICT testing for flex PCBs therefore demands careful consideration of fixture design and board fixturing to maintain consistent contact without inducing unwanted stress.
Accessibility for testing in flex designs is further complicated by three-dimensional routing and the frequent use of stiffeners or adhesives. These elements can obstruct probe paths or create uneven surfaces that reduce contact repeatability. Engineers evaluate bend radii, stack-up symmetry, and component placement to ensure test pads remain flat and unobstructed in the final assembly state. Signal integrity considerations also apply, as test points placed too close to high-speed traces may introduce unwanted capacitance or reflections.
Best Practices for Test Point Placement and Accessibility
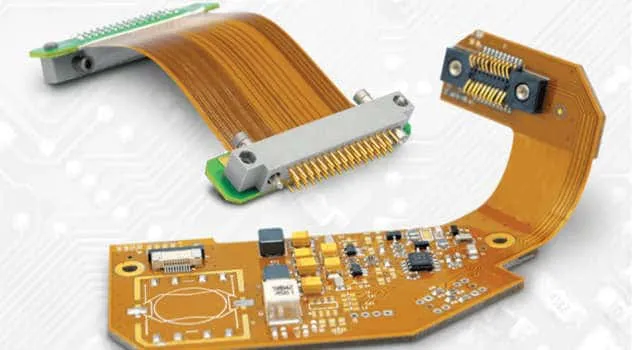
Place test points on areas of the circuit that experience minimal flexing during normal use and handling. Larger pad sizes and dedicated test lands improve probe capture rates while maintaining adequate spacing from adjacent conductors. When possible, route test points to rigid sections or stiffener zones so that mechanical support remains consistent throughout the test cycle. This approach supports both flying-probe and bed-of-nails ICT methods without requiring excessive fixture complexity.
Designers should also consider the sequence of assembly operations. Test points located on the final folded configuration may become inaccessible once connectors or enclosures are attached. Providing alternate test locations on tabs or extensions that can be removed after testing offers a practical solution. Documentation of these locations in the fabrication and assembly drawings ensures consistent application across production runs.
Visual inspection and automated optical inspection complement electrical testing but cannot replace it for hidden defects. Combining multiple test methods with clearly defined acceptance criteria, as referenced in IPC-A-600, strengthens overall quality assurance.
Practical DFM Integration Steps
Begin testability reviews during schematic capture by identifying critical nets that require verification. Collaborate with manufacturing partners to understand available test equipment capabilities and typical fixture tolerances. Simulate mechanical flexing in the design software to verify that chosen test locations remain accessible after bending. Document all test point coordinates, required probe forces, and any special handling instructions in the manufacturing package.
Review stack-up choices for their impact on test access. Thinner dielectrics and coverlays improve flexibility but can reduce the durability of test pads under repeated probing. Balancing electrical performance, mechanical reliability, and test requirements leads to more robust designs. When conflicts arise, prioritize nets with the highest failure impact or those most difficult to verify through functional testing alone.
Conclusion
Successful flex PCB testing depends on deliberate design choices made early in the development cycle. Attention to test point placement in flexible circuits, mechanical accessibility, and compatibility with ICT processes reduces defects and supports efficient production. By following established industry guidelines and integrating testability into the broader DFM workflow, engineering teams achieve reliable, cost-effective flexible circuit assemblies.
FAQs
Q1: How does flex PCB testing differ from rigid board testing?
A1: Flex PCB testing must account for substrate movement and variable surface flatness during probing. Test point placement in flexible circuits therefore emphasizes locations that remain stable under bending, while accessibility for testing in flex designs often requires additional fixturing considerations not needed for rigid boards.
Q2: What are the main challenges in ICT testing for flex PCBs?
A2: ICT testing for flex PCBs faces challenges related to maintaining consistent probe contact on thin, flexible materials and avoiding damage from excessive force. Designing for manufacturability and testability helps by specifying appropriate pad sizes, stiffener placement, and test locations that accommodate standard fixture tolerances.
Q3: Why is test point placement critical in flexible circuit designs?
A3: Test point placement in flexible circuits determines whether electrical verification can occur reliably before and after bending operations. Poor placement reduces accessibility for testing in flex designs and may force reliance on less comprehensive test methods, increasing the risk of undetected defects.
Q4: How can designers improve accessibility for testing in flex designs?
A4: Designers improve accessibility by locating test points on rigid or stiffened areas, providing adequate pad size and clearance, and documenting alternate test sites for folded configurations. These steps align with designing for manufacturability and testability principles and support both flying-probe and fixture-based methods.
References
IPC-6013D - Qualification and Performance Specification for Flexible Printed Boards. IPC, 2021
IPC-A-600K - Acceptability of Printed Boards. IPC, 2020