 ALLPCB


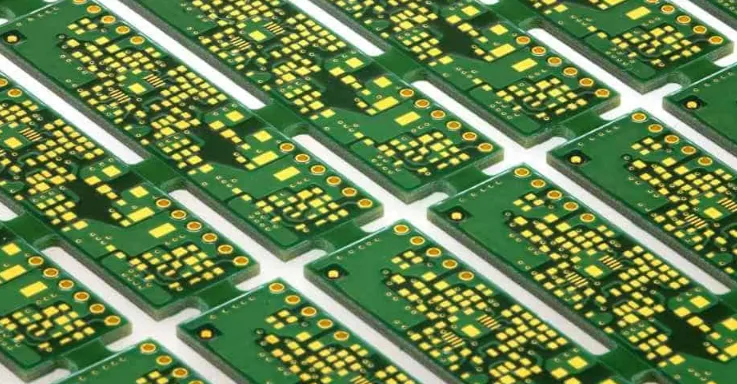
Retail display PCBs (Printed Circuit Boards) are the backbone of modern electronic displays used in stores, malls, and public spaces. These boards power everything from digital signage to interactive kiosks. Designing them efficiently requires a careful balance between cost and performance. How can you achieve this balance? By focusing on smart material selection, optimized layouts, and cost-effective design strategies, you can create retail display PCBs that perform well without breaking the budget.
In this comprehensive guide, we’ll dive deep into the essentials of designing efficient retail display PCBs. We’ll cover key areas like retail display PCB cost optimization, retail display PCB material selection, and efficient PCB layout for retail displays. Whether you’re an engineer or a project manager, this blog will provide actionable insights to help you succeed in your next project.
Why Retail Display PCBs Matter
Retail displays are everywhere—think of the bright LED screens advertising products in a store or the touchscreens at checkout counters. These displays rely on PCBs to function smoothly. A well-designed PCB ensures high-quality visuals, reliable performance, and energy efficiency. However, poor design can lead to flickering screens, overheating, or costly production delays.
The challenge lies in balancing performance with cost. Retail environments demand durability and high performance, but budgets are often tight. That’s why optimizing every aspect of PCB design is crucial. Let’s explore how to tackle this challenge step by step.
Key Factors in Retail Display PCB Cost Optimization
Cost optimization is often the top priority for businesses. Reducing expenses without sacrificing quality can make a big difference in profitability. Here are proven strategies for retail display PCB cost optimization:
1. Simplify the Design Without Losing Functionality
Complex designs with unnecessary features drive up costs. Start by identifying the core requirements of your retail display. Does it need advanced touch capabilities, or will a basic LED driver suffice? Eliminate extra components that don’t add value. For instance, using a single-layer board instead of a multi-layer one can cut costs by up to 30% for simpler displays, assuming signal integrity isn’t compromised.
2. Optimize Board Size
Smaller boards use less material and are cheaper to produce. However, cramming too many components into a tight space can lead to overheating or signal interference. Aim for a balance by planning the layout early. For example, a typical retail display PCB might measure 100mm x 150mm, fitting essential components while keeping material costs low.
3. Choose Cost-Effective Components
High-end components can inflate costs quickly. Opt for standard, widely available parts that meet performance needs. For instance, using a common microcontroller with a clock speed of 16 MHz instead of a pricier 32 MHz option can save money if the display doesn’t require high-speed processing.
Retail Display PCB Material Selection: Finding the Right Fit
Choosing the right materials is a critical step in designing efficient PCBs. The materials you select impact both performance and cost. Let’s break down the key considerations for retail display PCB material selection.
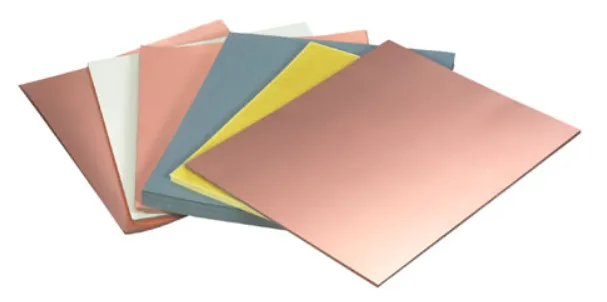
1. Substrate Materials: Balancing Durability and Cost
The substrate is the foundation of your PCB. For retail displays, FR-4 is the most common choice due to its affordability and decent thermal resistance. It can handle operating temperatures up to 130°C, which is suitable for most indoor displays. However, if your display will be exposed to harsh conditions, like outdoor signage, consider a more robust material like polyimide, though it costs 20-40% more.
2. Copper Thickness: Performance vs. Expense
Copper thickness affects how well the PCB conducts electricity. For retail displays with high-power LEDs, a thicker copper layer (e.g., 2 oz/ft2) ensures better current handling and heat dissipation. However, thicker copper increases costs. For low-power displays, a 1 oz/ft2 layer is often enough, reducing expenses by around 10-15%.
3. Surface Finish: Protecting the Board
The surface finish protects the copper from oxidation and ensures reliable soldering. HASL (Hot Air Solder Leveling) is a budget-friendly option, costing about 10% less than alternatives like ENIG (Electroless Nickel Immersion Gold). However, ENIG offers better durability for high-touch retail displays, making it worth the extra cost in some cases.
Efficient PCB Layout for Retail Displays: Design Tips
A well-planned layout is the key to performance and reliability. An efficient PCB layout for retail displays minimizes signal issues, reduces heat buildup, and keeps production costs down. Here are some practical tips:
1. Prioritize Component Placement
Place critical components like power regulators and microcontrollers first. Keep high-power components away from sensitive signal paths to avoid interference. For example, position LED drivers near the edge of the board for better heat dissipation, ensuring they don’t affect nearby logic circuits.
2. Manage Signal Integrity
Retail displays often involve high-speed signals for video or touch input. Poor signal integrity can cause data errors or flickering. Use proper trace widths (e.g., 10-12 mils for standard signals) and keep traces short to reduce impedance. Maintain a ground plane to minimize noise, especially for displays operating at frequencies above 50 MHz.
3. Optimize Thermal Management
Heat is a major concern for retail display PCBs, especially with power-hungry LEDs. Include thermal vias under hot components to transfer heat to the opposite side of the board. For a display driving 5W of power, adding 4-6 thermal vias per high-power component can reduce temperatures by up to 10°C.
4. Plan for Manufacturability
Design with manufacturing in mind to avoid costly errors. Follow standard design rules, like maintaining a minimum trace spacing of 6 mils for most processes. This reduces the risk of shorts and keeps production costs low by avoiding custom fabrication needs.

Balancing Cost and Performance: Practical Examples
Let’s look at two scenarios to see how these principles apply in real-world retail display PCB design.
Scenario 1: Indoor Digital Signage
For an indoor LED signage board with a power draw of 3W, cost optimization is key. Use a single-layer FR-4 board with 1 oz/ft2 copper and a HASL finish to keep expenses low. Place components strategically to fit on a 120mm x 80mm board, reducing material costs. This setup can achieve reliable performance for basic animations while keeping production costs under control.
Scenario 2: Outdoor Interactive Kiosk
An outdoor kiosk with a touchscreen display requires higher performance. Opt for a multi-layer board with FR-4 or polyimide to handle temperature swings from -10°C to 50°C. Use 2 oz/ft2 copper for better power handling and an ENIG finish for durability. Add thermal vias and a robust ground plane to manage heat and signal integrity. While costs are higher, the design ensures long-term reliability in tough conditions.
Advanced Techniques for Retail Display PCB Design
Beyond the basics, advanced techniques can further enhance performance and reduce costs over time.
1. Design for Scalability
Create modular designs that can be adapted for different display sizes or features. For example, design a base PCB that supports both basic LED displays and advanced touchscreens by adding optional connectors. This reduces redesign costs for future projects.
2. Use Simulation Tools
Before fabrication, use simulation software to test signal integrity and thermal performance. Identifying issues like impedance mismatches (e.g., a trace with 75 ohms instead of the required 50 ohms) during the design phase can save thousands in rework costs.
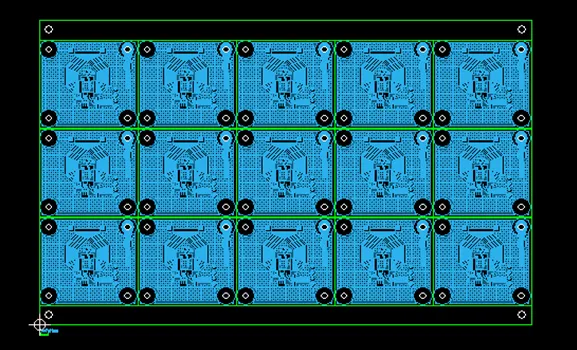
3. Collaborate Early with Manufacturers
Work with your manufacturing partner during the design stage to align with their capabilities. They can advise on cost-effective panelization techniques, where multiple PCBs are produced on a single panel, cutting fabrication costs by up to 20%.
Common Pitfalls to Avoid in Retail Display PCB Design
Even with the best intentions, mistakes can happen. Here are some common pitfalls to watch out for:
- Overcomplicating the Design: Adding unnecessary features increases costs and risks failures. Stick to what’s essential.
- Ignoring Thermal Issues: Failing to account for heat can lead to component damage. Always plan for heat dissipation.
- Neglecting Testing: Skipping thorough testing before production can result in costly recalls. Test for signal integrity and power stability under real-world conditions.
Conclusion: Achieving the Perfect Balance
Designing efficient retail display PCBs is all about striking the right balance between cost and performance. By focusing on retail display PCB cost optimization, making informed choices in retail display PCB material selection, and creating an efficient PCB layout for retail displays, you can build reliable, high-performing boards without overspending.
Start with a clear understanding of your project’s needs. Simplify where possible, choose materials wisely, and design layouts that prioritize signal integrity and thermal management. With these strategies, you’ll be well-equipped to create retail display PCBs that meet both technical and budgetary goals.
At ALLPCB, we’re committed to helping you succeed in every step of your PCB journey. Whether you’re designing for a small indoor screen or a large outdoor kiosk, our expertise and resources are here to support your vision.


