ALLPCB


When it comes to repairing damaged traces on a printed circuit board (PCB), two popular methods often come up: using conductive ink for PCB repair and installing a jumper wire for PCB repair. Both techniques have their strengths and weaknesses, but which one is the best choice for your specific situation? In short, conductive ink is ideal for quick, small-scale repairs and prototyping, while jumper wires offer durability for long-term, high-current applications. In this detailed guide, we’ll dive into a PCB trace repair comparison, exploring when to use each method, how they work, and their pros and cons to help you make an informed decision.
Understanding PCB Trace Damage and Repair Needs
PCBs are the backbone of electronic devices, carrying electrical signals through thin copper traces. Over time, these traces can become damaged due to physical stress, corrosion, or manufacturing defects. A broken trace can disrupt the circuit, leading to malfunctioning devices. Repairing these traces is crucial to restore functionality, and the method you choose can impact the board’s performance, reliability, and longevity.
Whether you’re a hobbyist fixing a small project or a professional working on complex electronics, understanding the right repair method is key. Let’s explore the two primary options—conductive pen PCB repair and jumper wires—and see how they stack up.
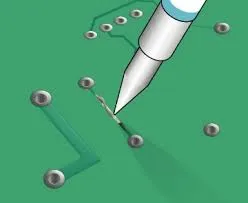
What is Conductive Ink for PCB Repair?
Conductive ink is a special material made of conductive particles, often silver or nickel, suspended in a liquid polymer. It comes in pens or small containers, allowing you to “draw” new traces directly onto a PCB. Once the ink dries, it forms a conductive path that can replace a damaged trace or create a new connection.
This method is popular for its ease of use and quick application. With a conductive pen for PCB repair, you can fix a broken trace in minutes without needing advanced tools or soldering skills. It’s often used in prototyping, small repairs, or when working on delicate boards where soldering might cause further damage.
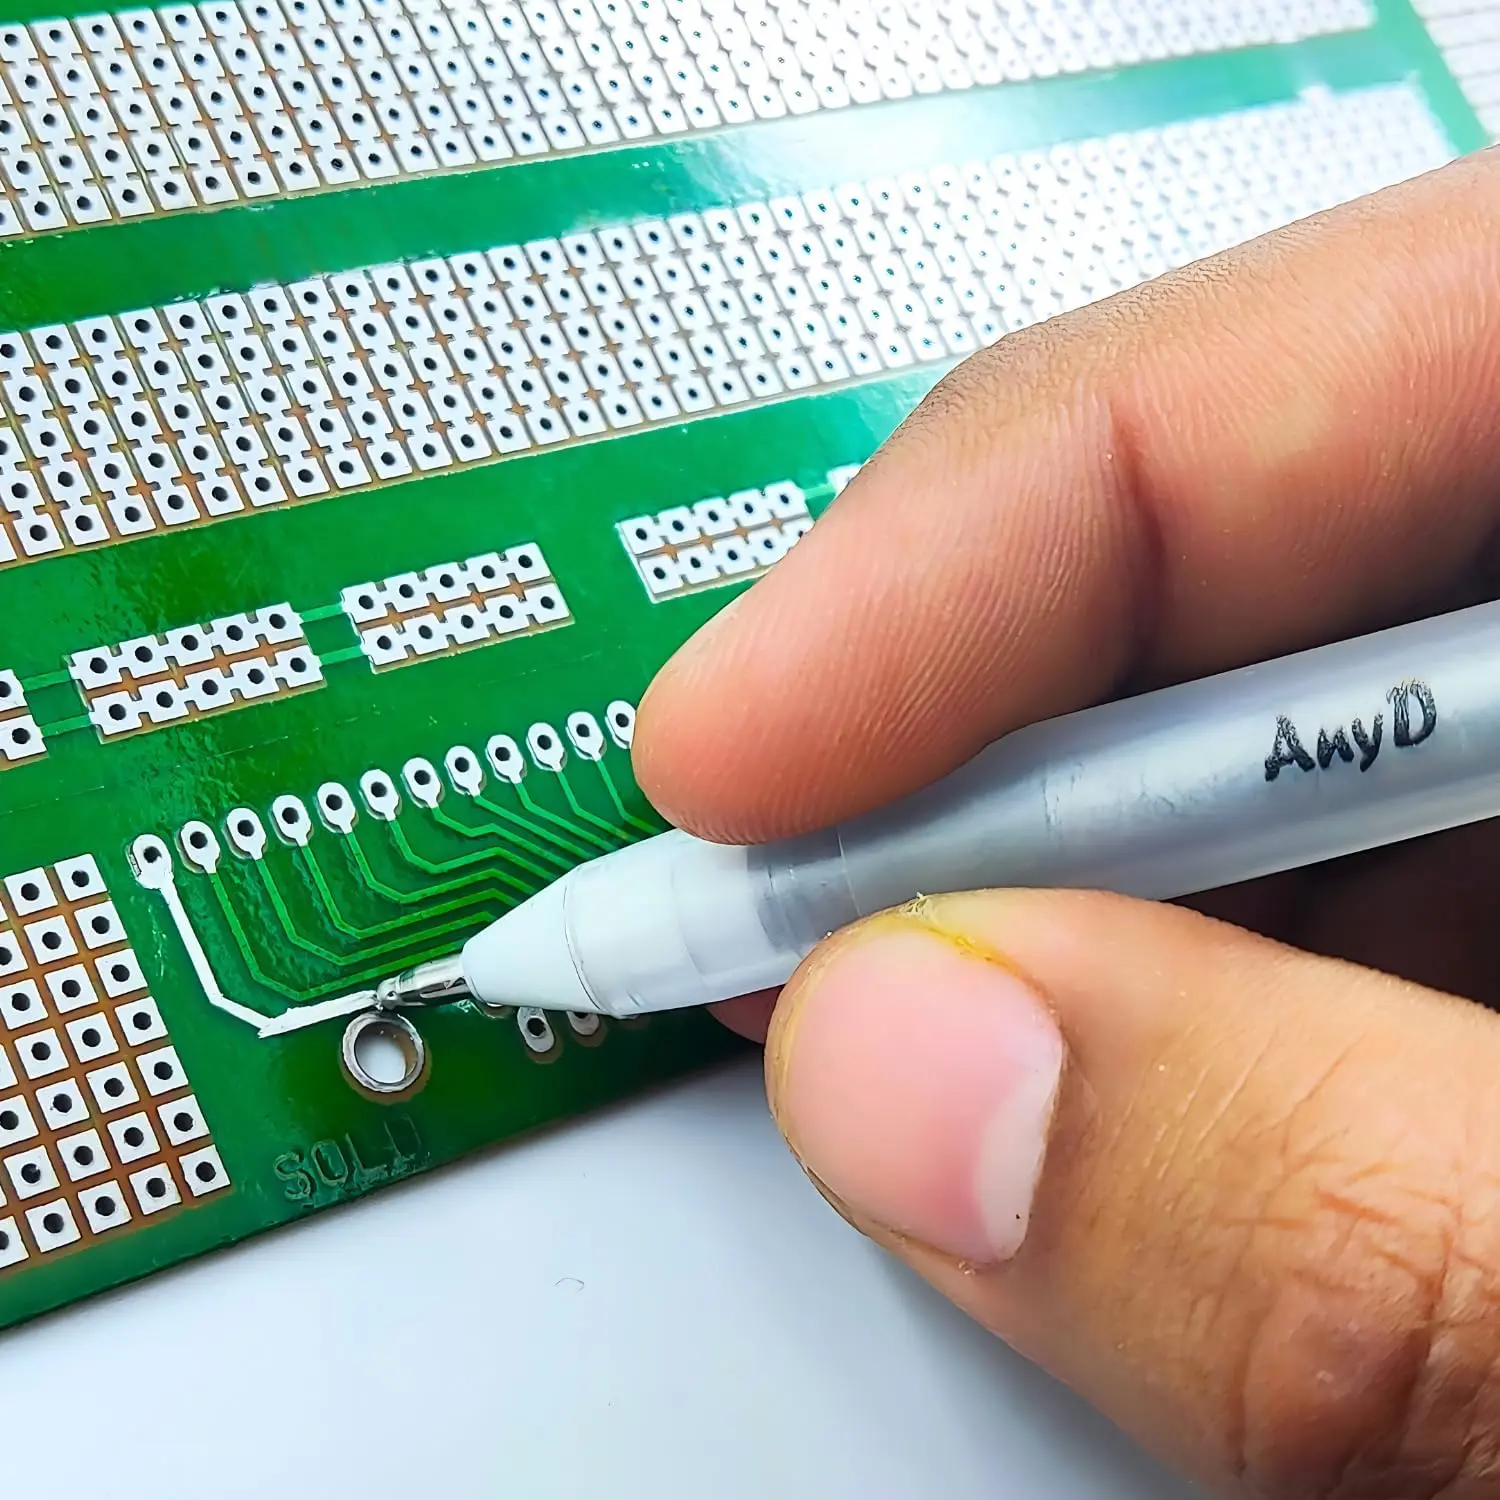
How to Use Conductive Ink for PCB Repair
Using conductive ink is straightforward. Here’s a step-by-step guide:
- Clean the Area: Remove any dirt, debris, or old solder from the damaged trace using isopropyl alcohol and a brush.
- Prepare the Surface: Lightly sand the area if needed to expose clean copper for better adhesion.
- Apply the Ink: Use the conductive pen to draw over the broken trace, ensuring a continuous line. Overlap the ink onto the existing copper for a secure connection.
- Let it Dry: Allow the ink to cure, which usually takes a few minutes at room temperature. Some inks may require heat to speed up the process.
- Test the Connection: Use a multimeter to check for continuity and ensure the repair is successful.
Advantages of Conductive Ink
- Speed and Simplicity: Repairs can be done in minutes without soldering equipment.
- Precision: Ideal for small, intricate traces where soldering a wire might be challenging.
- Non-Invasive: No heat is required, reducing the risk of damaging nearby components.
- Versatility: Useful for prototyping and temporary fixes, as well as permanent small-scale repairs.
Disadvantages of Conductive Ink
- Limited Conductivity: Conductive ink typically has higher resistance compared to copper traces. For instance, silver-based inks may have a resistivity of around 1.6 x 10^-6 ohm-cm, which is higher than copper’s 1.68 x 10^-8 ohm-cm, potentially affecting performance in high-current applications.
- Durability Concerns: The ink may crack or degrade over time, especially under mechanical stress or high temperatures.
- Not Ideal for High Power: Due to its resistance, it’s unsuitable for circuits carrying significant current (above 1-2 amps, depending on the ink).
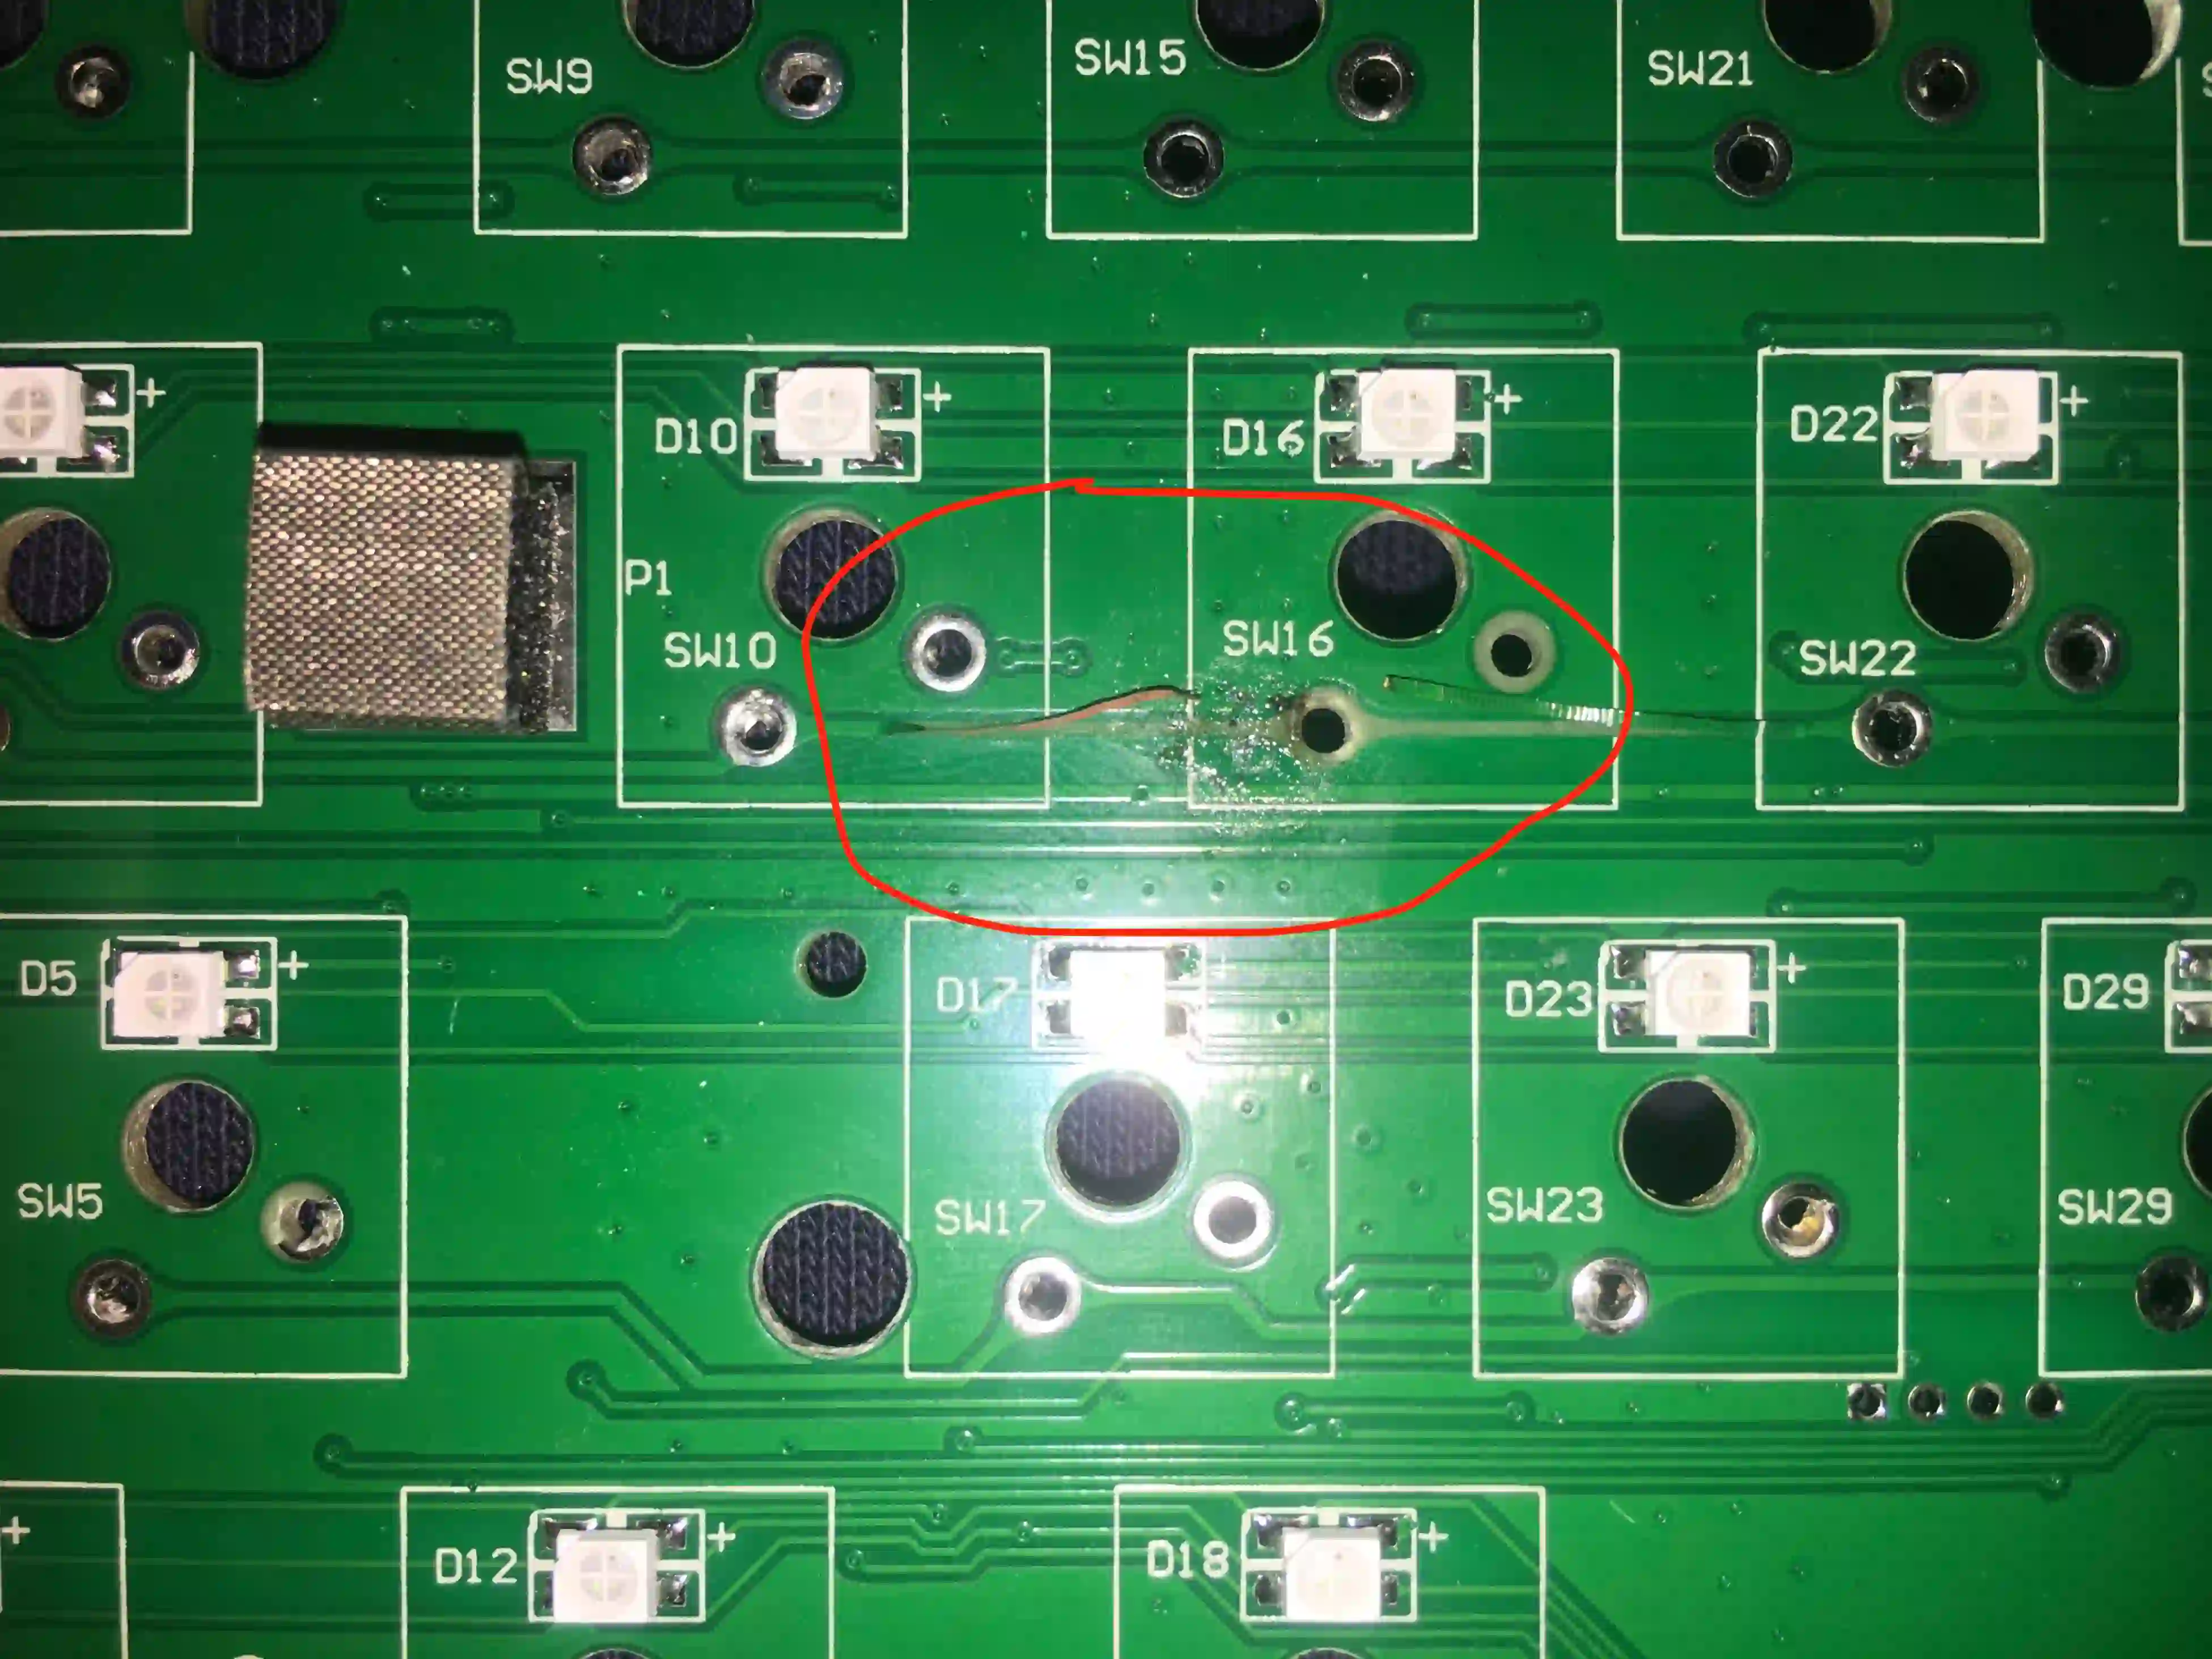
What is Jumper Wire PCB Repair?
Jumper wire repair involves soldering a small piece of insulated wire across a broken trace to bypass the damaged section. This method physically connects the two ends of the trace, restoring the electrical pathway. Jumper wires are a tried-and-true solution, often used in professional and industrial settings for their reliability.
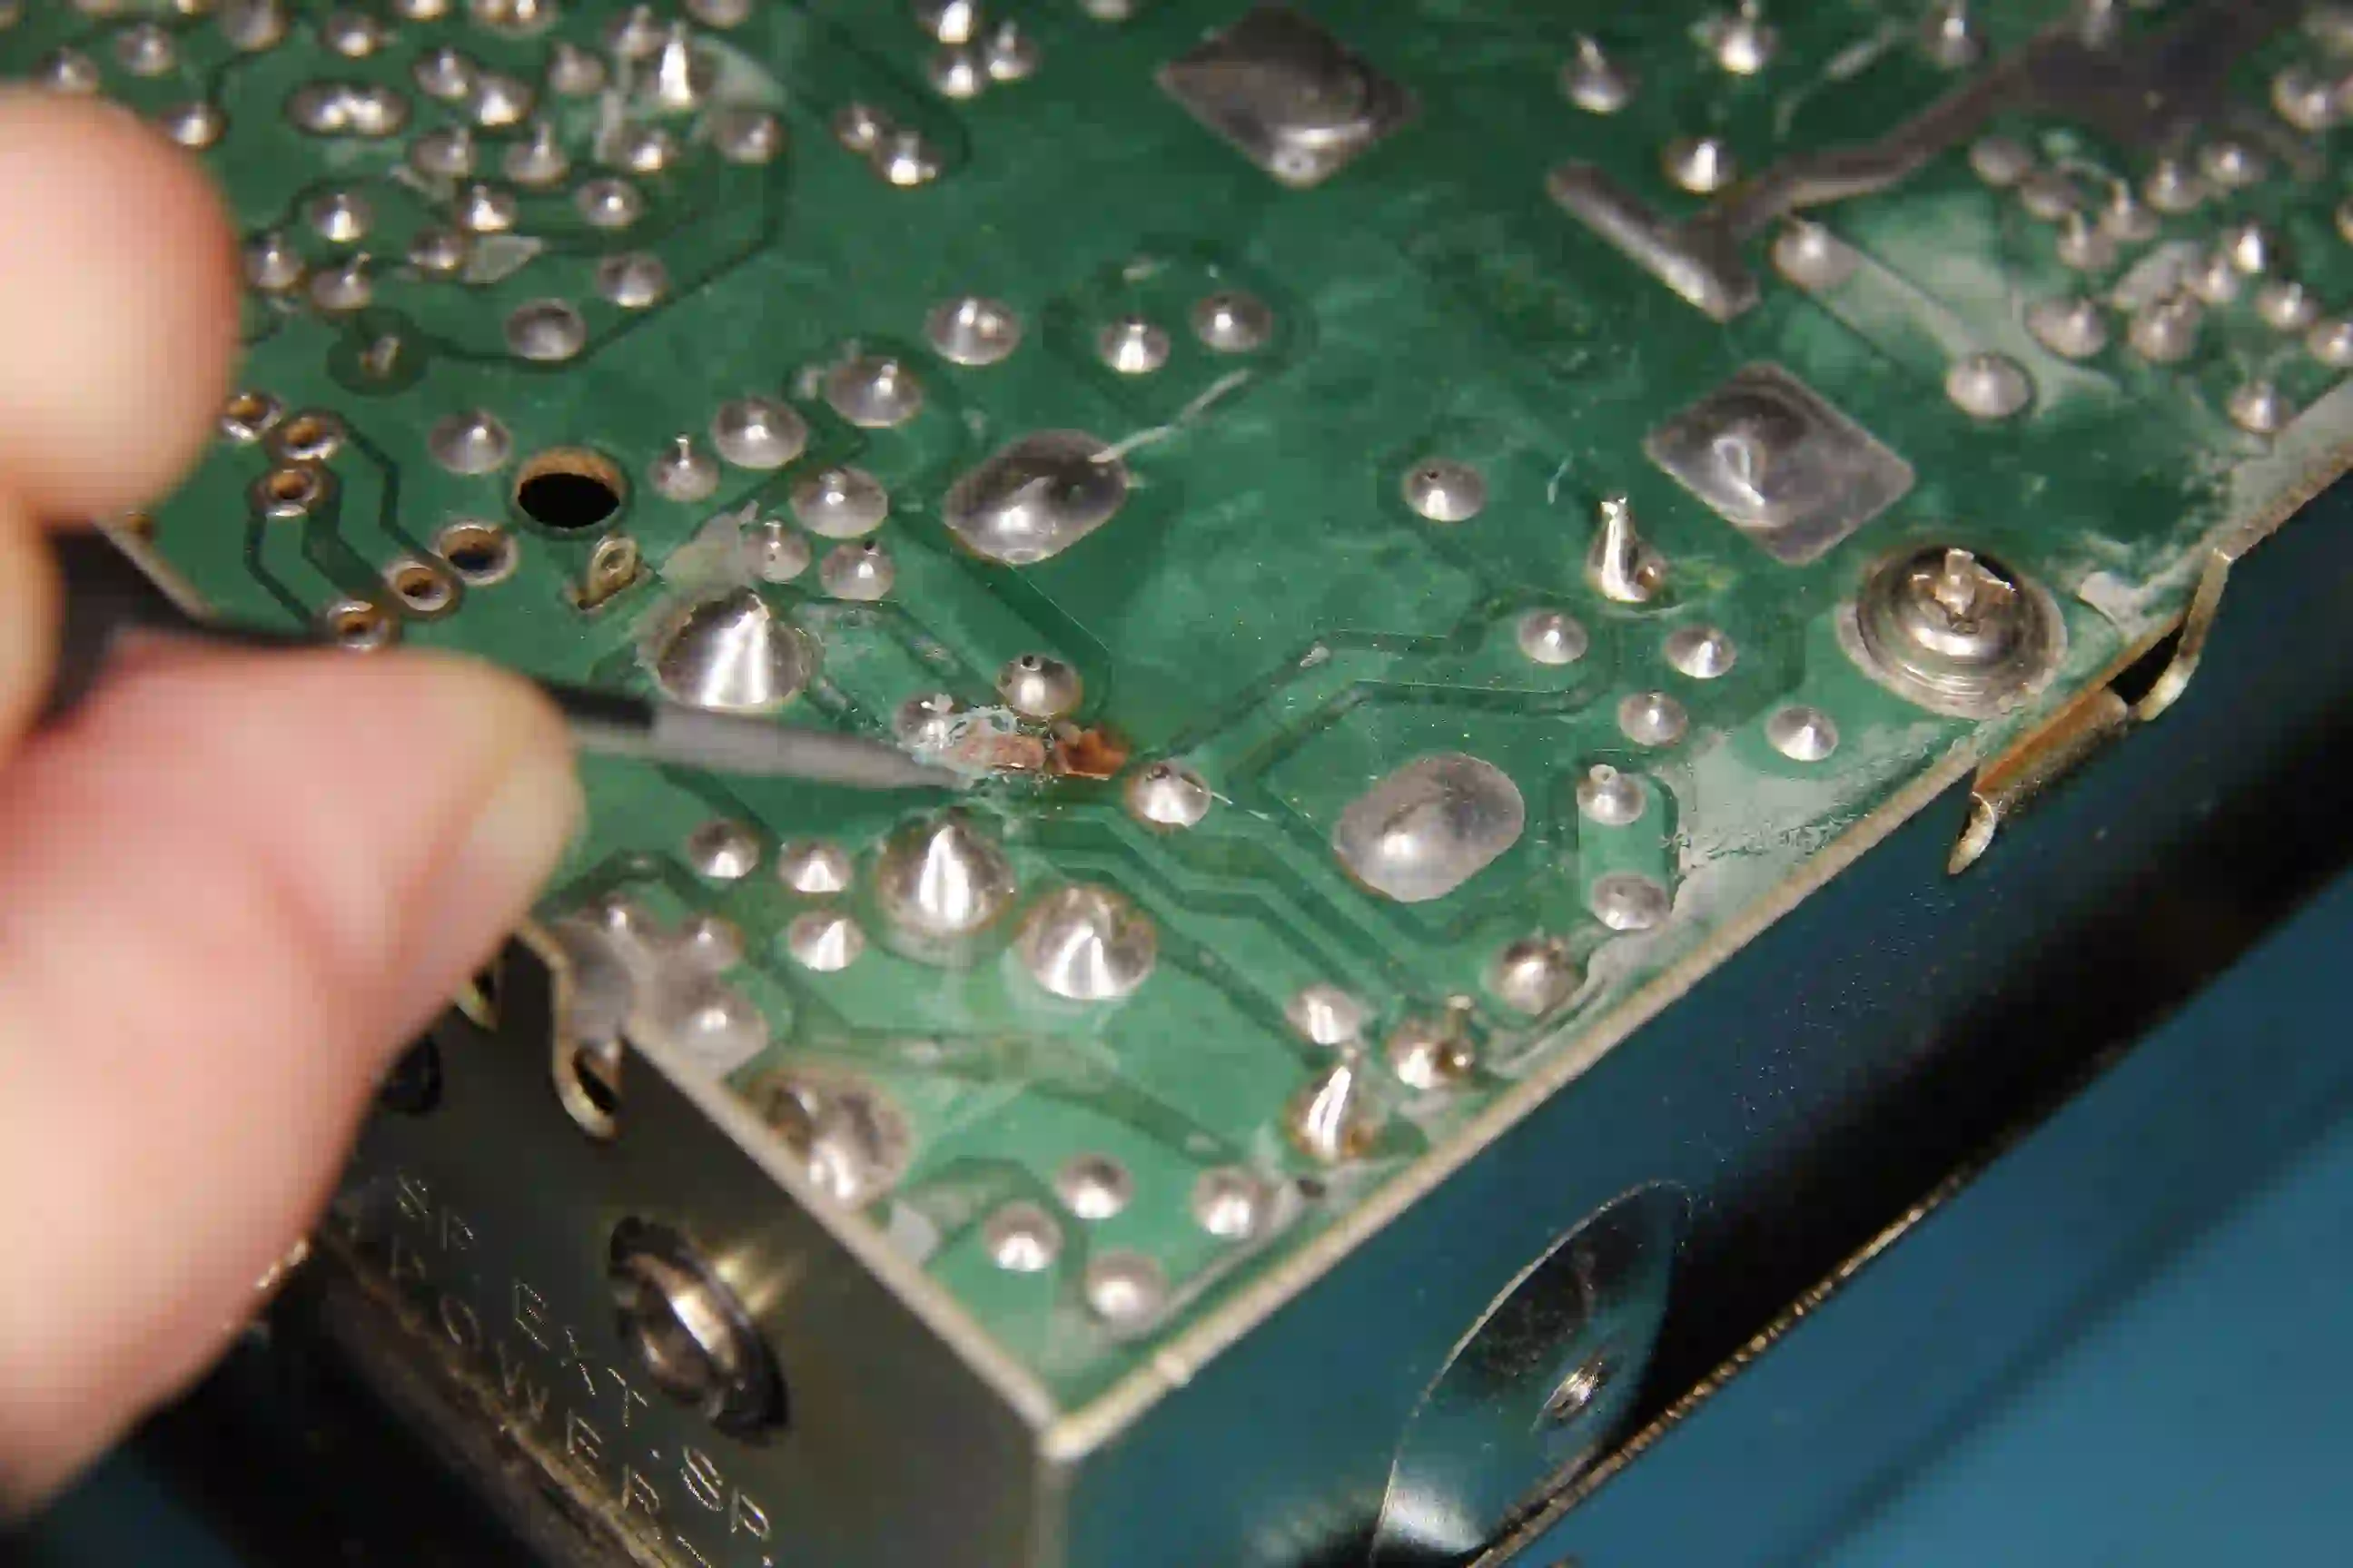
How to Use Jumper Wires for PCB Repair
Here’s how to perform a jumper wire repair:
- Identify the Damage: Locate the broken trace and determine the shortest path for the jumper wire.
- Prepare the Area: Clean the trace ends with isopropyl alcohol and expose fresh copper by scraping off any solder mask if necessary.
- Cut and Strip the Wire: Use a thin gauge wire (like 30 AWG) and strip the insulation from both ends.
- Solder the Wire: Tin the wire ends and solder them to the trace, ensuring a strong connection. Route the wire neatly to avoid interference with other components.
- Secure the Wire: Use adhesive or tape to hold the wire in place if needed.
- Test the Connection: Verify continuity and functionality with a multimeter.
Advantages of Jumper Wires
- High Conductivity: Copper wires have excellent conductivity, with minimal resistance (close to the original trace’s performance), making them suitable for high-current applications.
- Durability: Soldered connections are robust and can withstand mechanical stress, vibration, and temperature changes.
- Cost-Effective: Wires are inexpensive and widely available, often costing less than conductive pens over time.
- Versatility: Can be used for long-distance repairs or to bypass multiple damaged areas.
Disadvantages of Jumper Wires
- Time-Consuming: Soldering requires more time and skill compared to using conductive ink.
- Risk of Damage: Heat from soldering can damage nearby components or lift pads if not done carefully.
- Aesthetic Impact: Jumper wires can make the PCB look cluttered, which might be an issue for professional projects.
PCB Trace Repair Comparison: Conductive Ink vs. Jumper Wires
Now that we’ve covered the basics of both methods, let’s compare them head-to-head across key factors to help you decide which is best for your repair needs.
1. Ease of Use
Winner: Conductive Ink
Conductive ink wins for simplicity. With no need for soldering tools or advanced skills, even beginners can use a conductive pen to fix a trace in minutes. Jumper wires, while not overly complex, require soldering know-how and a steady hand to avoid mistakes.
2. Conductivity and Performance
Winner: Jumper Wires
Jumper wires offer superior conductivity, closely matching the original copper trace. For high-frequency signals or circuits carrying more than 1-2 amps, wires are the better choice. Conductive ink, while functional for low-current applications, introduces higher resistance, which can degrade signal integrity over time (e.g., potential voltage drops of 0.1-0.2V in high-resistance scenarios).
3. Durability and Longevity
Winner: Jumper Wires
Soldered jumper wires are far more durable, resisting wear from heat, vibration, and mechanical stress. Conductive ink repairs, while effective for temporary or light-duty fixes, may crack or lose conductivity after months or years, especially in harsh environments.
4. Cost
Winner: Jumper Wires
A spool of wire and basic soldering tools are generally cheaper than a single conductive pen, which can cost $20 or more and may only last for a few repairs. If you’re working on multiple projects, jumper wires are the more economical option.
5. Aesthetics
Winner: Conductive Ink
Conductive ink provides a cleaner, less noticeable repair since it blends into the board’s surface. Jumper wires, on the other hand, can look messy, especially if multiple repairs are needed on the same PCB.
When to Use Conductive Ink for PCB Repair
Conductive ink is the go-to choice in specific scenarios where speed, precision, or minimal invasiveness is critical. Here are some situations where it shines:
- Small, Low-Current Repairs: If the damaged trace is part of a low-power circuit (e.g., carrying signals under 1 amp), conductive ink is sufficient and easy to apply.
- Prototyping: When testing or designing circuits, conductive ink allows for quick modifications without permanent changes.
- Delicate Boards: On PCBs with heat-sensitive components or thin traces, conductive ink avoids the risks associated with soldering.
- Temporary Fixes: If you need a quick patch to test functionality before a permanent repair, ink is a convenient option.
When to Use Jumper Wires for PCB Repair
Jumper wires are the better choice for repairs that need to last or handle demanding conditions. Consider using them in these cases:
- High-Current Circuits: For traces carrying significant power (above 2 amps), jumper wires provide the conductivity needed to avoid overheating or signal loss.
- Long-Term Repairs: If durability is a priority, soldered wires offer a reliable solution that can last for years.
- Large or Multiple Breaks: When a trace has several breaks or spans a long distance, a jumper wire can easily bridge the gap.
- Harsh Environments: In applications exposed to vibration, heat, or humidity, jumper wires hold up better than ink.
Tips for Choosing the Right Method
Deciding between conductive ink and jumper wires often comes down to the specific needs of your project. Here are some practical tips to guide your choice:
- Evaluate the current and power requirements of the circuit. If the trace handles high current or critical signals, opt for jumper wires to ensure performance.
- Consider the environment where the PCB will operate. For outdoor or industrial settings, durability is key, making jumper wires a safer bet.
- Assess your skill level and available tools. If you’re not comfortable with soldering or lack the equipment, conductive ink offers a simpler alternative.
- Think about the scale of the repair. For quick fixes on small boards, conductive ink can save time; for extensive damage, jumper wires might be more practical.
Conclusion: Making the Best Choice for Your PCB Repair
In the debate of conductive ink vs. jumper wires for PCB trace repair, there’s no one-size-fits-all answer. Conductive ink excels in speed, ease, and aesthetics, making it a great choice for small, low-power repairs or temporary fixes. On the other hand, jumper wires stand out for their conductivity, durability, and suitability for high-current or long-term applications. By understanding the demands of your project—whether it’s current load, environmental factors, or repair urgency—you can choose the method that ensures the best performance and reliability.
At ALLPCB, we’re committed to helping you achieve flawless PCB designs and repairs. Whether you’re using conductive ink for PCB repair or opting for a jumper wire PCB repair, having the right tools and knowledge is essential. Keep this PCB trace repair comparison in mind as you tackle your next project, and you’ll be well-equipped to handle any trace damage with confidence.