 ALLPCB


Wave soldering SMT components can seem daunting, especially for beginners in electronics manufacturing. If you're looking to understand the wave soldering process or how a wave soldering machine works, you're in the right place. This guide will break down everything you need to know about wave soldering for surface mount technology (SMT), from the basics to advanced tips, ensuring you can confidently tackle this essential PCB assembly technique.
Whether you're soldering SMT connectors or exploring wave soldering for the first time, we'll cover the step-by-step process, equipment, and best practices. Let's dive into this comprehensive guide to help you master wave soldering SMT components with ease.
What Is Wave Soldering for SMT Components?
Wave soldering is a widely used method in electronics manufacturing to solder components onto printed circuit boards (PCBs). While it was originally designed for through-hole components, it has adapted over time to accommodate certain surface mount technology (SMT) components as well. Unlike reflow soldering, which is the primary method for most SMT assemblies, wave soldering is often used for specific SMT components like chip resistors, capacitors, or connectors that are placed on the bottom side of a PCB.
In wave soldering, a PCB passes over a wave of molten solder, which bonds the component leads or pads to the board. This process is fast and efficient, making it ideal for high-volume production. However, it requires careful preparation to ensure reliability, especially when dealing with SMT components.
Why Use Wave Soldering for SMT?
Wave soldering for SMT is not as common as reflow soldering, but it has its place in certain scenarios. For instance, when a PCB has a mix of through-hole and SMT components, or when specific SMT parts like connectors need to be soldered on the underside of the board, wave soldering becomes a practical choice. It’s also cost-effective for large batches since it can solder multiple components in a single pass.
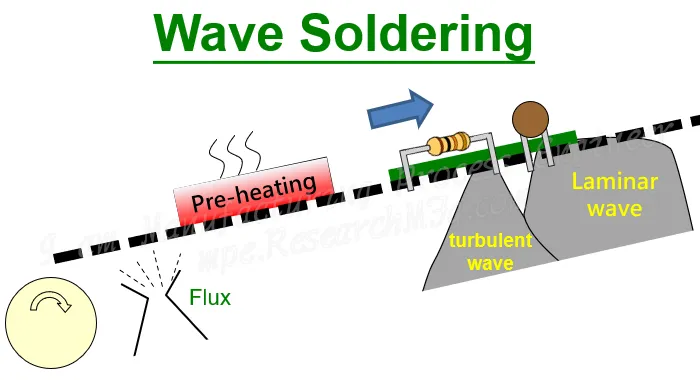
Understanding the Wave Soldering Process
The wave soldering process consists of several key steps that ensure components are securely and reliably attached to the PCB. Below, we’ll walk through each stage to give you a clear picture of how it works, especially when dealing with SMT components.
Step 1: Flux Application
The first step in the wave soldering process is applying flux to the PCB. Flux is a chemical agent that cleans the metal surfaces on the board and components, removing oxides and impurities. This ensures better adhesion of the solder. For SMT components, flux is typically applied using a spray or foam method to cover the underside of the board evenly.
Step 2: Preheating the PCB
After flux application, the PCB is preheated to a temperature between 100°C and 150°C, depending on the board and components. Preheating prevents thermal shock when the board contacts the hot solder wave, which could damage SMT components or cause poor solder joints. It also activates the flux to prepare the surfaces for soldering.
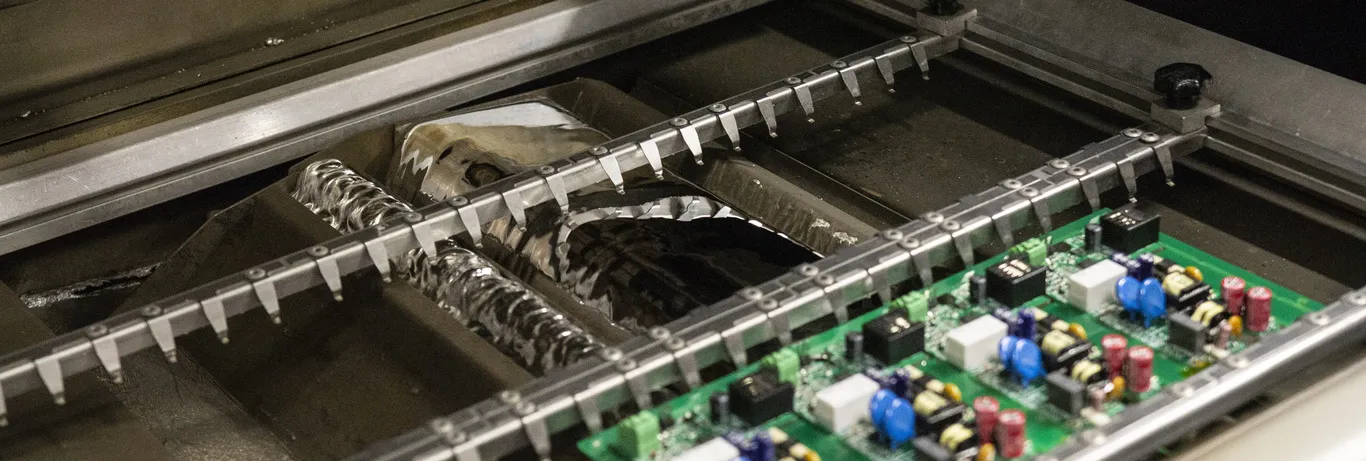
Step 3: Solder Wave Contact
Once preheated, the PCB moves over a wave of molten solder, typically maintained at a temperature of 250°C to 260°C for lead-free solder. The wave is created by a pump in the soldering machine, pushing the liquid solder up through a nozzle. As the PCB passes over, the solder adheres to the exposed metal pads and component leads, forming strong electrical connections.
For SMT components, this step often requires adhesive dots to hold the parts in place on the underside of the board, as they lack the mechanical stability of through-hole leads during the wave contact.
Step 4: Cooling
After passing over the solder wave, the PCB enters a cooling zone. This allows the solder to solidify, securing the components in place. Controlled cooling is crucial to avoid stress on the board or components, which could lead to cracks or weak joints.
Step 5: Cleaning
Finally, the PCB is cleaned to remove any residual flux or contaminants. This step is especially important in wave soldering, as excess flux can cause corrosion or electrical issues over time. Cleaning is typically done with a solvent or water-based solution, depending on the flux type used.
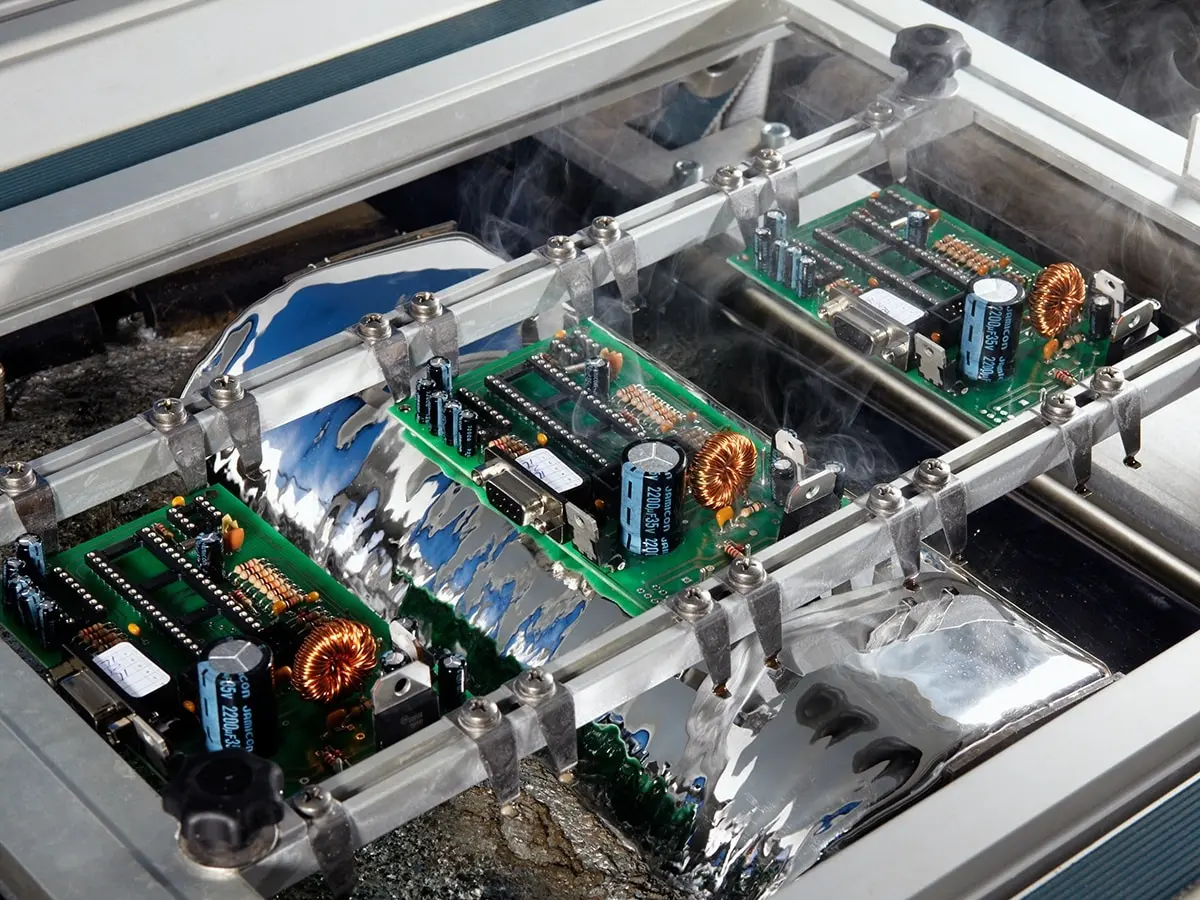
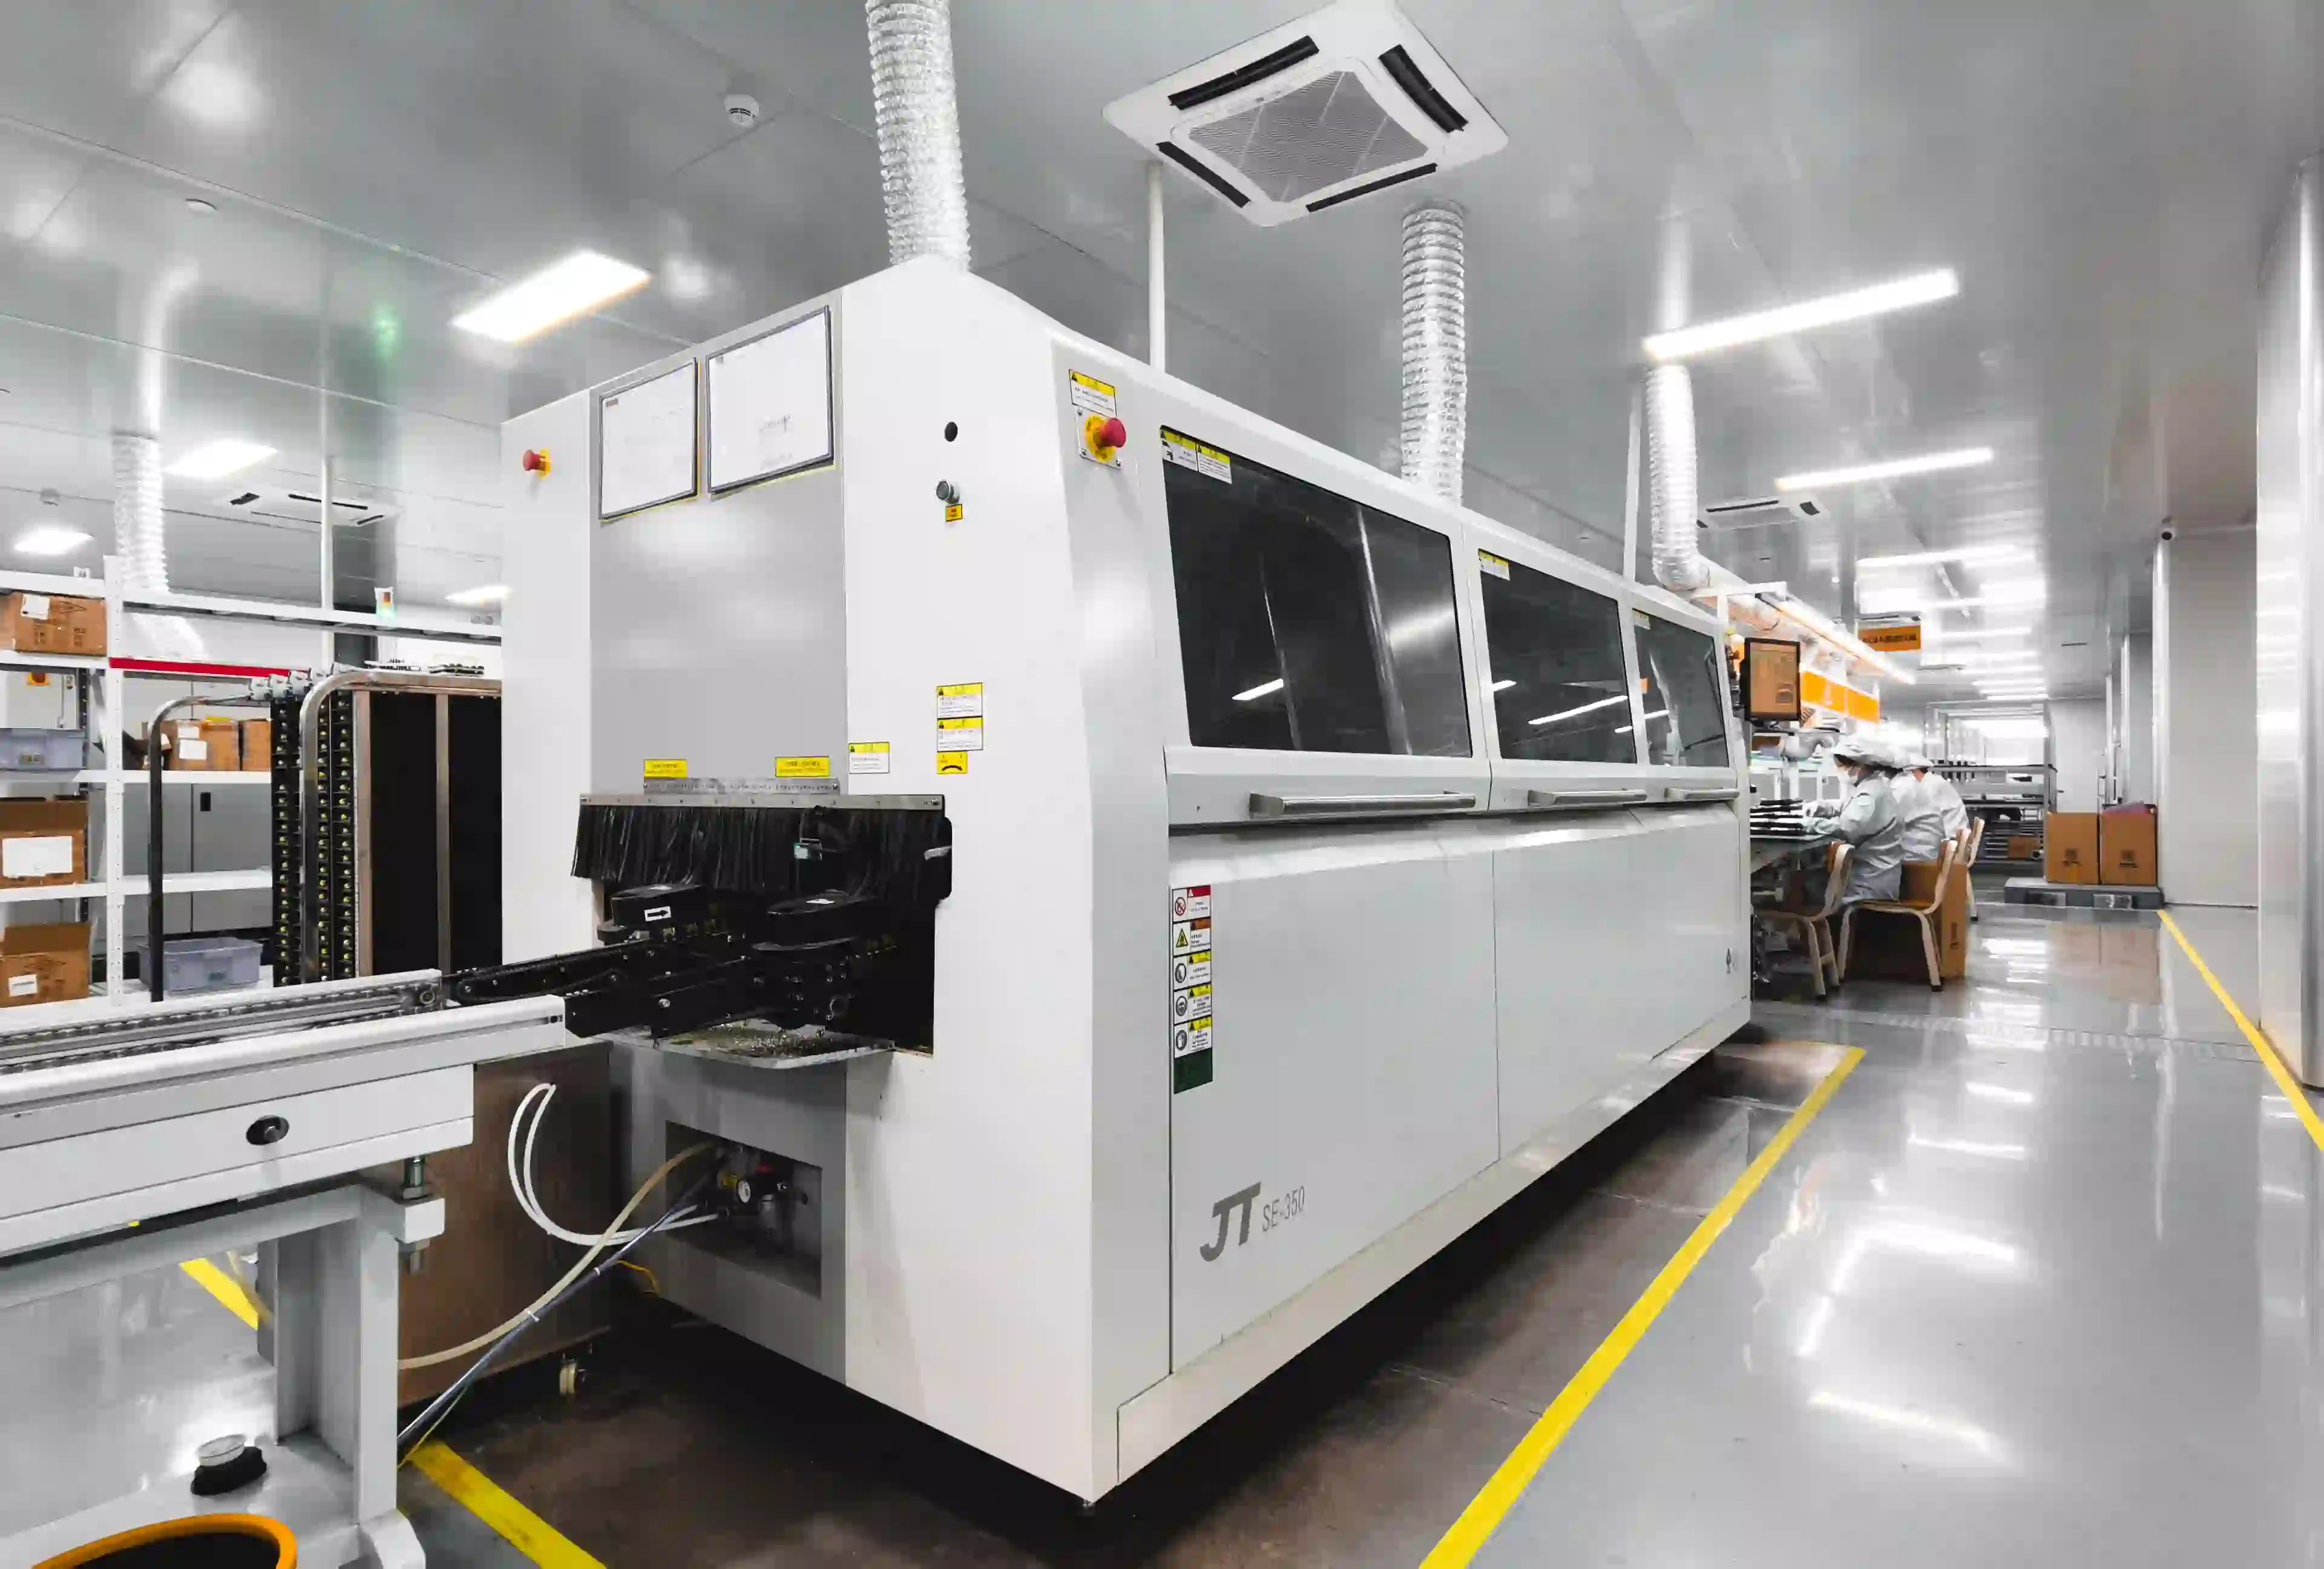
Wave Soldering Machine: Key Components and Features
A wave soldering machine is the heart of this process, designed to automate and streamline soldering for high-volume production. Understanding its components can help beginners choose the right equipment and optimize their setup. Here are the main parts of a typical wave soldering machine:
- Conveyor System: Moves the PCB through the different zones of the machine at a controlled speed, typically ranging from 1 to 2 meters per minute, depending on the board size and complexity.
- Fluxing Unit: Applies flux to the underside of the PCB using a spray or foam applicator for even coverage.
- Preheating Zone: Uses infrared heaters or hot air to bring the PCB to the desired temperature before soldering.
- Solder Pot and Wave Generator: Holds the molten solder and creates the wave using a pump. The solder pot maintains a consistent temperature, often around 250°C for lead-free alloys.
- Cooling Zone: Uses fans or ambient air to cool the PCB after soldering, ensuring the solder solidifies properly.
When selecting a wave soldering machine for SMT components, look for features like adjustable wave height and conveyor speed to accommodate different board designs. Modern machines also offer nitrogen inerting options to reduce oxidation during soldering, improving joint quality.
Soldering SMT Connectors with Wave Soldering
Soldering SMT connectors using wave soldering requires extra care due to their size, pin density, and placement on the PCB. Connectors are often placed on the bottom side of the board, making wave soldering a suitable choice. Here are some tips to ensure success:
- Use Adhesive for Stability: Apply adhesive dots to hold SMT connectors in place before the wave soldering process. This prevents movement when the board contacts the solder wave.
- Optimize Pin Design: Ensure the connector pins are compatible with wave soldering. Some connectors have pins designed to withstand the high temperatures and mechanical stress of the process.
- Control Solder Wave Height: Adjust the wave height to avoid flooding the connector body with solder, which can cause shorts or damage. A wave height of 1.5 to 2.5 mm above the board surface is often ideal for SMT connectors.
- Thermal Protection: If the connector has plastic housing, check its thermal rating (typically above 260°C for lead-free soldering) to prevent melting or deformation during the process.
By fine-tuning these parameters, you can achieve reliable solder joints for SMT connectors without compromising their functionality.
Wave Soldering for Beginners: Tips and Best Practices
If you're new to wave soldering SMT components, starting with the right approach can save time and reduce errors. Below are some practical tips to help beginners master this technique:
Start with Proper PCB Design
Design your PCB with wave soldering in mind. For SMT components, ensure pads on the underside are spaced adequately (at least 0.5 mm apart for small components) to prevent solder bridging. Orient components in the direction of the conveyor to minimize shadowing effects, where solder fails to reach certain areas due to component placement.
Choose the Right Solder Alloy
For lead-free soldering, a common alloy is SAC305 (96.5% tin, 3% silver, 0.5% copper), which melts at around 217°C to 220°C. This alloy provides good wetting and reliability for SMT components. Ensure your wave soldering machine maintains a consistent solder temperature, as fluctuations can lead to poor joints.
Monitor Flux Application
Too much flux can cause residue buildup, while too little can result in incomplete cleaning of surfaces. Use a flux with a solids content of 2-5% for wave soldering SMT components to balance cleaning and residue concerns.
Test and Inspect
After soldering, inspect the board for defects like solder bridges, insufficient solder, or component misalignment. Use a magnifying glass or automated optical inspection (AOI) tools to check joint quality. For beginners, running a small test batch before full production can help identify issues early.
Common Challenges in Wave Soldering SMT Components
While wave soldering is efficient, it comes with challenges, especially for SMT components. Understanding these issues can help you troubleshoot and improve your process.
- Solder Bridging: Occurs when solder connects adjacent pads or pins, often due to excessive solder or poor pad spacing. Adjust wave height and ensure proper PCB design to mitigate this.
- Insufficient Solder: Happens when the solder wave doesn’t fully wet the pads, often due to inadequate flux or low preheat temperatures. Check flux coverage and increase preheat to 120-150°C if needed.
- Component Displacement: SMT components can shift during the wave contact if not secured properly. Use adhesive dots or tapes to hold components in place.
- Thermal Stress: SMT components are sensitive to high temperatures. Ensure preheat and solder temperatures are within component specifications (typically below 260°C for 10 seconds max).
Advantages and Limitations of Wave Soldering for SMT
Advantages
- Speed: Wave soldering is faster than manual soldering, making it ideal for high-volume production.
- Cost-Effective: It reduces labor costs by automating the soldering process.
- Versatility: Can handle mixed assemblies with both through-hole and certain SMT components.
Limitations
- Not Ideal for All SMT Parts: Fine-pitch components or those with complex geometries are better suited for reflow soldering.
- Thermal Concerns: High temperatures can damage heat-sensitive SMT components if not controlled properly.
- Design Constraints: Requires specific PCB layouts to avoid issues like shadowing or bridging.
Conclusion: Mastering Wave Soldering for SMT Components
Wave soldering SMT components is a valuable skill in electronics manufacturing, especially for mixed assemblies or bottom-side SMT parts like connectors. By understanding the wave soldering process, familiarizing yourself with a wave soldering machine, and following best practices, you can achieve reliable results even as a beginner. From flux application to cooling, each step plays a critical role in ensuring strong, durable solder joints.
Whether you're soldering SMT connectors or experimenting with wave soldering for the first time, remember to prioritize PCB design, equipment settings, and inspection. With practice and attention to detail, you'll be able to tackle wave soldering challenges and produce high-quality PCB assemblies with confidence.
Keep refining your technique, and soon, wave soldering SMT components will become second nature. Stay tuned to our blog for more insights and tips on PCB assembly techniques to elevate your electronics projects.


