ALLPCB


Overview
Many beginners in electrical work are unsure how to start commissioning after completing the electrical control cabinet and PLC program design. Improper commissioning can damage PLCs or expansions. The following seven steps describe a systematic commissioning process.
Step 1: Check circuits against schematics (power off)
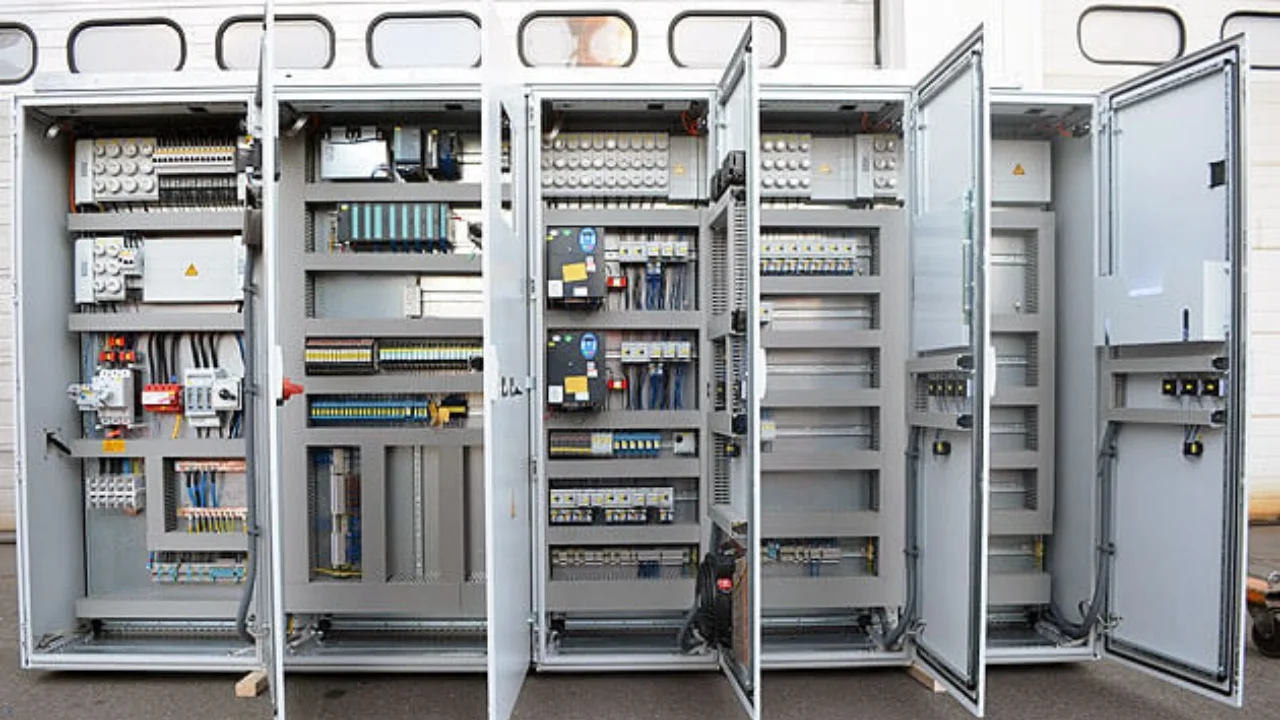
PLC system schematics usually include internal cabinet wiring and external wiring that connects the cabinet to field devices. During this step verify:
- Whether the design on the drawings is reasonable, including component ratings and capacities.
- That each component is wired exactly as shown on the drawings.
Pay particular attention to the power supply:
- Ensure there are no short circuits in the wiring.
- Ensure high-voltage and low-voltage circuits are not mixed.
Since the PLC power is 24 V, wiring errors that put 220 V into the PLC can easily destroy the PLC or expansion modules.
Step 2: Check external PLC circuits, i.e., point testing (power on)
After confirming the power wiring, apply power and test input and output points. This point testing should exercise each IO point, including push buttons, emergency stop buttons, pilot lights, cylinders and their limit switches, etc. Typically one person operates field devices while another monitors PLC inputs and outputs. For large systems, use a test checklist and mark tested points. Fix any wiring errors discovered during testing immediately.
Back up the program, then clear or disable the PLC program during point testing to prevent unintended device actions.
Step 3: Inspect mechanical structure and test motor-type loads
Verify mechanical assembly is tightened and secure, and ensure protective measures are in place for motor loads to avoid accidents. Manually test device movements. For reversible motors, verify wiring and perform a powered test run. Configure inverter (VFD) parameters and perform motor tuning, using static or dynamic identification as appropriate.
Special loads, such as vertically moving systems, must be tested by qualified personnel to avoid accidents resulting from improper control.
Step 4: Debug manual and semi-automatic modes and related logic
With IO points and loads tested, debug in manual or semi-automatic mode. Manual/semi-automatic mode typically uses operator push buttons or HMI controls to drive devices, rather than direct manual actuation of solenoids or contactors. Break the automatic sequence into operator-controlled steps to facilitate program testing.
Test safety functions thoroughly in this phase. Verify that emergency stop devices, safety light curtains, and other safety interlocks behave as intended while the equipment is running.
Step 5: Debug automatic mode according to production process
After semi-automatic tuning, enable automatic operation and debug the full production sequence. This is the most critical stage: test all interlocks, including logical and safety interlocks, and run multiple production cycles to ensure the system operates reliably and continuously.
Step 6: Test special process controls
Beyond basic logic control, PLC systems often include extended functions such as PID control. Once logical sequencing is stable, proceed to tune analog and pulse control loops. Select appropriate control parameters; this typically requires patience and iterative tuning. Some PLCs offer auto-tuning for PID, but auto-tuning can take significant time to converge.
Step 7: Final checks and pilot production
After completing the preceding steps, move to pilot production. This pre-production phase verifies production rhythm, confirms safety functions under load, and identifies any remaining issues. After continuous operation for a suitable period, the system can be handed over.
Pay special attention to power circuits. As an example from experience: on an early project a contractor swapped the 220 V and 24 V contacts on a belt pull safety switch (the switch had two contact sets: one to break a 220 V control circuit and another to send 24 V into the PLC). The mistake destroyed a digital input module. Since then, always distinguish 220 V and 24 V circuits during commissioning to avoid similar failures.