ALLPCB


If you're new to electronics and wondering what goes into a battery charger PCB, you're in the right place. A battery charger printed circuit board (PCB) is made up of essential components like resistors, capacitors, diodes, transistors, and integrated circuits, each playing a key role in ensuring safe and efficient charging. In this guide, we'll break down these components, explain their functions in a battery charger, and help you understand the basics of PCB design for beginners. Whether you're a hobbyist or just starting in electronics, this post will give you a clear foundation in beginner electronics and PCB components explained.
Introduction to Battery Charger PCBs
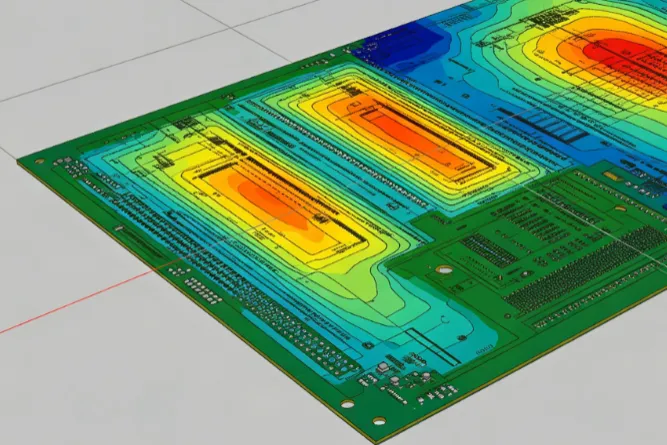
A battery charger PCB is the heart of any charging device, from phone chargers to power banks. It’s a small board that holds various electronic components working together to convert input power, regulate voltage, and deliver the right current to charge a battery safely. Understanding the components on this board is crucial for anyone diving into beginner electronics. This guide will walk you through the key parts—resistors, capacitors, diodes, transistors, and integrated circuits—so you can grasp their roles and importance in a battery charger design.
What Are PCB Components and Why Do They Matter?
PCB components are the individual parts mounted on a printed circuit board that make an electronic device function. In a battery charger, these components control power flow, protect the circuit, and ensure the battery isn't overcharged or damaged. For beginners in electronics, learning about these parts is the first step to designing or repairing circuits. Each component has a specific job, and when combined, they create a system that charges batteries efficiently and safely.
The Role of Components in Battery Chargers
In a battery charger, the PCB components manage tasks like converting alternating current (AC) to direct current (DC), stepping down voltage, and limiting current to prevent damage. For example, a typical smartphone charger might step down 120V AC input to 5V DC output at 1-2 amps, depending on the device. Without these components working in harmony, the charger could fail or even pose safety risks like overheating or short circuits.
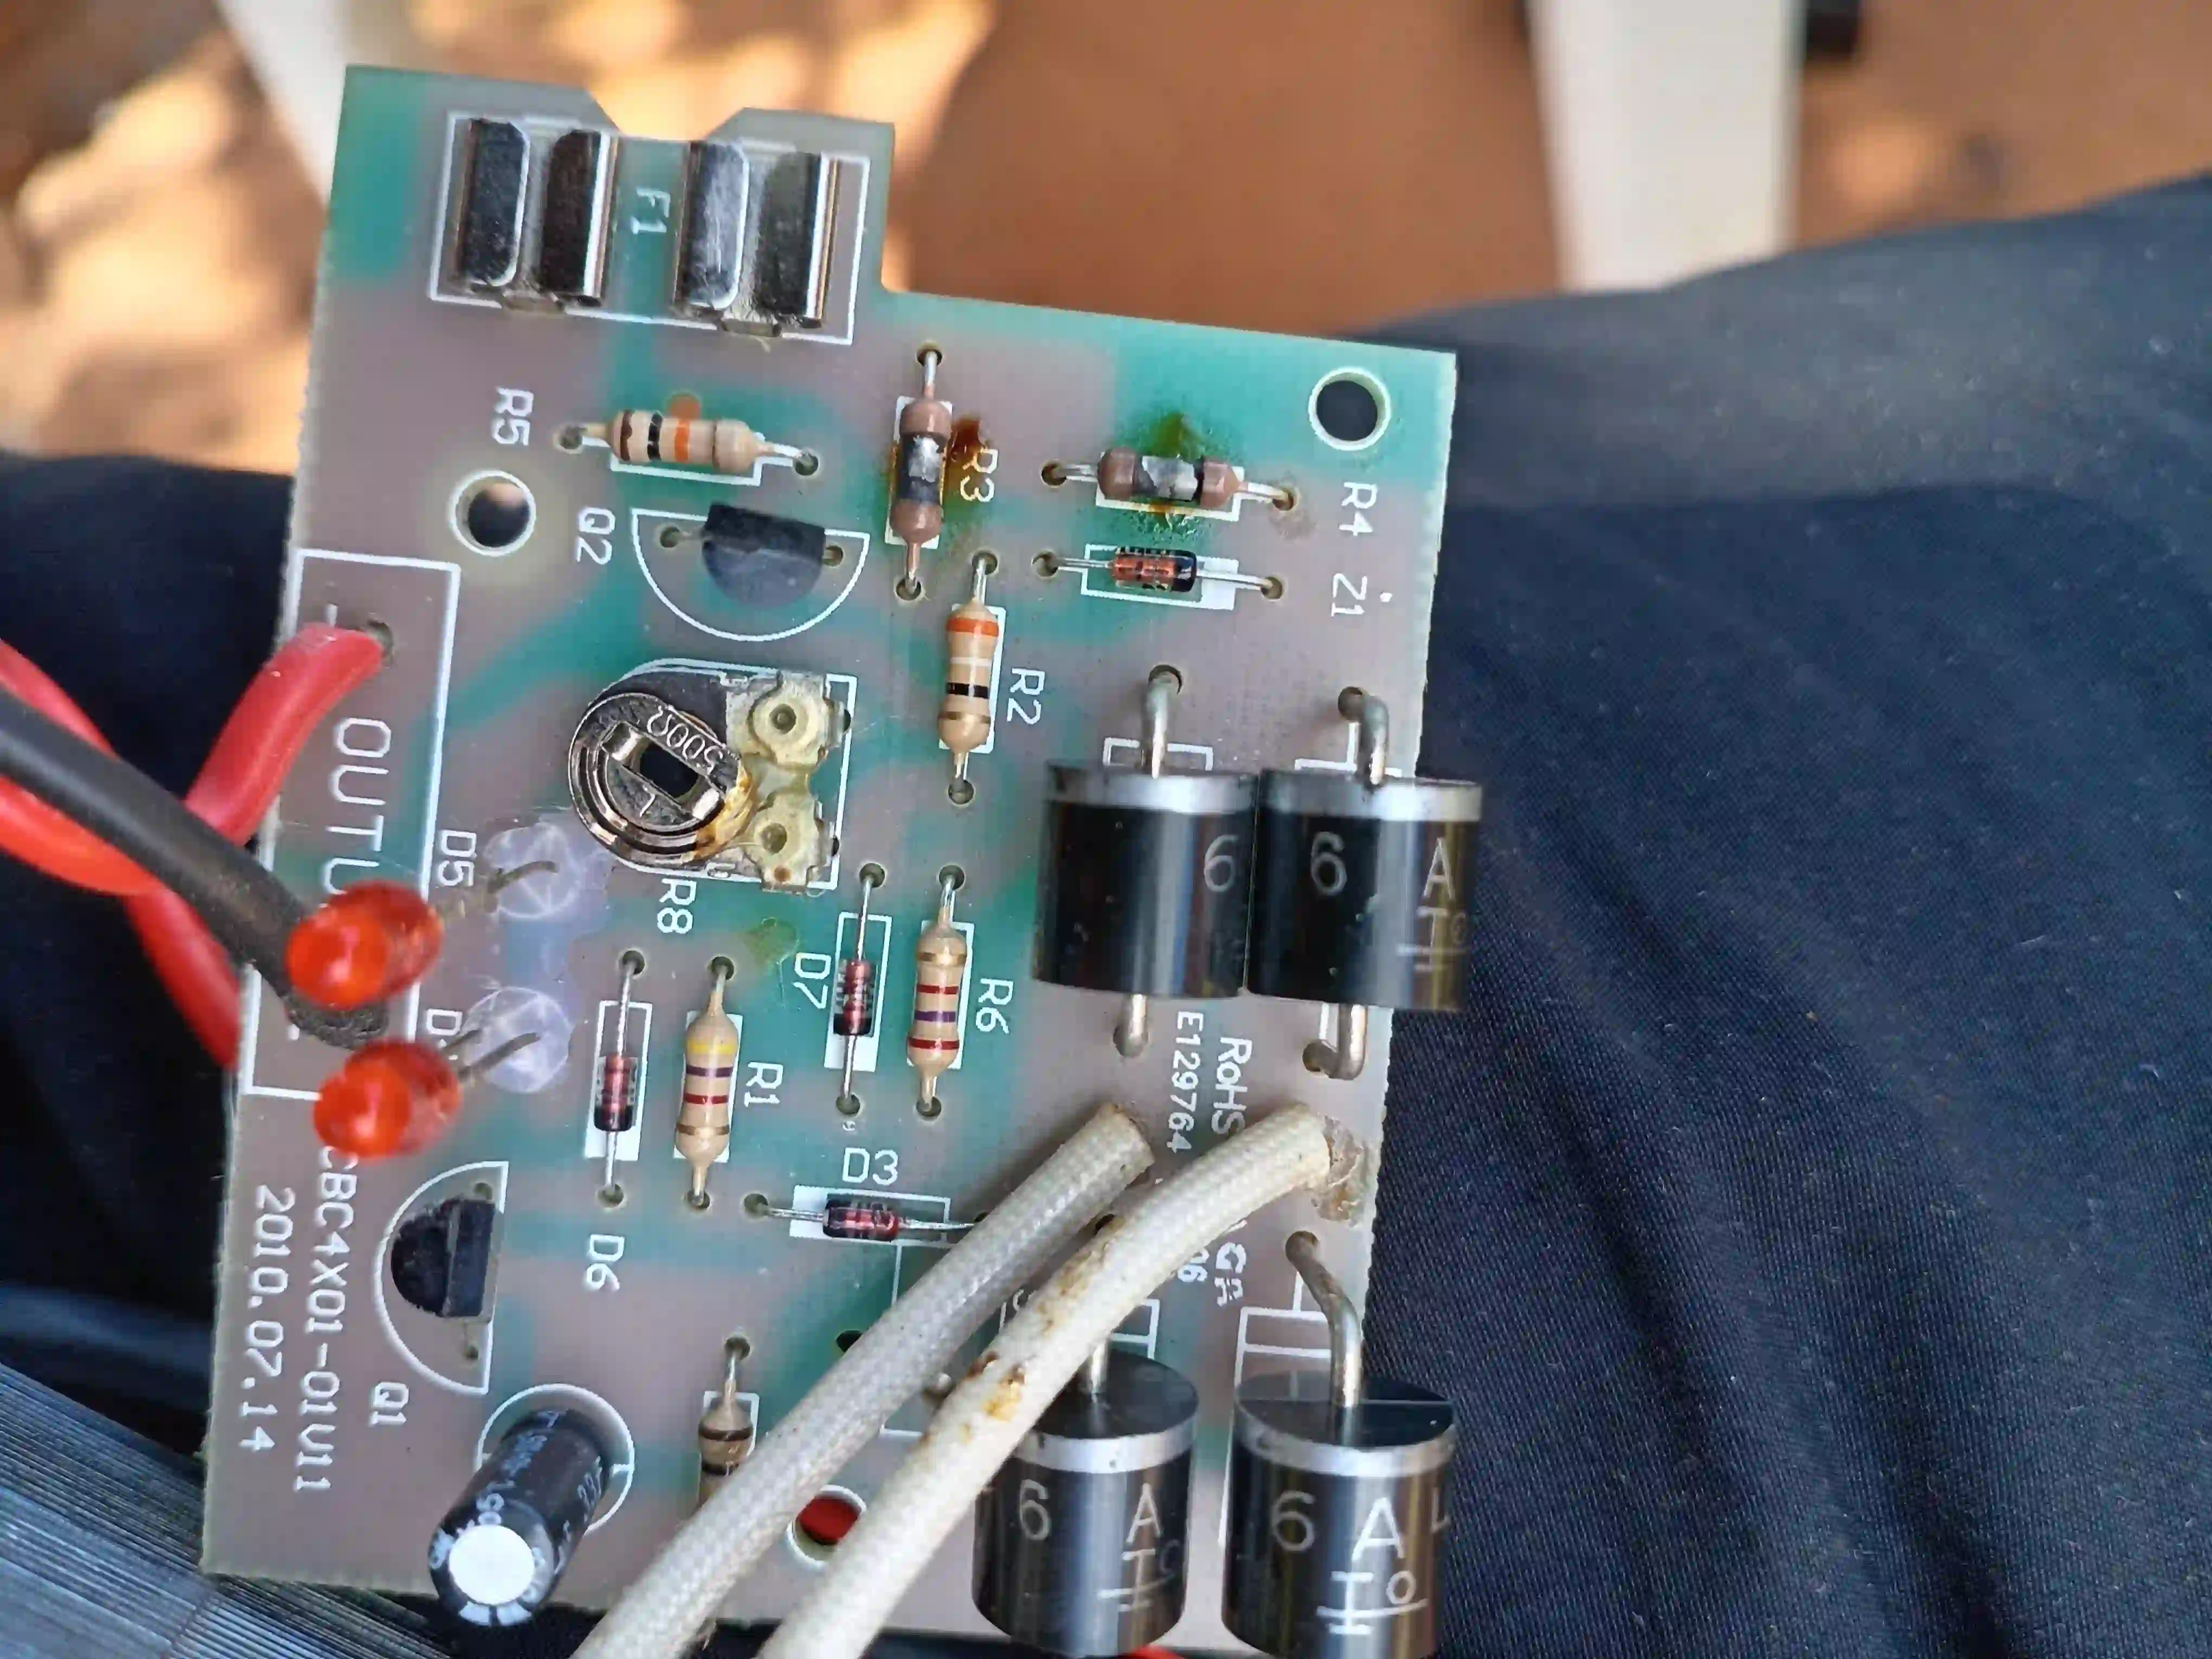
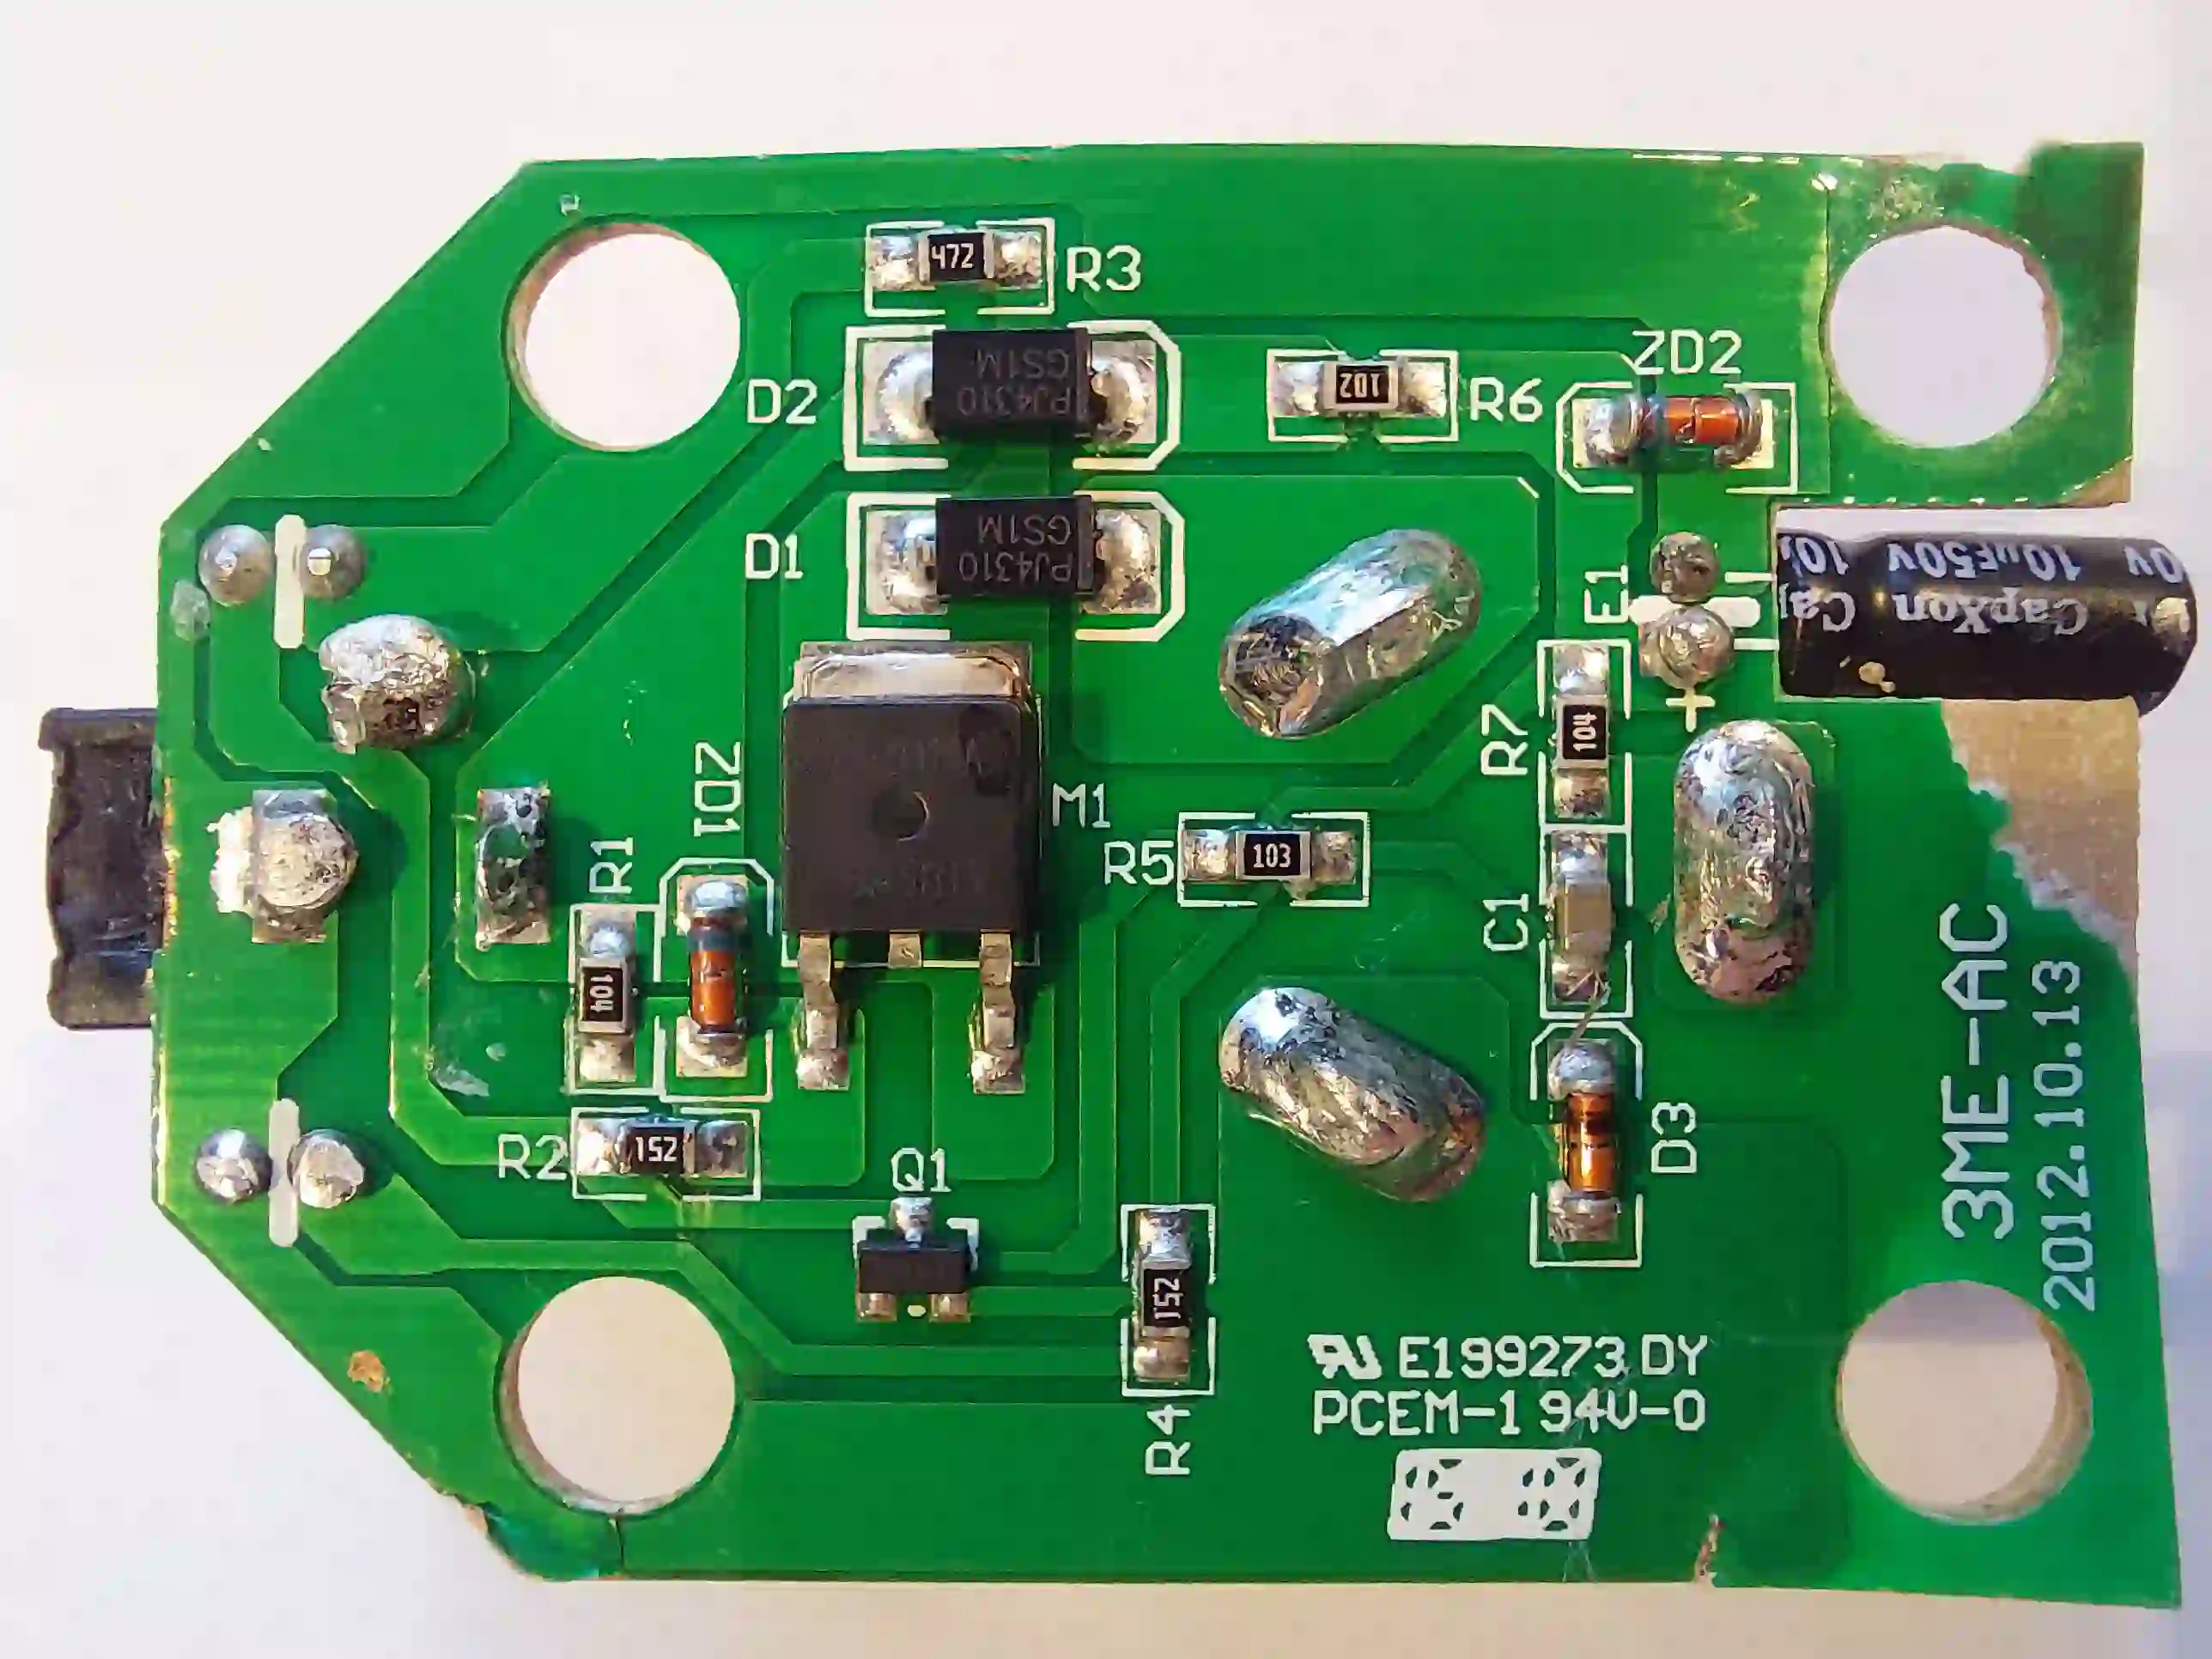
Key Battery Charger PCB Components Explained
Let’s dive into the core components of a battery charger PCB. We’ll cover resistors, capacitors, diodes, transistors, and integrated circuits—explaining what they do and why they’re essential for beginners in electronics to understand.
1. Resistors: Controlling Current Flow
Resistors are one of the simplest yet most important components on a battery charger PCB. Their job is to limit the amount of current flowing through the circuit, protecting other parts from damage. In a charger, resistors help manage the charging current to match the battery’s needs. For instance, a resistor might be used to drop excess voltage, ensuring a 3.7V lithium-ion battery isn’t overpowered by a 5V input.
Resistors are measured in ohms (Ω), and their value determines how much they resist current. A common value in chargers might be 220Ω or 1kΩ, depending on the design. They’re often color-coded with bands to indicate their resistance value, which beginners can learn to read using online charts.
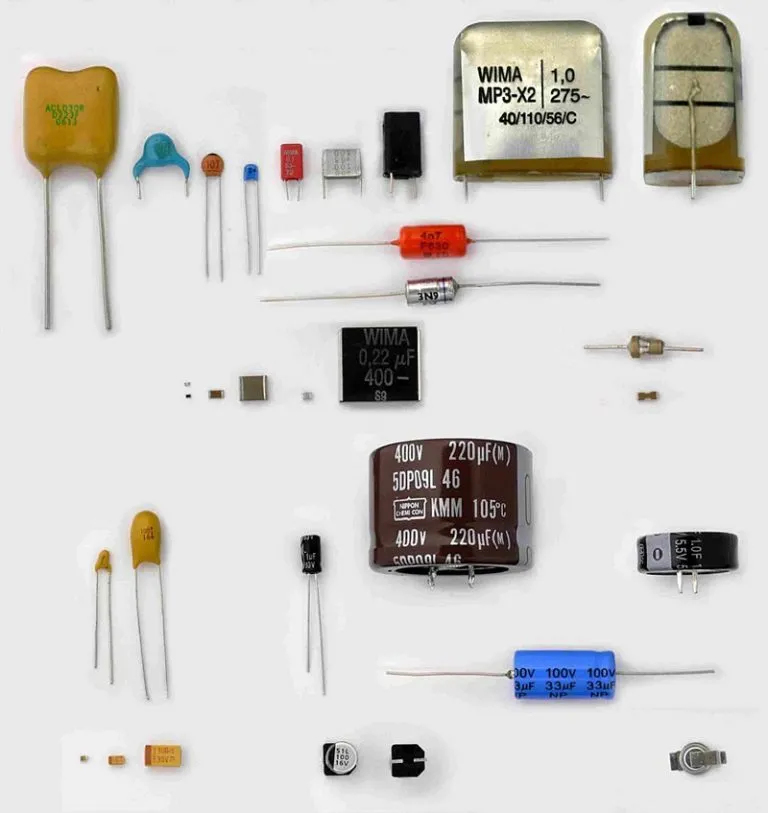
2. Capacitors: Storing and Smoothing Energy
Capacitors store electrical energy and release it when needed, acting like tiny batteries. In a battery charger PCB, they smooth out voltage fluctuations, ensuring a stable output to the battery. This is especially important in chargers that convert AC to DC, as the conversion process can create "ripple" or uneven voltage. A capacitor, often rated in microfarads (μF), like a 10μF or 100μF component, helps filter this ripple for a consistent charge.
There are different types of capacitors, such as ceramic and electrolytic, each suited for specific tasks. Electrolytic capacitors, for instance, are common in power supply sections of chargers due to their higher capacitance values.
3. Diodes: Directing Current Flow
Diodes are components that allow current to flow in one direction only, acting like a one-way valve. In a battery charger, diodes are critical for rectification—converting AC input to DC output. They also prevent reverse current, ensuring the battery doesn’t discharge back into the charger circuit. A common type used is the Schottky diode, known for its low voltage drop (often around 0.3V) and fast switching, which improves efficiency in chargers.
For example, in a 5V charger circuit, a diode might ensure that the current flows only toward the battery, protecting the system if the input power is disconnected. Beginners should note that diodes have polarity, meaning they must be installed correctly to function.
4. Transistors: Switching and Amplifying Signals
Transistors are versatile components that act as switches or amplifiers in a battery charger PCB. As switches, they control when the charging current is on or off, often used in circuits that manage charging states (like trickle charging or full cutoff). As amplifiers, they boost weak signals to ensure proper operation of the charger.
In a typical charger, you might find a MOSFET transistor, which is efficient for high-current applications. For instance, a transistor might handle switching between a 1A slow charge and a 2A fast charge mode, depending on the battery’s needs. Their ability to handle power with minimal loss (often with resistance as low as 0.01Ω in some MOSFETs) makes them vital for modern designs.
Related Reading: Designing a Battery Charger PCB: Essential Layout Techniques for Signal Integrity
5. Integrated Circuits (ICs): The Brain of the Charger
Integrated circuits, or ICs, are the "brains" of a battery charger PCB. These tiny chips contain thousands of miniaturized components and handle complex tasks like voltage regulation, charge monitoring, and safety features. In a charger, an IC might control the charging profile for a lithium-ion battery, ensuring it charges in stages (constant current, then constant voltage) to maximize lifespan.
A common IC in chargers might manage an output of 4.2V for a single-cell lithium battery, cutting off the charge when the battery reaches full capacity. These chips often have built-in protections against overvoltage, overcurrent, and overheating—critical for safe operation. For beginners, ICs can seem complex, but think of them as pre-programmed controllers that simplify circuit design.
Related Reading: A Beginner's Guide to Identifying Essential PCB Components
How These Components Work Together in a Battery Charger
Now that we’ve covered the individual roles of resistors, capacitors, diodes, transistors, and integrated circuits, let’s see how they collaborate in a battery charger PCB. Imagine a simple USB charger delivering 5V at 1A to a device. Here’s a simplified flow of their teamwork:
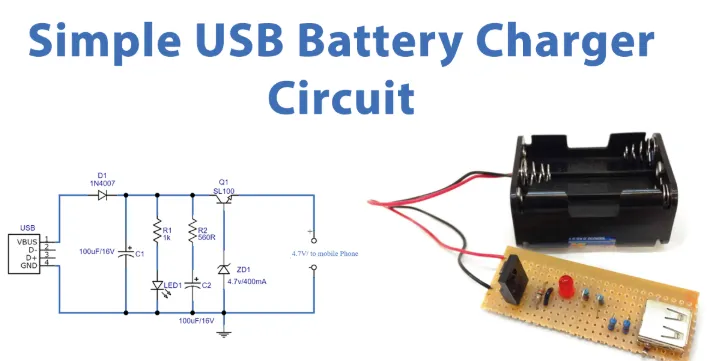
- Input Stage: Diodes rectify incoming AC power (if it’s a wall charger) to DC, while capacitors smooth out the voltage.
- Regulation Stage: An IC monitors and adjusts the output voltage and current, with resistors setting the limits and transistors switching power as needed.
- Output Stage: Diodes prevent reverse current, ensuring the battery receives a safe, steady charge.
This coordinated effort ensures the battery charges efficiently without risk of damage. For a real-world example, a 5V, 2A charger might use a 1kΩ resistor to limit current, a 47μF capacitor to stabilize voltage, a Schottky diode for low loss, a MOSFET for switching, and an IC to oversee the entire process.
Common Challenges with Battery Charger PCB Components
For beginners in electronics, working with battery charger PCBs can present challenges. Here are a few common issues and tips to address them:
- Component Polarity: Diodes and capacitors often have polarity (positive and negative sides). Installing them backward can damage the circuit. Always check markings before soldering.
- Heat Dissipation: Transistors and ICs can overheat if handling high current (e.g., above 2A). Use heat sinks or ensure proper PCB layout for cooling.
- Component Ratings: Using a capacitor or resistor with the wrong rating (e.g., a 16V capacitor in a 20V circuit) can lead to failure. Double-check specifications like voltage and current limits.
Tips for Beginners Working with Battery Charger PCBs
If you’re new to beginner electronics and eager to experiment with battery charger PCBs, here are some practical tips to get started:
- Start Simple: Begin with a basic charger design for a single-cell battery, using minimal components to learn their functions.
- Use a Multimeter: Test voltage and current at different points in the circuit to understand how components affect the flow. For example, measure the voltage drop across a resistor (often 0.5V to 1V in low-power designs).
- Follow Safety Guidelines: Always disconnect power before working on a PCB, and avoid handling live circuits to prevent shocks or short circuits.
- Learn to Read Schematics: Schematics are blueprints for PCBs. They show how components like resistors (zigzag lines) and capacitors (parallel lines) connect, helping you build or troubleshoot chargers.
Conclusion: Building Your Knowledge of PCB Components
Understanding the components of a battery charger PCB—resistors, capacitors, diodes, transistors, and integrated circuits—is a foundational step for anyone entering the world of beginner electronics. Each part plays a unique role in ensuring a charger operates safely and efficiently, from controlling current to stabilizing voltage. By learning how these components work together, you’re better equipped to design, build, or repair charging circuits for various devices.
As you grow in your electronics journey, remember that practice and patience are key. Start with small projects, pay attention to component specifications, and keep learning about PCB design. With this guide on PCB components explained, you now have a solid starting point to explore the fascinating world of battery chargers and beyond.