ALLPCB


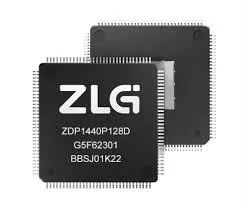
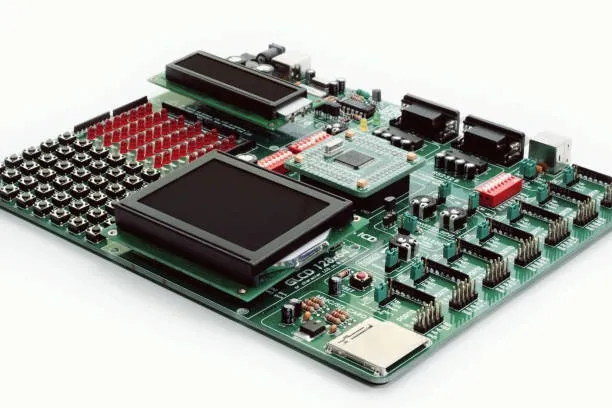
The ZDP1440 is a dedicated image display driver chip based on an open-source GUI engine. It communicates with other chips via serial or SPI but lacks dedicated interfaces for external buttons. This article explains how to use an external rotary encoder or other mechanical buttons by communicating with a host microcontroller.
Some products control the UI with physical keys instead of a touchscreen. The AWTK GUI engine supports minimalist input devices like three-key, five-key, and rotary encoder setups. These devices typically work by navigating UI focus and then triggering 'confirm' or 'cancel' actions. The following sections describe the configuration process.
1. Enable Widget Focus
When using keys to control UI elements without a touchscreen, widgets must be configured to receive focus. In the AWTK engine, the focusable property must be set to 'true' for all relevant widgets, except for edit-related controls.
2. Set the Initial Focus
Once focus is enabled, you must also define the initial focused widget for each screen.
In C code, this can be set as follows:
widget_set_prop_bool(widget, WIDGET_PROP_FOCUSED, TRUE);
3. Configure the Keyboard Type
AWTK supports three keyboard types: normal, three-key, and five-key. For minimalist three-key or five-key keyboards (including variants with number and function keys), the directional keys serve dual purposes for both navigation (switching focus) and data input. This requires a mode system:
- Focus Navigation Mode: Directional keys are used to switch focus between widgets.
- Data Input Mode: Directional keys are used to modify a widget's value.
The Enter key's function depends on the context:
- On widgets like buttons, it triggers the default action, similar to a click event.
- On widgets like editors, it switches between navigation and data input modes, changing the function of the directional keys.
A rotary encoder is handled like a three-key setup: rotating left triggers the left arrow key, rotating right triggers the right arrow key, and pressing the button triggers the Enter key. Because the handling method differs, you must specify the keyboard type during initialization. It is recommended to place this code in the 'application_init' within 'application.c' . The following is an example for a rotary encoder:
ret_t application_init() {
    system_info_set_keyboard_type(system_info(), KEYBOARD_3KEYS);
    return RET_OK;
}
4. Transmitting Key Events
Since the ZDP1440 cannot directly interface with a rotary encoder, the encoder must be connected to a host controller. The controller sends the button status to the ZDP1440 via serial/SPI. Upon receiving the message, the ZDP1440 uses the following API to post the key value and state:
ret_t main_loop_post_key_event(main_loop_t* l, bool_t pressed, uint8_t key);
Parameters:
- I: A pointer of type
main_loop_t; always passmain_loop(). - Pressed: The key state: 1 for pressed, 0 for released.
- key: The key code.
Note: This function is not supported in the PC simulation environment. For three-key and five-key keyboards, the corresponding key code macros are:
- Up:
TK_KEY_UP - Down:
TK_KEY_DOWN - Left:
TK_KEY_LEFT - Right:
TK_KEY_RIGHT - Enter:
TK_KEY_RETURN
You can use the ZDP1440's built-in protocol parser to transmit key values using a command-and-data format:
/** *@brief Callback for receiving a key value. */ static void on_key_down(void) { char* cmd_data; // Stores the data following the command int data_len; // Stores the length of the data get_cmd_data(&cmd_data, &data_len); // Get the command data uint8_t key = TK_KEY_UNKNOWN; if(data_len == 1) { // Check for a data length of 1 switch((uint8_t)(cmd_data[0])) { // Cast to unsigned byte case TK_KEY_UP: key = TK_KEY_UP; break; case TK_KEY_DOWN: key = TK_KEY_DOWN; break; case TK_KEY_RETURN: key = TK_KEY_RETURN; break; default: break; } } if (key != TK_KEY_UNKNOWN) { // Post both key down and key up events main_loop_post_key_event(main_loop(), 1, key); main_loop_post_key_event(main_loop(), 0, key); } } /* Register the callback function for the keydn command */ ZDP_REGISTER_CMD(keydn, on_key_down);
5. Example Implementation
Following the steps above, create a simple UI like the one shown below. Enable focus for all buttons, set the initial focus to the first button, and use a label to display the name of the last pressed button.
Set the keyboard type to three-key mode, add the protocol parser, include the code for parsing data and sending key events, and then generate and flash the firmware to the ZDP1440.