 ALLPCB


If you're a hobbyist working on electronic projects, you might be wondering how to protect your circuits from damage caused by moisture, dust, or harsh environments. The answer lies in DIY conformal coating—a simple, effective way to shield your electronics at home. In this beginner's guide, we'll walk you through everything you need to know about conformal coating for hobbyists, from what it is to how to apply it using a spray can or other methods. Whether you're new to electronics or looking to extend the life of your projects, this guide on conformal coating application at home will help you get started with the right materials and techniques.
What Is Conformal Coating and Why Does It Matter?
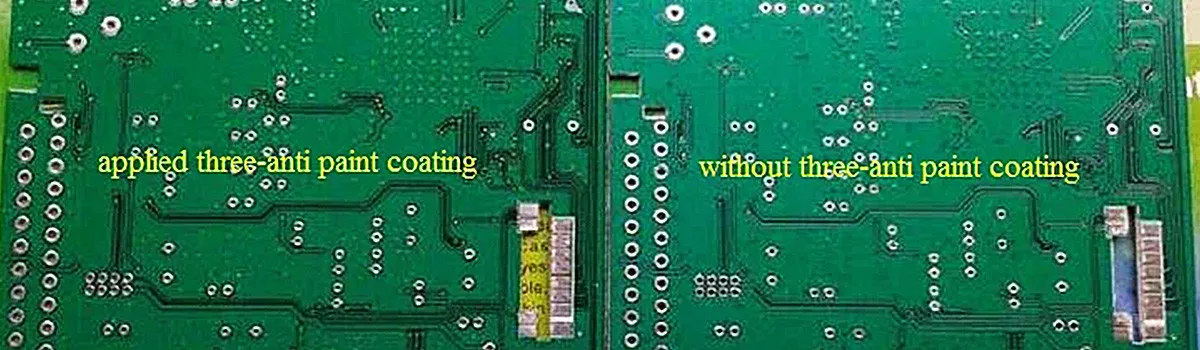
Conformal coating is a thin, protective layer applied to printed circuit boards (PCBs) and other electronic components. It "conforms" to the shape of the board, covering every nook and cranny to guard against environmental threats like humidity, dust, chemicals, and temperature extremes. For hobbyists, this means your projects can withstand tougher conditions—whether you're building a drone for outdoor use or a sensor for a damp basement.
The benefits are clear: conformal coating boosts the reliability of your electronics by increasing dielectric resistance (often up to 10-100 MΩ depending on the material) and preventing short circuits. It also protects against corrosion, which can degrade copper traces on a PCB over time. Without this layer, exposure to moisture could reduce the lifespan of your project from years to mere months.
Types of Conformal Coating Materials for Beginners
Before diving into the application process, let's explore the common types of conformal coating materials suitable for hobbyists. Each type has unique properties, so choosing the right one depends on your project's needs and your budget.
- Acrylic: Easy to apply and remove, acrylic coatings are great for beginners. They offer good moisture resistance and are often available in spray cans for under $15. However, they may not hold up under extreme temperatures (above 120°C).
- Silicone: Flexible and heat-resistant (up to 200°C), silicone coatings are ideal for projects exposed to high temperatures or vibration. They’re a bit trickier to remove if repairs are needed.
- Polyurethane: Known for excellent chemical resistance, polyurethane is perfect for harsh environments. It’s durable but harder to apply evenly without practice.
- Epoxy: This provides a tough, rigid barrier against abrasion and chemicals. It’s less common for hobbyists due to its permanent nature—repairs are nearly impossible.
For most DIY projects, acrylic or silicone coatings in a spray can are the best starting points due to their ease of use and affordability. You can find these conformal coating materials for beginners at local hardware stores or online for $10-20 per can, enough to cover multiple small boards.
Tools and Materials Needed for DIY Conformal Coating
Getting started with conformal coating application at home doesn’t require expensive equipment. Here’s a basic checklist of what you’ll need:
- Conformal Coating Spray Can or Liquid: Choose a beginner-friendly option like acrylic or silicone (around 12-16 oz cans are standard).
- Protective Gear: Safety glasses, gloves, and a mask to avoid inhaling fumes or skin contact.
- Cleaning Supplies: Isopropyl alcohol (at least 90% purity) and a brush to clean the PCB before coating.
- Masking Materials: Painter’s tape or masking fluid to cover areas like connectors or LEDs that shouldn’t be coated.
- Well-Ventilated Workspace: A spray booth or an outdoor area to prevent fume buildup.
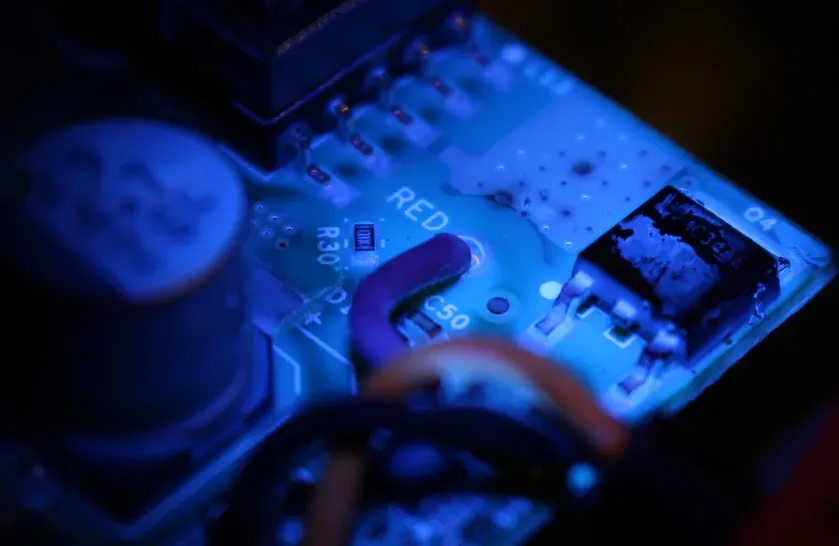
- Optional Tools: A small brush for touch-ups if you’re not using a spray can, and a UV light if using UV-curable coatings.
The total cost for these supplies can range from $20 to $50, depending on what you already have at home. Safety is key—never skip protective gear when working with chemical coatings.
Step-by-Step Guide to Conformal Coating Application at Home
Applying conformal coating as a hobbyist is straightforward if you follow these steps. We’ll focus on using a conformal coating spray can, as it’s the most accessible method for beginners.
Step 1: Prepare Your Workspace
Set up in a clean, well-ventilated area. Dust or debris can stick to the wet coating and ruin the finish, so wipe down surfaces and consider using a small spray booth (a cardboard box works in a pinch). Wear your safety gear to protect yourself from fumes.
Step 2: Clean the PCB Thoroughly
Dirt, flux residue, or fingerprints can prevent the coating from adhering properly. Use isopropyl alcohol and a soft brush to clean the board. Let it dry completely—moisture trapped under the coating can cause failures. This step typically takes 10-15 minutes for a small board.
Step 3: Mask Sensitive Areas
Cover components that shouldn’t be coated, like connectors, switches, or heat sinks, with painter’s tape or masking fluid. This ensures they remain functional after coating. Be precise—overspray can be hard to remove from small areas.
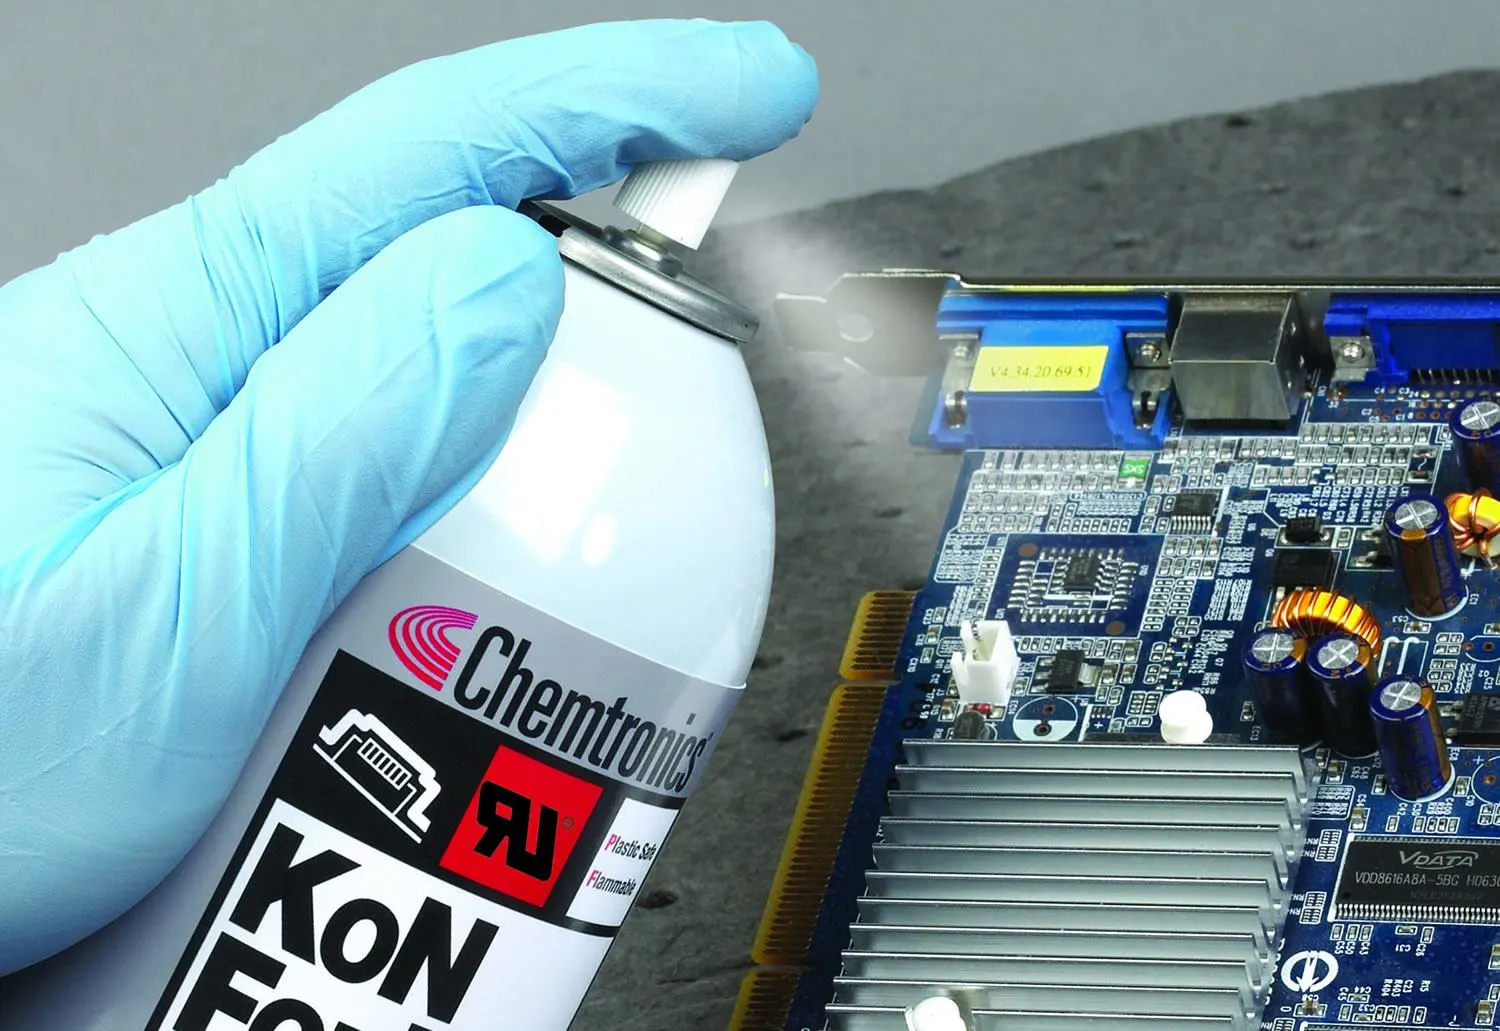
Step 4: Apply the Conformal Coating
Shake the spray can for at least 1-2 minutes to mix the contents. Hold the can about 8-12 inches away from the board and spray in thin, even layers. Use a sweeping motion to avoid pooling. Aim for a thickness of 1-2 mils (0.001-0.002 inches) per layer—most cans will specify coverage on the label. Apply 2-3 light coats, waiting 15-30 minutes between each for drying.
Step 5: Cure the Coating
Let the board sit for the recommended curing time, usually 24-48 hours for air-dry coatings like acrylic. Some coatings may cure faster under heat (e.g., 60°C for 2 hours) if specified. Avoid touching or moving the board during this time to prevent defects.
Step 6: Inspect and Test
Check for uneven spots or bubbles under good lighting. If needed, apply a touch-up layer with a brush. Once cured, test your circuit to ensure functionality—connectors should work, and there should be no short circuits. Dielectric strength should remain high, often above 500 V/mil for quality coatings.
Tips for Successful DIY Conformal Coating
To get the best results with your conformal coating for hobbyists, keep these tips in mind:
- Practice First: Test your spray technique on a scrap piece of cardboard or an old board. This helps you get a feel for the distance and motion needed for even coverage.
- Avoid Overcoating: Too much coating can trap heat or stress components. Stick to the recommended thickness—check the product datasheet for specifics, often around 1-3 mils total.
- Work in Small Batches: If coating multiple boards, do one at a time to maintain control and avoid overspray on adjacent projects.
- Store Materials Properly: Keep spray cans or liquid coatings in a cool, dry place to prevent clogging or degradation. Most products have a shelf life of 1-2 years.
Common Mistakes to Avoid
Even with the best intentions, beginners can run into issues when applying conformal coating at home. Here are some pitfalls to watch out for:
- Skipping Cleaning: Residue on the PCB can cause the coating to peel or fail. Always clean thoroughly before starting.
- Poor Ventilation: Inhaling fumes can be harmful. Always work in a space with good airflow, and wear a mask if indoors.
- Applying Too Thickly: Heavy layers can crack or trap moisture. Thin, multiple coats are better than one thick application.
- Ignoring Curing Time: Rushing the process can lead to sticky or uneven coatings. Follow the manufacturer’s curing guidelines closely.
When to Use Conformal Coating for Your Projects
Not every electronic project needs conformal coating, so knowing when to apply it saves time and resources. Use it for:
- Outdoor Electronics: Projects like weather stations or garden sensors exposed to rain and humidity (relative humidity above 60% is a common threshold for concern).
- High-Vibration Environments: Devices in vehicles or drones where components might loosen or crack without protection.
- Chemical Exposure: Circuits near solvents or industrial settings where corrosion is a risk.
For indoor projects with controlled conditions (e.g., a desktop gadget in a dry office), coating might be overkill unless longevity is a priority.
Removing Conformal Coating for Repairs
Sometimes, you’ll need to repair or modify a coated board. Removal depends on the coating type:
- Acrylic: Use a solvent like acetone or a specialized remover with a cotton swab. It usually takes 5-10 minutes of gentle rubbing.
- Silicone or Polyurethane: These are tougher and may require mechanical scraping with a blade or professional solvents. Be cautious not to damage traces.
Always work in a ventilated area when using chemical removers, and reapply coating after repairs to maintain protection.
Where to Buy Conformal Coating Materials for Beginners
You don’t need to look far to find conformal coating supplies. Many online marketplaces and local stores carry spray cans or liquid options for $10-25. Look for brands that specify “electronics grade” or “PCB protection” to ensure quality. Read reviews to confirm ease of use—some cans have better nozzles for even spraying. If you’re ordering in bulk for multiple projects, check for deals on multi-packs to save on cost per unit.
Conclusion: Start Protecting Your Electronics Today
DIY conformal coating is an accessible and affordable way to protect your electronic projects from environmental damage. With the right materials, like a beginner-friendly conformal coating spray can, and a little preparation, you can extend the life of your PCBs and ensure they perform reliably even in tough conditions. By following the steps in this guide—cleaning, masking, applying thin layers, and curing properly—you’ll master conformal coating application at home in no time.
Whether you’re a hobbyist building a one-off gadget or experimenting with multiple designs, conformal coating for hobbyists is a skill worth learning. Grab your supplies, set up a safe workspace, and give your electronics the protection they deserve. Your projects will thank you with years of dependable service.


