ALLPCB


If you're looking for a reliable way to ensure the performance and longevity of your printed circuit boards (PCBs), a proper cleaning process is essential. In this guide, we’ll provide you with the ultimate PCB cleaning checklist, covering detailed procedures, best practices, and actionable steps for both manual and automated cleaning. Whether you're a hobbyist or a professional engineer, this checklist will help you maintain clean boards and flawless solder joints every time.
At ALLPCB, we understand the importance of precision in electronics manufacturing. A clean PCB is the foundation of a reliable circuit, preventing issues like corrosion, signal interference, and component failure. Let’s dive into the comprehensive guide to PCB cleaning, optimized with best practices and tailored tips to meet your needs.
Why PCB Cleaning Matters for Reliability
Before we explore the checklist, it’s crucial to understand why cleaning a PCB is so important. During manufacturing, assembly, or repair, PCBs often accumulate contaminants like flux residues, dust, oils, and fingerprints. If left uncleaned, these residues can cause:
- Signal Integrity Issues: Residues can interfere with high-frequency signals, leading to noise or data loss. For example, in high-speed circuits operating at 5 GHz, even a small residue layer can alter impedance by up to 10%.
- Corrosion: Flux residues, especially those with active chemicals, can attract moisture and lead to corrosion over time, reducing the lifespan of solder joints.
- Poor Adhesion: Contaminants can prevent proper adhesion during conformal coating or bonding processes, leading to delamination or weak connections.
- Electrical Shorts: Conductive residues may create unintended pathways, causing short circuits and potential failures.
By following a thorough PCB cleaning procedure, you can avoid these risks and ensure every solder joint performs as intended. Now, let’s move on to the ultimate checklist and best practices for PCB cleaning.
The Ultimate PCB Cleaning Checklist
This checklist is designed to guide you through every step of the PCB cleaning process, whether you’re doing it manually or using automated systems. Follow these steps to achieve optimal results and ensure reliability in your projects.
1. Preparation Before Cleaning
- Assess the PCB Condition: Inspect the board for visible contaminants like flux, dust, or grease. Identify whether the residues are from no-clean flux, rosin-based flux, or water-soluble flux, as this will determine the cleaning method.
- Gather Necessary Tools and Materials: For manual cleaning, you’ll need isopropyl alcohol (IPA) with at least 90% purity, soft-bristled brushes, lint-free wipes, compressed air, and gloves. For automated cleaning, ensure your equipment and cleaning agents are ready.
- Ensure Safety: Work in a well-ventilated area to avoid inhaling fumes from cleaning solvents. Wear protective gloves and eyewear to prevent skin or eye irritation.
- Document Sensitive Components: Note any components that are sensitive to moisture or solvents. Use masking tape or protective covers if needed to shield them during cleaning.
2. Initial Debris Removal
- Use Compressed Air: Blow away loose dust and debris using compressed air at a pressure of 30-50 PSI. Hold the can or nozzle at a 45-degree angle to avoid pushing debris under components.
- Brush Off Stubborn Particles: For larger particles stuck on the surface, use a soft, anti-static brush to gently dislodge them without scratching the board.
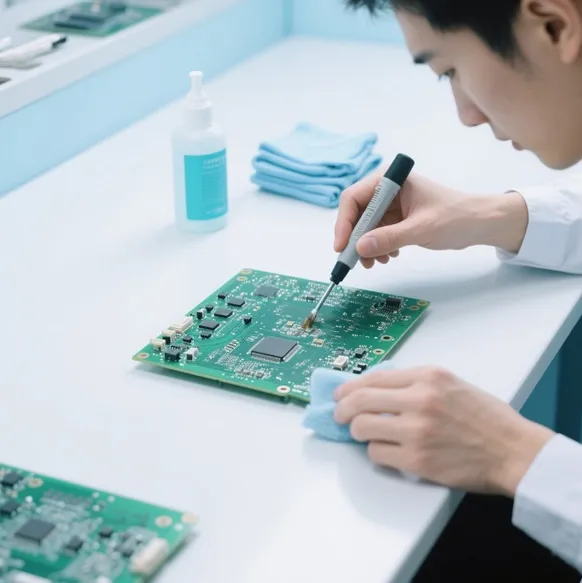
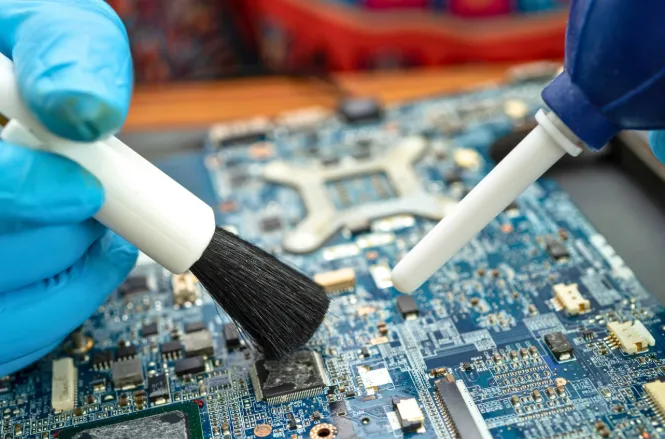
3. Cleaning the PCB (Manual Method)
For those performing manual PCB cleaning, precision and care are key. Follow these steps for the best results:
- Apply Cleaning Solution: Dip a soft brush or lint-free wipe into isopropyl alcohol (90% or higher) or a specialized PCB cleaning solvent. Avoid excessive liquid to prevent pooling under components.
- Gently Scrub Residues: Focus on areas with visible flux or grease. Use small, circular motions to break down residues without damaging solder joints or traces. For tight spaces, use a cotton swab dipped in solvent.
- Wipe Down the Surface: After scrubbing, use a clean, dry lint-free wipe to remove any remaining solvent and residues. Ensure no streaks or moisture are left behind.
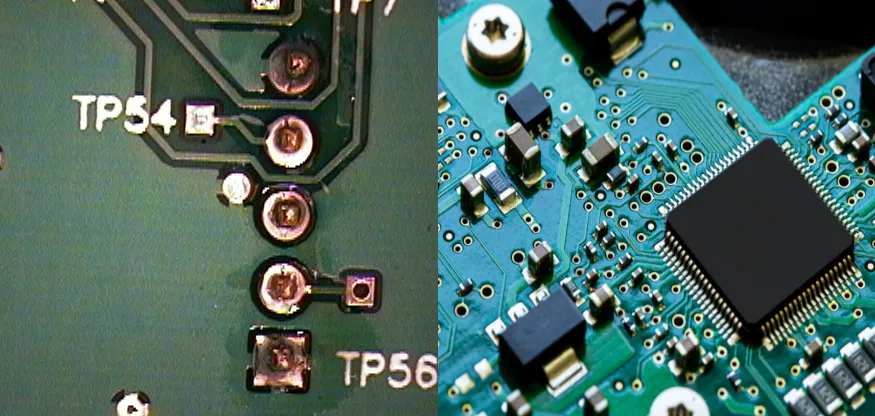
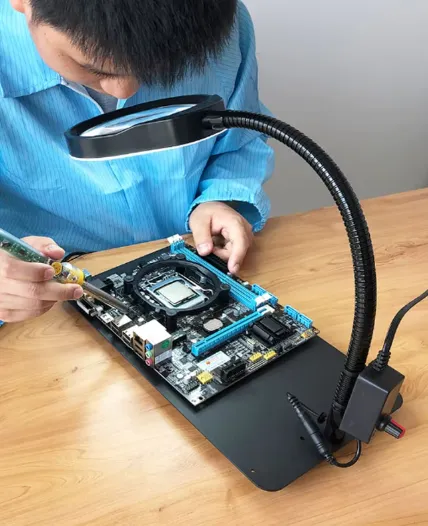
- Inspect Under Magnification: Use a magnifying glass or microscope to check for leftover residues, especially around solder joints. Repeat cleaning if necessary.
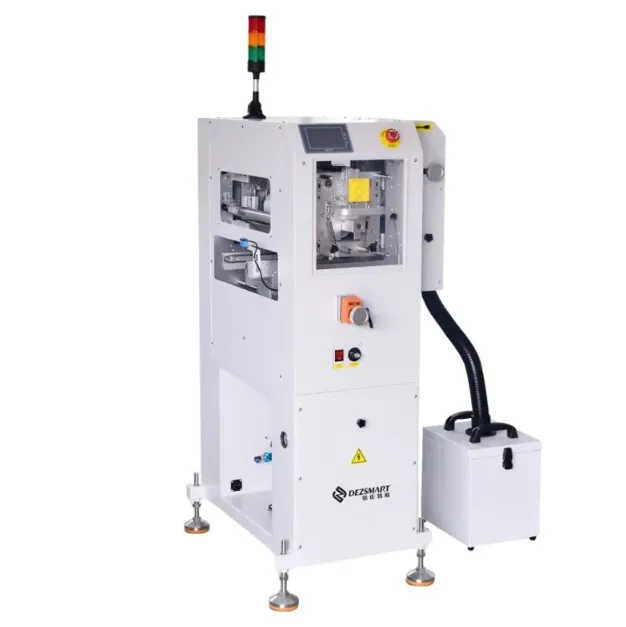
4. Cleaning the PCB (Automated Method)
For larger batches or high-precision applications, automated cleaning systems offer consistency and efficiency. Here are tips for automated PCB cleaning:
- Select the Right Cleaning Agent: Choose a solvent compatible with your PCB materials and residues. Water-based cleaners work well for water-soluble fluxes, while solvent-based options are better for rosin fluxes.
- Set Equipment Parameters: Adjust the cleaning machine’s temperature (typically 40-60°C for aqueous cleaning) and pressure settings (around 20-40 PSI for spray systems) to avoid damaging components.
- Monitor Cleaning Cycles: Run the cleaning cycle as per manufacturer guidelines, usually lasting 5-10 minutes per batch, depending on contamination levels.
- Rinse and Dry: Ensure the system includes a rinse cycle to remove any leftover cleaning agents, followed by a drying phase using hot air at 60-80°C to evaporate moisture.
5. Drying the PCB
- Air Dry or Use Heat: For manual cleaning, let the PCB air dry in a clean, dust-free environment for 30-60 minutes. Alternatively, use a low-temperature oven or heat gun at 50-60°C for faster drying (5-10 minutes).
- Check for Moisture: Inspect under components and in vias for trapped moisture. Use compressed air to blow out any remaining liquid if needed.
6. Final Inspection and Testing
- Visual Inspection: Check the PCB under bright light or magnification for any remaining residues or streaks. Clean again if residues are found.
- Electrical Testing: Perform continuity tests using a multimeter to ensure no shorts or open circuits exist due to cleaning. For high-frequency boards, test signal integrity to confirm impedance remains within specs (e.g., 50 ohms for standard RF designs).
- Store Properly: Once cleaned and tested, store the PCB in an anti-static bag or container to prevent recontamination before assembly or use.
Best Practices for PCB Cleaning
Beyond the checklist, adhering to best practices ensures consistent results and prevents damage to your boards. Here are key guidelines to follow:
- Clean Immediately After Soldering: Flux residues become harder to remove over time, especially if exposed to humidity. Clean within 24-48 hours of soldering for best results.
- Avoid Over-Cleaning: Excessive scrubbing or prolonged exposure to solvents can damage solder masks or lift traces. Limit cleaning time to 2-3 minutes per area during manual processes.
- Use High-Purity Solvents: Low-grade alcohol or contaminated solvents can leave residues of their own. Always use IPA with 90% or higher purity or specialized cleaning agents.
- Handle with Care: Always use anti-static gloves or wrist straps to prevent electrostatic discharge (ESD) that could damage sensitive components.
- Document Cleaning Processes: For professional environments, maintain a log of cleaning methods, solvents used, and inspection results to ensure repeatability and compliance with industry standards like IPC-6012 for PCB cleanliness.
Steps for Manual PCB Cleaning: A Quick Recap
For hobbyists or small-scale projects, manual cleaning is often the go-to method. Here’s a quick summary of the steps for manual PCB cleaning:
- Prepare tools: Gather IPA, brushes, wipes, and safety gear.
- Remove loose debris with compressed air or a brush.
- Apply solvent to a brush or wipe and scrub gently.
- Wipe down the board to remove residues and solvent.
- Dry the PCB using air or low heat.
- Inspect and test for cleanliness and functionality.
Tips for Automated PCB Cleaning: Scaling Up Efficiency
For manufacturers handling large volumes, automated cleaning systems save time and ensure uniformity. Consider these tips for automated PCB cleaning:
- Batch Similar Boards: Group PCBs with similar contamination levels and materials to optimize cleaning cycles and avoid cross-contamination.
- Regular Maintenance: Clean and maintain your equipment regularly to prevent buildup of residues in the system, which could redeposit on boards.
- Monitor Solvent Quality: Replace or filter cleaning agents periodically, as degraded solvents lose effectiveness. Check solvent purity every 50-100 cycles.
- Validate Results: Use ionic contamination testers to measure cleanliness levels after automated cleaning, ensuring residues are below acceptable thresholds (e.g., 1.56 μg/cm2 NaCl equivalent per IPC standards).
Common Mistakes to Avoid During PCB Cleaning
Even with a solid PCB cleaning procedure, mistakes can compromise results. Here are pitfalls to watch out for:
- Using Harsh Brushes: Hard-bristled brushes can scratch the solder mask or damage fine traces. Always opt for soft, anti-static brushes.
- Skipping Drying: Leaving moisture on the board can lead to corrosion or mold growth, especially in humid environments.
- Ignoring Component Sensitivity: Some components, like MEMS sensors, can be damaged by solvents or pressure. Always check datasheets before cleaning.
- Reusing Dirty Wipes: Using contaminated wipes or brushes can spread residues rather than remove them. Use fresh materials for each cleaning session.
Conclusion: Achieve Flawless Solder Joints with Proper Cleaning
A clean PCB is the cornerstone of reliable electronics, ensuring strong solder joints and optimal performance. By following this ultimate PCB cleaning checklist, incorporating best practices, and tailoring your approach with manual or automated methods, you can eliminate contaminants and prevent costly failures. Whether you’re working on a single prototype or mass production, these steps and tips will help you maintain the highest standards of cleanliness.
At ALLPCB, we’re committed to supporting your projects with resources and expertise. Keep this checklist handy for your next PCB cleaning task, and you’ll see the difference in quality and reliability. A little care goes a long way in electronics manufacturing!