 ALLPCB


If you're looking to master the art of soldering double-sided PCBs with through-hole components, you're in the right place. This guide will walk you through the essential techniques, tools, and tips for achieving strong, reliable solder joints using methods like solder paste application, reflow soldering, and wave soldering. Whether you're a hobbyist or a professional engineer, we'll break down the process step by step to ensure success in your next project.
In the detailed sections below, we'll explore everything from preparing your double-sided PCB to selecting the right soldering method for through-hole components. Let's dive into the world of PCB assembly and help you create high-quality, durable circuit boards with ease.
What Are Double-Sided PCBs and Through-Hole Components?
Double-sided PCBs are circuit boards with conductive traces on both the top and bottom layers, allowing for more complex designs and higher component density compared to single-sided boards. These boards are commonly used in modern electronics, from consumer gadgets to industrial equipment, due to their ability to accommodate intricate circuits in a compact space.
Through-hole components, on the other hand, are electronic parts with leads that pass through holes drilled in the PCB. These leads are then soldered to pads on the opposite side of the board, creating a strong mechanical and electrical connection. Examples include resistors, capacitors, and connectors. Unlike surface-mount components, through-hole parts are often preferred for their durability and ease of manual assembly, especially in double-sided designs where components may be placed on both sides.
Soldering these components on a double-sided PCB can be challenging due to the dual-layer layout and the need to ensure proper connections without damaging other parts. This guide focuses on practical methods to overcome these challenges using solder paste, reflow, and wave soldering techniques.
Why Soldering Double-Sided PCBs Is Different
Soldering on a double-sided PCB requires extra care compared to single-sided boards. Since components and traces exist on both sides, you must avoid overheating one side while working on the other, as excessive heat can damage delicate parts or lift traces. Additionally, through-hole components on double-sided PCBs often require soldering on both sides to ensure a robust connection, especially for high-current applications where joint strength is critical.
Another challenge is managing the risk of solder bridges or shorts between closely spaced pads and traces on the opposite side. Precision and the right soldering technique are key to avoiding these issues. In the following sections, we'll cover how to address these challenges using various soldering methods tailored for double-sided PCB assembly.
Essential Tools and Materials for Soldering Double-Sided PCBs
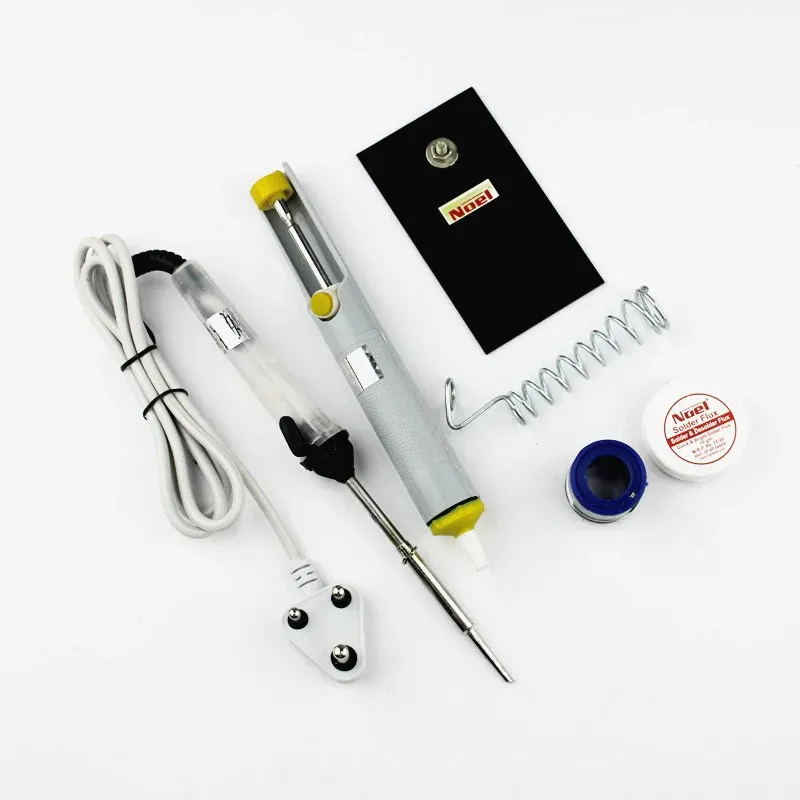
Before starting, gather the necessary tools and materials to ensure a smooth soldering process. Here's a list of essentials for working with through-hole components on double-sided PCBs:
- Soldering Iron or Station: A temperature-controlled soldering iron with a fine tip (1mm or smaller) is ideal for precise work. Set it between 300°C and 350°C for most through-hole soldering tasks.
- Solder Paste: Used for reflow soldering, solder paste combines solder alloy with flux for easier application on pads.
- Solder Wire: Choose a lead-free or leaded solder wire with a diameter of 0.5mm to 1mm for manual soldering of through-hole components.
- Flux: Helps clean the surfaces and improve solder flow, reducing the risk of cold joints.
- Desoldering Tools: A solder wick or desoldering pump is useful for correcting mistakes or removing excess solder.
- PCB Holder: Keeps the board steady while you work on both sides.
- Reflow Oven or Hot Air Gun: Necessary for reflow soldering when using solder paste on through-hole components.
- Wave Soldering Equipment: For bulk soldering of through-hole components in a production setting.
- Cleaning Supplies: Isopropyl alcohol and a brush to clean flux residue after soldering.
Having the right tools ensures that you can apply the soldering techniques discussed below with precision and efficiency.
Preparing Your Double-Sided PCB for Soldering
Preparation is crucial for successful soldering. Follow these steps to get your double-sided PCB ready for through-hole component assembly:
- Inspect the PCB: Check for any manufacturing defects, such as misaligned holes or damaged traces. Ensure all through-holes are clean and free of debris.
- Clean the Board: Use isopropyl alcohol and a brush to remove dust, grease, or oxidation from the pads and holes. Clean boards ensure better solder adhesion.
- Insert Components: Place through-hole components into their designated holes, ensuring the leads pass through to the opposite side. For double-sided PCBs, note which components go on which side as per the design.
- Secure Components: Bend the leads slightly on the opposite side to hold the components in place during soldering. Alternatively, use a PCB holder or tape to keep parts steady.
Proper preparation minimizes errors during soldering and ensures that the components are positioned correctly for the chosen soldering method.
Soldering Techniques for Double-Sided PCBs with Through-Hole Components
Let's explore the three primary methods for soldering through-hole components on double-sided PCBs: manual soldering with solder paste, reflow soldering, and wave soldering. Each technique has its advantages depending on the project scale and complexity.
1. Manual Soldering with Solder Paste
Manual soldering with solder paste is a hybrid approach often used for small-scale projects or prototyping. While solder paste is typically associated with surface-mount components, it can be adapted for through-hole parts on double-sided PCBs with careful application.
Steps:
- Apply a small amount of solder paste to the pads around the through-holes on both sides of the PCB using a syringe or stencil for precision.
- Insert the through-hole components, ensuring the leads pass through the paste-covered pads.
- Use a hot air gun or reflow oven to heat the board evenly, melting the solder paste to form joints. Typical reflow temperatures for lead-free solder paste range from 220°C to 250°C, depending on the alloy (e.g., SAC305).
- Inspect the joints for proper wetting and add additional solder wire manually if needed to fill any gaps around the through-hole leads.
Advantages: This method allows for precise control and is suitable for mixed assemblies where surface-mount and through-hole components are present.
Challenges: Applying solder paste manually to through-holes can be tricky, and uneven heating may result in incomplete joints.
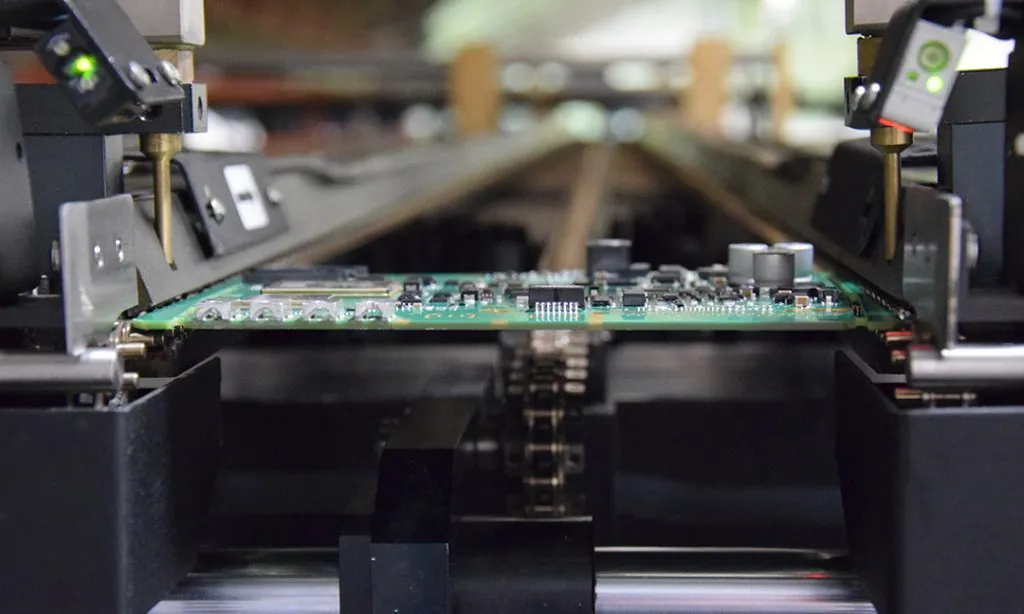
2. Reflow Soldering for Through-Hole Components
Reflow soldering is a common technique in automated PCB assembly, primarily for surface-mount components. However, it can be adapted for through-hole components on double-sided PCBs using a process known as through-hole reflow (THR). This method is gaining popularity for its ability to streamline assembly.
Steps:
- Design the PCB with appropriate pad sizes and solder paste stencil apertures to ensure enough paste is applied around through-holes. A typical aperture overprint of 0.2mm to 0.3mm beyond the pad size helps ensure sufficient solder volume.
- Apply solder paste to the pads on one side of the PCB using a stencil.
- Insert through-hole components, ensuring leads protrude to the opposite side.
- Place the PCB in a reflow oven, following a temperature profile that includes preheating (150°C-180°C for 60-90 seconds), soaking, and reflow (peak at 235°C-250°C for 20-40 seconds).
- For double-sided PCBs, repeat the process on the other side if components are present, using a lower temperature profile to avoid remelting the first side's joints.
Advantages: Reflow soldering is efficient for high-volume production and creates consistent joints when optimized.
Challenges: Through-hole reflow requires precise stencil design and may not form a full fillet on the opposite side without additional manual soldering.
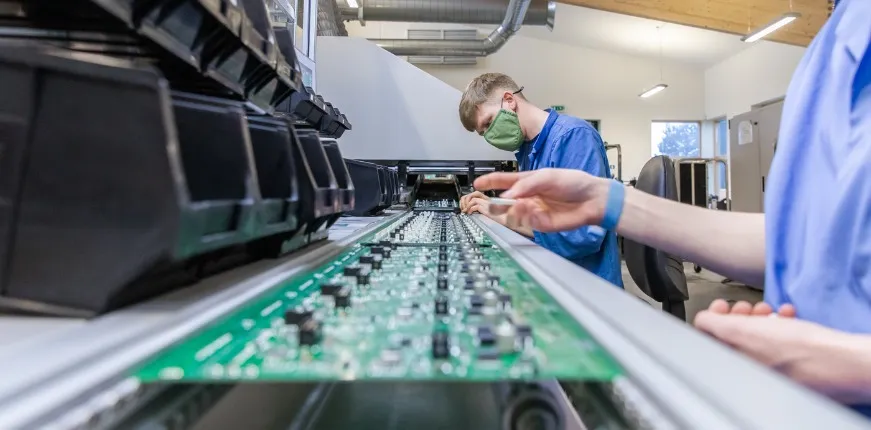
3. Wave Soldering for Double-Sided PCBs
Wave soldering is a bulk soldering process ideal for through-hole components on double-sided PCBs, especially in mass production. It involves passing the PCB over a wave of molten solder to create joints on the bottom side.
Steps:
- Apply flux to the bottom side of the PCB to clean the pads and improve solder adhesion.
- Preheat the PCB to around 100°C-130°C to activate the flux and reduce thermal shock.
- Pass the PCB over a wave of molten solder (typically at 250°C-260°C for lead-free solder) at a conveyor speed of 1-2 meters per minute, ensuring the wave contacts the through-hole leads and pads on the bottom side.
- For double-sided PCBs with components on both sides, protect the top-side components with a heat-resistant mask or glue them in place to prevent dislodging during the wave process. Alternatively, manually solder top-side components after wave soldering the bottom.
- Cool the PCB gradually to avoid thermal stress, then clean off flux residue.
Advantages: Wave soldering is fast and cost-effective for large-scale production, creating strong through-hole joints.
Challenges: It’s less suitable for double-sided PCBs with components on both sides due to the risk of damaging top-side parts. Selective wave soldering equipment can help mitigate this by targeting specific areas.
Tips for Successful Double-Sided PCB Soldering
To ensure high-quality results when soldering through-hole components on double-sided PCBs, keep these tips in mind:
- Avoid Overheating: Limit soldering iron or reflow oven exposure to prevent damage to components or traces. For manual soldering, keep contact time under 3-5 seconds per joint.
- Check Joint Quality: Look for shiny, concave solder fillets around through-hole leads. Dull or cracked joints indicate a cold solder joint that may fail over time.
- Use Adequate Ventilation: Soldering produces fumes, especially with flux and leaded solder. Work in a well-ventilated area or use a fume extractor.
- Double-Check Component Orientation: Ensure polarized components like diodes and electrolytic capacitors are placed correctly before soldering, as desoldering on a double-sided PCB can be tricky.
- Test After Soldering: Use a multimeter to check for continuity and shorts between adjacent pads or traces on both sides of the PCB.
Common Mistakes to Avoid
Even experienced engineers can make mistakes when soldering double-sided PCBs. Here are some common pitfalls and how to avoid them:
- Insufficient Solder: Too little solder can lead to weak joints. Ensure enough solder paste or wire is applied to form a proper fillet around through-hole leads.
- Solder Bridges: Excess solder can create shorts between nearby pads. Use a solder wick to remove unwanted solder if this happens.
- Thermal Damage: Prolonged heat exposure can lift pads or damage components. Use a heat sink or work quickly to minimize heat transfer.
- Ignoring Design Constraints: Ensure your PCB design accounts for soldering method limitations, such as pad spacing for wave soldering or stencil design for reflow.
Conclusion: Mastering Double-Sided PCB Soldering
Soldering through-hole components on double-sided PCBs may seem daunting, but with the right techniques and tools, it becomes a manageable task. Whether you choose manual soldering with solder paste, reflow soldering for precision, or wave soldering for efficiency, each method offers unique benefits tailored to different project needs. By following the steps and tips outlined in this guide, you can achieve reliable, high-quality solder joints that ensure the performance and longevity of your electronic designs.
Remember to prioritize preparation, use the appropriate soldering method for your setup, and inspect your work carefully to catch any issues early. With practice, you'll gain confidence in handling double-sided PCB assembly and produce professional-grade results every time.


