ALLPCB


Are you a hobbyist looking to add a professional touch to your homemade PCBs with vibrant silkscreen colors? In this guide, we’ll walk you through everything you need to know about DIY PCB silkscreen color, from homemade solutions to cheap options for applying silkscreen color at home. Whether you’re marking components or adding designs, mastering silkscreen color for hobby PCBs can elevate your projects without breaking the bank. Let’s dive into the details with practical tips and step-by-step methods tailored for hobbyists like you.
What is PCB Silkscreen and Why Use Color?
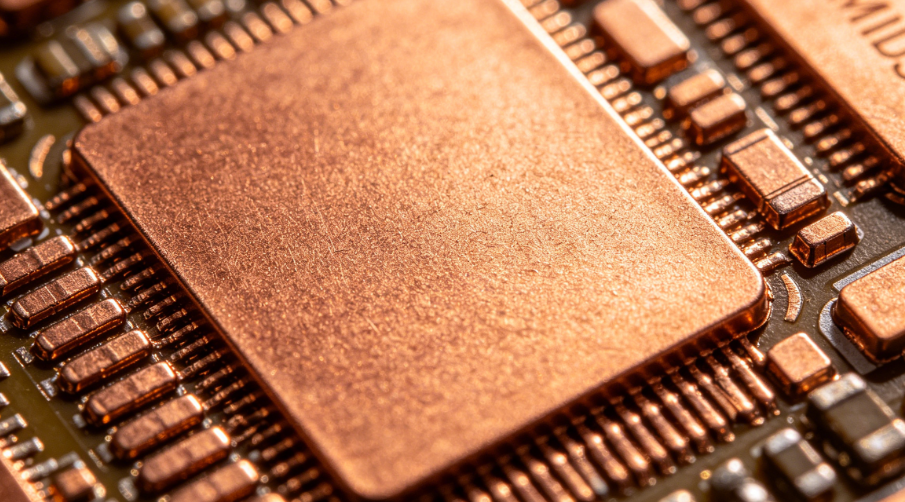
PCB silkscreen is the layer of text, symbols, and markings printed on a printed circuit board (PCB) to identify components, provide assembly instructions, or add branding. Traditionally, silkscreen is white or black, but using color can make your board stand out, improve readability, and even help with troubleshooting by distinguishing different sections.
For hobbyists, adding DIY PCB silkscreen color is not just about aesthetics—it’s about functionality. Colored markings can make it easier to spot specific areas on complex boards, especially during debugging or assembly. Plus, experimenting with homemade silkscreen color is a fun way to personalize your projects on a budget.

Benefits of DIY PCB Silkscreen Color for Hobbyists
Before we get into the how-to, let’s explore why applying silkscreen color at home is worth the effort:
- Cost-Effective: Professional silkscreen services can be expensive, especially for small runs. Homemade silkscreen color solutions save money.
- Customization: Choose colors that match your project’s theme or improve visibility on different solder mask colors (e.g., white on green, yellow on black).
- Learning Opportunity: Experimenting with DIY techniques builds skills in PCB fabrication and design.
- Professional Look: Even simple color additions can make your hobby PCBs look polished and well-designed.
Materials and Tools for Homemade Silkscreen Color
Getting started with silkscreen color for hobby PCBs doesn’t require fancy equipment. Here’s a list of basic materials and tools you can use for cheap silkscreen color options at home:
- Ink or Paint: Use specialized PCB silkscreen ink, acrylic paint, or even nail polish for small projects. Look for inks that adhere well to PCB surfaces and resist heat during soldering (up to 250°C or 482°F).
- Transfer Paper: Glossy photo paper or transparency film for printing designs to transfer onto the PCB.
- Stencils or Masks: Create stencils using vinyl cutters or by hand for precise application of color.
- Brushes or Applicators: Fine-tip brushes, sponges, or syringes for manual application of ink.
- Household Iron: For toner transfer methods to apply printed designs.
- Protective Gear: Gloves and masks to handle chemicals or inks safely.
- Cleaning Supplies: Isopropyl alcohol and cloths to clean the PCB surface before and after applying color.
Most of these items are readily available at craft stores or online for under $20 total, making this an affordable hobbyist project.

Choosing the Right Color for Your PCB Silkscreen
When selecting a color for your silkscreen, consider contrast and durability. The solder mask (the protective coating on your PCB) is often green, red, blue, or black, so pick a silkscreen color that stands out. Here are some tips for choosing colors:
- High Contrast: Use white or yellow on dark solder masks (green or black) for maximum visibility. For lighter masks, try black or dark red.
- Heat Resistance: Ensure the ink or paint can withstand soldering temperatures without fading or cracking.
- Availability: Stick to colors that are easy to source in small quantities for hobbyist use, like basic acrylic paints or model paints.
For example, if your PCB has a green solder mask, a white silkscreen color provides a contrast ratio of about 3:1, which is ideal for readability under typical lighting conditions.
Step-by-Step Methods for Applying Silkscreen Color at Home
Now, let’s explore several techniques for applying DIY PCB silkscreen color. These methods are tailored for hobbyists and focus on cheap, accessible solutions.
Method 1: Toner Transfer with Colored Ink
This method uses a household iron to transfer a printed design onto your PCB, followed by coloring for a polished look.
- Design Your Silkscreen: Use PCB design software to create your markings. Print the design in black on glossy photo paper or transparency film, ensuring it’s mirrored.
- Prepare the PCB: Clean the PCB surface with isopropyl alcohol to remove dirt or grease for better adhesion.
- Transfer the Design: Place the printed design face-down on the PCB. Heat it with an iron set to 150-180°C (302-356°F) for 5-10 minutes, applying even pressure.
- Peel and Check: Let the PCB cool, then peel off the paper. The toner should stick to the board.
- Apply Color: Use a fine-tip brush or marker to fill in the transferred design with your chosen silkscreen ink or paint. Let it dry for 24 hours.
- Seal (Optional): Apply a clear coat or conformal coating to protect the color from wear.
This method is ideal for detailed designs and costs less than $5 per board if you already have an iron and printer.

Method 2: Hand-Painting with Stencils
For simpler designs or one-off projects, hand-painting with a stencil offers flexibility and doesn’t require a printer.
- Create a Stencil: Cut a stencil from vinyl or thick paper using a craft knife or cutting machine. The stencil should match your desired markings.
- Position the Stencil: Secure the stencil on the cleaned PCB surface with tape to prevent movement.
- Paint the Design: Use a small brush or sponge to apply PCB-safe paint or ink through the stencil. Apply thin layers to avoid bleeding.
- Remove and Dry: Carefully lift the stencil and let the paint dry for at least 12-24 hours.
This method works well for bold text or logos and is one of the cheapest silkscreen color options, often costing under $2 per board with basic supplies.
Method 3: Using Nail Polish for Small Markings
For quick and tiny markings, nail polish is a surprisingly effective homemade silkscreen color solution.
- Clean the PCB: Wipe the board with alcohol to ensure a clean surface.
- Apply Nail Polish: Use the built-in brush to draw or mark directly on the PCB. Choose a bright color for visibility.
- Dry and Test: Let it dry for 1-2 hours. Test durability by lightly scraping to ensure it adheres well.
Nail polish withstands moderate heat (up to 150°C or 302°F) and costs less than $1 per bottle, making it perfect for small hobby projects.
Tips for Successful DIY PCB Silkscreen Color Application
To ensure your homemade silkscreen color looks great and lasts, keep these tips in mind:
- Test First: Practice on a scrap PCB or material to get a feel for the ink or paint consistency and application technique.
- Work in Thin Layers: Applying multiple thin layers of color prevents smudging and ensures even coverage.
- Control Environment: Work in a well-ventilated area with steady temperatures (around 20-25°C or 68-77°F) to avoid ink drying too fast or too slow.
- Protect Your Work: After the color dries, consider a protective coating to guard against scratches or chemical exposure during soldering.
Common Mistakes to Avoid with Homemade Silkscreen Color
Even with the best intentions, mistakes can happen. Here are pitfalls to watch out for when applying silkscreen color at home:
- Poor Surface Prep: Skipping cleaning can lead to poor adhesion, causing the color to peel off.
- Overloading Ink: Too much paint or ink can bleed under stencils or smear during transfer.
- Wrong Materials: Using non-PCB-safe paints may result in fading or damage during soldering due to heat sensitivity.
- Rushing the Process: Not allowing enough drying time can ruin the design with smudges or cracks.
Cheap Silkscreen Color Options for Hobbyists on a Budget
If you’re looking for affordable ways to add color to your PCBs, consider these budget-friendly alternatives:
- Acrylic Paint Pens: Available for $1-3 each, these pens are easy to use and come in various colors.
- Model Paint: Small bottles of enamel or acrylic model paint cost around $2-5 and are designed for durability on small surfaces.
- Colored Permanent Markers: For quick touch-ups, markers in bright colors can mimic silkscreen for under $1 per pen.
These options are widely available at local stores or online and provide a low-cost entry point for experimenting with silkscreen color for hobby PCBs.
Scaling Up: When to Consider Professional Services
While DIY PCB silkscreen color is great for small projects, there comes a point where professional services might be more practical. If you’re producing multiple boards or need precise, multi-color designs, outsourcing can save time and ensure consistent quality. Many PCB fabrication services offer affordable silkscreen options in various colors, often starting at just a few dollars per board for small orders.
However, for most hobbyists, the methods outlined above provide enough flexibility and cost savings to stick with homemade solutions for personal projects.
Final Thoughts on DIY PCB Silkscreen Color
Adding color to your PCB silkscreen is an exciting way to enhance your hobby projects while keeping costs low. With techniques like toner transfer, hand-painting with stencils, or even using everyday items like nail polish, applying silkscreen color at home is accessible to anyone with a bit of patience and creativity. By focusing on contrast, durability, and proper preparation, you can achieve professional-looking results with cheap silkscreen color options.
Whether you’re just starting out or looking to refine your skills, experimenting with homemade silkscreen color opens up a world of possibilities for personalizing your PCBs. Grab your tools, pick a vibrant color, and transform your next project into something truly unique!