 ALLPCB


Are you a hobbyist looking to build your own DIY AI accelerator using a custom PCB? This guide is your starting point for diving into the exciting world of machine learning hardware, edge AI, and TensorFlow Lite. Whether you’re aiming to run AI models on small devices or explore custom PCB design, we’ll walk you through the essentials of creating a personalized AI accelerator from scratch. In this detailed blog, you’ll learn the key steps, tools, and tips to bring your project to life, even if you’re just starting out.
Why Build a DIY AI Accelerator?
In recent years, edge AI—running machine learning models directly on small, low-power devices—has become a game-changer. Unlike cloud-based AI, edge AI processes data locally, reducing latency and enhancing privacy. For hobbyists, building a DIY AI accelerator offers a hands-on way to understand machine learning hardware and experiment with frameworks like TensorFlow Lite, which is optimized for microcontrollers and other compact systems.
A custom PCB (Printed Circuit Board) is at the heart of such a project. It allows you to design a tailored circuit that meets the specific needs of your AI accelerator, from power efficiency to processing speed. By the end of this guide, you’ll have a clear roadmap to design and assemble your own hardware for edge AI applications.
What You’ll Need to Get Started
Before diving into the design and build process, let’s gather the essentials. Here’s a breakdown of the tools, components, and skills required for a DIY AI accelerator with a custom PCB:
- Hardware Components: A microcontroller or microprocessor capable of running AI models (e.g., ARM Cortex-M series for TensorFlow Lite), memory modules (like SRAM or flash), and power management ICs.
- Design Software: Tools for schematic capture and PCB layout to create your custom board.
- Programming Knowledge: Familiarity with C/C++ for microcontroller programming and TensorFlow Lite for model deployment.
- Basic Electronics Skills: Understanding of soldering, circuit design, and debugging.
- Budget: Depending on components, expect to spend between $50 and $200 for a small-scale prototype.
Step 1: Understanding AI Accelerators and Edge AI
An AI accelerator is a specialized piece of hardware designed to speed up machine learning tasks, such as running neural networks for image recognition or voice processing. Unlike general-purpose processors, accelerators focus on specific computations, like matrix multiplications, which are common in AI models. For hobbyists, building a DIY AI accelerator means creating a small-scale version of this hardware, often using off-the-shelf microcontrollers optimized for edge AI.
Edge AI refers to deploying these models on devices with limited resources, like sensors or IoT gadgets, instead of relying on powerful cloud servers. TensorFlow Lite, a lightweight version of the popular machine learning framework, is ideal for this. It can run on devices with just a few kilobytes of memory, making it perfect for hobbyist projects.
Step 2: Choosing the Right Hardware for Your DIY AI Accelerator
The foundation of your project is the hardware. For a beginner-friendly DIY AI accelerator, focus on microcontrollers that support TensorFlow Lite. Popular choices include 32-bit ARM Cortex-M microcontrollers, which offer a balance of performance and power efficiency. Look for boards with at least 256 KB of RAM and 1 MB of flash memory to handle basic AI models.
Here are some key hardware specs to consider:
- Clock Speed: Aim for at least 48 MHz to ensure reasonable processing times for AI inference.
- Power Consumption: Choose a chip with low power draw (e.g., under 100 mA at full load) for battery-powered projects.
- I/O Pins: Ensure enough pins for connecting sensors or peripherals, typically 10-20 GPIO pins.
Beyond the microcontroller, you’ll need supporting components like voltage regulators (e.g., a 3.3V regulator with 500 mA output) and capacitors for stable power delivery (e.g., 10 μF ceramic capacitors near power pins to reduce noise).
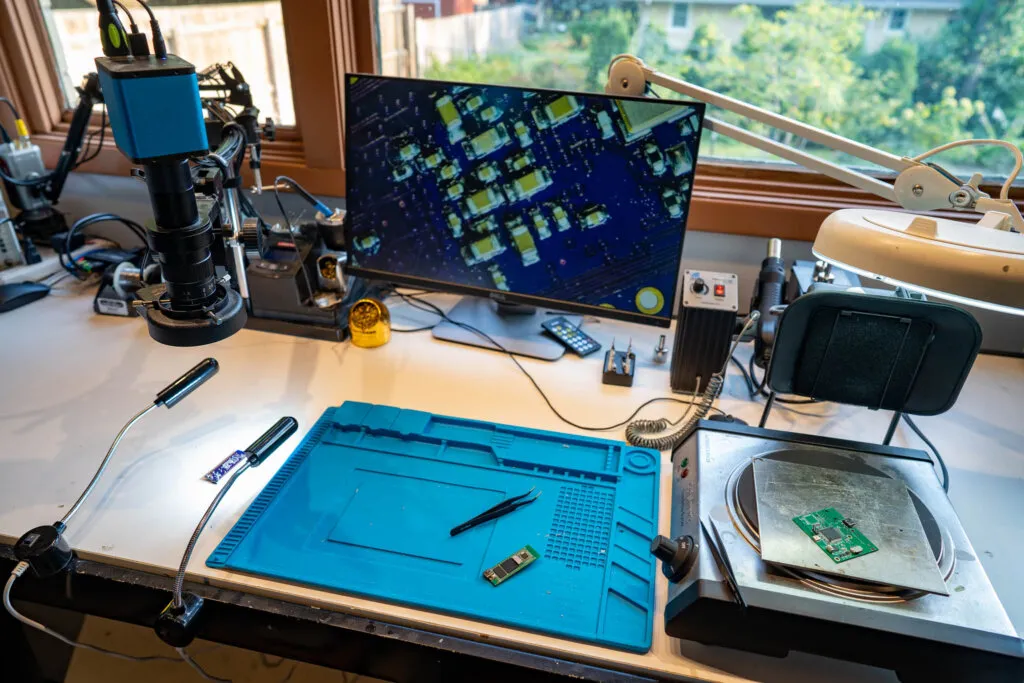
Step 3: Designing a Custom PCB for Your AI Accelerator
Creating a custom PCB is where your DIY AI accelerator truly becomes unique. A PCB allows you to integrate your microcontroller, power circuits, and additional components into a single, compact board. Here’s how to approach custom PCB design as a hobbyist:
3.1 Learn the Basics of PCB Design
Start by learning the fundamentals of circuit design. Your PCB will need to route power and signals efficiently while minimizing interference. Key concepts include:
- Trace Width: For power lines, use traces at least 0.5 mm wide to handle currents up to 500 mA without overheating.
- Signal Integrity: Keep high-speed signal traces (like SPI or I2C for sensor data) short and away from power lines to avoid crosstalk.
- Ground Plane: Include a solid ground plane on one layer of your PCB to reduce electrical noise.
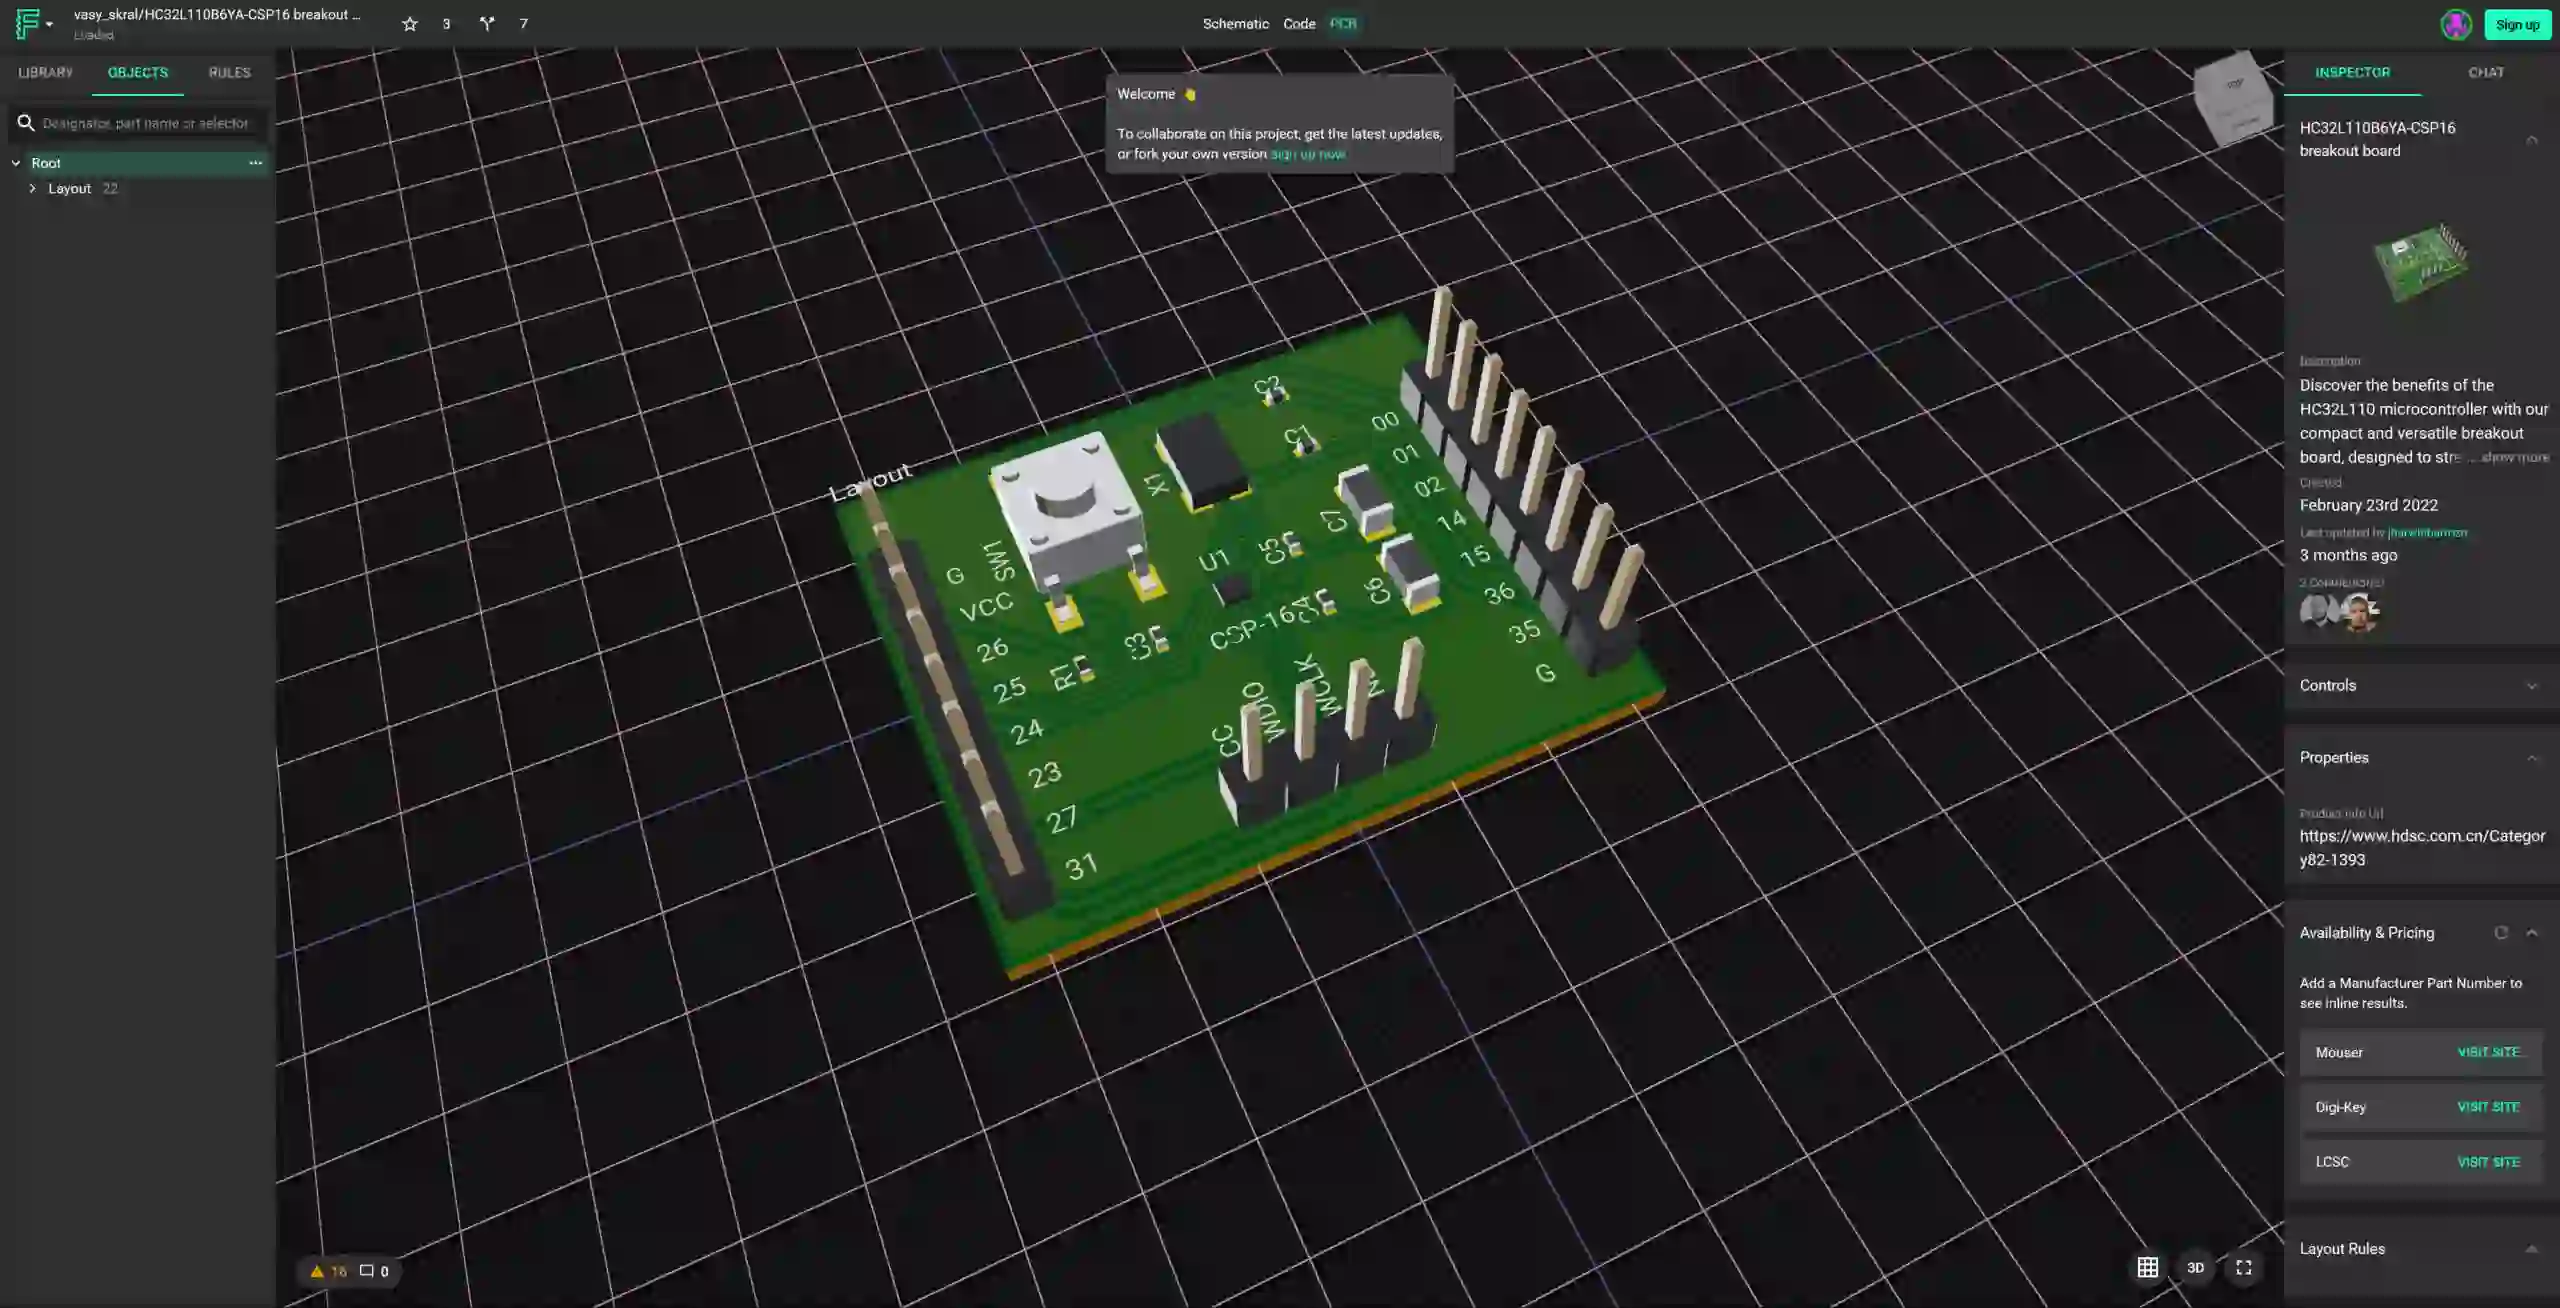
3.2 Use Design Software
Choose a user-friendly PCB design tool to create your schematic and layout. Start by drawing a schematic that connects your microcontroller to power, memory, and peripherals. Then, move to the layout phase, where you place components and route traces on a virtual board.
Related Reading: Top 10 PCB Design Software Tools for Engineers in 2025
3.3 Prototype with a Two-Layer Board
For hobbyists, a two-layer PCB is cost-effective and sufficient for most DIY AI accelerator projects. A typical two-layer board (1.6 mm thick with 1 oz copper) can handle the low-to-moderate current needs of edge AI hardware. Ensure your design follows standard manufacturing tolerances, like a minimum trace spacing of 0.15 mm, to avoid production issues.
Step 4: Programming Your AI Accelerator with TensorFlow Lite
Once your hardware is ready, it’s time to program your DIY AI accelerator. TensorFlow Lite is a lightweight framework designed for microcontrollers, making it ideal for edge AI projects. Follow these steps to deploy a simple machine learning model:
4.1 Train a Simple Model
Start with a basic model, like a neural network for classifying sensor data (e.g., detecting motion). Use TensorFlow on a desktop to train your model, then convert it to TensorFlow Lite format using the provided converter tool. This reduces the model size to fit on devices with limited memory, often under 100 KB.
4.2 Deploy to Your Microcontroller
Program your microcontroller using a compatible IDE. Include the TensorFlow Lite library in your project, and upload the converted model along with inference code. For example, a model running on a 48 MHz microcontroller can perform inference in under 50 milliseconds for small datasets (e.g., 10 input features).
4.3 Optimize for Performance
Optimize your model by quantizing it to use 8-bit integers instead of 32-bit floats, reducing memory usage by up to 75% with minimal accuracy loss. Test the model on your hardware to ensure it runs smoothly without exceeding RAM limits.
Related Reading: Beginner's Guide to Designing AI Accelerator PCBs with EasyEDA
Step 5: Testing and Debugging Your DIY AI Accelerator
After assembling your custom PCB and uploading your code, test your AI accelerator thoroughly. Connect it to a simple input, like a temperature sensor, and verify that it processes data and outputs predictions correctly. Use a multimeter to check voltage levels (e.g., ensure 3.3V at the microcontroller input) and an oscilloscope to inspect signal timing if you suspect issues.
Common issues include power instability (solved by adding decoupling capacitors, e.g., 0.1 μF near each IC) and firmware bugs (debug by printing variables over a serial connection at 9600 baud). Iterate on your design by refining the PCB layout or code based on test results.
Step 6: Scaling Up Your Project
Once your basic DIY AI accelerator works, consider scaling it up. Add more sensors for complex tasks, like combining motion and light data for a smart home device. Upgrade to a more powerful microcontroller if needed, or design a four-layer PCB for better signal routing and noise reduction. A four-layer board can separate power and ground planes, reducing impedance to below 0.1 ohms for high-speed signals.
You can also explore open-source communities for inspiration. Many hobbyists share edge AI projects online, offering code and schematics to adapt for your own DIY AI accelerator.

Tips for Success in Custom PCB Design and Edge AI
Here are some practical tips to ensure your project succeeds:
- Start Small: Begin with a simple model and minimal hardware to learn the ropes before tackling complex designs.
- Double-Check Designs: Review your PCB schematic and layout for errors before manufacturing to avoid costly mistakes.
- Use Modular Components: Design your PCB with headers or connectors for easy upgrades or replacements.
- Document Everything: Keep detailed notes on your design choices and test results to streamline future iterations.
Challenges to Anticipate
Building a DIY AI accelerator with a custom PCB isn’t without challenges. Limited processing power can slow down inference, especially for larger models. Overheating is another concern—ensure proper heat dissipation by spacing components adequately and using traces with sufficient width (e.g., 1 mm for high-current paths). Finally, designing a PCB requires patience; expect a learning curve if you’re new to layout tools or soldering.
Conclusion: Start Your DIY AI Accelerator Journey Today
Creating a DIY AI accelerator with a custom PCB is an exciting and rewarding project for any hobbyist interested in machine learning hardware and edge AI. By following the steps in this guide—from choosing the right hardware to programming with TensorFlow Lite—you can build a functional prototype tailored to your needs. Whether you’re powering a smart sensor or experimenting with neural networks, the skills you gain will open doors to countless innovations.
Take the first step by gathering your components and sketching out a simple design. With patience and practice, your custom PCB and AI accelerator will come to life, proving that even hobbyists can push the boundaries of technology. Dive into the world of edge AI today and see where your creativity leads!


