 ALLPCB


If you're diving into DIY electronics and wondering how to make secure and reliable connections in your projects, terminal blocks are a fantastic solution. Whether you're working on small circuits, Arduino setups, breadboard designs, LED projects, or hobby electronics, terminal blocks provide an easy way to connect wires without soldering. In this comprehensive guide, we'll walk you through everything you need to know about using terminal blocks for Arduino, breadboard, LED projects, and more. You'll learn what they are, why they matter, and how to integrate them into your builds with step-by-step instructions.
What Are Terminal Blocks and Why Use Them in DIY Electronics?
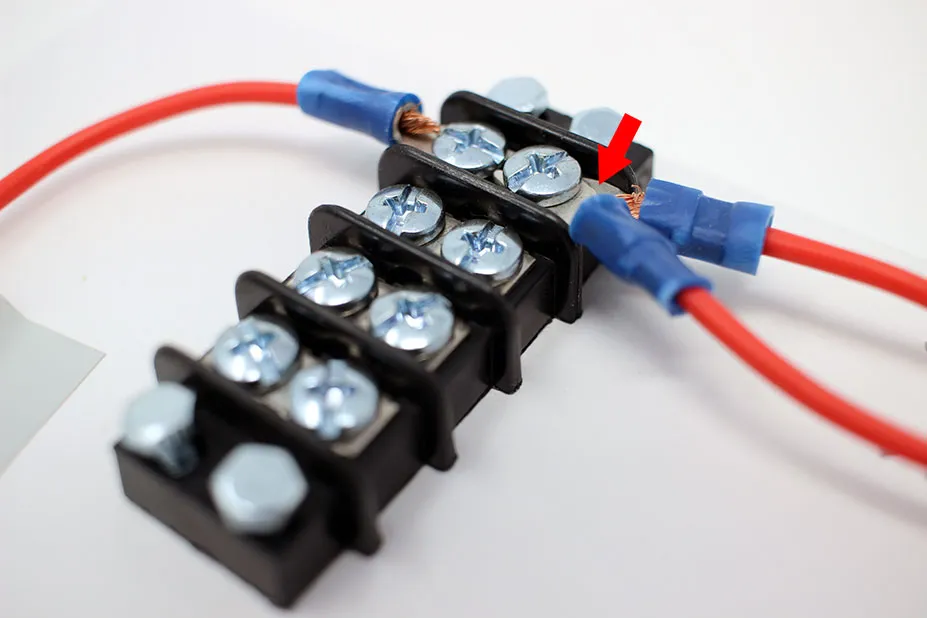
Terminal blocks are modular, insulated connectors used to secure two or more wires together. They come in various shapes and sizes, making them perfect for a wide range of applications in hobby electronics. Unlike soldering, which can be tricky for beginners, terminal blocks allow you to create strong connections that can be easily disconnected or modified. This makes them ideal for prototyping and testing small circuits.
For DIY enthusiasts working on projects like Arduino-based automation, breadboard experiments, or LED lighting setups, terminal blocks offer several benefits:
- Simplicity: No need for soldering skills—just insert the wire and tighten the screw or clip.
- Flexibility: Easy to reconfigure or replace components in your circuit.
- Safety: Insulated designs prevent accidental short circuits.
- Durability: They provide a secure hold for wires, reducing the risk of loose connections.
Types of Terminal Blocks for Hobby Electronics
Before diving into specific projects, it's important to understand the different types of terminal blocks available for small circuits and hobby electronics. Choosing the right one depends on your project's needs, such as current rating, voltage, and mounting style.
1. Screw Terminal Blocks
These are the most common type, featuring screws to clamp down on wires. They are widely used in Arduino projects and breadboard setups due to their reliability and ease of use. Screw terminal blocks typically support currents up to 10-15 amps and voltages up to 300V, making them suitable for most small circuits.
2. Spring-Clamp Terminal Blocks
Instead of screws, these use a spring mechanism to hold wires in place. They are faster to use since you just push the wire in, but they may not be as secure for high-vibration projects. They are great for quick prototyping with LEDs or sensors.
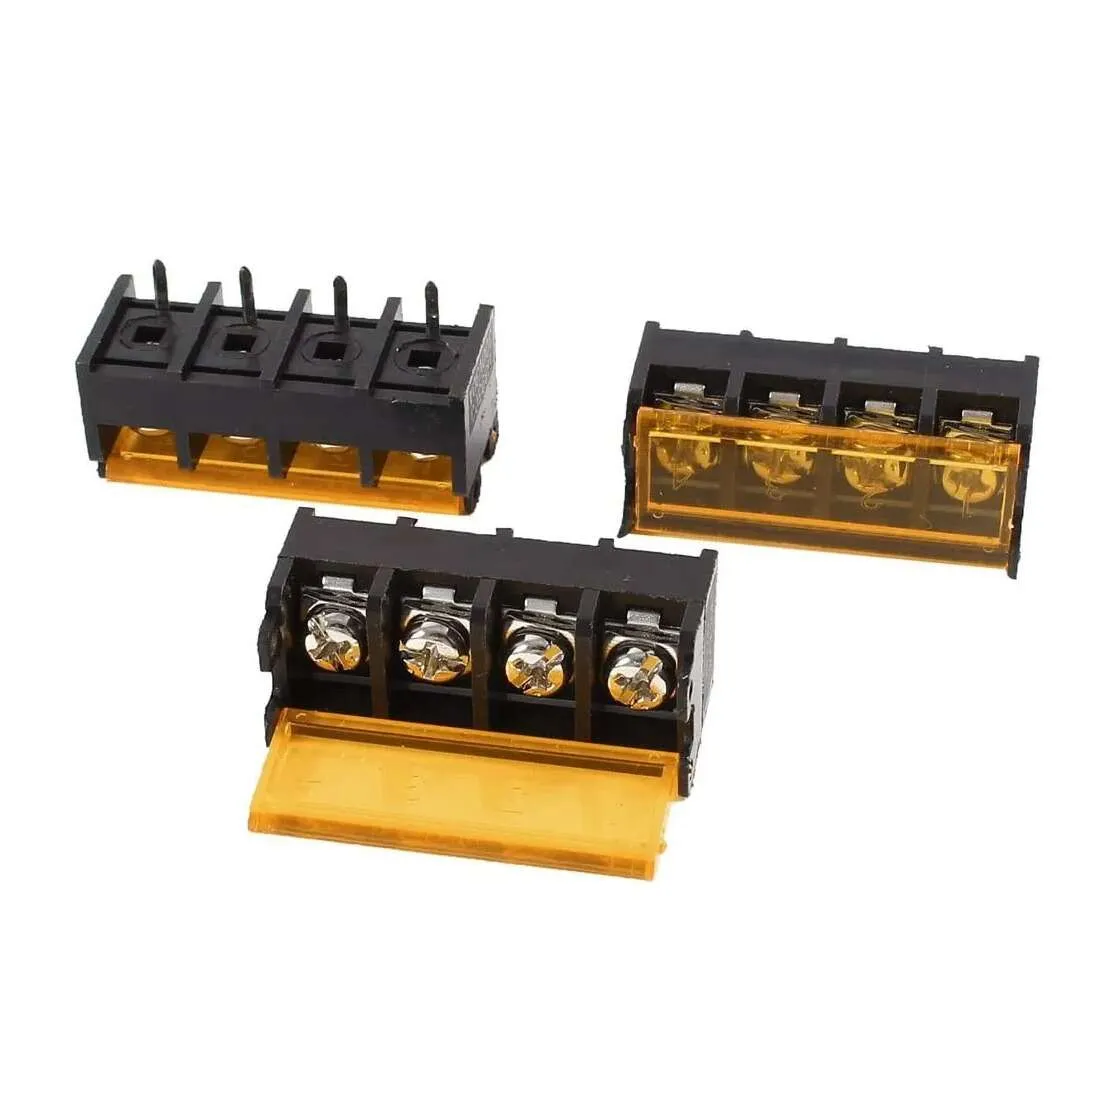
3. Barrier Terminal Blocks
These have a barrier between each terminal to prevent accidental contact. They are often used in projects requiring higher voltages or currents, though they are less common in basic hobby electronics.
4. DIN Rail Terminal Blocks
Designed for industrial applications, these mount on a DIN rail. They are overkill for most beginner projects but useful if you're scaling up to more complex systems.
Why Terminal Blocks Are Perfect for Arduino, Breadboard, and LED Projects
Terminal blocks are especially useful for specific applications in DIY electronics. Let's explore how they fit into common beginner projects like those involving Arduino, breadboards, and LEDs, while focusing on long-tail keywords like terminal blocks for Arduino, terminal blocks for breadboard, and terminal blocks for LED projects.
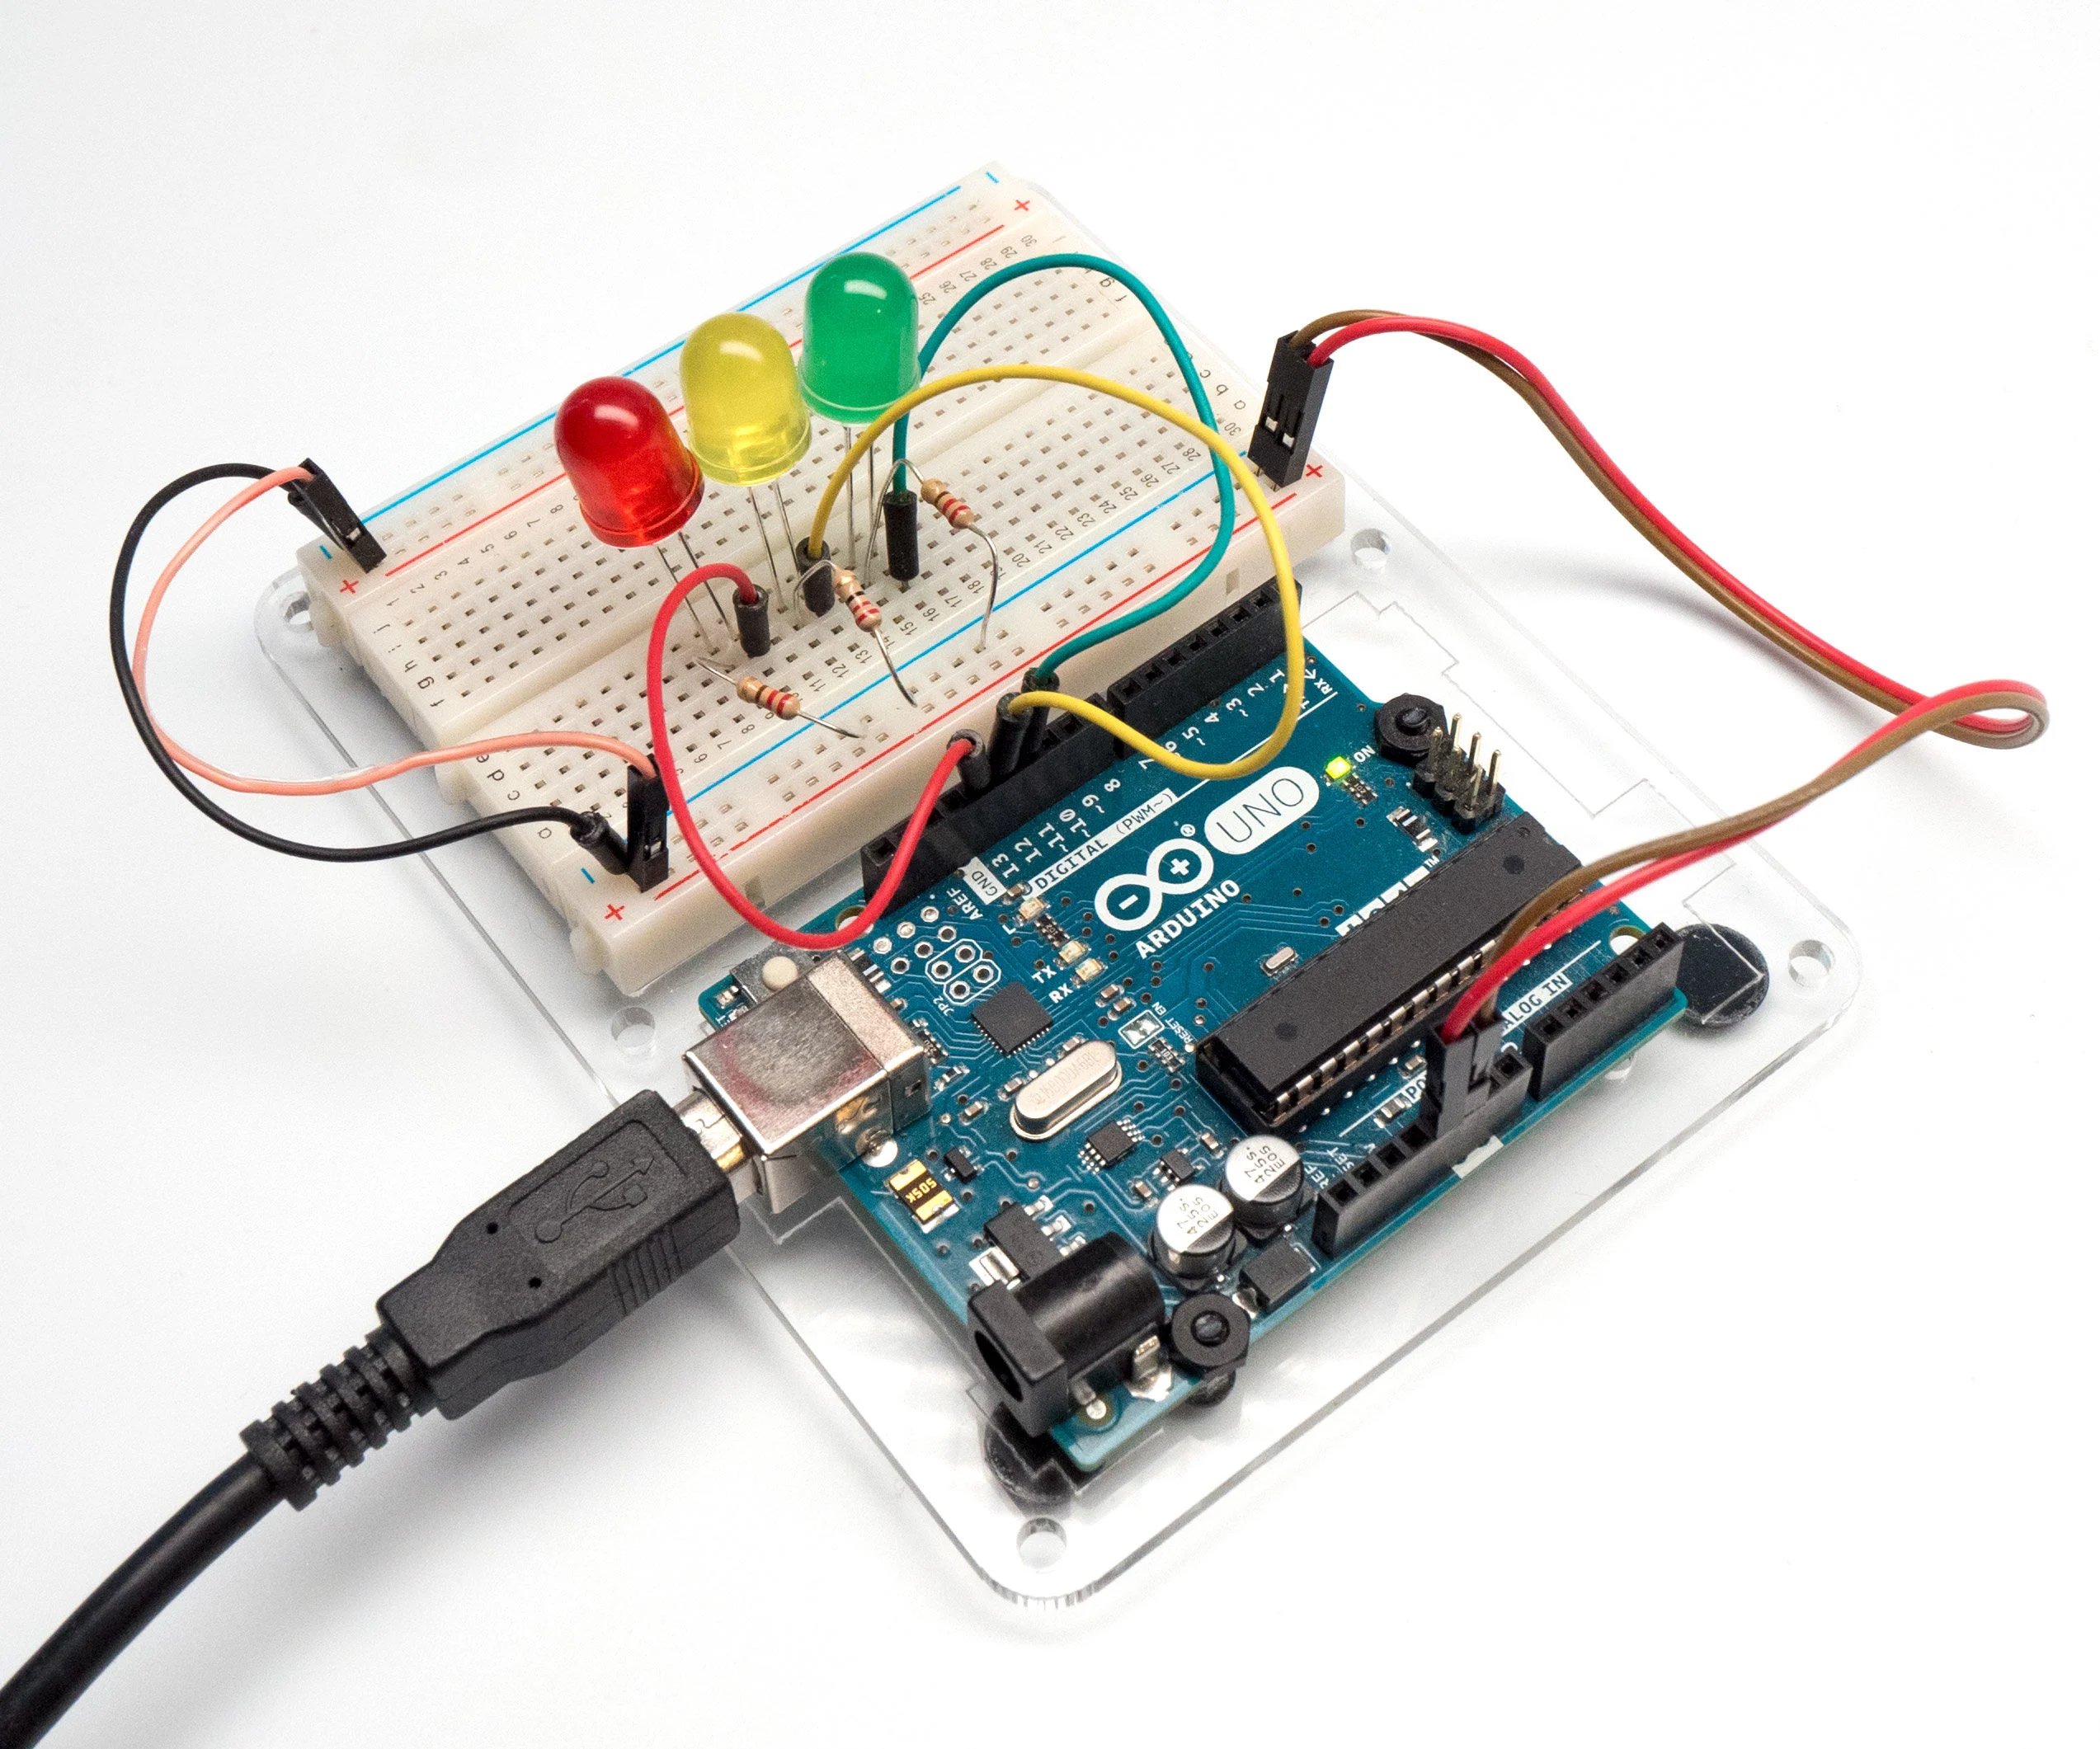
Terminal Blocks for Arduino
Arduino boards are a staple in hobby electronics, often used for controlling sensors, motors, and lights. However, connecting external components directly to Arduino pins can be messy and unreliable. Terminal blocks for Arduino solve this by providing a stable connection point. For instance, a screw terminal shield can be attached to an Arduino Uno, allowing you to connect wires for a 5V or 3.3V output to power a small motor rated at 500mA without risking loose connections.
Terminal Blocks for Breadboard
Breadboards are fantastic for prototyping, but their internal connections can wear out over time, leading to unreliable circuits. Terminal blocks for breadboard setups act as a power distribution hub. You can mount a terminal block next to your breadboard to connect a 9V battery or a 5V power supply, ensuring consistent power delivery to your circuit components.
Terminal Blocks for LED Projects
LED projects often involve multiple lights wired in series or parallel, requiring secure connections to handle currents typically ranging from 20mA per LED to a few hundred milliamps for larger arrays. Terminal blocks for LED projects make it easy to connect power sources and resistors (like a 220-ohm resistor for a standard 5mm LED) without soldering, reducing the risk of damaging sensitive components.
Step-by-Step Guide to Using Terminal Blocks in Small Circuits
Now that you understand the basics, let’s walk through how to use terminal blocks for small circuits in your DIY projects. This guide is tailored for beginners and focuses on practical steps for hobby electronics.
Step 1: Gather Your Materials
Before starting, ensure you have the following:
- A terminal block (screw or spring-clamp, depending on your preference)
- Wires (22-26 AWG is ideal for most small circuits)
- A small screwdriver (for screw terminals)
- Your project components (e.g., Arduino, breadboard, LEDs, resistors)
- A power source (like a 9V battery or 5V adapter)
Step 2: Choose the Right Terminal Block
Check the current and voltage requirements of your project. For most beginner projects, a terminal block rated for 10A and 300V will suffice. If you're working on an LED strip project drawing 2A at 12V, ensure the terminal block can handle that load.
Step 3: Prepare Your Wires
Strip about 0.25 inches (6mm) of insulation from the ends of your wires using a wire stripper. Twist the exposed strands to prevent fraying, which ensures a better connection inside the terminal block.
Step 4: Connect Wires to the Terminal Block
For screw terminals, loosen the screw, insert the wire into the slot, and tighten the screw until the wire is secure. For spring-clamp terminals, press the lever, insert the wire, and release. Ensure no bare wire is exposed outside the terminal to avoid short circuits.
Step 5: Mount the Terminal Block (If Needed)
Some terminal blocks come with adhesive backing or mounting holes. Secure it to your project enclosure or near your breadboard to keep your setup tidy.
Step 6: Test Your Connections
Power on your circuit and check for proper operation. If an LED doesn’t light up or a motor doesn’t run, double-check that the wires are tightly secured in the terminal block.
Practical Examples of Terminal Blocks in Hobby Electronics
Let’s look at some real-world applications of terminal blocks for hobby electronics to inspire your next project. These examples highlight how versatile terminal blocks can be in different setups.
Example 1: Powering a Breadboard Circuit
In a simple breadboard project, you might need to supply 5V to multiple components like sensors and LEDs. A terminal block can act as a power distribution point. Connect the positive and negative leads from a 5V adapter (rated at 1A) to the terminal block, then run wires from the block to the breadboard’s power rails. This setup ensures consistent voltage across all components without overloading any single connection point.
Example 2: Wiring an Arduino-Controlled LED Array
For an Arduino project controlling multiple LEDs (each drawing 20mA at 5V), use a terminal block to connect the power supply to the LED anodes through appropriate resistors (e.g., 220 ohms). The Arduino’s digital pins can control the cathodes via transistors if needed, while the terminal block keeps the power wiring neat and secure.
Example 3: Connecting a Motor in a Small Robot
If you're building a small robot with a 6V DC motor rated at 500mA, a terminal block can connect the motor to a battery pack or driver circuit controlled by an Arduino. This avoids direct soldering, making it easy to swap motors or batteries during testing.

Tips for Using Terminal Blocks Safely and Effectively
While terminal blocks are beginner-friendly, following best practices ensures your projects run smoothly and safely. Here are some tips tailored for small circuits and hobby electronics:
- Check Ratings: Always verify the current and voltage ratings of your terminal block. A block rated for 5A won’t handle a 10A load, risking overheating or failure.
- Use Proper Wire Gauge: For most small circuits, 22-26 AWG wire is suitable. Thicker wires (lower AWG) are harder to fit, while thinner wires may not handle the current.
- Avoid Overloading: Don’t connect too many high-current devices to a single terminal block. Distribute loads across multiple blocks if needed.
- Label Connections: Use small labels or color-coded wires to keep track of positive, negative, and signal lines, especially in complex setups.
- Secure Your Setup: Mount terminal blocks to prevent movement, which can loosen connections over time.
Common Mistakes to Avoid with Terminal Blocks
Beginners often make simple errors when using terminal blocks for the first time. Here’s what to watch out for:
- Loose Connections: Failing to tighten screws or fully insert wires can lead to intermittent power loss or shorts.
- Exposed Wires: Leaving bare wire outside the terminal block increases the risk of short circuits.
- Ignoring Polarity: Always double-check polarity when connecting power sources to avoid damaging components like LEDs or microcontrollers.
- Using Damaged Blocks: Cracked or worn-out terminal blocks can fail under load. Replace them if you notice any damage.
Where to Buy Terminal Blocks for Your Projects
Terminal blocks are widely available and affordable, making them accessible for any DIY enthusiast. You can find them at local electronics stores, online marketplaces, or specialized suppliers. Look for options that match your project’s current and voltage needs, and consider buying in bulk if you plan to work on multiple small circuits. Many suppliers offer terminal blocks in packs of 10 or 20 for under $10, perfect for hobby electronics.
Conclusion: Start Building with Terminal Blocks Today
Terminal blocks are an essential tool for anyone starting in DIY electronics, offering a simple, safe, and reliable way to connect wires in your projects. Whether you're working on terminal blocks for Arduino, breadboard setups, LED projects, or other small circuits, they streamline the process of building and testing your ideas. By following the steps and tips outlined in this guide, you can confidently integrate terminal blocks into your hobby electronics projects and take your skills to the next level.
With their versatility and ease of use, terminal blocks open up a world of possibilities for beginners. So, grab a set, gather your components, and start experimenting with your next big idea. The secure connections you create today could power the innovative projects of tomorrow!


