 ALLPCB


Are you a hobbyist looking for easy and affordable ways to clean your printed circuit boards (PCBs) after rework? Cleaning a PCB after soldering or desoldering is crucial to ensure its performance and longevity. In this guide, we’ll walk you through simple, step-by-step methods for homemade PCB cleaner after rework, using common materials like isopropyl alcohol, and share budget PCB cleaning solutions perfect for small batch rework cleaning. Whether you’re fixing a single board or working on a small project, these tips will help you achieve professional results at home.
Let’s dive into the detailed process of cleaning PCB with isopropyl alcohol after rework and explore other cost-effective solutions to keep your boards spotless and functional.
Why Cleaning PCBs After Rework Matters
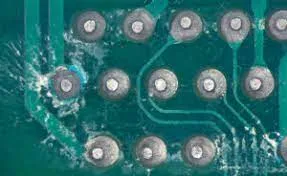
Reworking a PCB often involves soldering or desoldering components, which leaves behind flux residue, solder particles, and other contaminants. If not cleaned properly, these residues can cause issues like short circuits, corrosion, or poor electrical connections. Over time, this can degrade the board’s performance or even render it unusable. For hobbyists working on small projects, cleaning ensures reliability without the need for expensive tools or professional services.
Cleaning also improves the appearance of your PCB, making it look neat and professional. More importantly, it prevents long-term damage, especially in humid environments where residue can attract moisture and lead to corrosion. By using budget PCB cleaning solutions, you can protect your hard work without breaking the bank.
Tools and Materials for Homemade PCB Cleaning
Before starting, gather the necessary tools and materials. The good news is that most of these items are inexpensive and likely already in your home or workshop. Here’s what you’ll need for effective small batch rework cleaning:
- Isopropyl Alcohol (IPA): A concentration of 90% or higher is ideal for dissolving flux residue and other contaminants. It’s widely available and affordable, costing around $5–10 for a 16-ounce bottle.
- Soft-Bristle Brush: An old toothbrush or a small paintbrush works well to scrub away residue without damaging the board. Expect to spend $1–3 if you need to buy one.
- Cotton Swabs or Microfiber Cloth: These are great for precision cleaning in tight spots. A pack of cotton swabs costs about $2.
- Compressed Air Can: Useful for blowing away dust and debris. A can typically costs $5–8.
- Distilled Water (Optional): If you’re diluting alcohol or rinsing, use distilled water to avoid mineral deposits. It’s about $1 per gallon.
- Gloves and Safety Glasses: Protect your hands and eyes when working with chemicals like isopropyl alcohol. A basic pair of gloves and glasses costs around $5 combined.
- Small Container: For holding cleaning solutions or soaking small parts. Reuse an old bowl or buy one for $1–2.
With a total budget of under $30, you can set up a complete cleaning station for homemade PCB cleaner after rework. These tools are perfect for hobbyists who don’t need industrial-grade equipment.
Related Reading: From Flux to Function: A Comprehensive Guide to PCB Cleaning Solvents
Step-by-Step Guide to Cleaning PCB with Isopropyl Alcohol After Rework
Isopropyl alcohol is one of the most popular and effective solutions for cleaning PCBs after rework. It dissolves flux residue, dries quickly, and is safe for most electronic components when used properly. Follow these steps for a thorough clean:
Step 1: Prepare Your Workspace
Set up in a well-ventilated area since isopropyl alcohol fumes can be strong. Lay down some newspaper or a disposable cloth to catch drips and protect your surface. Wear gloves and safety glasses to avoid skin or eye irritation.
Step 2: Remove Loose Debris
Use a can of compressed air to blow away dust, solder bits, or other loose particles from the PCB. Hold the can at a 45-degree angle and work in short bursts to avoid damaging components. This step ensures that larger debris doesn’t interfere with the liquid cleaning process.
Step 3: Apply Isopropyl Alcohol
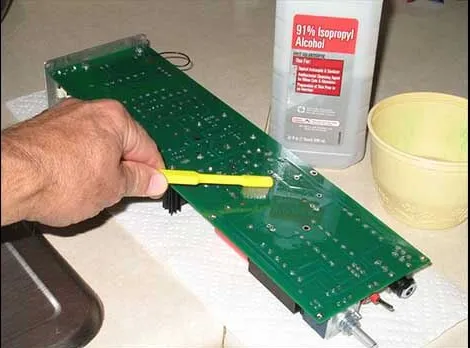
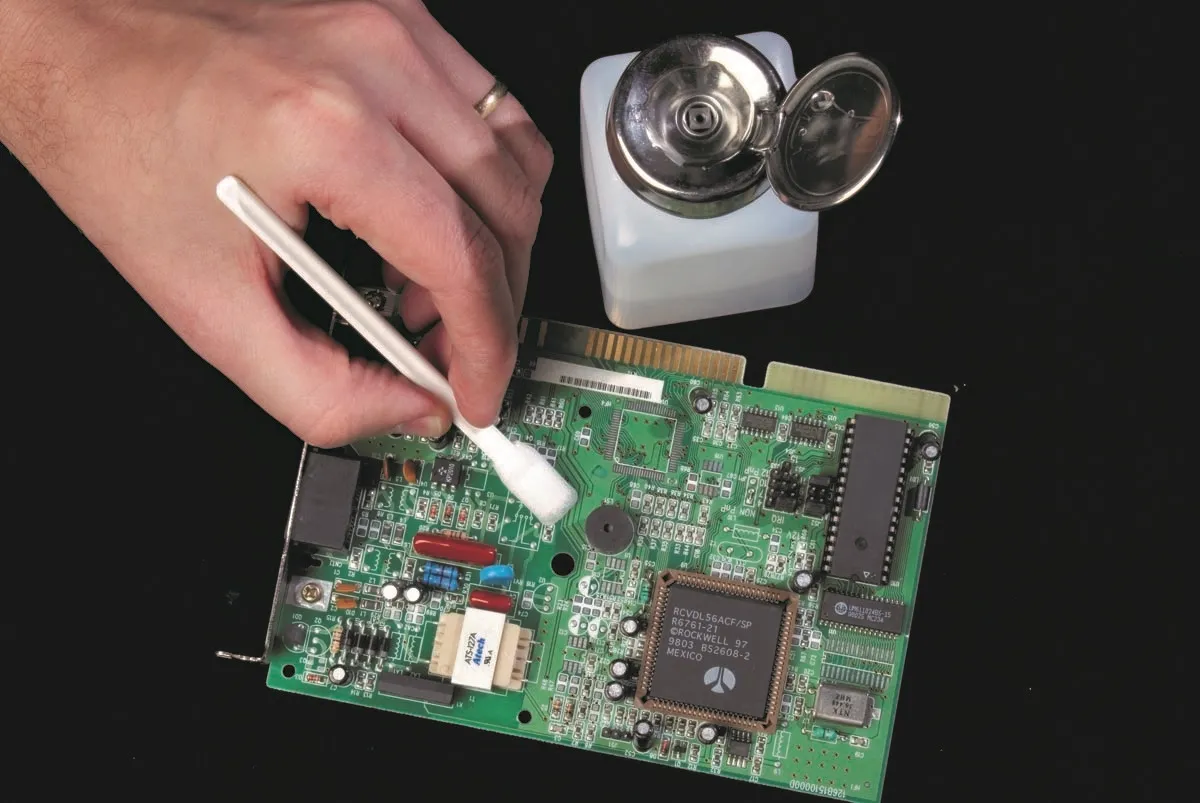
Dip a soft-bristle brush or cotton swab into isopropyl alcohol (90% or higher concentration). Gently scrub the areas with flux residue or visible dirt, focusing on solder joints and tight spaces around components. For stubborn spots, let the alcohol sit for 1–2 minutes to loosen the residue before scrubbing.
If you’re working on a larger board, pour a small amount of alcohol into a container and dip your brush or cloth as needed. Avoid soaking the PCB directly to prevent liquid from seeping under components where it might not dry properly.
Step 4: Wipe Down the Board
After scrubbing, use a clean microfiber cloth or cotton swab to wipe away the dissolved residue and excess alcohol. Check for any remaining sticky spots or dull areas, as these indicate leftover flux. Repeat the scrubbing process if needed.
Step 5: Dry the PCB
Allow the board to air dry for 10–15 minutes in a well-ventilated area. Since isopropyl alcohol evaporates quickly, this shouldn’t take long. You can also use compressed air to speed up drying, but ensure no liquid remains in crevices or under components.
Alternative Budget PCB Cleaning Solutions
While isopropyl alcohol is highly effective, there are other budget PCB cleaning solutions you can try if you don’t have it on hand or prefer a different method. These are ideal for hobbyists doing small batch rework cleaning.
Option 1: Distilled Water and Dish Soap Mix
For a homemade PCB cleaner after rework, mix a small amount of mild dish soap with distilled water (about 1 teaspoon of soap per cup of water). Use a soft brush to apply the solution and scrub gently. Rinse with distilled water to avoid mineral buildup, then dry thoroughly with a cloth or compressed air. This method works well for light residue but isn’t as effective as alcohol for sticky flux.
Caution: Only use this method if your PCB has no components sensitive to water, and ensure it’s completely dry before powering it on to avoid short circuits.
Option 2: Vinegar Solution for Corrosion
If your reworked PCB shows signs of corrosion (greenish deposits on copper traces), a diluted white vinegar solution can help. Mix equal parts vinegar and distilled water, apply with a cotton swab, and scrub lightly. Rinse with distilled water or isopropyl alcohol afterward, then dry completely. This is a low-cost option, with vinegar costing about $2 per bottle, but it’s not suitable for general cleaning due to its acidity.
Option 3: Dry Cleaning with Brushes
If you’re avoiding liquids altogether, use a soft, anti-static brush to remove dust and light residue. This won’t tackle sticky flux but is a safe first step for dry debris. Brushes cost as little as $1–3, making this a true budget solution.
Related Reading: PCB Cleaning: Removing Flux Residue for Long-Term Reliability
Tips for Effective Small Batch Rework Cleaning
When working on small batches of PCBs, efficiency and safety are key. Here are some practical tips to streamline your cleaning process and avoid common mistakes:
- Work in Small Sections: Clean one area of the PCB at a time to ensure thoroughness, especially on boards with many components.
- Avoid Over-Wetting: Too much liquid can seep under components and cause issues. Use just enough isopropyl alcohol or solution to dampen your brush or swab.
- Check for Residue: After cleaning, inspect the board under good lighting. Flux residue often appears as a dull, sticky film. If you see any, clean again.
- Protect Sensitive Components: If your PCB has parts like connectors or switches that shouldn’t get wet, cover them with painter’s tape before cleaning.
- Store Cleaning Supplies Safely: Keep isopropyl alcohol in a cool, dry place away from heat sources, as it’s flammable.
By following these tips, you can ensure consistent results with minimal risk to your boards during small batch rework cleaning.
Common Mistakes to Avoid When Cleaning PCBs
Even with the best intentions, hobbyists can make errors that harm their PCBs. Here are some pitfalls to watch out for:
- Using Low-Concentration Alcohol: Rubbing alcohol with 70% or less concentration contains more water, which evaporates slowly and can leave residue or cause corrosion. Stick to 90% or higher for best results.
- Scrubbing Too Hard: Aggressive brushing can damage delicate traces or components. Use gentle, controlled strokes with a soft brush.
- Skipping Drying: Powering on a PCB before it’s fully dry can cause short circuits. Always ensure no liquid remains.
- Using Tap Water: Tap water contains minerals that can leave deposits on your board. Always opt for distilled water if rinsing is needed.
Avoiding these mistakes will help you maintain the integrity of your PCB and extend its lifespan.
When to Consider Advanced Cleaning Methods
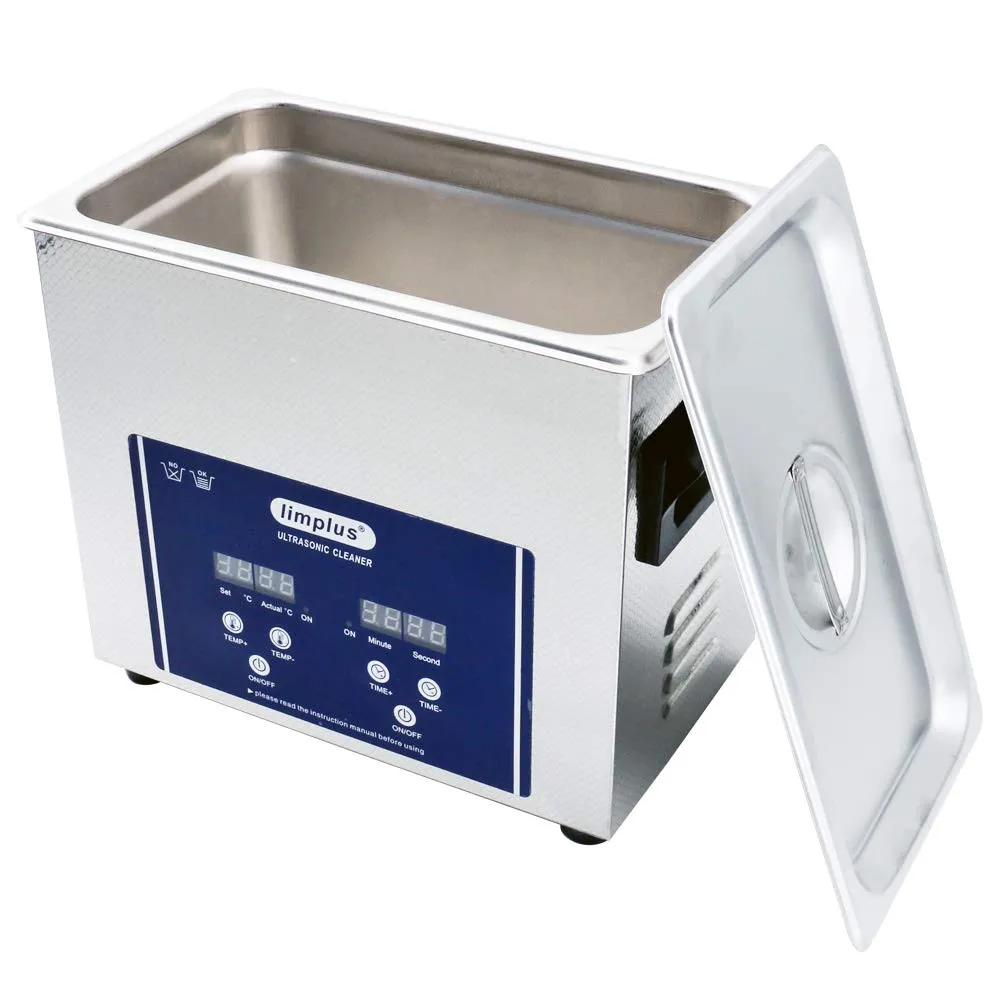
For hobbyists, the methods above are usually sufficient. However, if you’re working on more complex projects or notice persistent residue, you might explore advanced options like ultrasonic cleaners. These devices use high-frequency sound waves to agitate a cleaning solution, removing contaminants from hard-to-reach areas. Basic ultrasonic cleaners start at around $30–50, making them a viable option for those with a slightly higher budget.
If you go this route, use a mix of isopropyl alcohol and distilled water (50/50 ratio) in the cleaner, and run the cycle for 3–5 minutes. Always check the manufacturer’s guidelines for your specific PCB and components to avoid damage.
Conclusion: Keep Your PCBs Clean and Functional
Cleaning your PCBs after rework doesn’t have to be complicated or expensive. With simple tools like isopropyl alcohol, a soft brush, and a little patience, you can achieve professional results at home. Whether you’re using cleaning PCB with isopropyl alcohol after rework or experimenting with homemade PCB cleaner after rework, these budget PCB cleaning solutions are perfect for hobbyists handling small batch rework cleaning.
By following the steps and tips outlined in this guide, you’ll ensure your boards remain free of harmful residues, perform reliably, and last for years. So, grab your cleaning supplies, set up your workspace, and give your reworked PCBs the care they deserve. A clean board is a happy board!


