 ALLPCB


Are you looking to dive into the world of rigid-flex PCB prototyping but don’t know where to start? This beginner’s guide is your roadmap to understanding, designing, and creating rigid-flex PCBs, even if you’re new to electronics or working on a tight budget. Whether you're exploring DIY rigid-flex PCB projects or seeking cheap rigid-flex PCB solutions through professional prototyping services, we’ve got you covered with practical tips and step-by-step insights.
In this comprehensive guide from ALLPCB, we’ll break down the essentials of rigid-flex PCB technology, explain the prototyping process, and share actionable advice for beginner PCB projects. Let’s get started on your journey to mastering this innovative and versatile circuit board design!
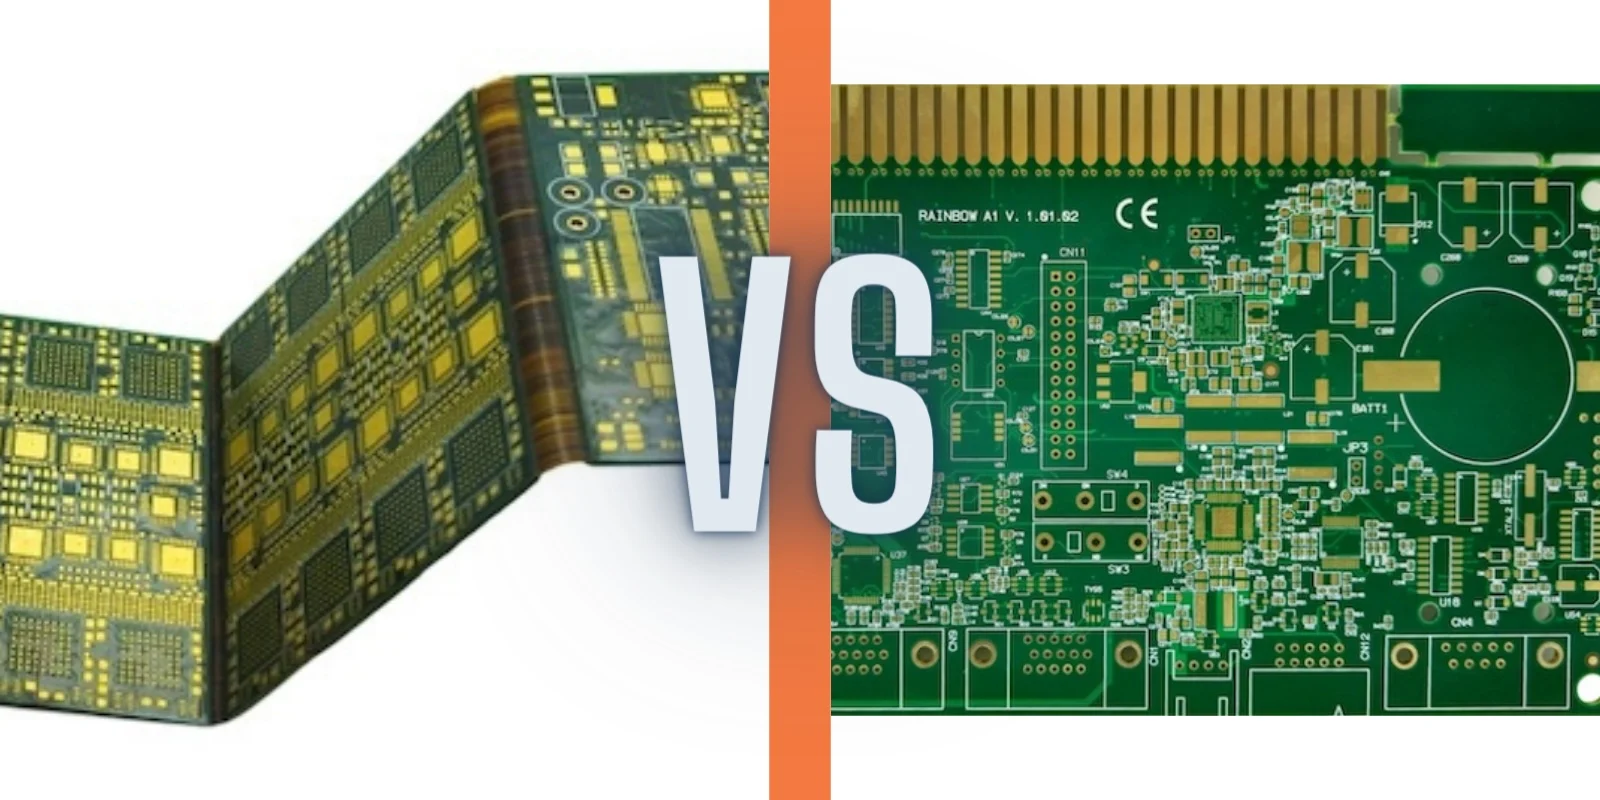
What Are Rigid-Flex PCBs?
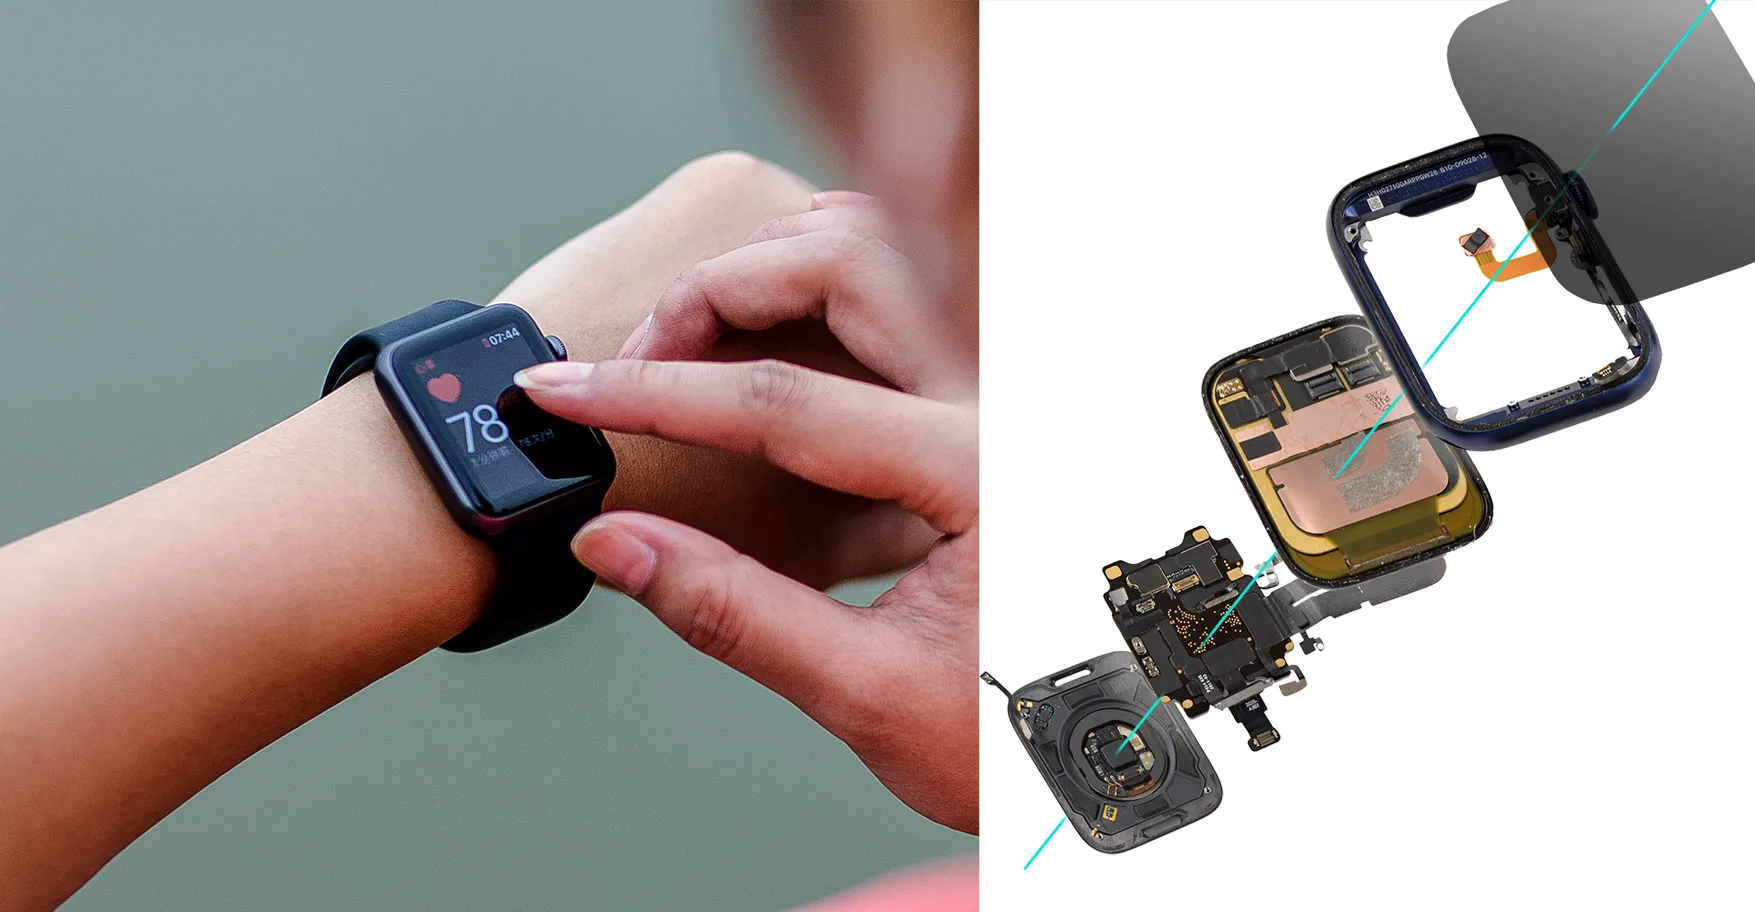
Rigid-flex PCBs combine the best of both worlds: the durability of rigid circuit boards and the adaptability of flexible circuits. These hybrid boards consist of rigid sections for mounting components and flexible sections that allow the board to bend or fold into unique shapes. This design is perfect for compact devices like wearables, medical equipment, and aerospace applications where space and flexibility are critical.
Unlike traditional rigid PCBs made of materials like FR-4, rigid-flex boards use flexible substrates such as polyimide for the bendable areas. This combination offers several advantages:
- Space Efficiency: They can fold into tight spaces, reducing the need for connectors and cables.
- Durability: Flexible sections handle vibrations and shocks better than rigid-only boards.
- Lightweight Design: Thin materials make them ideal for portable devices.
Why Choose Rigid-Flex PCBs for Prototyping?
For beginners, prototyping with rigid-flex PCBs might seem complex, but it’s a fantastic choice for innovative projects. Here’s why:
- Versatility: They work well for beginner PCB projects that require unique form factors, like custom wearables or foldable gadgets.
- Reduced Assembly Costs: By eliminating connectors, you save on parts and labor during assembly.
- Reliability: Fewer connection points mean a lower risk of failure, which is great for testing prototypes under real-world conditions.
While the initial design phase might be more challenging than a standard rigid board, the benefits make it worth exploring, especially if you’re targeting compact or dynamic applications.
Getting Started with Rigid-Flex PCB Prototyping: Key Steps
Prototyping a rigid-flex PCB involves several stages, from design to fabrication. Let’s walk through the process step by step to ensure your first project is a success.
Step 1: Understand Your Project Requirements
Before diving into design software, define the purpose of your PCB. Ask yourself:
- What device or application am I building?
- Where will the board need to bend or flex?
- What components will I use, and how much space do I have?
For example, if you’re creating a wearable fitness tracker as a beginner PCB project, you’ll need flexible sections to wrap around a wrist while keeping rigid areas for sensors and batteries. Mapping out these needs early prevents costly redesigns later.
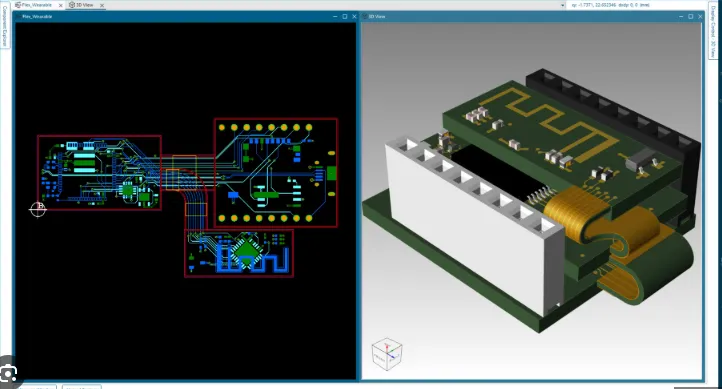
Step 2: Design Your Rigid-Flex PCB
Designing a rigid-flex PCB requires special attention to both the rigid and flexible sections. Use PCB design software that supports multi-layer and flexible layouts. Here are some beginner-friendly tips for DIY rigid-flex PCB design:
- Keep Bend Areas Simple: Avoid placing components or vias in flexible zones. Traces in these areas should run perpendicular to the bend to prevent cracking.
- Optimize Layer Count: A typical rigid-flex PCB might have 4-6 layers. More layers increase cost, so stick to the minimum needed for your circuit.
- Use Appropriate Materials: Rigid sections often use FR-4 with a thickness of 1.6mm, while flexible areas use polyimide films as thin as 0.05mm.
Pay attention to impedance control if your project involves high-speed signals. For instance, a 50-ohm impedance is common for RF applications, and trace width/spacing must be calculated accordingly using design tools.
Step 3: Choose a Prototyping Method
When it comes to rigid-flex PCB prototyping, you have two main options: DIY at home or using professional prototyping services. Let’s explore both.
DIY Rigid-Flex PCB Prototyping
For hobbyists on a budget, a DIY rigid-flex PCB approach can be tempting. However, creating rigid-flex boards at home is challenging due to the specialized materials and processes involved. Here’s how you might approach a simplified version:
- Materials: Source thin flexible substrates (like Kapton tape) and rigid FR-4 boards. Manually bond them using adhesives compatible with electronics.
- Etching: Use chemical etching for copper traces on both rigid and flexible parts. Be cautious with alignment.
- Limitations: DIY methods often lack precision, and multi-layer designs are nearly impossible without professional equipment.
For most beginners, DIY is better suited for learning rather than producing functional rigid-flex prototypes due to the complexity of flexible circuits.
Professional Prototyping Services
Using prototyping services is the recommended path for cheap rigid-flex PCB production, especially for beginners. Professional manufacturers offer:
- Precision: Advanced machinery ensures accurate layer stacking and trace alignment.
- Material Options: Access to high-quality polyimide and adhesives for reliable flex areas.
- Cost-Effective Small Runs: Many services provide affordable options for low-volume prototypes, with costs starting as low as $50-$100 for a small batch depending on complexity.
At ALLPCB, we specialize in supporting beginners with accessible and budget-friendly solutions for rigid-flex prototyping. Our streamlined process ensures quick turnaround times and high-quality results tailored to your project needs.
Step 4: Test and Iterate
Once your prototype is fabricated, test it thoroughly. Check for:
- Flexibility: Ensure the board bends as intended without damaging traces. A typical flex area should withstand a bend radius of 10 times the material thickness (e.g., 0.5mm for a 0.05mm polyimide layer).
- Signal Integrity: Use an oscilloscope to verify signal quality, especially for high-speed designs with data rates above 1 Gbps.
- Component Stability: Confirm that components remain secure during flexing or vibration.
If issues arise, revise your design and order a new prototype. Iteration is a normal part of the process, especially for beginner PCB projects.
Tips for Cost-Effective Rigid-Flex PCB Prototyping
Creating a cheap rigid-flex PCB prototype doesn’t mean sacrificing quality. Here are some strategies to keep costs down:
- Simplify Your Design: Minimize the number of layers and avoid complex flex patterns. A 4-layer board can cost 30-50% less than a 6-layer one.
- Stick to Standard Materials: Use common thicknesses and substrates to avoid premium pricing.
- Order in Small Batches: Many prototyping services offer discounts for small runs of 5-10 boards, perfect for testing.
- Avoid Tight Tolerances: Unless your project demands it, standard tolerances (e.g., ±0.1mm for trace width) are cheaper to produce.
By planning ahead and optimizing your design, you can achieve professional results without breaking the bank.
Common Challenges in Rigid-Flex PCB Prototyping (and How to Avoid Them)
As a beginner, you might encounter hurdles during rigid-flex PCB prototyping. Here’s how to tackle the most common issues:
- Trace Cracking in Flex Areas: Prevent this by using wider traces (e.g., 0.2mm or more) and adding teardrop pads at via connections for stress relief.
- Delamination: Ensure proper bonding between rigid and flex layers by following manufacturer guidelines or relying on professional fabrication.
- Component Failure During Bending: Place components only on rigid sections and reinforce mounting points with adhesive if needed.
Anticipating these challenges will save you time and resources during prototyping.
Applications of Rigid-Flex PCBs for Beginners
If you’re working on beginner PCB projects, rigid-flex designs open up exciting possibilities. Here are a few ideas to inspire you:
- Wearable Tech: Create a fitness band with sensors on rigid sections and flexible loops to fit around a wrist.
- Foldable Gadgets: Design a compact LED display that folds for portability.
- Robotics: Build lightweight control boards that flex with moving parts.
Start with a simple project to learn the ropes before tackling more complex designs.
Why Partner with ALLPCB for Your Rigid-Flex Prototyping Needs?
At ALLPCB, we’re committed to making rigid-flex PCB prototyping accessible for beginners and professionals alike. Our services are designed to support your journey with:
- Affordable Pricing: Competitive rates for small-batch prototypes, ensuring you get cheap rigid-flex PCB solutions without compromising quality.
- Expert Support: Guidance on design and materials to help you avoid common pitfalls.
- Fast Turnaround: Quick production times to keep your project on track.
Whether you’re experimenting with a DIY rigid-flex PCB concept or scaling up a design, we’re here to help you succeed.
Conclusion: Start Your Rigid-Flex PCB Journey Today
Prototyping rigid-flex PCBs might seem daunting for beginners, but with the right approach, it’s an achievable and rewarding process. By understanding the basics, following best practices for design, and leveraging professional prototyping services, you can bring your innovative ideas to life—whether it’s a wearable device, a compact gadget, or another creative project.
Remember to start small with beginner PCB projects, test thoroughly, and iterate as needed. With resources like this guide and support from ALLPCB, you’re well-equipped to tackle rigid-flex PCB prototyping on a budget. Take the first step today and explore the endless possibilities of this cutting-edge technology!


