 ALLPCB


If you're looking to understand the immersion silver plating process for PCB manufacturing, you've come to the right place. Immersion silver is a popular surface finish for printed circuit boards (PCBs) due to its excellent conductivity, cost-effectiveness, and environmental compliance. In this comprehensive guide, we'll walk you through every step of the immersion silver plating process, from preparation to the final finish, covering the chemistry, equipment, and detailed steps involved.
Whether you're an engineer, a PCB designer, or a manufacturer, this blog will provide you with actionable insights into immersion silver PCB manufacturing. Let’s dive into the details of this process to help you achieve high-quality results for your projects.
What Is Immersion Silver Plating in PCB Manufacturing?
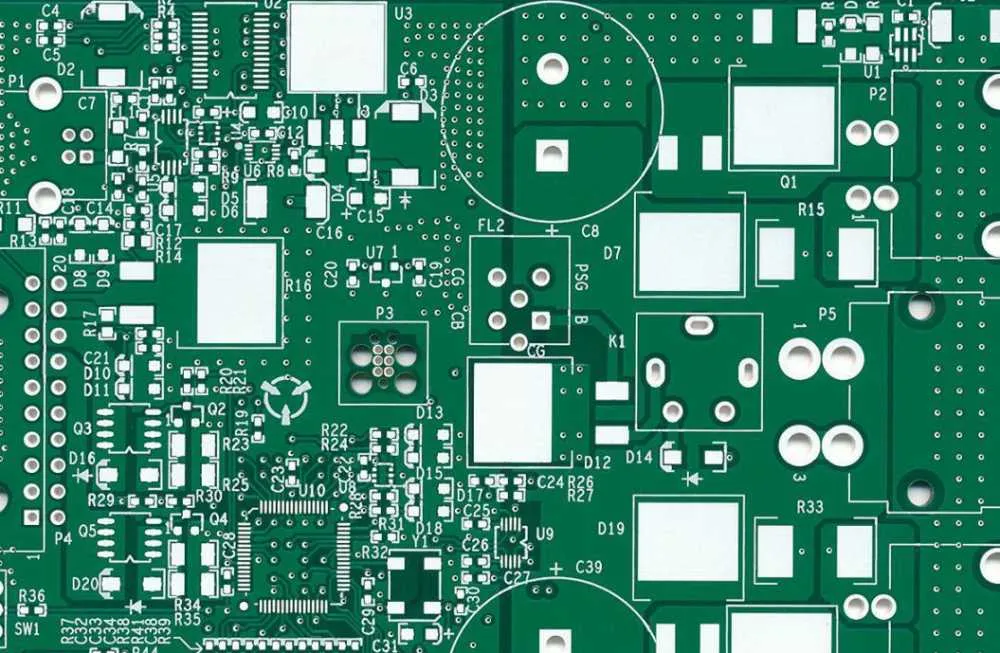
Immersion silver plating is a surface finish technique used in PCB manufacturing to protect exposed copper pads from oxidation while improving solderability. This process involves depositing a thin layer of silver onto the copper surface through a chemical reaction, without the use of an external electrical current. The result is a flat, uniform coating that enhances the performance of the PCB, especially for high-frequency applications due to low signal loss caused by the skin effect.
This finish is often chosen for its compliance with RoHS (Restriction of Hazardous Substances) standards, making it an environmentally friendly option compared to older lead-based finishes. Additionally, immersion silver offers a cost-effective alternative to other finishes like immersion gold, while still providing excellent electrical properties.
Why Choose Immersion Silver for PCBs?
Before we explore the immersion silver plating steps, let’s look at why this finish is a preferred choice for many applications:
- Excellent Conductivity: Silver has one of the highest electrical conductivity ratings among metals, ensuring minimal signal loss, especially in high-frequency designs with impedance values often below 50 ohms.
- Cost-Effective: Compared to other premium finishes, immersion silver provides a balance of performance and affordability.
- Flat Surface: The process creates a smooth, planar surface, ideal for fine-pitch components and surface-mount technology (SMT).
- Environmental Compliance: As a lead-free finish, it meets global environmental standards.
However, it’s worth noting that immersion silver can tarnish over time due to exposure to air contaminants like sulfur or chlorine, which may affect its shelf life if not properly stored.
Step-by-Step Immersion Silver Plating Process
The immersion silver plating process involves several carefully controlled steps to ensure a high-quality finish. Below, we break down each stage of immersion silver PCB manufacturing, from preparation to the final inspection.
Step 1: Surface Preparation and Cleaning
The first step in the immersion silver plating process is to prepare the PCB surface. Any contaminants, such as oils, dust, or oxidation, on the copper pads can interfere with the silver deposition, leading to poor adhesion or uneven coating. The cleaning process typically involves:
- Micro-Etching: A mild acid solution, often based on sulfuric acid or hydrogen peroxide, is used to remove a thin layer of copper oxide and roughen the surface for better adhesion. This step typically removes about 20-40 microinches of copper.
- Degreasing: An alkaline cleaner removes organic residues like fingerprints or grease from the PCB surface.
- Rinsing: Deionized water is used to rinse off any remaining cleaning agents, ensuring a clean surface for the next steps.
This preparation is critical to achieving a uniform silver layer and preventing defects like voids or weak adhesion.
Step 2: Pre-Dip Activation
After cleaning, the PCB undergoes a pre-dip activation step to prepare the copper surface for silver deposition. This step often involves immersing the board in a dilute acid solution, such as nitric acid or a proprietary activator, to remove any remaining oxide layers and activate the copper surface for the chemical reaction. The pre-dip also helps prevent contamination of the main silver plating bath.
The activation process typically lasts for 1-2 minutes, depending on the specific chemistry used and the condition of the copper surface.
Step 3: Immersion Silver Deposition
This is the core of the immersion silver plating process. The PCB is immersed in a silver plating bath containing silver nitrate or silver cyanide, along with other additives to control the reaction rate and ensure uniformity. Unlike electroplating, immersion silver relies on a displacement reaction where silver ions in the solution replace copper atoms on the surface.
The thickness of the silver layer is typically controlled to be between 0.1 and 0.5 micrometers (4-20 microinches), as specified by standards like IPC-4553A. This thin layer is sufficient to protect the copper while maintaining cost efficiency. The immersion time is usually 1-3 minutes, depending on the desired thickness and the bath chemistry.
Step 4: Post-Treatment and Rinsing
Once the silver layer is deposited, the PCB is removed from the plating bath and thoroughly rinsed with deionized water to remove any residual chemicals. A post-treatment step may be applied to enhance the tarnish resistance of the silver layer. This often involves a proprietary anti-tarnish solution that forms a protective barrier on the silver surface, extending its shelf life.
After post-treatment, the board is rinsed again to ensure no chemical residues remain, which could affect solderability or long-term reliability.
Step 5: Drying and Inspection
The final step in the immersion silver plating steps is drying the PCB to remove any moisture. This is typically done using hot air or a drying oven at temperatures around 50-70°C (122-158°F) for a few minutes. Once dried, the board undergoes a thorough inspection to ensure the silver layer meets quality standards.
Inspection often includes:
- Visual Examination: Checking for uniformity, discoloration, or defects in the silver coating.
- Thickness Measurement: Using X-ray fluorescence (XRF) or other non-destructive testing methods to verify that the silver layer falls within the specified range of 0.1-0.5 micrometers.
- Solderability Testing: Ensuring the surface can form strong solder joints during assembly.
Immersion Silver Plating Chemistry: What’s Involved?
The immersion silver plating chemistry is a critical aspect of the process, as it directly affects the quality and performance of the finish. The plating bath typically contains:
- Silver Source: Silver nitrate or silver cyanide provides the silver ions necessary for deposition. Silver nitrate is more commonly used due to its lower toxicity and environmental impact.
- Complexing Agents: These control the rate of the displacement reaction and prevent excessive silver deposition. Common agents include ammonia or organic compounds.
- Stabilizers and Additives: These ensure uniformity and improve the tarnish resistance of the silver layer.
- pH Buffers: Maintain the bath’s pH, typically in the range of 4-6, to optimize the reaction conditions.
The bath temperature is usually kept between 40-50°C (104-122°F) to achieve consistent results. Proper maintenance of the bath chemistry, including regular monitoring of silver ion concentration and pH, is essential to avoid defects like uneven coating or poor adhesion.
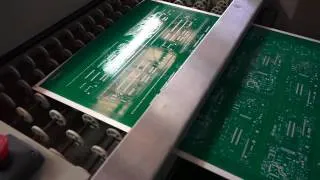
Immersion Silver Plating Equipment: Tools for Success
To achieve a high-quality immersion silver finish, specialized immersion silver plating equipment is required. Here’s an overview of the key tools and systems used in the process:
- Cleaning Tanks: Used for degreasing and micro-etching the PCB surface. These tanks are often made of corrosion-resistant materials like polypropylene or stainless steel.
- Plating Baths: Chemical-resistant tanks equipped with temperature control and agitation systems to ensure uniform silver deposition. Agitation can be achieved through air bubbling or mechanical stirring.
- Rinse Stations: Equipped with deionized water systems to remove chemical residues between process steps.
- Drying Systems: Hot air dryers or ovens to remove moisture from the PCB after plating.
- Inspection Tools: XRF machines for thickness measurement and microscopes for visual defect analysis.
Automation is often integrated into modern immersion silver plating equipment to improve consistency and reduce human error. For high-volume production, conveyorized systems can handle multiple PCBs simultaneously, ensuring efficiency and repeatability.
Advantages and Limitations of Immersion Silver Plating
Understanding the pros and cons of immersion silver plating can help you decide if it’s the right choice for your PCB project.
Advantages
- High Conductivity: Ideal for high-speed signal transmission, with minimal signal loss even at frequencies above 1 GHz.
- Cost-Effective: Less expensive than other premium finishes while offering comparable performance.
- Flat Surface Finish: Supports fine-pitch components and precise assembly.
Limitations
- Tarnishing Risk: Silver is prone to oxidation and tarnishing when exposed to sulfur or chlorine in the environment, which can reduce shelf life to 6-12 months if not stored properly.
- Not Ideal for Harsh Environments: Less durable than other finishes in high-humidity or corrosive conditions.
Best Practices for Immersion Silver PCB Manufacturing
To ensure the best results with immersion silver plating, consider the following tips:
- Proper Storage: Store finished PCBs in sulfur-free, low-humidity environments to prevent tarnishing. Vacuum-sealed packaging with desiccants can extend shelf life.
- Bath Maintenance: Regularly monitor and replenish the plating bath to maintain consistent chemistry and avoid defects.
- Quality Control: Implement strict inspection protocols to catch defects early and ensure compliance with industry standards like IPC-4553A.
- Process Optimization: Fine-tune immersion times and bath temperatures based on specific project requirements to achieve the desired silver thickness.
Conclusion
The immersion silver plating process is a reliable and cost-effective solution for PCB manufacturing, offering excellent conductivity and a flat surface finish for modern electronics. By following the detailed immersion silver plating steps—from surface preparation to final inspection—you can achieve high-quality results that meet the demands of your projects.
Understanding the immersion silver plating chemistry and using the right immersion silver plating equipment are key to success. While this finish has its limitations, such as tarnishing over time, proper handling and storage can mitigate these issues, making it a versatile choice for many applications.
At ALLPCB, we’re committed to helping you navigate the complexities of PCB manufacturing. Whether you’re exploring immersion silver or other surface finishes, our expertise and advanced facilities are here to support your needs. Dive into the world of immersion silver PCB manufacturing with confidence, knowing you have the knowledge and resources to succeed.


