 ALLPCB


Are you looking for a reliable way to keep your wave soldering machine in top condition? Cleaning a wave soldering machine is essential to ensure consistent performance, prevent defects in PCB assembly, and extend the equipment's lifespan. In this comprehensive guide, we’ll walk you through a step-by-step process for wave soldering machine cleaning, share tips on wave soldering maintenance, and cover specialized techniques like cleaning wave solder pallets and removing flux from wave solder machine components. Let’s dive into the details to help you maintain a smooth and efficient production line.
Why Cleaning Your Wave Soldering Machine Matters
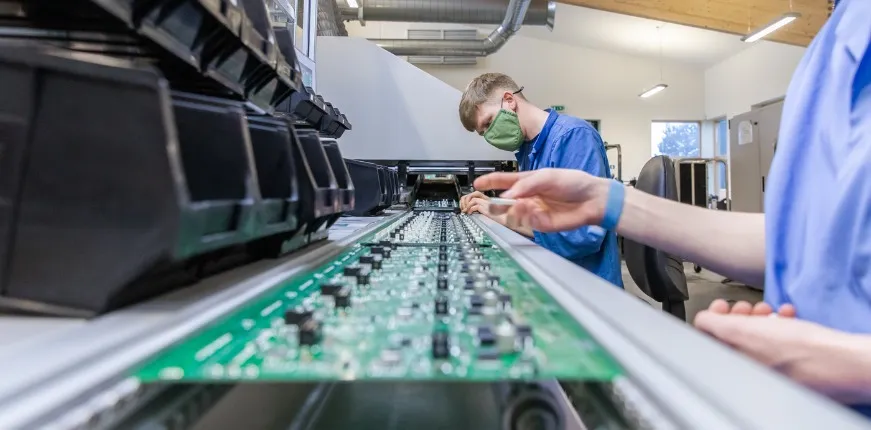
Wave soldering machines are critical in electronics manufacturing, especially for assembling through-hole components on printed circuit boards (PCBs). Over time, these machines accumulate residues like flux, solder dross, and other contaminants. If not addressed, these build-ups can lead to poor solder joints, equipment malfunctions, and costly downtime. Regular cleaning as part of wave soldering maintenance ensures optimal performance, reduces the risk of secondary contamination on PCBs, and maintains the quality of your output.
Beyond performance, a well-maintained machine can save you significant repair costs. For instance, neglecting flux residue can cause corrosion on critical components, leading to failures that might cost thousands of dollars to fix. By following a structured cleaning routine, you can avoid these issues and keep your production line running smoothly.
Tools and Materials Needed for Cleaning
Before starting the cleaning process, gather the necessary tools and materials to ensure safety and efficiency. Here’s a list of items you’ll likely need for wave soldering machine cleaning:
- Protective Gear: Safety gloves, goggles, and heat-resistant clothing to protect against hot surfaces and chemicals.
- Cleaning Solvents: Isopropyl alcohol or specialized flux removers for breaking down residues.
- Brushes and Scrapers: Non-abrasive brushes and metal scrapers for removing hardened flux and dross.
- Cloths and Sponges: Lint-free cloths for wiping down surfaces.
- Compressed Air: For blowing away loose debris from hard-to-reach areas.
- Container for Waste: To collect used solvents and debris for proper disposal.
- Maintenance Log: To record cleaning activities and track maintenance schedules.
Having these tools ready will make the process smoother and ensure that you can address all areas of the machine effectively.
Step-by-Step Guide to Wave Soldering Machine Cleaning
Now, let’s break down the process of cleaning a wave soldering machine into clear, actionable steps. Follow this guide to maintain your equipment and achieve consistent soldering results.
Step 1: Power Down and Cool the Machine
Safety comes first. Before beginning any cleaning, turn off the wave soldering machine and disconnect it from the power source. Allow the machine to cool completely, as components like the solder pot can reach temperatures of 250°C (482°F) or higher during operation. Attempting to clean while the machine is hot can result in burns or damage to cleaning tools. Wait at least 2-3 hours or until the machine reaches room temperature before proceeding.
Step 2: Remove Loose Debris and Dross
Start by removing any visible debris, such as solder dross, from the solder pot and surrounding areas. Solder dross is the oxidized layer that forms on the surface of molten solder, and it can interfere with the wave’s consistency if left unchecked. Use a metal scraper or skimmer to carefully remove dross from the solder pot. Be sure to collect the waste in a designated container for safe disposal, as solder residues may contain hazardous materials like lead.
For other areas of the machine, such as conveyor belts and frames, use compressed air to blow away loose dust and particles. This initial step prevents contaminants from spreading during deeper cleaning.
Step 3: Clean the Solder Pot and Wave Nozzles
The solder pot and wave nozzles are the heart of the machine, and keeping them clean is crucial for consistent soldering. Drain the solder from the pot into a heat-resistant container if possible, following the manufacturer’s guidelines. Once the pot is empty, use a scraper to remove any remaining solidified solder or residue. Then, wipe the interior with a lint-free cloth soaked in a suitable solvent to dissolve any leftover flux or contaminants.
For the wave nozzles, check for blockages caused by dross or flux build-up. Use a small brush or compressed air to clear the openings. If residues are stubborn, soak a cloth in solvent and gently scrub the area. Ensure that the nozzles are completely clean, as even small blockages can disrupt the solder wave’s uniformity, leading to defects like insufficient solder coverage on PCB joints.
Step 4: Focus on Cleaning Wave Solder Pallets
Wave solder pallets, also known as carriers or fixtures, are used to hold PCBs during the soldering process. Over time, these pallets accumulate flux residue and solder splashes, which can transfer to new boards and cause defects. Cleaning wave solder pallets is a critical part of maintenance.
Begin by soaking the pallets in a specialized cleaning solution designed for flux removal. Let them sit for 10-15 minutes to loosen hardened residues. Then, use a non-abrasive brush to scrub away the build-up, paying close attention to corners and edges where flux often accumulates. Rinse the pallets with clean water or solvent, and dry them thoroughly with compressed air or a lint-free cloth to prevent rust or corrosion.
For automated cleaning, consider using a dedicated fixture cleaning machine if available in your facility. These machines can save time and ensure a thorough clean, especially for high-volume production environments.
Step 5: Remove Flux from Wave Solder Machine Components
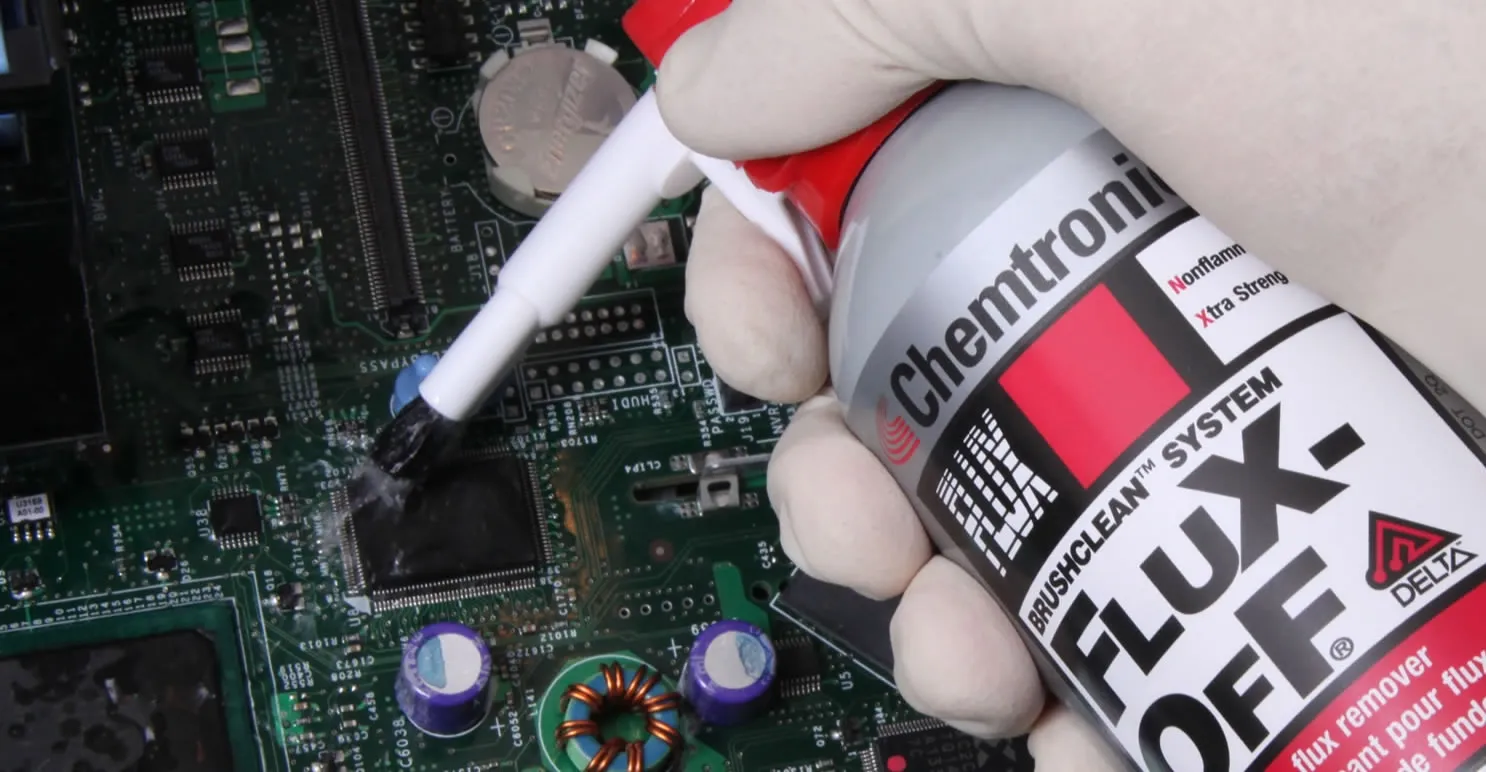
Flux residue is one of the most common contaminants in wave soldering equipment. If not cleaned regularly, it can harden and cause corrosion or electrical shorts on PCBs. Removing flux from wave solder machine parts requires a targeted approach.
Identify areas where flux tends to build up, such as around the flux spray system, conveyor fingers, and machine housing. Use a solvent like isopropyl alcohol (typically 70-99% concentration) or a commercial flux remover. Apply the solvent with a brush or cloth, focusing on stubborn spots. For delicate components, avoid excessive liquid to prevent damage—use a small amount on a cloth instead of direct application.
After applying the solvent, wipe down the areas with a clean, dry cloth to remove any remaining residue or liquid. For hard-to-reach spots, a cotton swab dipped in solvent can be effective. Always ensure proper ventilation when working with chemical solvents to avoid inhaling fumes.
Step 6: Inspect and Clean the Conveyor System
The conveyor system, including chains and fingers, plays a vital role in transporting PCBs through the machine. Residues on these parts can lead to uneven movement or contamination of boards. Inspect the conveyor for flux build-up, grease, or debris. Use a brush and solvent to clean the chain and fingers, ensuring they move freely without sticking.
Check the tension of the conveyor chain as part of wave soldering maintenance. A chain that is too loose or too tight can cause misalignment of PCBs during soldering. Adjust the tension according to the machine’s manual if needed, and lubricate moving parts with a high-temperature grease recommended by the manufacturer.
Step 7: Perform a Final Wipe-Down and Inspection
Once all components are cleaned, perform a final wipe-down of the entire machine using a lint-free cloth. This step removes any remaining dust or solvent traces. Then, conduct a thorough inspection to ensure no residues or debris are left behind. Check critical areas like the solder pot, nozzles, and pallets one last time.
Reassemble any removed parts, and update your maintenance log with details of the cleaning process, including the date, areas cleaned, and any issues observed. This record helps track the machine’s condition over time and plan future maintenance.
Maintenance Tips for Long-Term Performance
Cleaning is just one part of wave soldering maintenance. To keep your machine in peak condition, follow these additional tips:
- Schedule Regular Cleaning: Depending on production volume, set a daily, weekly, or monthly cleaning schedule. For high-volume lines, daily removal of dross and weekly deep cleaning may be necessary.
- Monitor Solder Composition: Regularly test the solder in the pot for contamination or changes in alloy composition. Impurities can affect soldering quality. Replace or replenish solder as needed, following industry standards (e.g., maintaining a tin-lead ratio of 63/37 for traditional solders).
- Check Flux Spray System: Ensure the flux application system is clean and functioning properly. Clogged nozzles can lead to uneven flux distribution, causing soldering defects.
- Prevent Oxide Formation: Use nitrogen blanketing if your machine supports it. This reduces oxidation on the solder surface, minimizing dross formation.
- Train Staff: Ensure all operators are trained in proper cleaning and maintenance procedures to avoid accidental damage to the machine.

Common Challenges and Solutions in Wave Soldering Cleaning
Even with a structured cleaning routine, you may encounter challenges. Here are some common issues and how to address them:
Stubborn Flux Residue: If flux doesn’t come off easily, try increasing the soaking time in solvent or using a slightly more aggressive cleaner. Always test on a small area first to avoid damaging components.
Solder Dross Build-Up: Excessive dross can indicate high oxidation rates. Check if the solder pot temperature is too high (ideal range is typically 250-260°C for lead-free solder) and adjust if necessary. Adding anti-oxidant agents to the solder can also help.
Corrosion on Pallets: If wave solder pallets show signs of rust after cleaning, ensure they are dried completely before storage. Applying a thin layer of protective coating (if compatible with your process) can prevent corrosion.
Conclusion
Maintaining a wave soldering machine through regular cleaning is a vital task for any electronics manufacturing operation. By following this step-by-step guide for wave soldering machine cleaning, focusing on areas like cleaning wave solder pallets and removing flux from wave solder machine components, you can ensure high-quality soldering results and prolong the life of your equipment. Incorporate these practices into your routine wave soldering maintenance plan to minimize downtime and maximize efficiency on your production line.
With the right tools, a systematic approach, and consistent effort, your wave soldering machine will continue to deliver reliable performance. Start implementing these cleaning steps today, and watch as your PCB assembly process becomes smoother and more efficient.


