 ALLPCB


If you're dealing with a malfunctioning vending machine, the printed circuit board (PCB) is often at the heart of the problem. Whether it's a payment system failure, dispensing error, or a mysterious error code, knowing how to tackle vending machine PCB repair can save you time and money. In this vending machine PCB troubleshooting guide, we'll walk you through common issues, fault-finding techniques, and how to interpret error codes to get your machine back up and running.
At ALLPCB, we understand the importance of reliable electronics in everyday systems like vending machines. This comprehensive guide on vending machine PCB fault finding and repair will equip you with practical steps to diagnose and fix issues, ensuring smooth operation for your business or customers. Let’s dive into the details of troubleshooting and maintaining these critical components.
Why Vending Machine PCBs Fail: Understanding the Basics
Vending machine PCBs are the control centers of the equipment, managing everything from coin and bill acceptance to product dispensing and display functions. Due to constant use, exposure to varying temperatures, and potential power surges, these boards can develop faults over time. Common reasons for failure include:
- Power Surges: Sudden voltage spikes can damage sensitive components like capacitors and microcontrollers on the PCB.
- Moisture and Dust: Environmental factors can lead to corrosion or short circuits on the board.
- Mechanical Stress: Vibrations from heavy usage or improper handling during maintenance can crack solder joints or components.
- Component Wear: Over time, components like resistors or transistors may degrade, leading to erratic behavior or complete failure.
Understanding these causes is the first step in effective vending machine PCB troubleshooting. By identifying the root issue, you can target your repair efforts and prevent future problems.
Common Issues in Vending Machine PCBs and Their Symptoms
Before diving into repair techniques, it’s crucial to recognize the symptoms of PCB issues in vending machines. Here are some frequent problems and what they might indicate:
1. Payment System Failures
If the vending machine refuses to accept coins, bills, or card payments, the PCB controlling the payment module might be faulty. Symptoms include no response to input or error messages on the display. This often points to a failure in the communication between the payment sensors and the main control board.
2. Dispensing Errors
When products fail to dispense or the wrong item is released, the PCB’s motor control circuit could be the culprit. This might result from a blown fuse, a damaged relay, or a microcontroller glitch sending incorrect signals.
3. Display or Interface Issues
A blank or flickering display often indicates a problem with the PCB’s power supply circuit or a failure in the display driver chip. This can also affect user interaction, making the machine unusable.
4. Error Codes on Display
Many modern vending machines display specific vending machine PCB error codes to help diagnose issues. These codes vary by manufacturer but often point to specific hardware or software failures within the PCB, such as sensor malfunctions or communication errors.
Recognizing these symptoms helps narrow down the problem area on the PCB, making fault finding more efficient.
Step-by-Step Vending Machine PCB Troubleshooting Guide
Now that you know the common issues, let’s walk through a practical approach to vending machine PCB fault finding. Follow these steps to systematically diagnose and resolve problems.
Step 1: Safety First
Before working on any electronic component, unplug the vending machine from the power source to avoid electric shock. Wear an anti-static wrist strap to prevent static discharge that could damage sensitive PCB components.
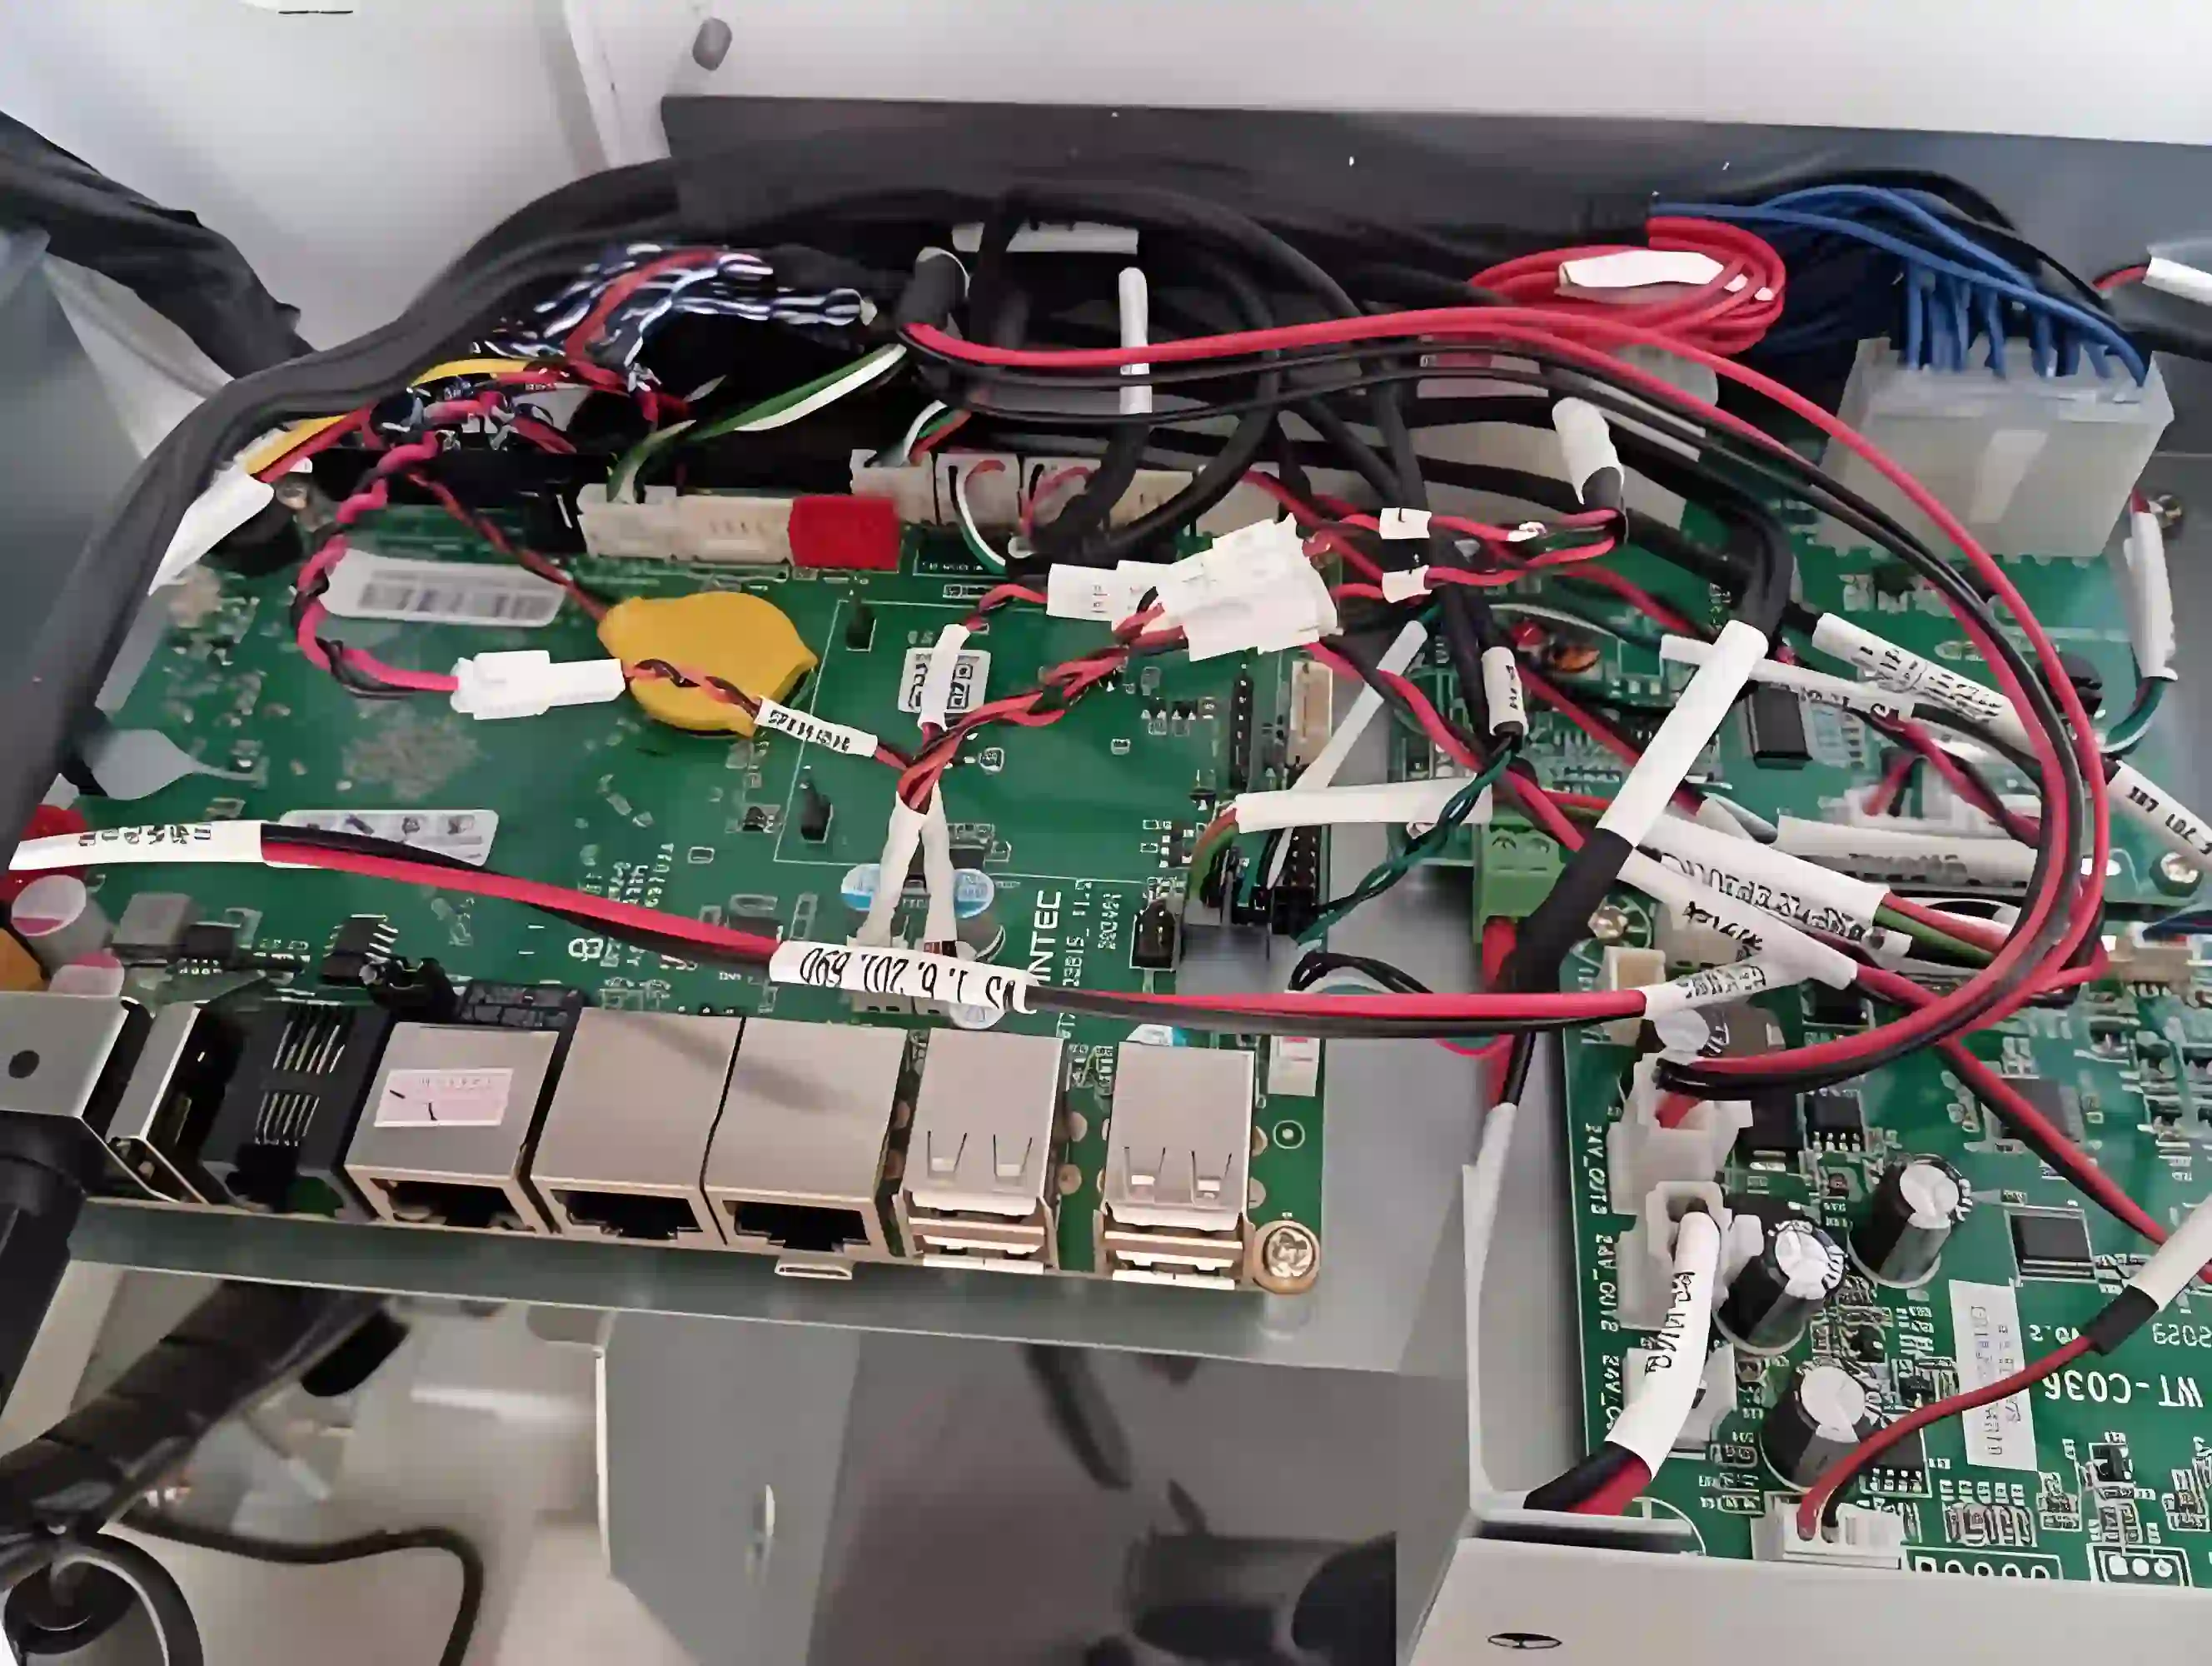
Step 2: Visual Inspection
Start with a thorough visual check of the PCB. Look for:
- Burnt or discolored areas indicating overheating.
- Cracked or bulging capacitors, which often fail under stress.
- Loose or broken solder joints, especially around connectors and heavy components.
- Signs of corrosion or dust buildup that could cause short circuits.
If you spot any of these issues, they might be the source of the problem. For instance, a bulging capacitor with a capacitance rating of 100μF at 16V could fail to regulate voltage, causing erratic behavior in the circuit.
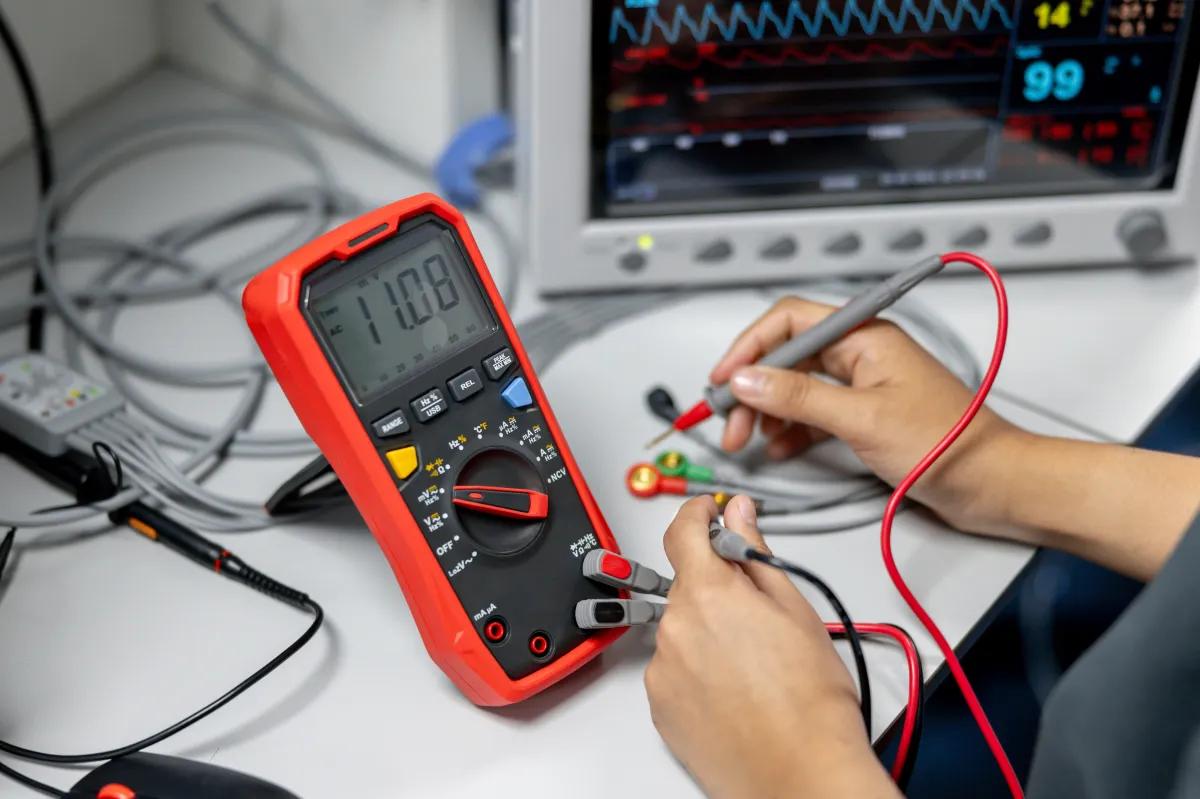
Step 3: Test Power Supply
Use a multimeter to check the power supply voltages on the PCB. Most vending machine PCBs operate on a combination of 5V and 12V DC for different functions. If the voltage readings are outside the expected range (e.g., below 4.8V for a 5V line), there could be an issue with the power regulator or transformer feeding the board.
Step 4: Check for Error Codes
If the vending machine displays an error code, refer to the manufacturer’s manual to interpret it. Common vending machine PCB error codes might include “E1” for a sensor failure or “E5” for a motor jam. These codes often point to specific areas of the PCB, like a particular input/output pin or module, helping you focus your troubleshooting efforts.
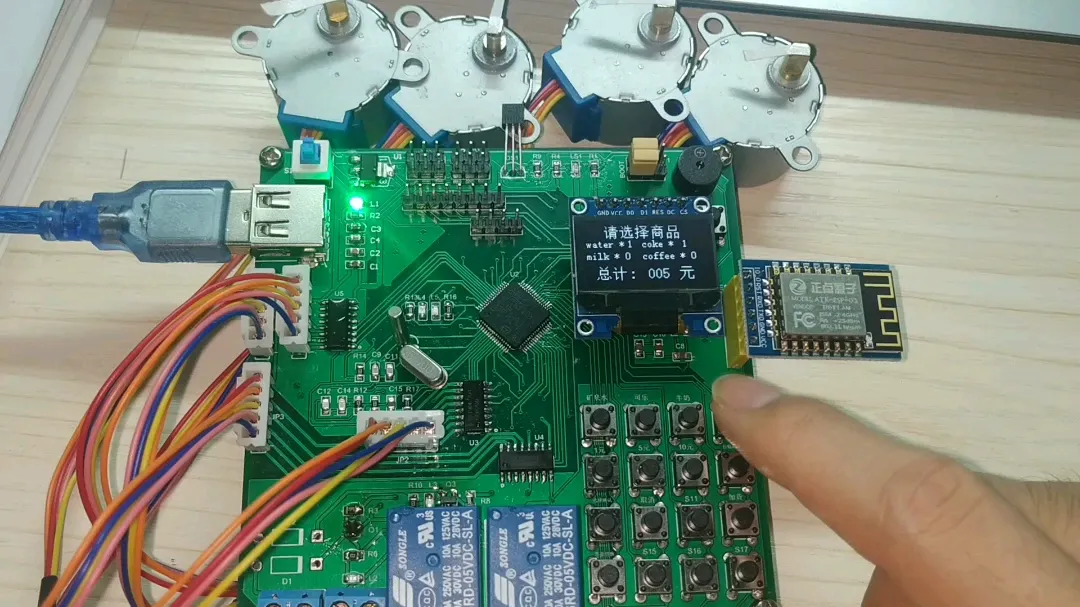
Step 5: Test Components
Use a multimeter to test individual components on the PCB. For example:
- Check resistors for continuity and correct resistance values (e.g., a 1kΩ resistor should read close to 1000 ohms).
- Test diodes and transistors for proper forward and reverse bias behavior.
- Verify that relays click when activated, indicating they’re switching correctly.
If a component fails these tests, it likely needs replacement.
Step 6: Inspect Signal Paths
Signal issues often cause communication failures between different parts of the vending machine. Use an oscilloscope to check signal integrity on critical lines, such as those connecting the payment module to the main PCB. A normal signal might show a square wave with a frequency of 1kHz and amplitude of 5V. Distorted or absent signals indicate a fault in the circuit path or a failed IC.
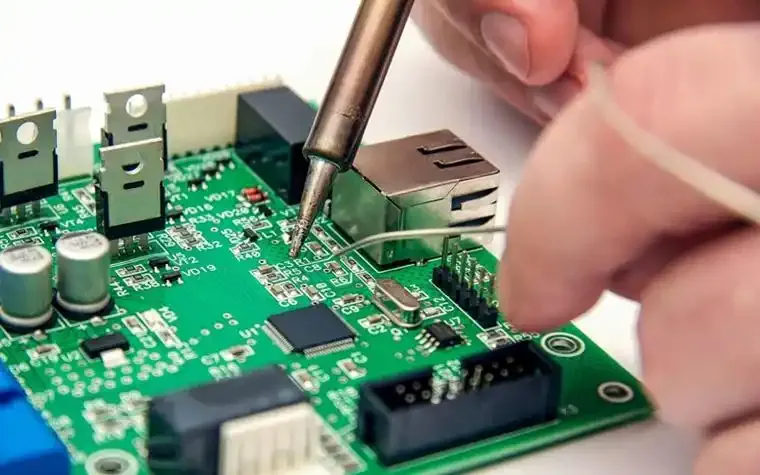
Step 7: Reflow or Replace
If you find cracked solder joints, reflow them using a soldering iron with a temperature of around 300°C for lead-free solder. For damaged components, desolder and replace them with equivalents matching the original specs (e.g., a 2N3904 transistor for small signal amplification).
Interpreting Vending Machine PCB Error Codes
Error codes are invaluable for quick diagnostics. While specific codes depend on the machine’s make and model, here are some general categories and their meanings:
- Sensor Errors (e.g., E1, S2): Indicate a malfunction in sensors detecting coins, bills, or product levels. Check the corresponding sensor connections on the PCB.
- Motor Errors (e.g., E3, M1): Suggest issues with the dispensing motor or its control circuit. Test the motor driver IC and related fuses on the board.
- Communication Errors (e.g., E4, C1): Point to failures in data transmission between modules. Inspect the PCB traces and connectors for damage.
- Power Errors (e.g., E6, P1): Highlight voltage or current issues. Measure the input and output voltages of the power supply circuit on the PCB.
Always consult the machine’s service manual for precise error code meanings, as they can vary widely. Many resources online, such as guides on vending machine repair websites, provide detailed lists of error codes for popular models.
Preventive Maintenance for Vending Machine PCBs
Regular maintenance can extend the life of your vending machine PCB and reduce the need for frequent repairs. Here are some tips:
- Clean Regularly: Use compressed air to remove dust from the PCB every 3-6 months, preventing buildup that can cause shorts.
- Check Connections: Ensure all connectors and cables are secure to avoid intermittent faults.
- Monitor Environment: Keep the vending machine in a stable environment with temperatures between 10-30°C and low humidity to minimize stress on the PCB.
- Use Surge Protectors: Install surge protectors to shield the PCB from voltage spikes, especially in areas prone to power fluctuations.
By incorporating these practices, you can avoid many common issues and keep your machine operational.
When to Seek Professional Help for Vending Machine PCB Repair
While many PCB issues can be resolved with basic tools and knowledge, some problems require advanced skills or equipment. Consider professional help if:
- The PCB has extensive damage, such as multiple burnt components or broken traces.
- You lack the tools to test or replace surface-mount components, which require precision soldering.
- The error persists after troubleshooting, indicating a deeper firmware or design issue.
At ALLPCB, we offer expert support for PCB design and manufacturing, ensuring high-quality boards for replacements or upgrades. If your vending machine PCB is beyond repair, consider sourcing a reliable replacement to restore functionality.
Tools You Need for Vending Machine PCB Troubleshooting
Having the right tools makes vending machine PCB repair much easier. Here’s a list of essentials:
- Multimeter: For measuring voltage, resistance, and continuity (e.g., testing a 5V line or a 1kΩ resistor).
- Oscilloscope: To analyze signal waveforms, especially for communication lines with expected frequencies like 1kHz.
- Soldering Iron: With adjustable temperature (around 300°C for most repairs) for reflowing or replacing components.
- Desoldering Pump: To remove old solder when replacing parts.
- Anti-Static Wrist Strap: To protect the PCB from static discharge.
- Magnifying Glass: For inspecting small components and solder joints.
Investing in these tools ensures you’re prepared for most PCB troubleshooting tasks.
Conclusion: Mastering Vending Machine PCB Repair
Troubleshooting vending machine PCBs doesn’t have to be daunting. By following this vending machine PCB troubleshooting guide, you can identify common issues, interpret error codes, and perform effective repairs. From visual inspections to testing components with a multimeter, each step brings you closer to a fully functional machine. Remember to prioritize preventive maintenance to avoid recurring problems and ensure long-term reliability.
At ALLPCB, we’re committed to supporting your electronic needs with high-quality PCB solutions. Whether you’re repairing an existing board or designing a replacement, our expertise can help keep your vending machines running smoothly. With the right approach to vending machine PCB fault finding, you’ll minimize downtime and maximize efficiency.


