ALLPCB


Overview
When a product fails an EMI test, the first priority is to identify the specific cause. Avoid subjective assumptions and focus diagnosis on the actual problem areas. Experienced EMI engineers often apply standard remedies based on past cases, and while those are frequently effective, occasional failures occur because the root cause was in an unexpected place. Therefore, regardless of familiarity with the product, each potential cause must be checked and rechecked. EMI problems are often complex and multi factorial, so repeated verification and careful diagnosis are essential.
The following lists a practical, step-by-step diagnostic procedure and explains key points. These steps are straightforward but are the ones most often repeated by senior EMI engineers. Only by identifying the true source of the EMI can you efficiently resolve it; relying solely on theory or experience without verification can waste significant time and effort.
Step 1: Identify the worst radiating orientation and confirm the EUT
Rotate the table to the orientation where the equipment under test (EUT) produces the maximum emission, and then power off the EUT to confirm whether the noise disappears.
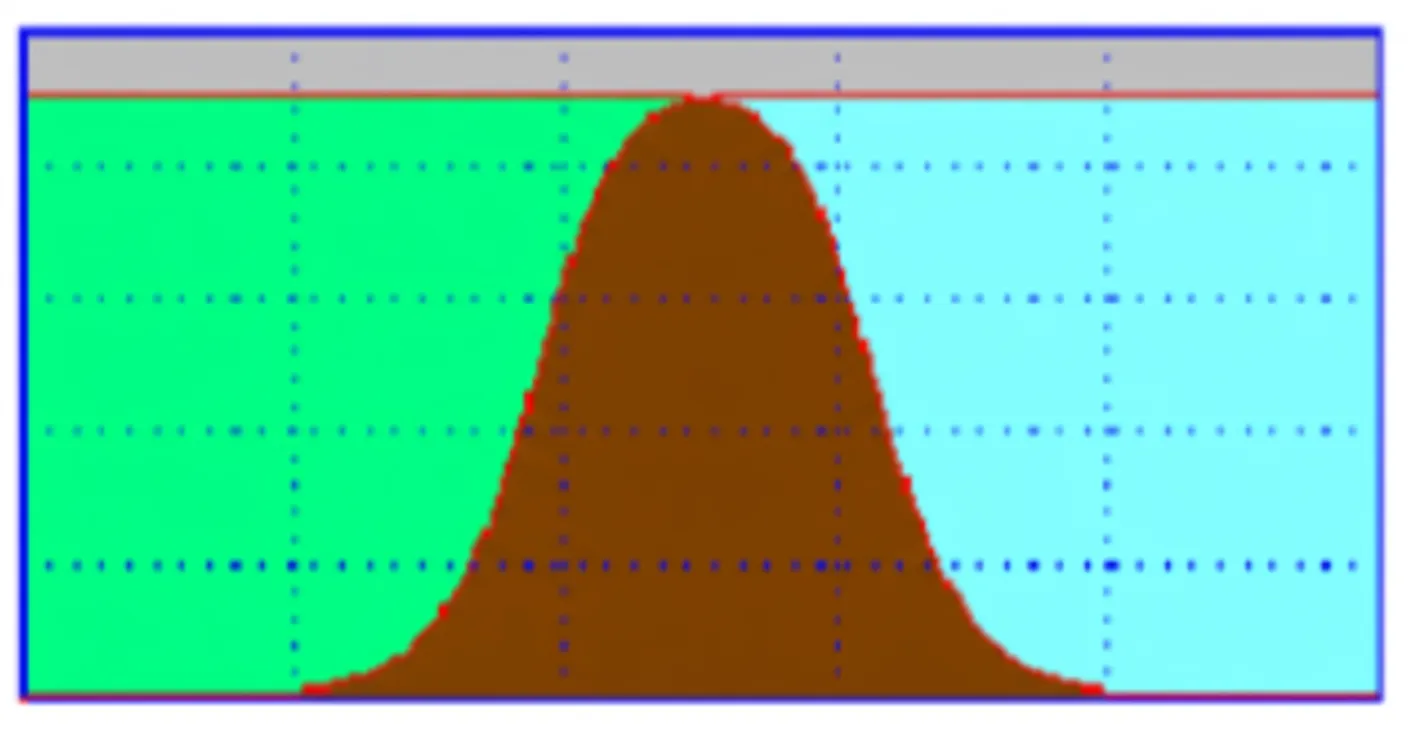
During EMI testing the EUT is rotated 360 degrees and the antenna height is varied between 1 m and 4 m to record the worst radiating condition. When a test fails, move the antenna to the height that maximizes received noise, then rotate the table to the worst angle. If emissions are strongest on the face of the EUT toward the antenna, you can infer causes such as poor shielding, a nearby radiation source, or nearby cables traversing that area.
Also check by powering the EUT off to verify whether the noise is actually generated by the EUT. For example, a monitor may show a suspicious emission that seems to originate from the monitor, but after powering the monitor off the noise persists because it was produced by the connected PC. Powering off the EUT is a simple but commonly overlooked confirmation step.
Step 2: Disconnect peripheral cables one by one
Disconnect external cables attached to the EUT one at a time and observe whether the interference reduces or disappears.
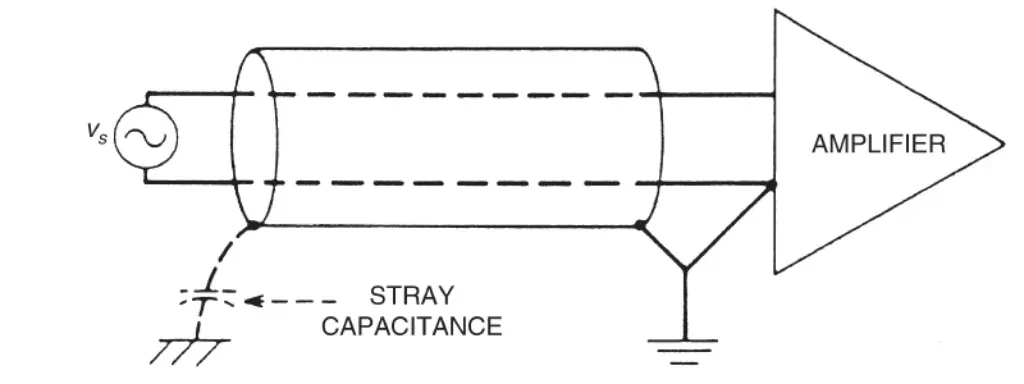
If removing a cable reduces or eliminates the interference at a given frequency, that cable is acting as an antenna and radiating noise from the board. A simple model explains EMI behavior: a noise source alone radiates little unless an antenna is present to couple the energy into free space. Therefore mitigation must address both the noise source and the antenna condition that enables radiation.
Common mitigation categories are shielding, filtering, and grounding. When a PCB is already fabricated, grounding/layout changes are limited and usually only minor improvements (for example, adding a thicker ground conductor at a low noise ground point) are possible. Shielding materials and cost can be significant, while filters such as beads and ferrites are commonly used but sometimes ineffective because the antenna coupling has not been addressed. Noise energy does not disappear simply by adding components; the aim is to prevent energy from radiating into space (radiated tests) or being coupled onto power lines (conducted tests). The most common radiating scenarios are listed below.
1) External cables acting as antennas
External cables can become antennas that radiate internal noise. The radiation level depends on cable length and resonances when cable length is around a noise half wavelength. Before applying fixes, perform judgments to avoid wasted effort.
(a) Noise originates from the internal board or internal grounding
If removing the cable or adding a ferrite core reduces the noise, the source is likely internal. To confirm, bring the cable close to but not connected to the box and observe whether the noise remains low. If it does, the noise source is internal. If bringing the cable closer immediately increases the noise, see (b).
(b) Noise couples from the product into the cable, which then radiates
This case is often overlooked. If simply bringing a cable near the enclosure raises the spectral noise, the product’s internal noise energy is high and couples into any nearby antenna. In communications products this is common, and simple ferrite beads or cores on the cable may not be sufficient.
2) Internal wires and harnesses acting as antennas
Internal wiring can act as antennas if routed near noise sources. For noise below 200 MHz, adding a ferrite core on the wire can indicate whether the wire is radiating. For frequencies above 200 MHz, move the wire position in space (forward/back/left/right) and observe whether the noise level changes.
3) PCB traces acting as radiating elements
Long traces or traces routed near a noise source can be coupled and act as radiating antennas. If external cables are removed and emissions remain, use a near-field probe to locate the strongest noise regions on the PCB and address the radiating traces. Tools and measurement methods for probing are discussed later.
4) Components on the PCB as radiation sources
Some ICs or CPUs can generate significant emissions during operation. If emissions persist after investigating items 1–3, the component itself may be the primary source. Solutions include replacing the component with an alternative having better EMI characteristics, relocating the component on the PCB during a redesign to minimize coupling to I/O ports and cables, or enclosing the component in a metal shield if feasible.
From the above, wiring and cable routing are often the most critical factors enabling radiated EMI. Power cables are frequently a major contributor to antenna effects and are commonly overlooked in EMI countermeasures.
Step 3: Test and diagnose power cable effects
If the power cable cannot be removed, place ferrite cores on it or move it horizontally and vertically while observing the spectrum to detect changes. If the product has a battery option, remove the power cable to compare, as with notebook PCs.
Power cables often act as radiating antennas, especially for desktop-class products where noise above 300 MHz can couple into the power cable. For frequencies below 200 MHz, ferrite cores (several in series if needed) can be effective for diagnosis. For frequencies above 200 MHz, cores are less effective; instead, place the power cable horizontally and vertically and compare the noise. If the noise level differs significantly, move the cable while watching the spectrum to determine whether the power line is picking up interference.
If the power cable is found to radiate, this is difficult to address directly. Typical strategies are to reduce the internal noise sources to prevent secondary radiation onto the power cable. Using a shielded power cable often has limited effect; changing the cable length sometimes improves performance. Also, keep noisy components away from I/O ports, power cables, and switching power supply boards to reduce coupling that causes both radiated and conducted failures.
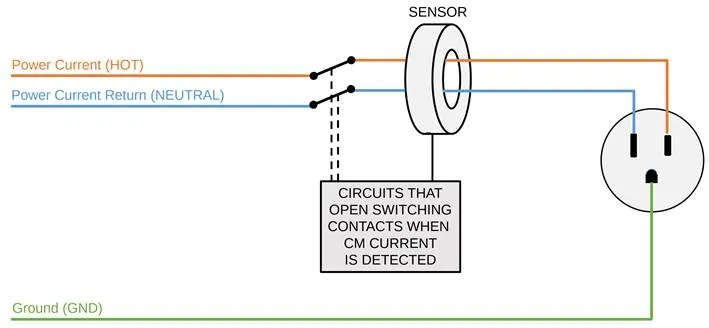
Step 4: Check connector and cable shielding terminations
After the initial diagnosis, perform connector and grounding checks, because sometimes no design changes are required to pass.
Check that connector grounding screws are tightened and that external connector grounds are making good contact. If a metal panel has paint at the connector, consider removing paint at the mating area to improve grounding. For shielded cables, verify that the cable braid and connector shell mate closely; poor mating at the connector terminus often defeats the shielding, for example with RS232 cables where the braid is not properly bonded to the connector shell.
Connectors such as keyboard and power connectors may have poor mechanical mating, which affects emissions. To test, unplug a connector to see if noise decreases. If it does, possibilities include radiation from the cable or poor connector contact. Plug the connector in and gently wiggle it while observing the spectrum; if noise changes, improve mechanical contact by wrapping the connector shell and mating area with conductive tape to increase shielding contact. This simple check is often overlooked and can otherwise lead to intermittent pass/fail results and wasted effort on other countermeasures.