 ALLPCB


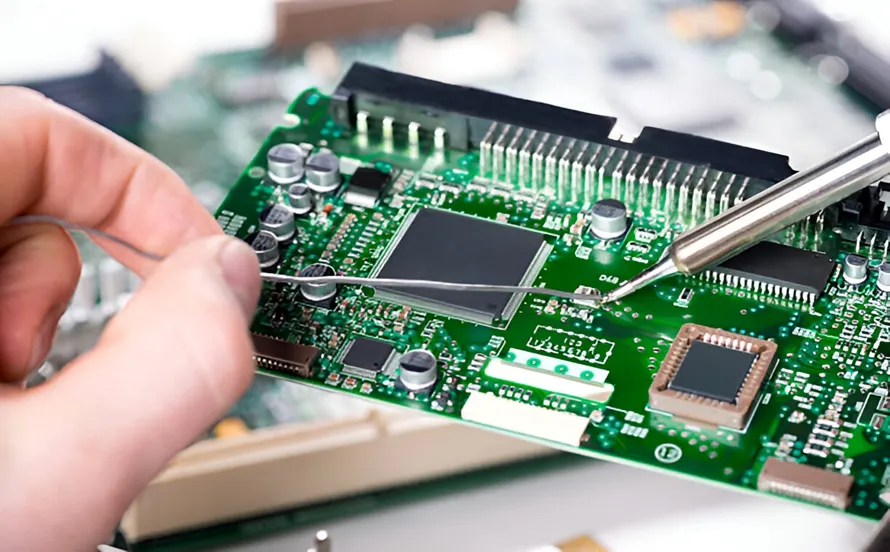
Soldering is a fundamental skill for anyone involved in PCB assembly, whether you're a beginner or a seasoned professional. Mastering the art of soldering can make the difference between a reliable, high-performing circuit board and one plagued by issues like weak connections or short circuits. In this comprehensive guide, we'll walk you through the essential tools and techniques for PCB assembly, covering everything from choosing the right soldering iron for PCB assembly to preventing solder bridges. Whether you're looking for soldering techniques for beginners or advanced tips for rework, this post has you covered.
At ALLPCB, we’re committed to helping you succeed in your electronics projects. Let’s dive into the world of soldering with a detailed look at the tools, materials, and methods you need for success.
Why Soldering Matters in PCB Assembly
Soldering is the process of joining electronic components to a printed circuit board (PCB) using a molten metal alloy, typically a mix of tin and lead or lead-free alternatives. This connection ensures electrical conductivity and mechanical stability. Poor soldering can lead to issues like cold joints (weak connections) or short circuits, which can cause a circuit to fail. For hobbyists and professionals alike, understanding the right tools and techniques is critical to achieving reliable results.
Essential Soldering Tools and Equipment List for PCB Assembly
Having the right tools is the foundation of effective soldering. Below is a comprehensive soldering tools and equipment list tailored for PCB assembly, ensuring you have everything needed for both basic and advanced tasks.
1. Soldering Iron for PCB Assembly
A soldering iron is the most critical tool for PCB work. For PCB assembly, you’ll want a soldering iron with adjustable temperature control, ideally between 25W and 60W. Temperature control is essential because different components and board materials require specific heat levels. For example, delicate components like microcontrollers may need temperatures around 260°C (500°F), while larger connectors might require up to 350°C (662°F).
Look for a soldering iron with a fine tip (0.5mm to 1mm) for precision work on small components. Ergonomic designs and quick heat-up times are also beneficial for long soldering sessions.
2. Solder Wire for Electronics
Solder wire for electronics typically comes in two types: leaded (60/40 tin-lead) and lead-free (often tin-copper or tin-silver-copper). Leaded solder is easier to work with due to its lower melting point (around 183°C or 361°F), but lead-free options are safer for health and environmentally friendly, with melting points around 217°C (423°F). Choose a solder wire with a diameter of 0.5mm to 1mm for most PCB work, as thinner wire offers better control for small joints.
Always opt for solder with a rosin core, which acts as a flux to clean the surfaces being soldered and improve adhesion.
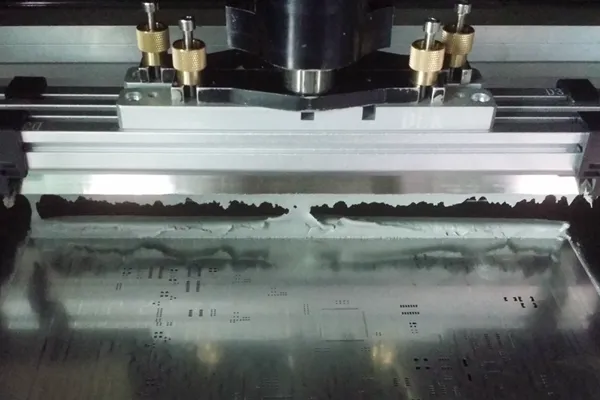
3. Solder Paste for SMT
Solder paste for SMT (Surface Mount Technology) is a mixture of tiny solder particles and flux, used for assembling surface-mount components. It’s applied to the PCB pads using a stencil or syringe before components are placed and heated in a reflow oven. Solder paste is essential for modern PCB assembly, where components are often too small for manual soldering. Ensure you store solder paste in a refrigerator (around 5°C or 41°F) to maintain its shelf life, and always check the alloy composition (like SAC305 for lead-free) for compatibility with your project.
4. Rework Soldering Station
A rework soldering station is a versatile tool for both soldering and desoldering tasks, especially when repairing or modifying PCBs. These stations often include a hot air gun for reflow soldering and desoldering surface-mount components, along with a traditional soldering iron. Look for a station with adjustable temperature and airflow settings (e.g., hot air temperatures from 100°C to 480°C or 212°F to 896°F) to handle a variety of components safely.
5. Desoldering Tools for PCBs
Mistakes happen, and desoldering tools for PCBs are essential for correcting them. Common tools include desoldering pumps (solder suckers) and desoldering wick (braid). A desoldering pump quickly removes molten solder by creating a vacuum, while desoldering wick absorbs solder through capillary action. For advanced rework, a dedicated desoldering gun with built-in suction can save time. Always pair these tools with a low-temperature setting on your iron (around 300°C or 572°F) to avoid damaging the board.
6. Additional Tools for Soldering
- Helping Hands: Adjustable clips to hold components or PCBs steady during soldering.
- Magnifying Glass or Microscope: Essential for inspecting small joints or SMT components.
- Flux Pen: Applies additional flux to improve solder flow and prevent oxidation.
- Anti-Static Mat and Wrist Strap: Protects sensitive components from electrostatic discharge (ESD).
- Tip Cleaner: A wire sponge or brass wool to keep your soldering iron tip clean.
Related Reading: Mastering SMT Assembly: Essential Tools and Techniques for Flawless PCB Manufacturing
Soldering Techniques for Beginners
If you’re new to soldering, starting with the right techniques can build your confidence and ensure quality results. Here are some fundamental soldering techniques for beginners to master PCB assembly.
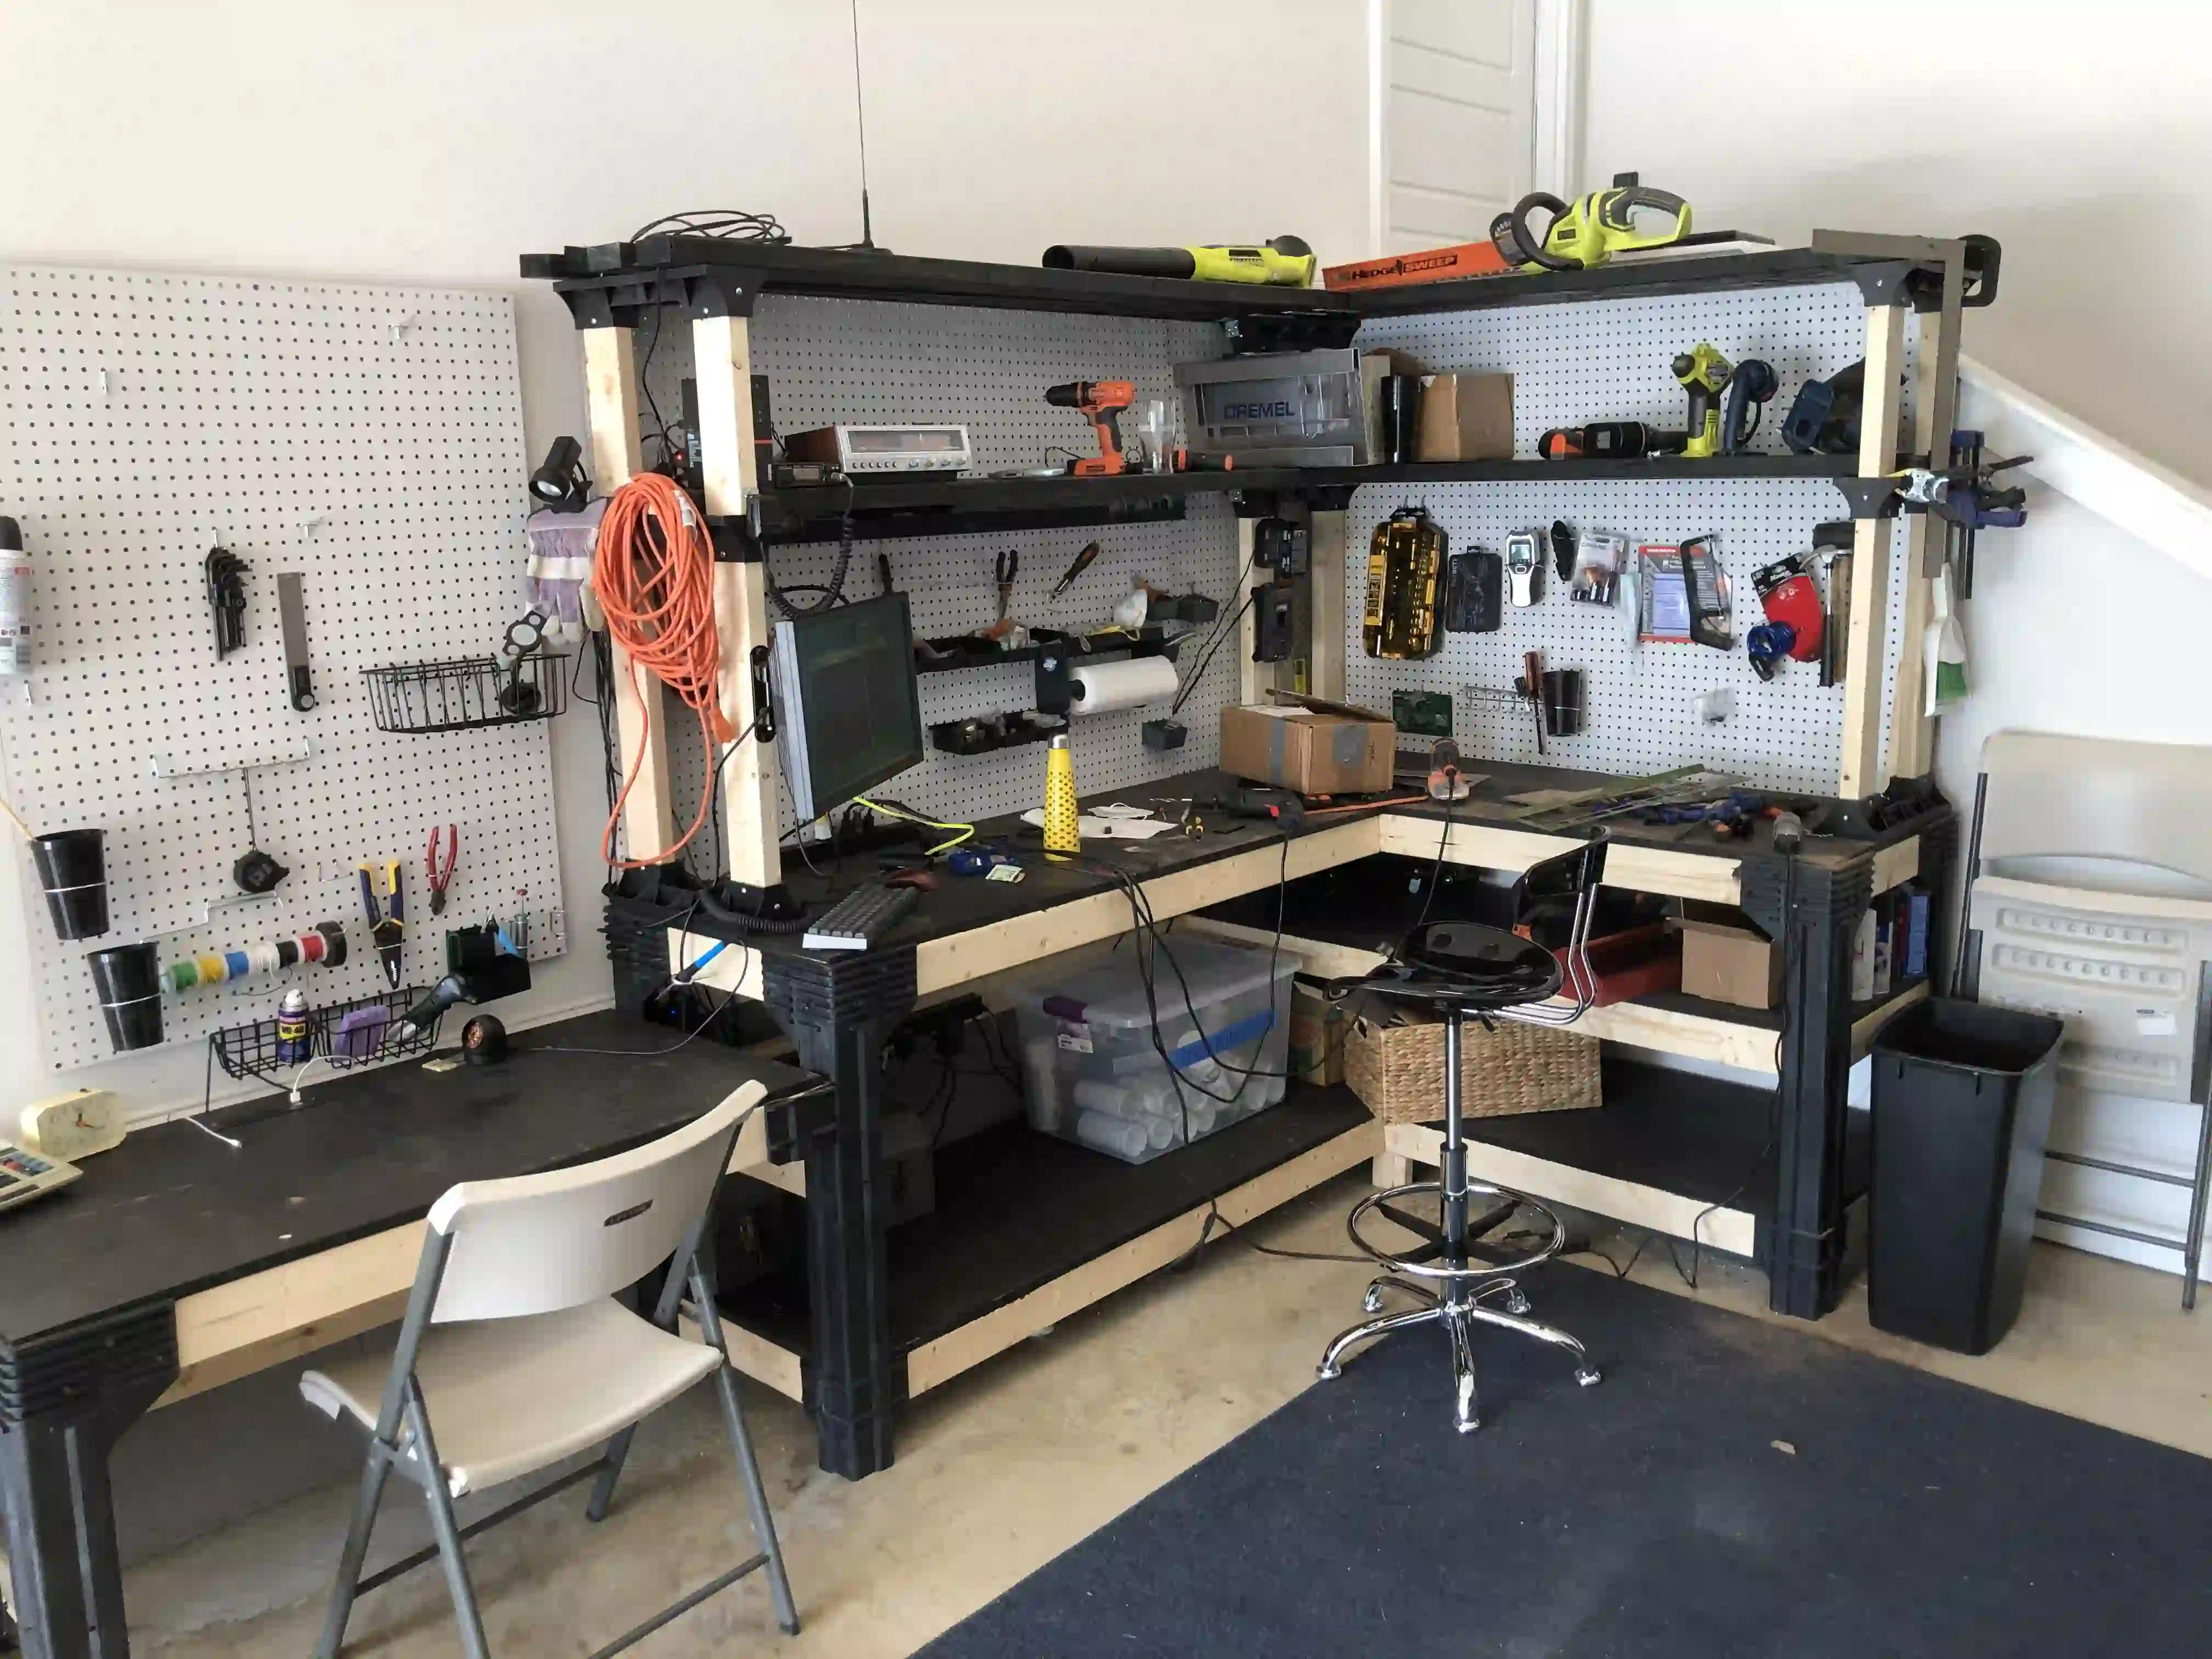
1. Prepare Your Workspace
Work in a well-ventilated area with good lighting. Lay down an anti-static mat to protect components, and keep your tools organized. Wear safety glasses to shield your eyes from potential solder splashes, and avoid eating or drinking near your workspace to prevent contamination.
2. Tin Your Soldering Iron Tip
Before soldering, “tin” your iron tip by melting a thin layer of solder onto it. This prevents oxidation and ensures better heat transfer. Wipe the tip on a damp sponge or use a brass wire cleaner to remove excess solder, leaving a shiny coating.
3. Apply Heat and Solder Correctly
Place the soldering iron tip on the joint where the component lead meets the PCB pad. Heat both surfaces for 2-3 seconds, then apply solder wire to the joint (not the iron tip). The solder should melt and flow evenly, forming a small volcano-shaped joint. Remove the solder wire first, then the iron, and let the joint cool naturally for about 5 seconds.
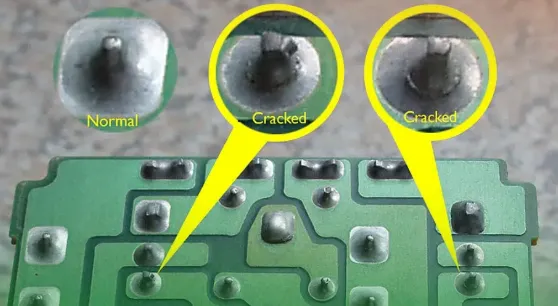
4. Inspect Your Work
A good solder joint should be shiny and concave, fully covering the pad and lead without excess solder. Dull or grainy joints (cold joints) indicate poor heat transfer and may need rework. Use a magnifying glass to check for cracks or incomplete connections.
Advanced Techniques: Preventing Solder Bridges and Rework
As you gain experience, you’ll encounter challenges like solder bridges or the need for rework. Here’s how to handle these issues effectively.
Preventing Solder Bridges
Solder bridges occur when excess solder connects two adjacent pads or pins, creating a short circuit. To prevent solder bridges, follow these tips:
- Use the right amount of solder—less is often more for small components.
- Apply solder at a 45-degree angle to control flow.
- Keep your iron tip clean to avoid dragging solder across pads.
- For SMT components, use a flux pen to improve solder flow and reduce bridging.
If a bridge forms, use desoldering wick to remove excess solder. Place the wick over the bridge, heat it with your iron, and let the wick absorb the solder. Clean the area with isopropyl alcohol and a brush afterward.
Rework and Repair with a Soldering Station
Rework involves removing and replacing components, often using a rework soldering station. For through-hole components, use a desoldering pump to clear old solder from holes. For SMT components, apply hot air from a rework station (around 300°C or 572°F) to melt the solder, then use tweezers to lift the component. Clean the pads with desoldering wick and alcohol before soldering a new component in place.
Related Reading: The Ultimate Guide to Preventing Cold Solder Joints: Temperature, Technique, and Tools
Common Mistakes to Avoid in PCB Soldering
Even experienced solderers can make mistakes. Here are some common pitfalls and how to avoid them:
- Overheating Components: Prolonged heat can damage sensitive parts. Limit iron contact to 3-5 seconds per joint.
- Using Too Much Solder: Excess solder can cause bridges or mask poor connections. Aim for just enough to form a small, even joint.
- Ignoring Flux: Flux cleans surfaces and improves solder flow. Always use rosin-core solder or apply additional flux for stubborn joints.
- Skipping Safety: Soldering involves hot tools and fumes. Use proper ventilation and protective gear to stay safe.
Tips for Choosing the Right Materials and Tools
Selecting the right soldering iron for PCB assembly, solder wire for electronics, or solder paste for SMT can be overwhelming. Here are some quick tips:
- Match your soldering iron wattage and tip size to your project. Small components need fine tips and lower power (25-40W), while larger parts may need 50-60W.
- Choose lead-free solder for safety, but be prepared for slightly higher melting temperatures.
- Invest in a rework soldering station if you plan to handle SMT components or frequent repairs.
- Always have desoldering tools for PCBs on hand to fix mistakes without damaging the board.
Soldering for SMT: A Brief Guide
Surface Mount Technology (SMT) is common in modern electronics due to its compact size. Soldering SMT components requires precision and often specialized tools like solder paste and hot air stations. Here’s a basic process:
- Apply solder paste to PCB pads using a stencil or syringe.
- Place components onto the paste using tweezers or a pick-and-place tool.
- Use a reflow oven or hot air station to melt the paste (typically at 220°C to 250°C or 428°F to 482°F, depending on the paste).
- Inspect joints under magnification for bridges or incomplete connections.
SMT soldering can be challenging for beginners, so practice on scrap boards before working on critical projects.
Maintaining Your Soldering Equipment
Proper care of your soldering tools extends their lifespan and ensures consistent performance. Clean your soldering iron tip after every use by wiping it on a damp sponge or using a brass wire cleaner. Tin the tip before storing to prevent oxidation. For rework stations, regularly check air filters and nozzles for blockages. Store solder wire and paste in cool, dry places to avoid degradation.
Conclusion: Mastering the Art of Soldering with ALLPCB
Soldering is both a science and an art, requiring the right tools, techniques, and patience to perfect. From selecting a soldering iron for PCB assembly to mastering solder paste for SMT, every step matters in creating reliable, high-quality circuit boards. By following the tips and techniques outlined in this guide, including preventing solder bridges and using desoldering tools for PCBs, you can tackle any soldering project with confidence.
At ALLPCB, we’re here to support your journey in electronics design and assembly. With the right soldering tools and equipment list in hand, plus a commitment to learning soldering techniques for beginners and beyond, you’re well on your way to creating professional-grade PCBs. Keep practicing, stay safe, and enjoy the rewarding process of bringing your electronic designs to life.


