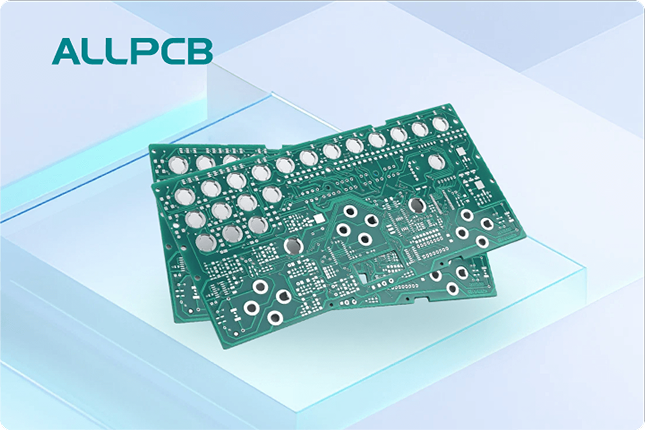
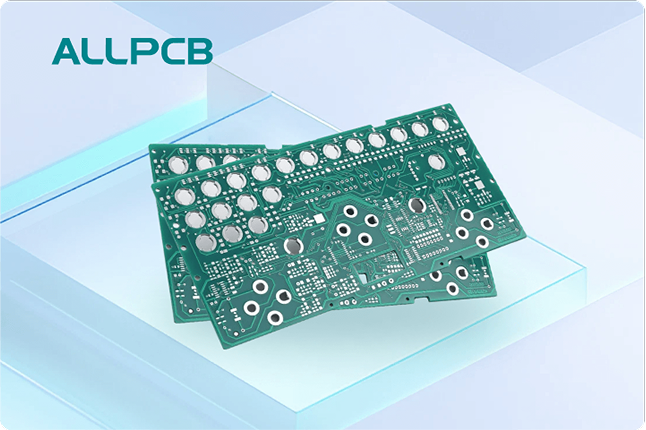
Are you looking to master the SMD rework process or learn how to perform surface mount component replacement? Whether you're a hobbyist or a professional working on replacing small components on PCBs, this comprehensive SMD soldering guide will walk you through every step. From rework station setup to detailed techniques, we've got you covered with practical tips to ensure success in your electronics repair projects.
In this tutorial, we'll dive deep into the entire process of SMD component replacement. You'll learn the tools you need, how to set up your workspace, and a step-by-step approach to desoldering and soldering surface mount devices. Let's get started with everything you need to know to tackle this task with confidence.
What Is SMD Component Replacement and Why Is It Important?
Surface Mount Device (SMD) component replacement is a critical skill in electronics repair and prototyping. Unlike traditional through-hole components, SMDs are soldered directly onto the surface of a printed circuit board (PCB), making them smaller and more compact. However, this also means they require precise techniques for removal and replacement during repairs or upgrades.
The SMD rework process is essential for fixing faulty components, updating circuits, or salvaging parts from old boards. With the increasing use of compact electronics, knowing how to handle surface mount component replacement can save time, reduce costs, and improve the quality of your projects. Whether you're dealing with tiny resistors, capacitors, or complex ICs, mastering this process ensures your PCBs remain functional and reliable.
Essential Tools for SMD Rework Process
Before diving into the step-by-step guide for replacing small components on PCBs, let's cover the tools you'll need. Having the right equipment is crucial for a smooth and damage-free rework process. Here's a detailed list of essentials:
- Hot Air Rework Station: A must-have for desoldering and soldering SMD components. It uses controlled hot air to melt solder without direct contact, ideal for delicate parts. Look for a station with adjustable temperature (typically 200°C to 450°C) and airflow settings.
- Soldering Iron: A fine-tip soldering iron (15-30W) is necessary for precision work on small pads. Ensure it has temperature control for safety.
- Tweezers: Precision tweezers help in handling tiny SMD components without damaging them. Anti-static tweezers are recommended.
- Desoldering Braid or Solder Wick: Useful for removing excess solder from pads after desoldering.
- Flux: Flux cleans the pads and improves solder flow, ensuring strong connections during replacement.
- Solder Paste or Wire: Needed for attaching new components. Solder paste works well for reflow soldering with a hot air station.
- Magnifying Glass or Microscope: Essential for inspecting small components and solder joints, especially on densely populated boards.
- Isopropyl Alcohol and Brush: For cleaning the PCB after rework to remove flux residue and prevent corrosion.
- Anti-Static Mat and Wrist Strap: Protects sensitive components from electrostatic discharge (ESD) damage.
Rework Station Setup: Preparing Your Workspace
A proper rework station setup is the foundation of a successful SMD rework process. Without an organized and safe workspace, you risk damaging components or the PCB. Follow these steps to prepare:
- Choose a Well-Ventilated Area: Soldering produces fumes that can be harmful. Work in a space with good airflow or use a fume extractor.
- Set Up an Anti-Static Environment: Lay down an anti-static mat and wear a wrist strap connected to a grounded point. This prevents static electricity from harming sensitive components.
- Position Your Hot Air Rework Station: Place the station on a stable surface. Ensure the hot air nozzle is clean and securely attached. Set the initial temperature to a moderate level (around 300°C) and adjust based on the component.
- Organize Tools: Keep your soldering iron, tweezers, flux, and other tools within easy reach to avoid delays during the process.
- Prepare the PCB: Secure the PCB in a holder or vise to keep it steady. This prevents movement while working on small components.
- Check Lighting and Magnification: Ensure your workspace has bright lighting. Position a magnifying glass or microscope to clearly see tiny pads and components.
Step-by-Step SMD Rework Process for Component Replacement
Now that your workspace is ready, let's walk through the detailed process of surface mount component replacement. This SMD soldering guide is broken down into clear steps to help you desolder old components and solder new ones effectively.
Step 1: Assess the Component and PCB
Before starting, identify the component to be replaced. Check its size, type (e.g., 0402 resistor, QFN IC), and orientation on the PCB. Review the board's layout or schematic if available to avoid damaging nearby parts. Use a magnifying tool to inspect for visible damage or cracked solder joints that might affect the rework.
Step 2: Apply Flux to the Component
Apply a small amount of flux to the solder joints of the component you’re removing. Flux helps the solder melt more evenly and reduces the risk of damaging pads. Use a flux pen or syringe for precise application, especially on small components.
Step 3: Desolder the Component Using Hot Air
Set your hot air rework station to an appropriate temperature. For most SMD components, start at 300°C and adjust based on the solder type (lead-free solder often requires 350°C or higher). Use a nozzle size that matches the component to focus the heat.
Hold the nozzle 1-2 cm above the component and move it in a circular motion to evenly heat the solder joints. After 10-20 seconds, the solder should melt, allowing you to lift the component with tweezers. Avoid excessive heat, as it can damage the PCB or nearby parts.
Step 4: Clean the Pads
Once the component is removed, clean the pads to prepare for the new part. Use a desoldering braid and a soldering iron to remove excess solder. Apply flux to the braid to aid in solder absorption. Then, wipe the area with isopropyl alcohol and a brush to remove flux residue. Inspect the pads under magnification to ensure they are clean and undamaged.
Step 5: Prepare the New Component
Take the replacement SMD component and verify its value or part number matches the original. For components like resistors or capacitors, check markings (e.g., a 1kΩ resistor might be marked as "102"). For ICs, ensure pin alignment matches the PCB layout. Handle the part with tweezers to avoid contamination or static damage.
Step 6: Apply Solder Paste or Flux
Apply a thin layer of solder paste to the PCB pads using a syringe or stencil for precision. If you’re using a soldering iron instead of hot air for replacement, apply flux to the pads and tin them lightly with fresh solder. This ensures a good connection when placing the new component.
Step 7: Place and Solder the New Component
Using tweezers, carefully place the new component onto the pads, aligning it correctly with the PCB markings. If using a hot air station, set the temperature to around 300°C and heat the area until the solder paste melts, bonding the component to the pads. This usually takes 15-30 seconds. If using a soldering iron, touch the iron to each pad briefly to reflow the solder and secure the component.
Step 8: Inspect the Solder Joints
After soldering, inspect the joints under magnification. Look for shiny, smooth connections without bridges (solder connecting adjacent pads) or cold joints (dull, uneven solder). If issues are found, reapply flux and reflow the solder to fix them. Ensure the component is firmly attached and aligned.
Step 9: Clean the PCB Again
Once the replacement is complete, clean the area with isopropyl alcohol and a brush to remove any remaining flux. Flux residue can cause corrosion over time, so thorough cleaning is important. Dry the board completely before testing.
Step 10: Test the Circuit
Power up the PCB and test the circuit to confirm the new component works as expected. Use a multimeter to check for continuity or measure values like resistance or voltage at key points. If the circuit doesn’t function correctly, recheck the solder joints and component orientation.
Tips and Tricks for Replacing Small Components on PCBs
Working with tiny SMD components can be challenging, but these tips will help you improve your skills and avoid common mistakes during the rework process:
- Use the Right Nozzle Size: Match the hot air nozzle to the component size. For small parts like 0402 or 0603 packages, use a narrow nozzle (2-3 mm) to avoid heating adjacent components.
- Control Heat Carefully: Overheating can lift pads or damage the PCB. Start with lower temperatures and increase gradually if needed.
- Practice on Scrap Boards: If you’re new to SMD soldering, practice desoldering and soldering on old or damaged PCBs to build confidence.
- Keep Components Organized: Use small containers or a component tray to avoid losing tiny parts during rework.
- Avoid Force: Never force a component off or on. If it doesn’t move easily, the solder hasn’t fully melted—apply more heat or flux.
Common Challenges in SMD Component Replacement and How to Overcome Them
Even with the best preparation, you might face hurdles while replacing small components on PCBs. Here are some common issues and solutions:
- Damaged Pads: If a pad lifts during desoldering, repair it by carefully scraping away solder mask to expose nearby traces and soldering a jumper wire to reconnect the circuit.
- Solder Bridges: If solder connects adjacent pins, use a desoldering braid with flux to remove the excess. A fine-tip soldering iron can also help separate the connection.
- Component Misalignment: If the new component isn’t aligned, reheat the solder and reposition it with tweezers before the solder cools.
- Overheating Nearby Parts: Use heat-resistant tape or aluminum foil to shield nearby components from hot air during rework.
Why Choose Professional PCB Services for Complex Rework?
While this SMD soldering guide equips you with the knowledge to handle basic rework, some projects may require professional assistance. Complex boards with high-density components or multilayer designs can be tricky to repair without specialized equipment. Partnering with a trusted PCB service provider ensures precision and reliability for large-scale or critical repairs. At ALLPCB, we offer expert rework and assembly services to support your projects, saving you time and ensuring top-quality results.
Conclusion: Master the SMD Rework Process with Practice
Replacing small components on PCBs through the SMD rework process doesn’t have to be intimidating. With the right tools, a proper rework station setup, and this step-by-step tutorial, you can confidently tackle surface mount component replacement. Start by preparing your workspace, follow the detailed steps for desoldering and soldering, and use the provided tips to refine your skills.
Every successful rework builds your expertise, whether you're fixing a single board or handling multiple repairs. Keep practicing, stay patient, and soon you'll master the art of SMD component replacement. For any advanced needs or professional support, ALLPCB is here to assist with high-quality PCB solutions tailored to your requirements.
 ALLPCB


