ALLPCB


If you're looking to reduce PCB costs without sacrificing quality, you're in the right place. By focusing on optimizing design, understanding SMT stencil requirements, and managing order quantity and unit price, you can significantly cut expenses. In this comprehensive guide, we'll dive deep into actionable strategies to help you save money on printed circuit board production while maintaining performance and reliability. Let's explore these cost-saving tips in detail to ensure your next project is both efficient and budget-friendly.
Why Reducing PCB Cost Matters for Your Project
Printed Circuit Boards (PCBs) are the backbone of electronic devices, and their production costs can quickly add up, especially for large-scale or complex projects. For engineers and businesses, keeping costs low is crucial to staying competitive, whether you're prototyping a new product or manufacturing at scale. High PCB costs can eat into profit margins or delay projects due to budget constraints. By implementing practical cost-reduction strategies, you can streamline production, minimize waste, and allocate resources more effectively.
In the sections below, we'll break down several proven methods to reduce PCB costs, focusing on design optimization, SMT stencil requirements, and balancing order quantity with unit price. These tips are tailored for engineers and designers who want to achieve high-quality results on a budget.

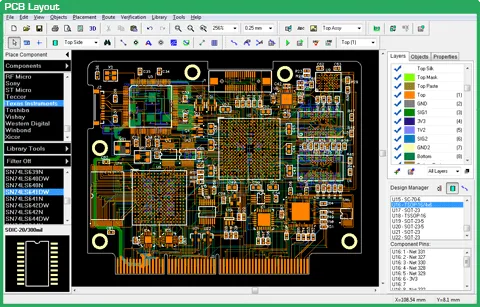
1. Optimize Design for Cost Efficiency
One of the most effective ways to reduce PCB cost is to optimize your design from the start. A well-thought-out design minimizes manufacturing complexity, reduces material waste, and avoids costly errors during production. Here are some practical steps to optimize your PCB design:
Simplify the Layout
A complex PCB layout with intricate traces or unnecessary layers increases manufacturing time and cost. Aim for simplicity by reducing the number of layers to the minimum required for functionality. For example, if a 2-layer board can handle your circuit's needs instead of a 4-layer one, you'll save on material and production expenses. Additionally, avoid tight spacing between components unless absolutely necessary, as it can lead to higher defect rates and rework costs.
Use Standard Components and Sizes
Custom components or non-standard board sizes often come with a premium price tag. Stick to widely available components with standard footprints to lower procurement costs. Similarly, design your PCB to fit standard panel sizes (like 18x24 inches) to maximize material usage and avoid waste. Using standard drill sizes for vias, such as 0.3mm or 0.5mm, also prevents the need for specialized tools, which can drive up costs.
Minimize Via Count and Types
Vias, especially microvias or blind vias, add to manufacturing complexity. Reducing the number of vias in your design or using through-hole vias instead of more expensive alternatives can save money. For instance, a design with 500 through-hole vias will generally cost less to produce than one with 200 microvias due to the simpler fabrication process.
Design for Manufacturability (DFM)
Always follow Design for Manufacturability guidelines to ensure your PCB can be produced efficiently. This includes maintaining proper trace widths (e.g., at least 6 mils for standard designs) and clearances (e.g., 8 mils between traces) to avoid signal integrity issues or manufacturing defects. DFM checks can prevent costly revisions by catching potential issues early in the design phase.
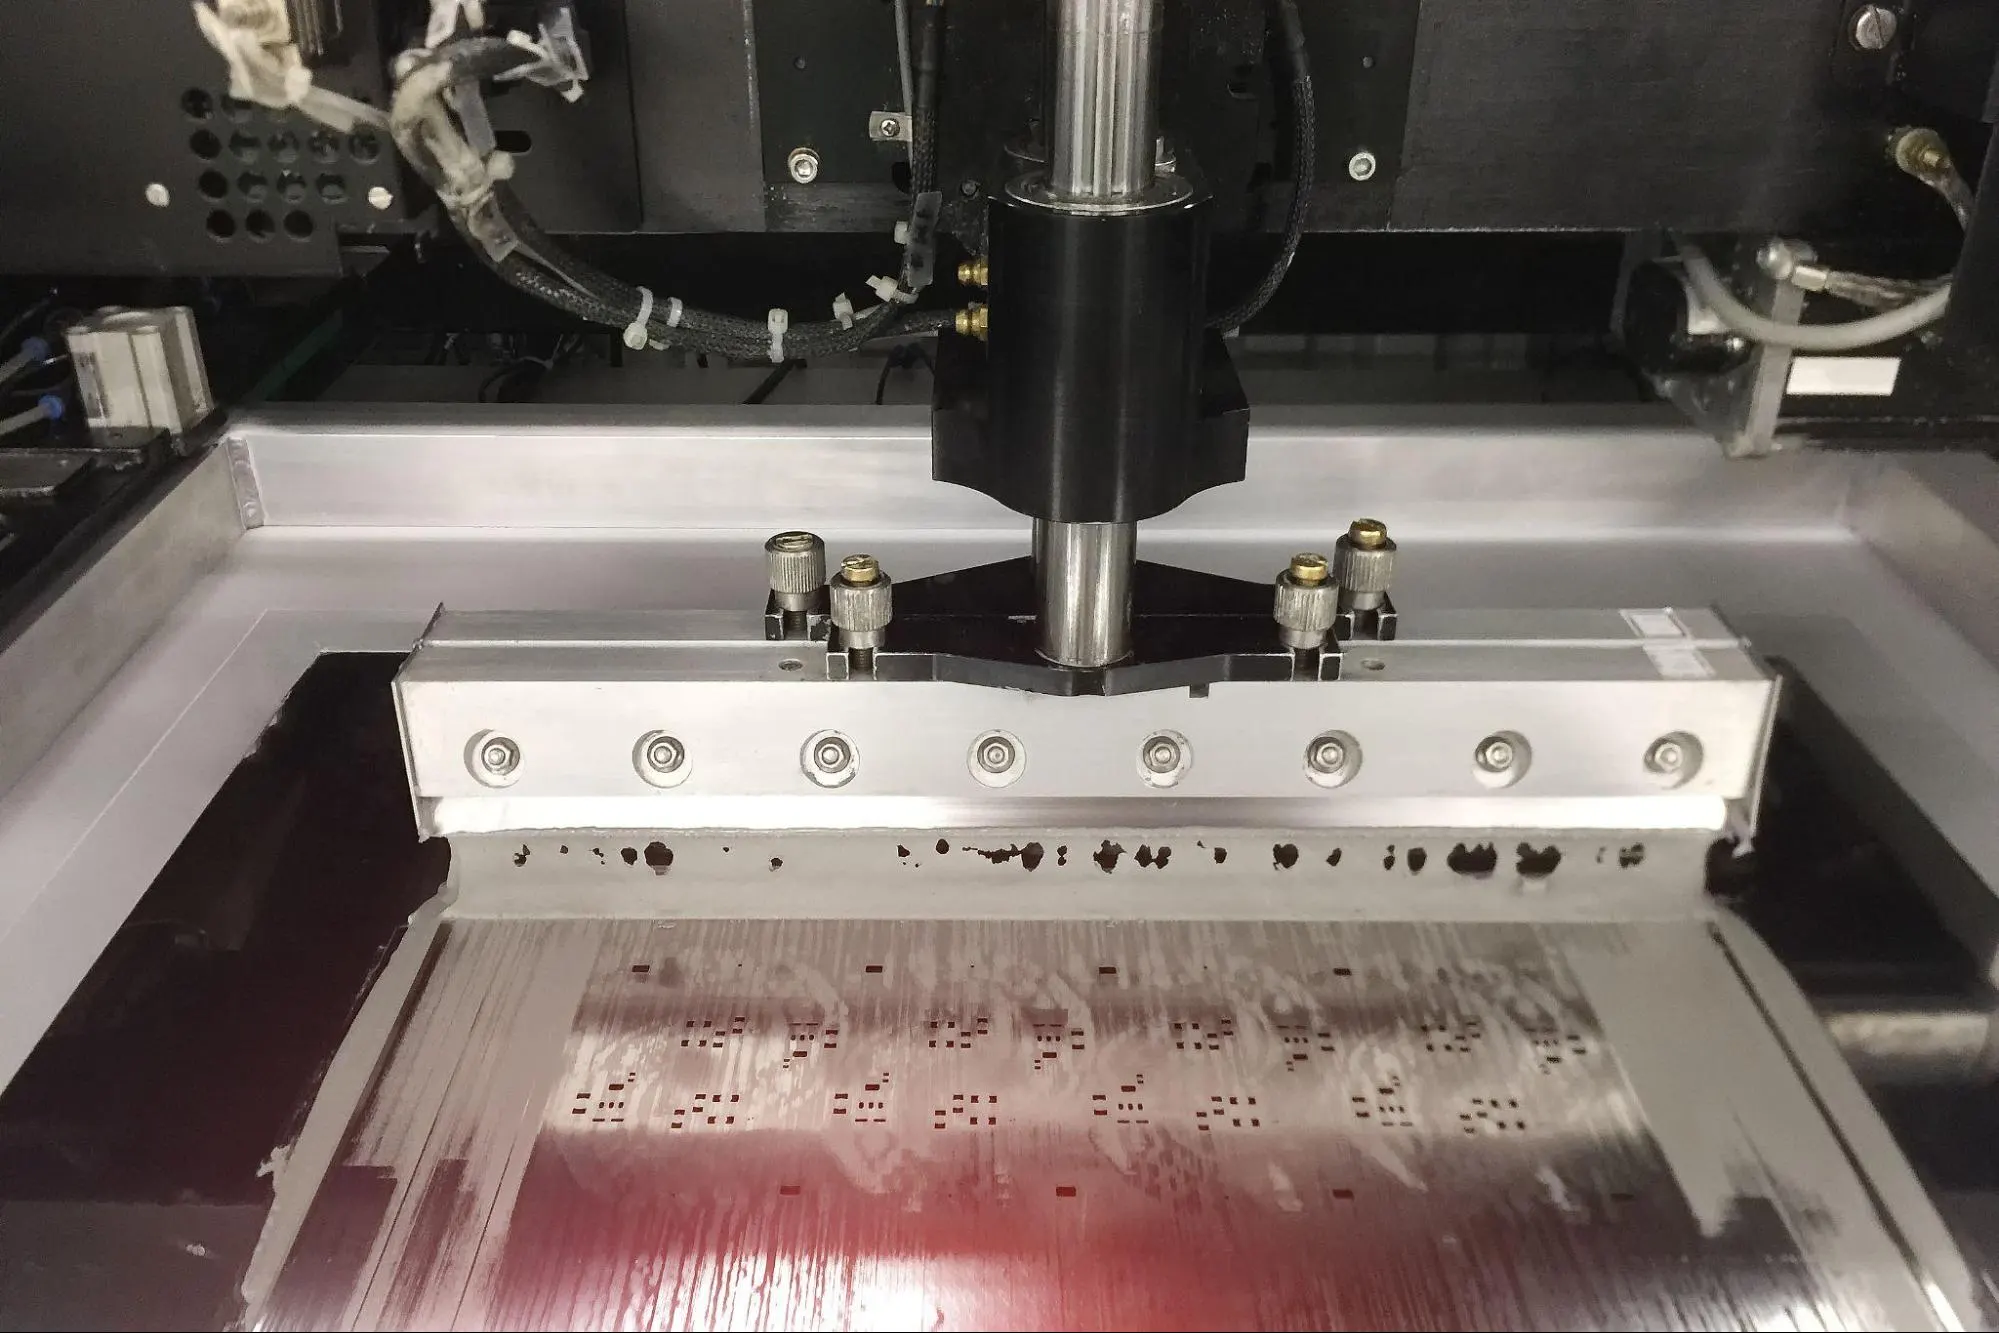
2. Understand SMT Stencil Requirements to Save on Assembly Costs
Surface Mount Technology (SMT) stencils are essential for applying solder paste during assembly, and their design and specifications directly impact PCB costs. By understanding SMT stencil requirements, you can avoid unnecessary expenses and ensure a smooth manufacturing process. Here's how to optimize stencil usage:
Choose the Right Stencil Thickness
Stencil thickness affects the amount of solder paste applied to the board. Using a stencil that's too thick can lead to excess paste, increasing material costs and risking solder bridges. Conversely, a stencil that's too thin may result in insufficient paste, causing poor connections. For most standard SMT components, a stencil thickness of 0.1mm to 0.15mm works well. Match the thickness to your component sizes—for instance, finer pitch components (0.5mm or less) may require thinner stencils for precision.
Opt for Reusable Stencils
If you're producing multiple batches of the same PCB, invest in a high-quality, reusable stencil made of stainless steel. While the upfront cost may be higher, reusable stencils save money over time compared to disposable ones, especially for order quantities exceeding 100 units. Ensure proper cleaning and storage to extend the stencil's lifespan.
Reduce Stencil Aperture Complexity
Complex stencil designs with intricate apertures or non-standard shapes can increase production costs. Simplify the stencil layout by aligning apertures with standard pad sizes and shapes. For example, use rectangular or circular apertures instead of custom designs unless required for specific components. This reduces manufacturing time and minimizes the risk of errors during solder paste application.
By carefully planning your SMT stencil requirements, you can avoid over-specification and keep assembly costs under control. Always communicate with your manufacturing partner to confirm the best stencil options for your design.
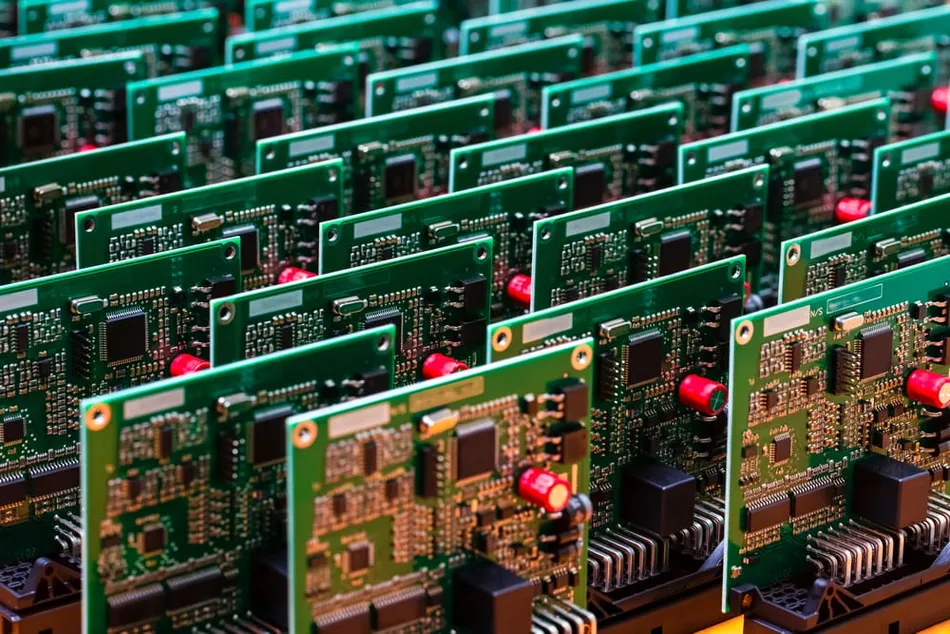
3. Balance Order Quantity and Unit Price for Maximum Savings
The relationship between order quantity and unit price is a critical factor in reducing PCB costs. Ordering in the right quantities can significantly lower the price per board, but over-ordering can tie up capital in unused inventory. Here's how to strike the right balance:
Take Advantage of Economies of Scale
PCB manufacturing often follows economies of scale, meaning the unit price drops as the order quantity increases. For example, ordering 100 boards might cost $5 per unit, while ordering 1,000 could reduce the price to $2 per unit. Analyze your project needs and order in larger batches if you anticipate future demand or if storage costs are manageable. This approach is especially cost-effective for mature designs that won't require frequent revisions.
Avoid Over-Ordering
While bulk ordering reduces unit price, over-ordering can lead to wasted resources if design changes are needed or if demand doesn't materialize. Start with smaller batches (e.g., 10-50 units) during the prototyping phase to test and refine your design. Once the design is finalized, scale up your order quantity to benefit from lower unit prices without risking obsolescence.
Plan for Lead Times and Bulk Discounts
Longer lead times often come with lower costs, as manufacturers can schedule production more efficiently. If your project timeline allows, opt for standard lead times (e.g., 10-15 days) instead of rush orders, which can double or triple the unit price. Additionally, inquire about bulk discounts or promotional offers for larger orders, as many manufacturers provide incentives to encourage higher quantities.
Balancing order quantity and unit price requires careful planning, but it can lead to substantial savings. Use historical data from past projects or consult with your manufacturing partner to estimate the optimal order size for your needs.
4. Additional Tips to Reduce PCB Costs
Beyond design optimization, SMT stencil requirements, and order quantity management, there are several other strategies to lower PCB expenses. These additional tips can complement the core approaches discussed above:
Minimize Testing and Inspection Costs
Extensive testing and inspection, such as 100% Automated Optical Inspection (AOI) or X-ray inspection, can add to production costs. While quality assurance is important, limit advanced testing to critical projects or high-reliability applications. For standard designs, basic electrical testing (e.g., flying probe tests) may be sufficient and more cost-effective.
Choose Cost-Effective Materials
The choice of PCB material impacts cost significantly. For most applications, FR-4, a standard fiberglass laminate, offers a good balance of performance and affordability. Unless your design requires high-frequency performance (e.g., above 1 GHz) or extreme thermal resistance, avoid specialty materials like Rogers or polyimide, which can increase costs by 50% or more.
Collaborate with Your Manufacturer Early
Engage with your PCB manufacturer during the design phase to get feedback on cost-saving opportunities. Manufacturers can suggest design tweaks, material alternatives, or production methods that align with your budget. Early collaboration also helps avoid costly redesigns by identifying potential issues before production begins.
Implementing these additional strategies alongside the main cost-reduction methods can maximize your savings and ensure a streamlined production process.
Conclusion: Start Saving on PCB Costs Today
Reducing PCB costs doesn't mean compromising on quality or performance. By focusing on optimizing design, understanding SMT stencil requirements, and carefully managing order quantity and unit price, you can achieve significant savings on your projects. Start by simplifying your PCB layout and adhering to Design for Manufacturability guidelines to minimize production complexity. Choose the right stencil specifications to avoid unnecessary assembly expenses, and balance order quantities to take advantage of economies of scale without overstocking.
Additionally, consider cost-effective materials, limit advanced testing when possible, and collaborate with your manufacturing partner to uncover further savings. These practical tips are designed to help engineers and businesses keep PCB costs in check while delivering reliable, high-quality products. Apply these strategies to your next project, and watch as your production expenses decrease without sacrificing results.
With careful planning and attention to detail, you can master the art of cost-effective PCB production. Take the first step today by reviewing your current design and identifying areas for improvement. Your budget—and your project—will thank you.